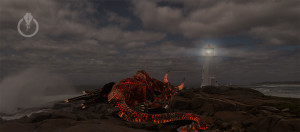
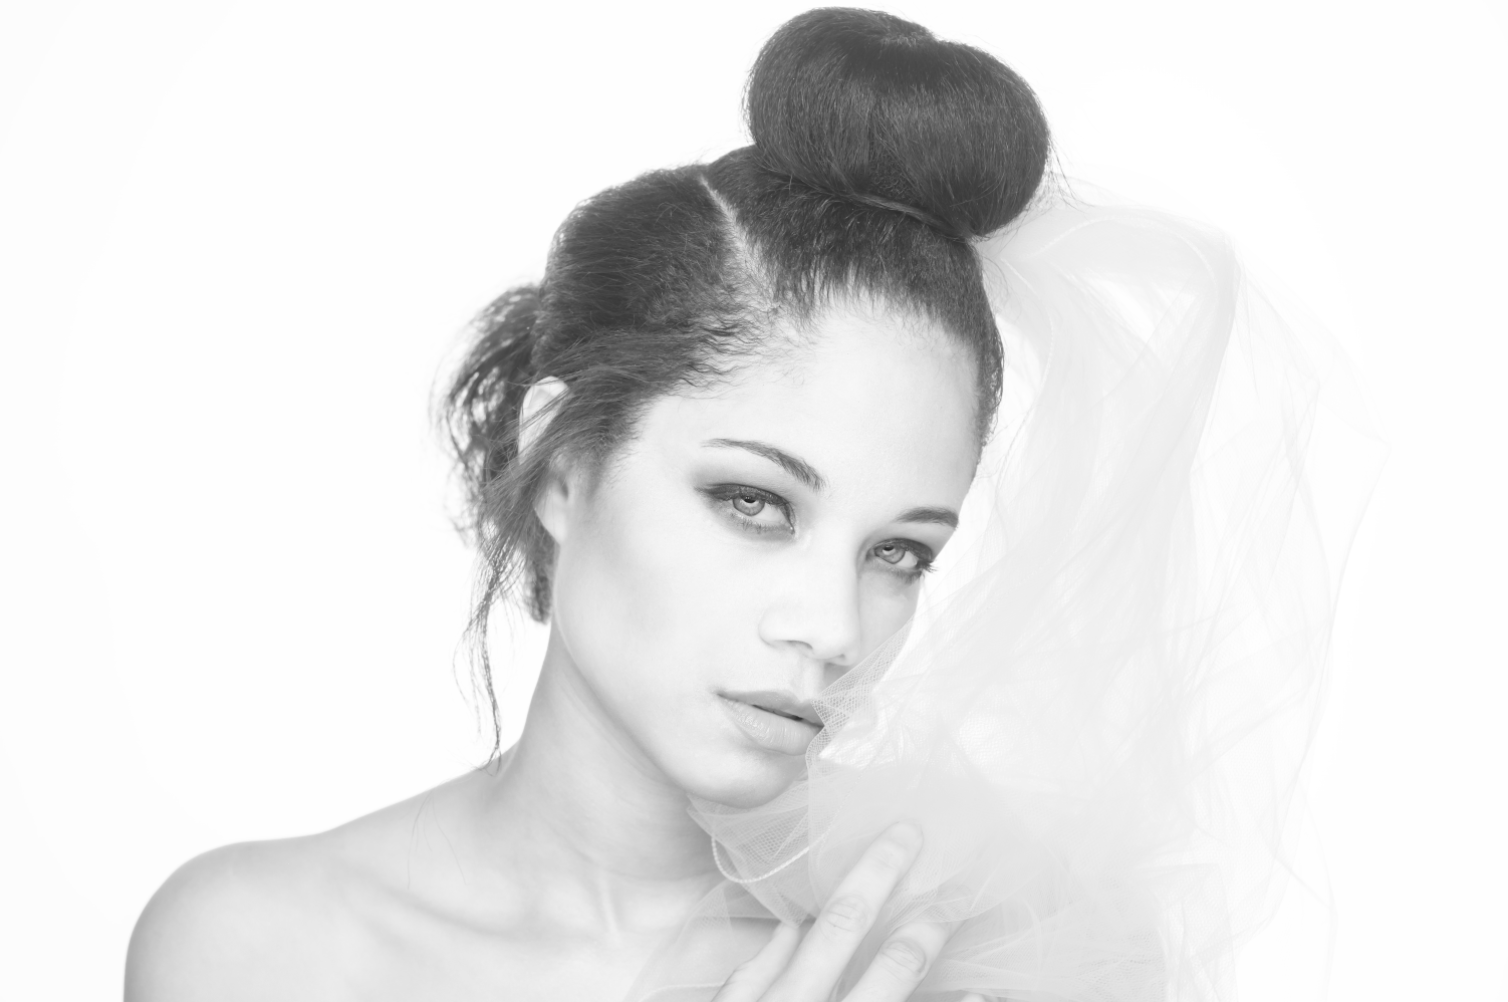
In this tutorial I will show how to create romantic and elegant image using Dollar Photo Club images
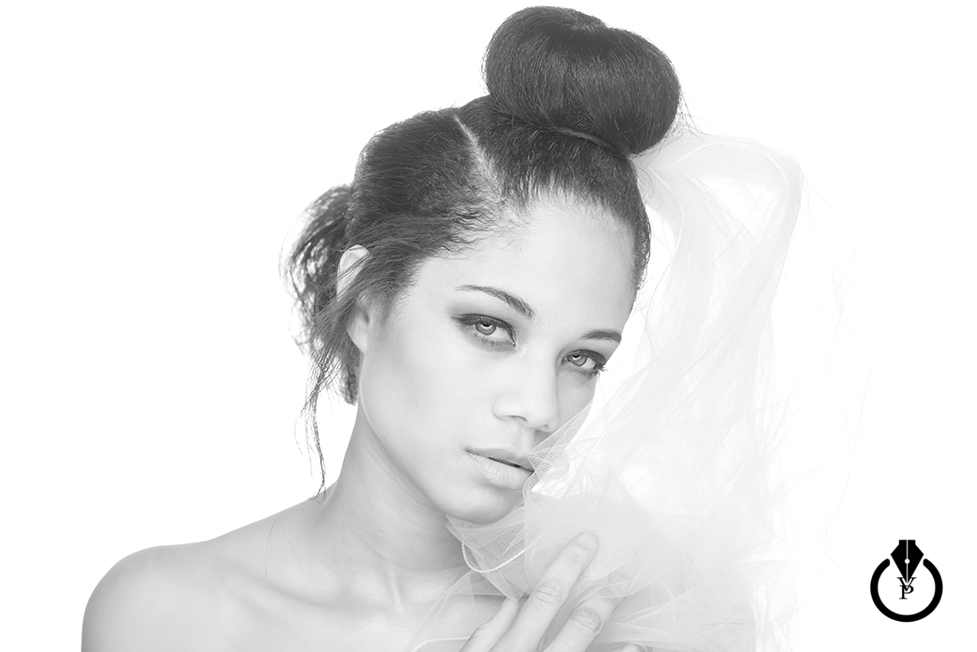
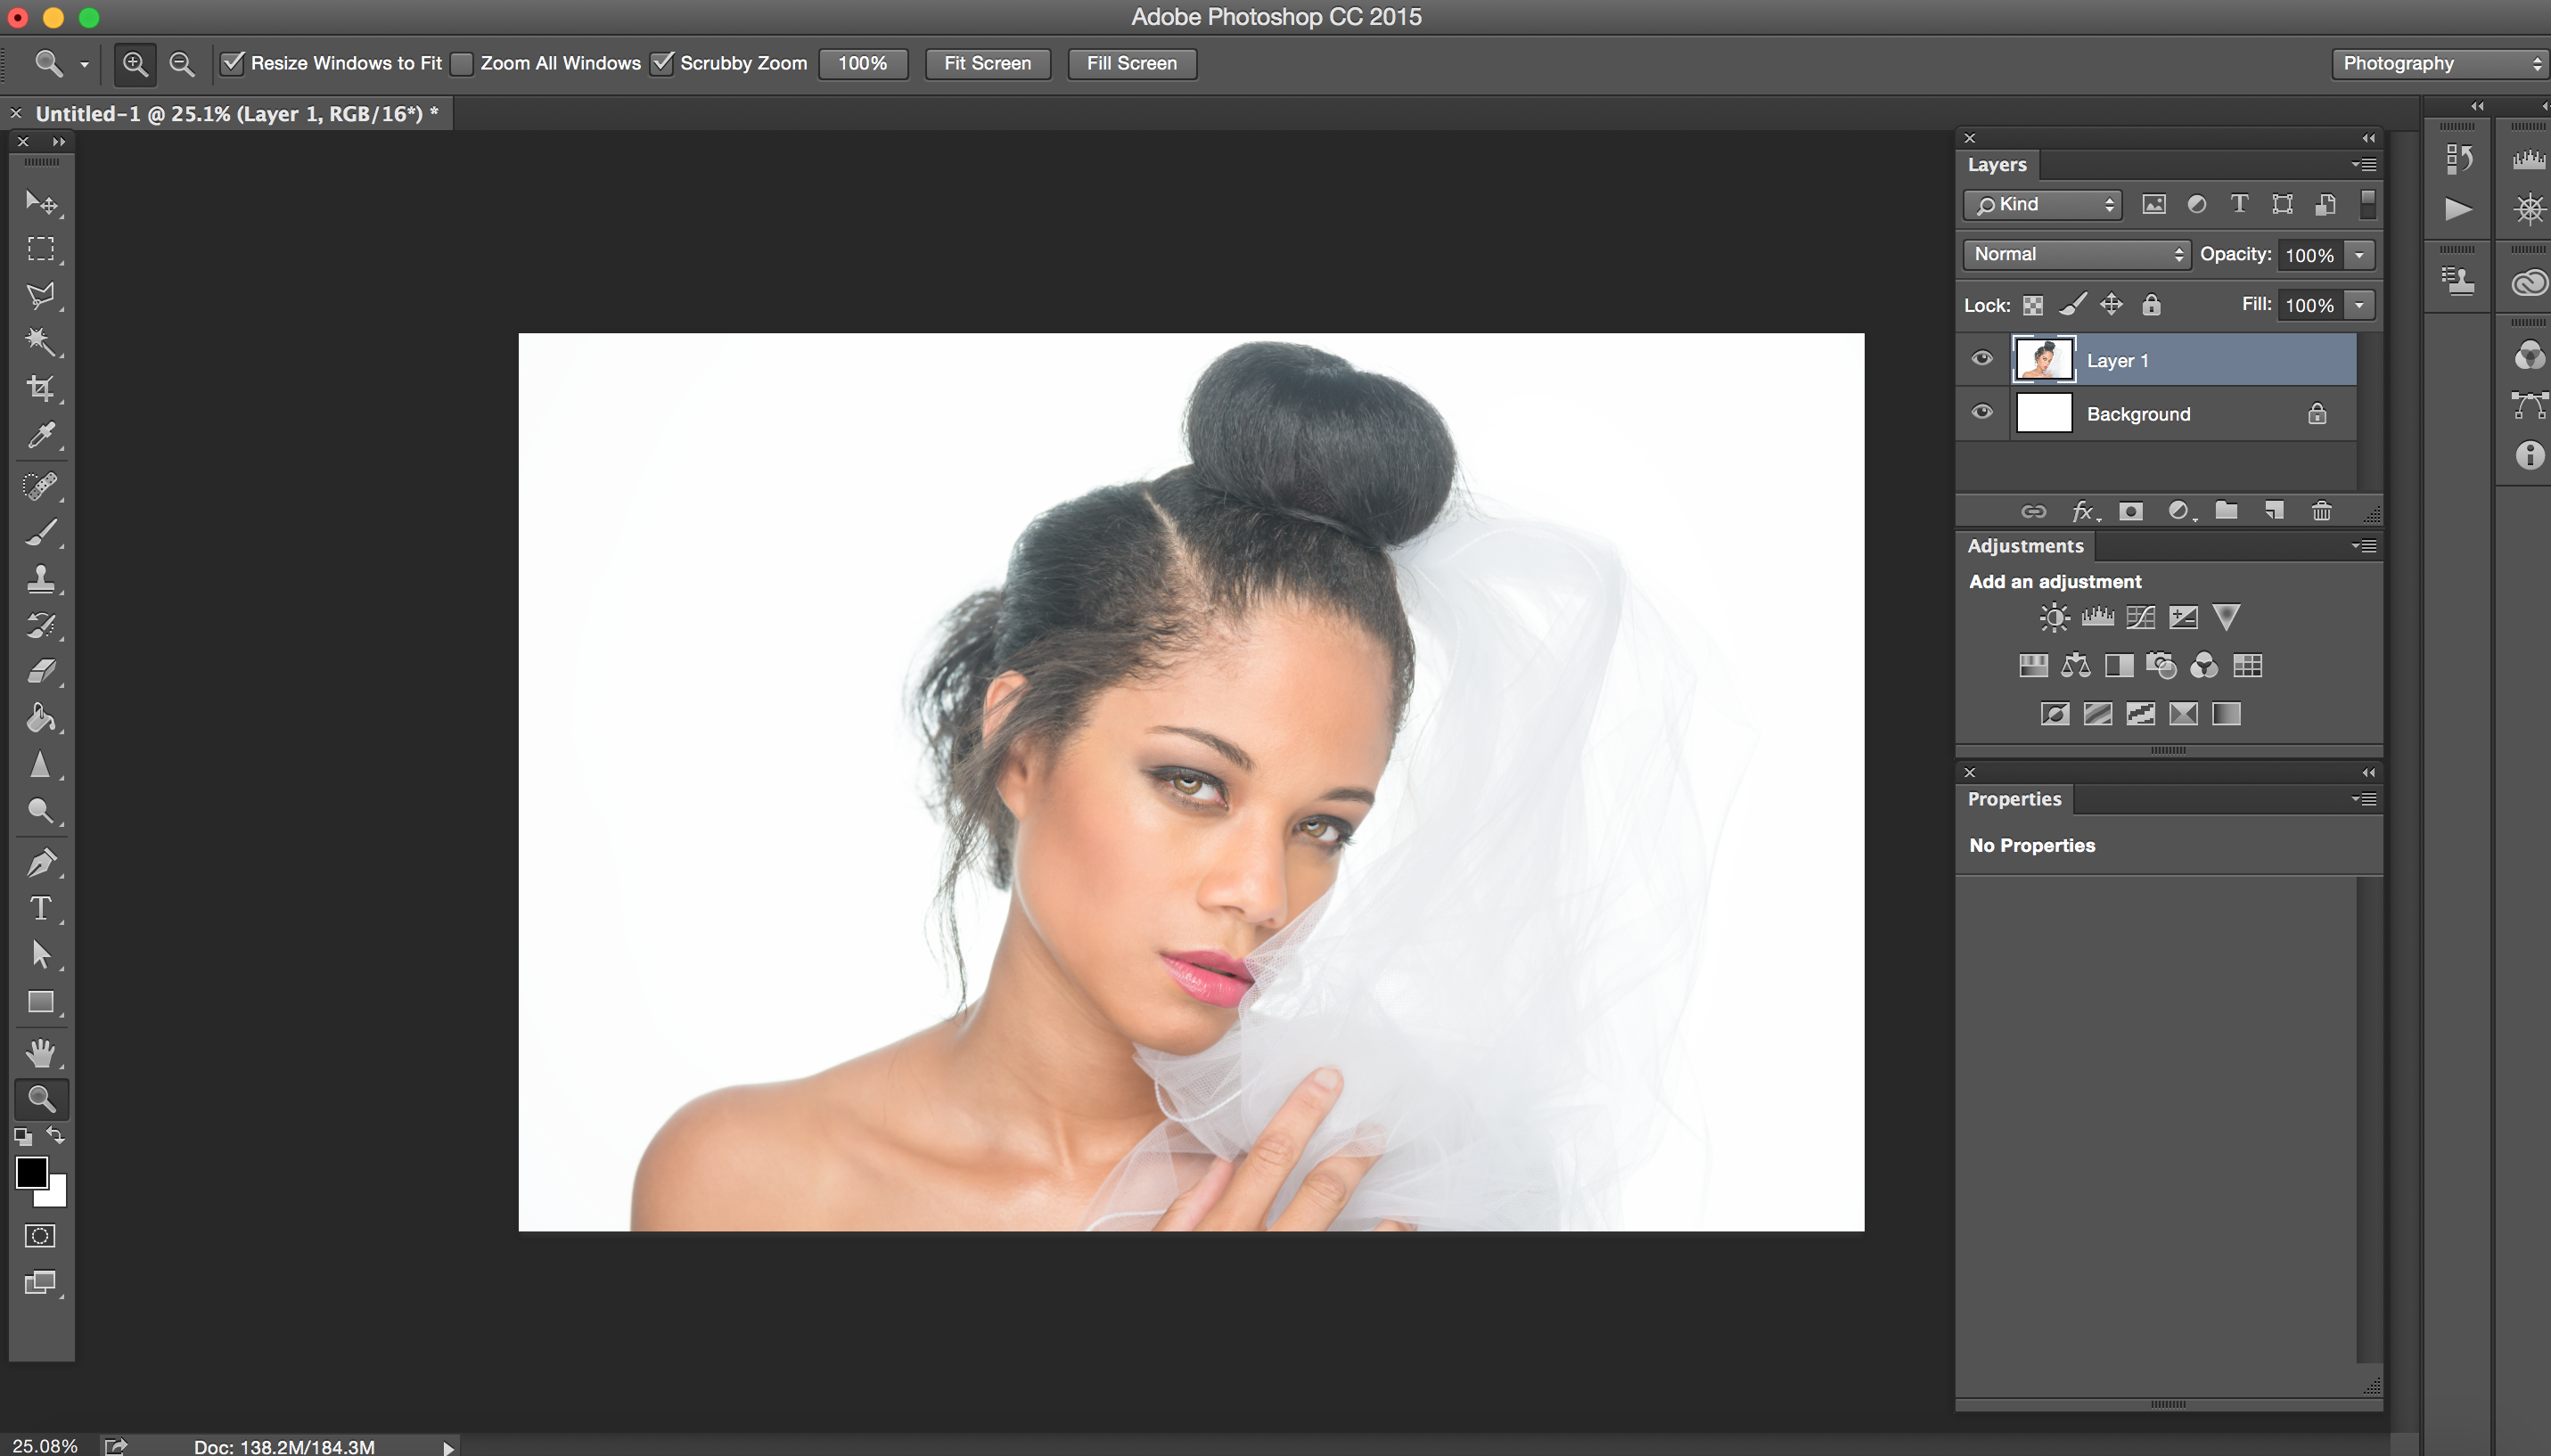
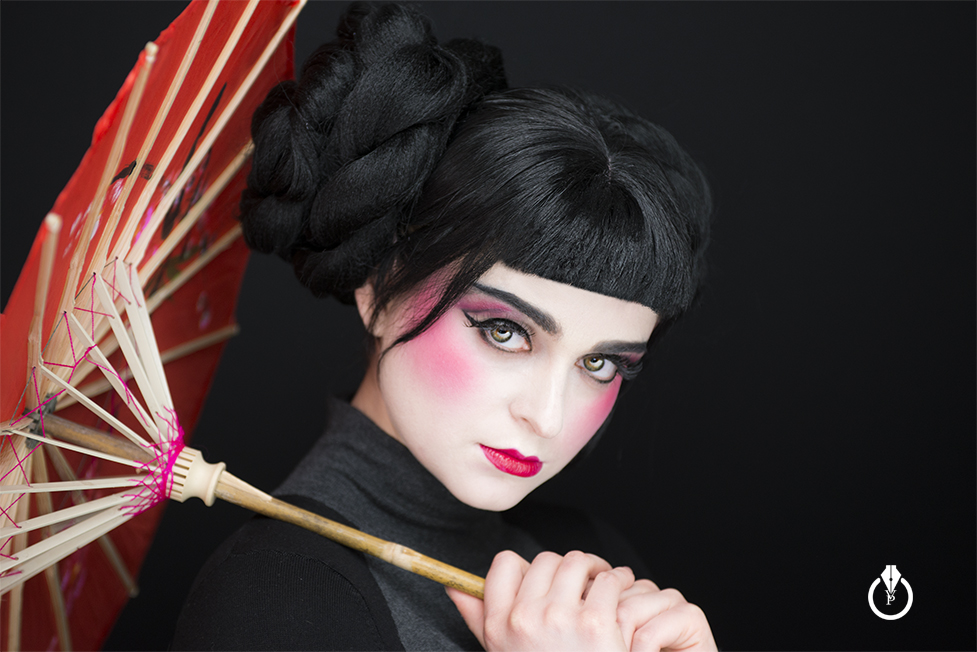
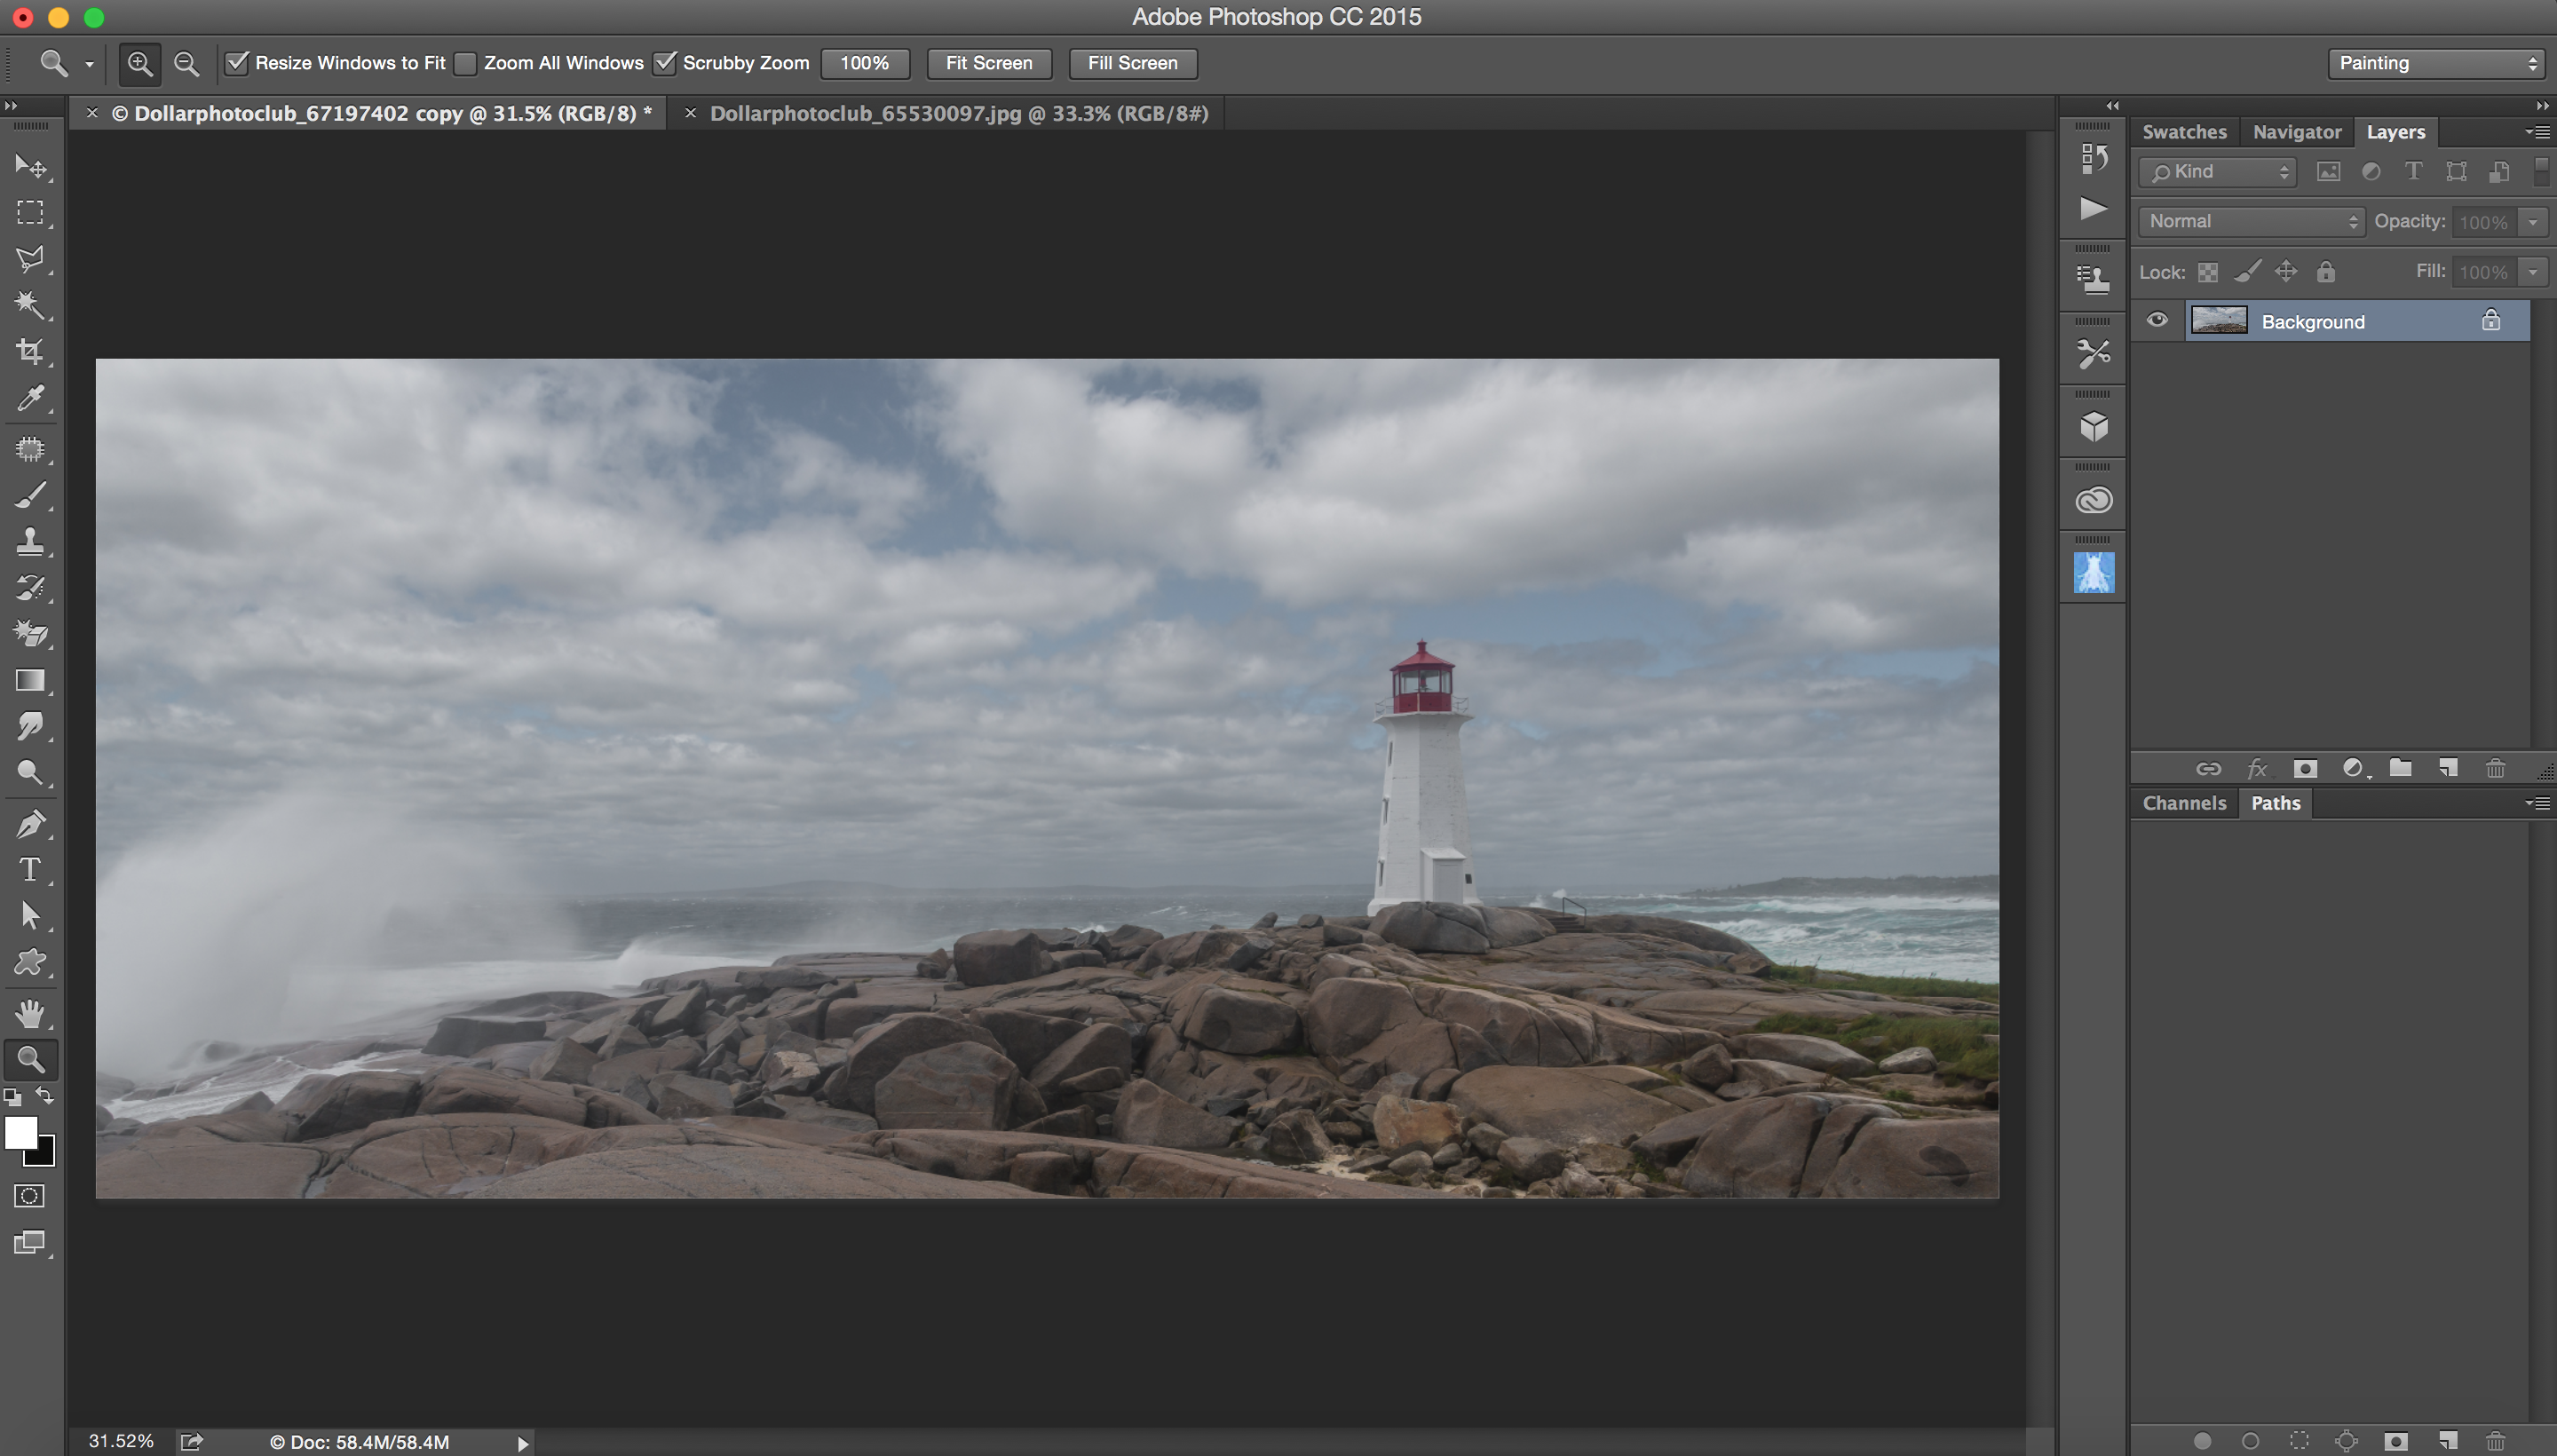
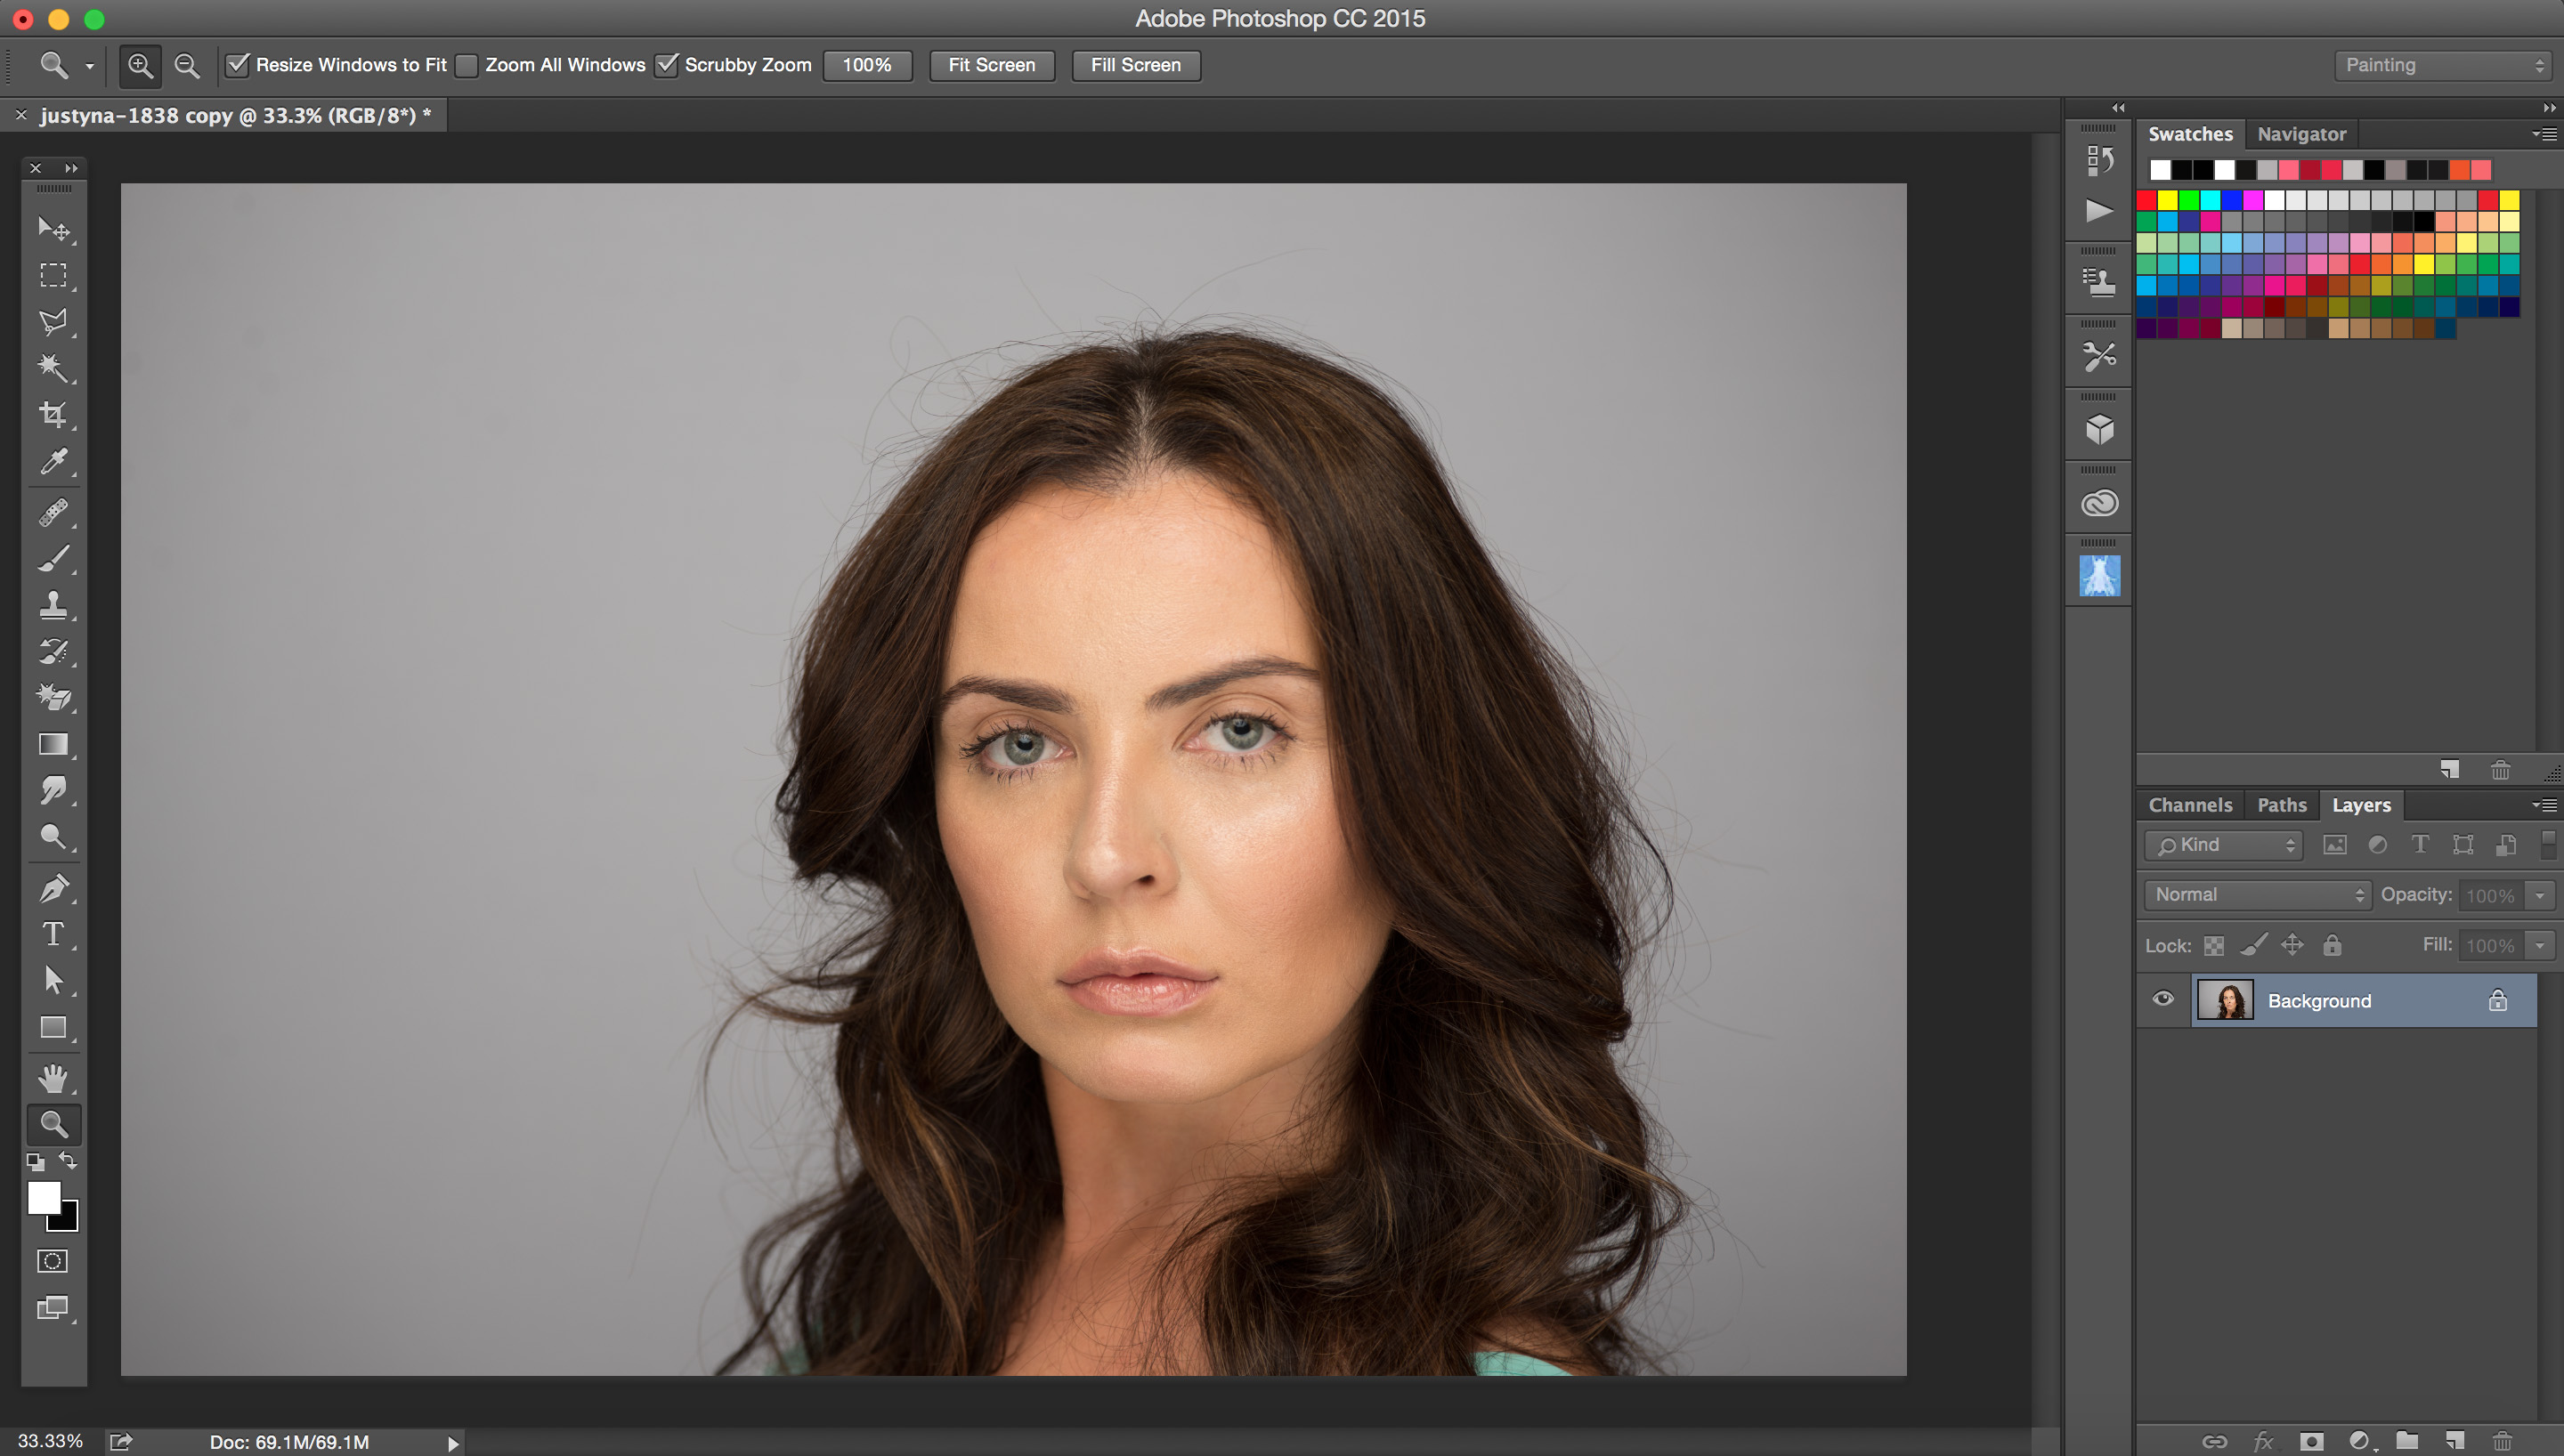
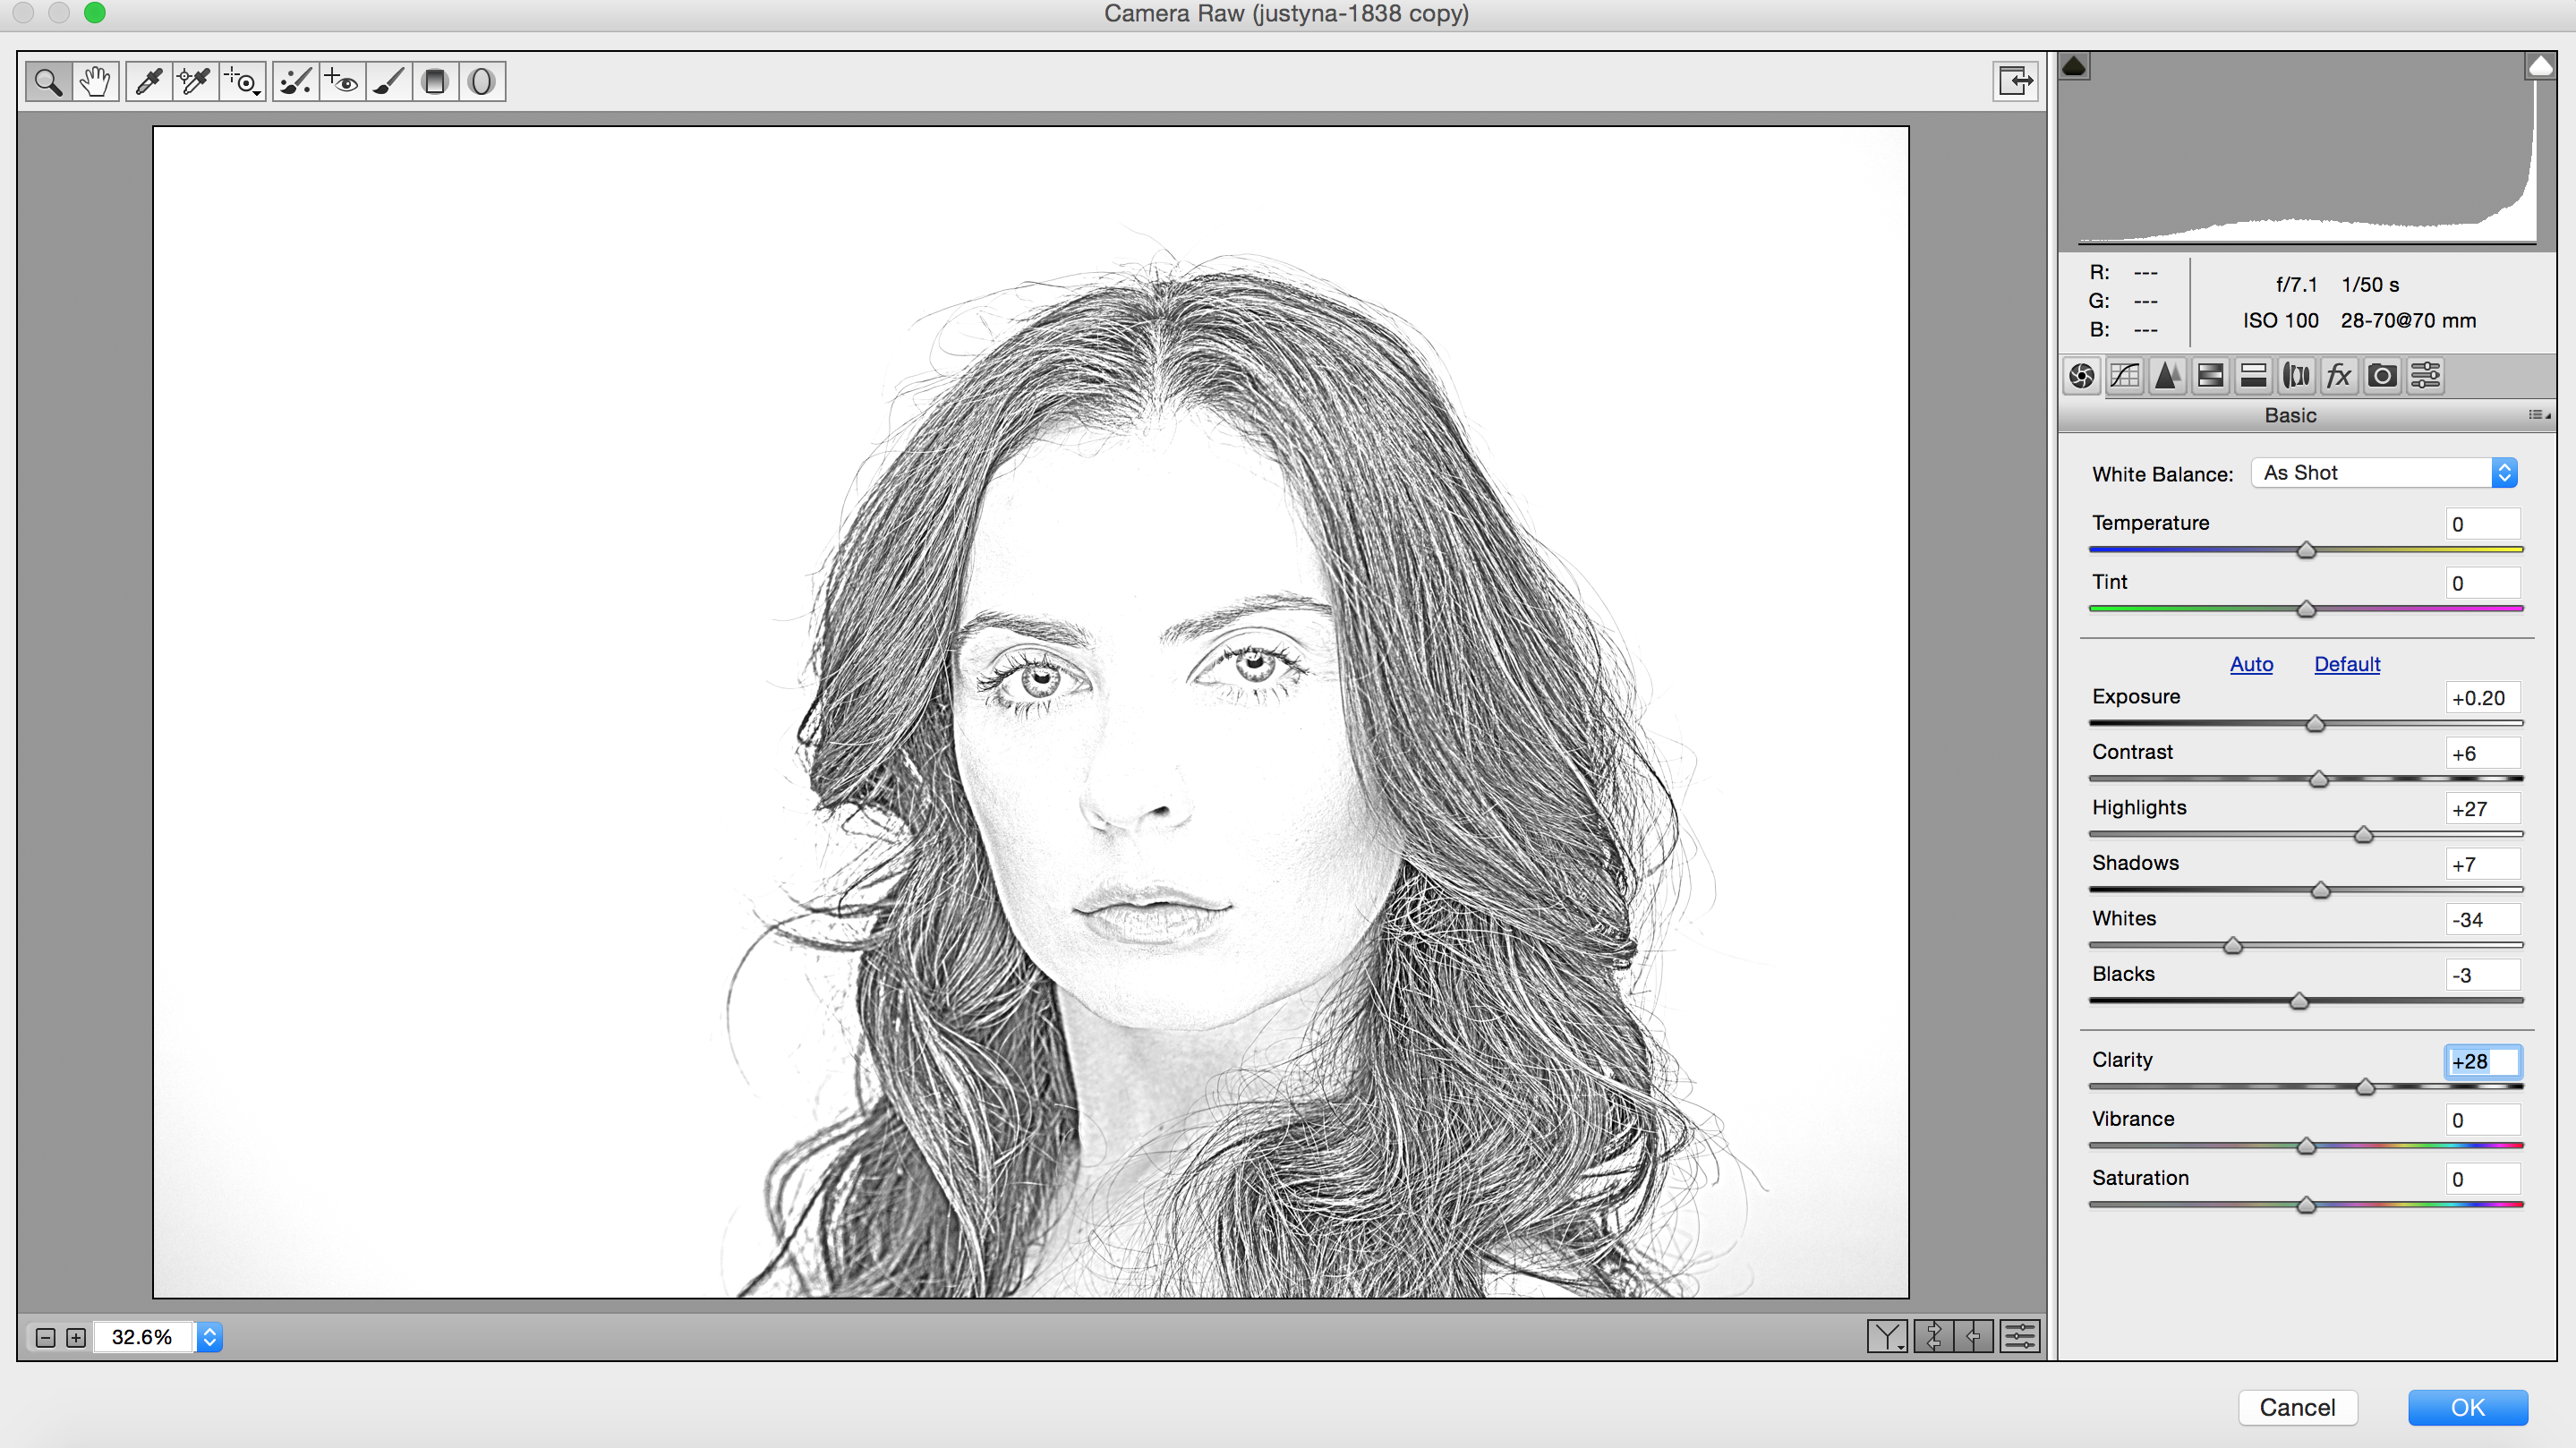
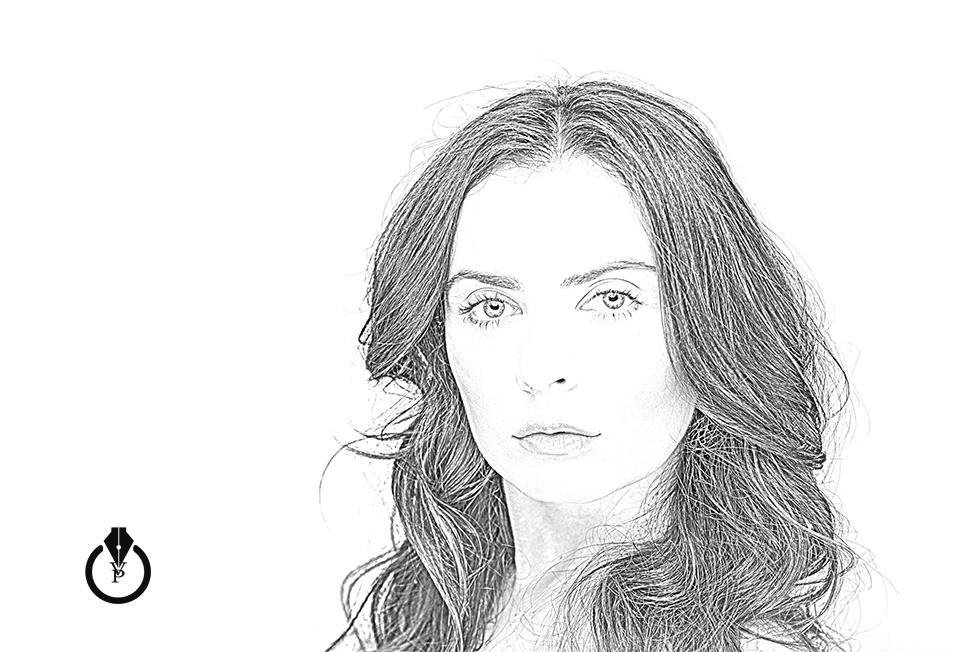
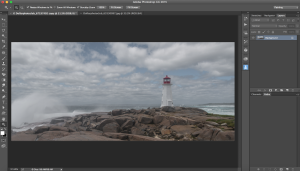
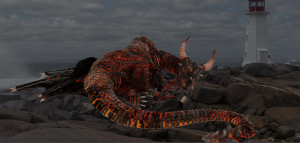
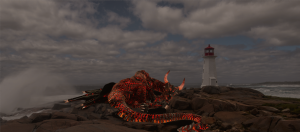
1: Open your first image and this image will be our background image
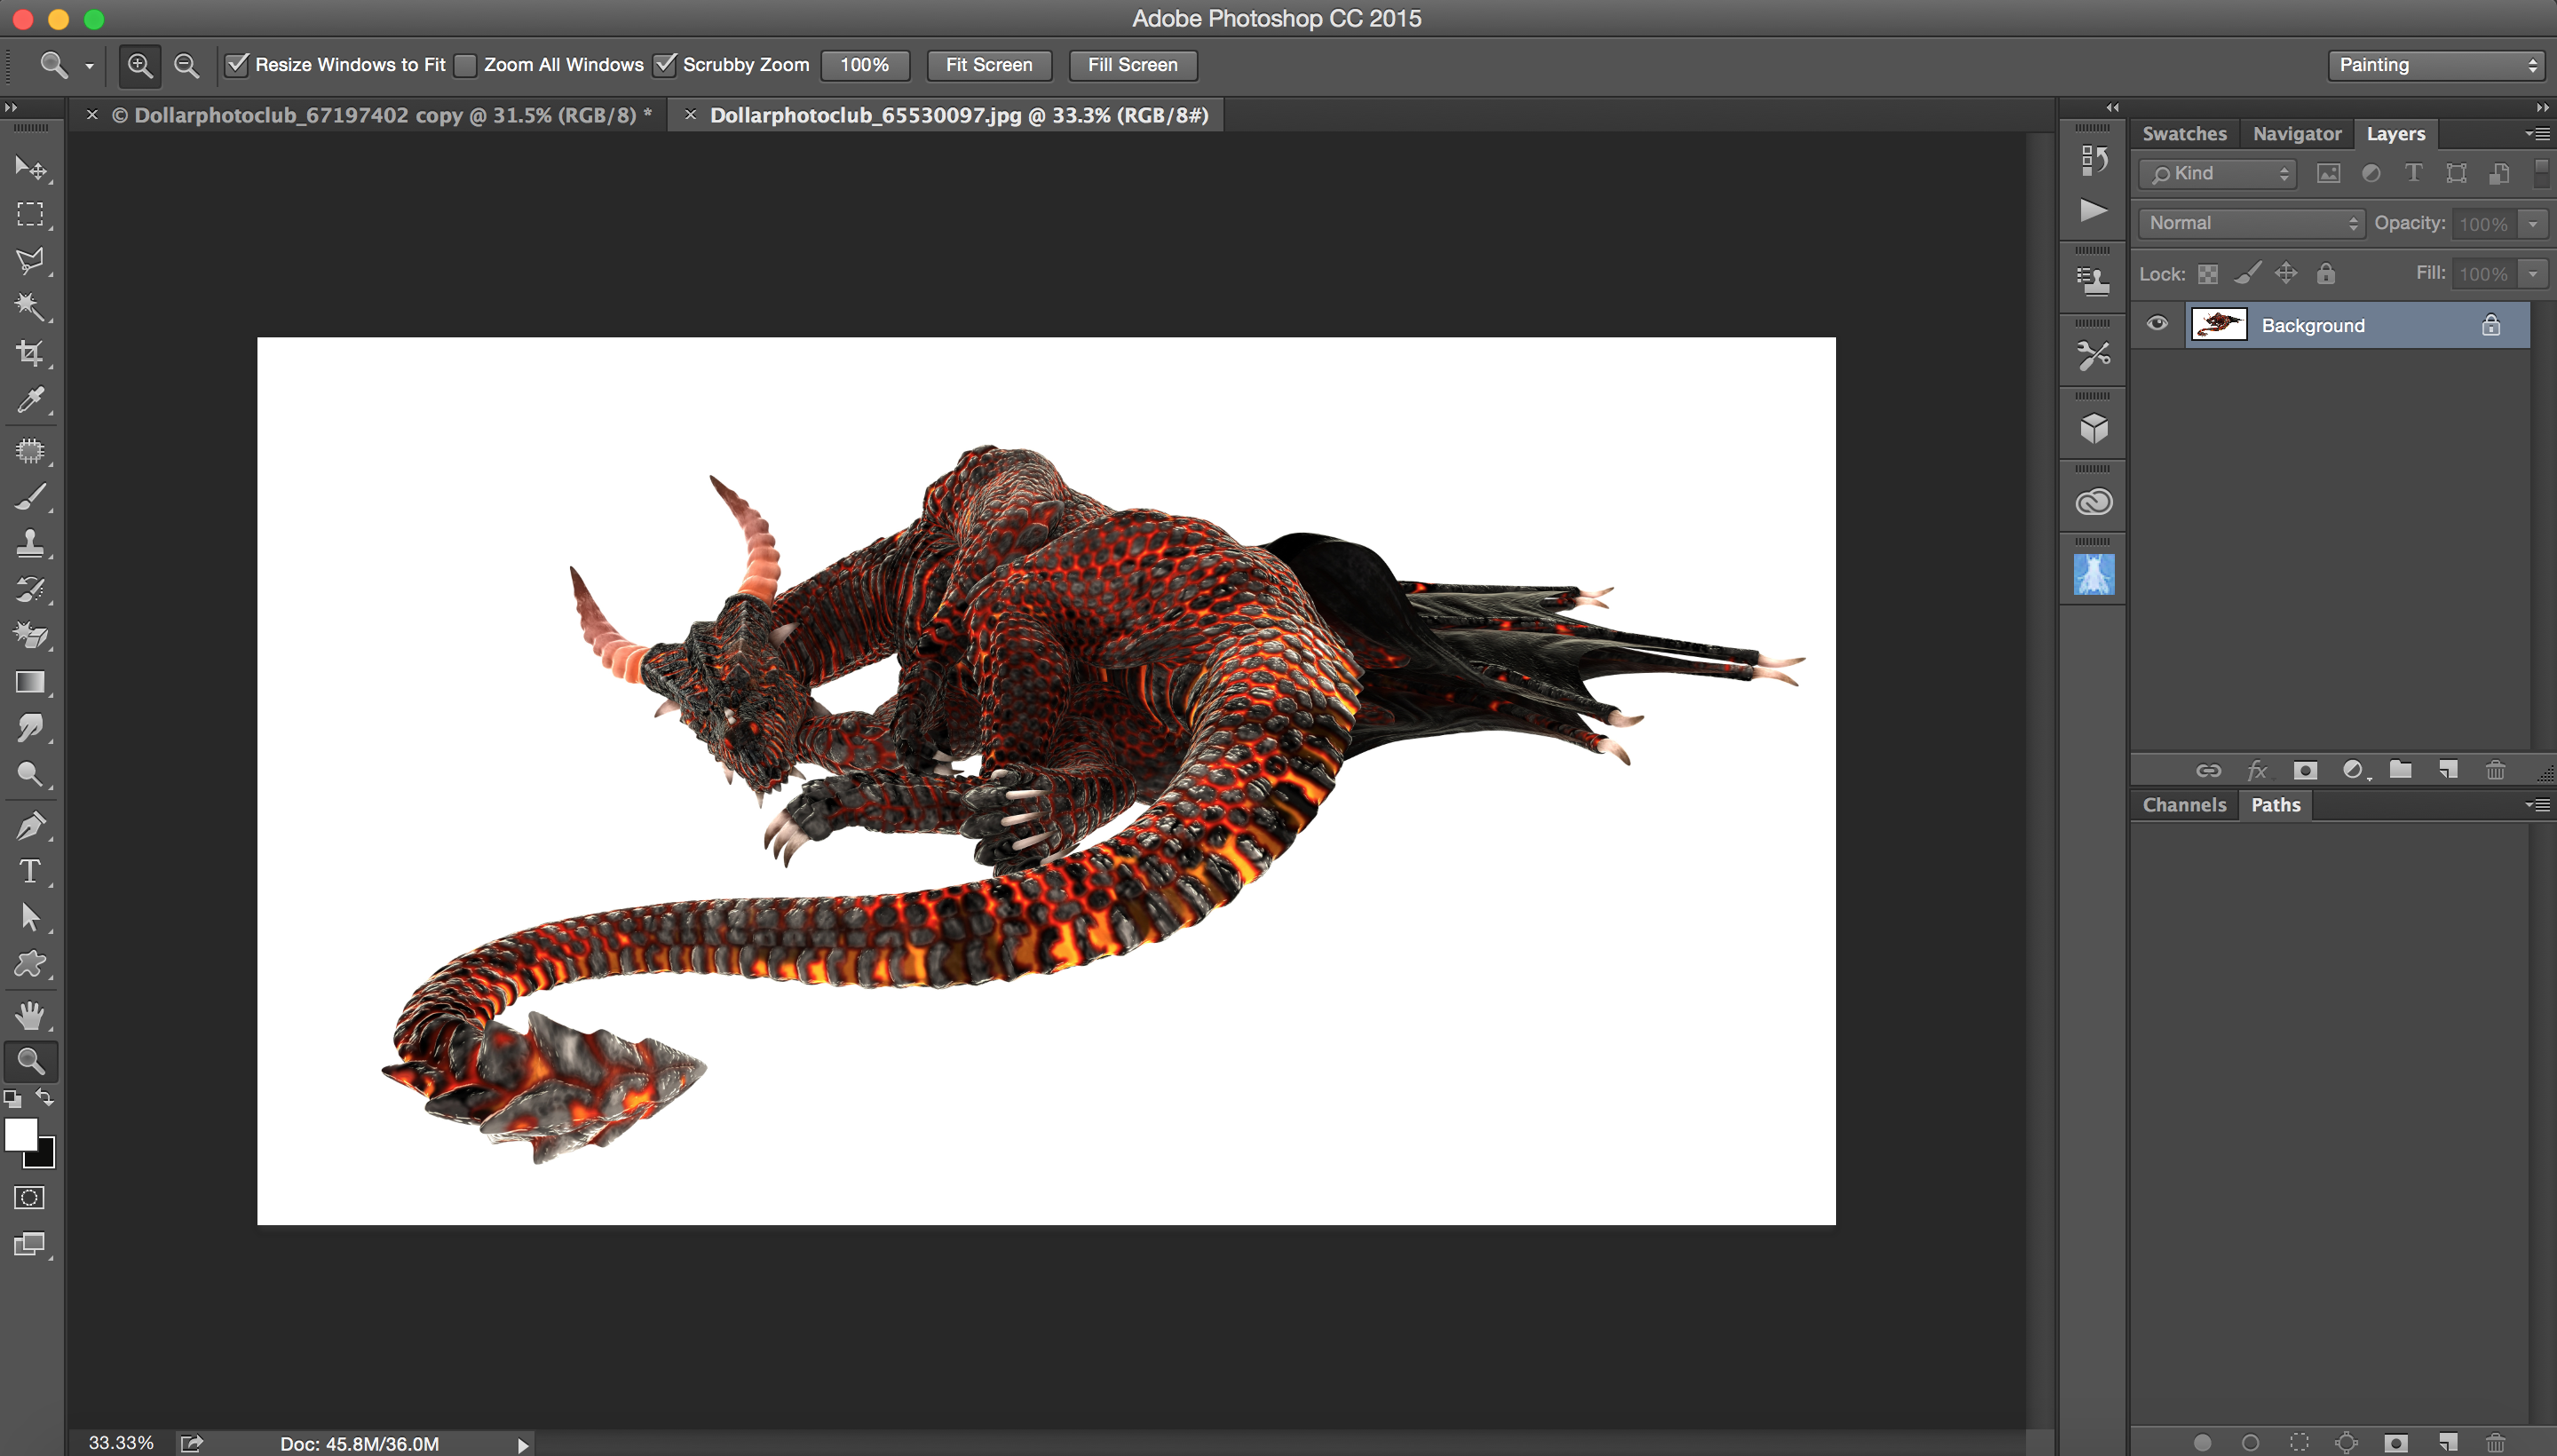
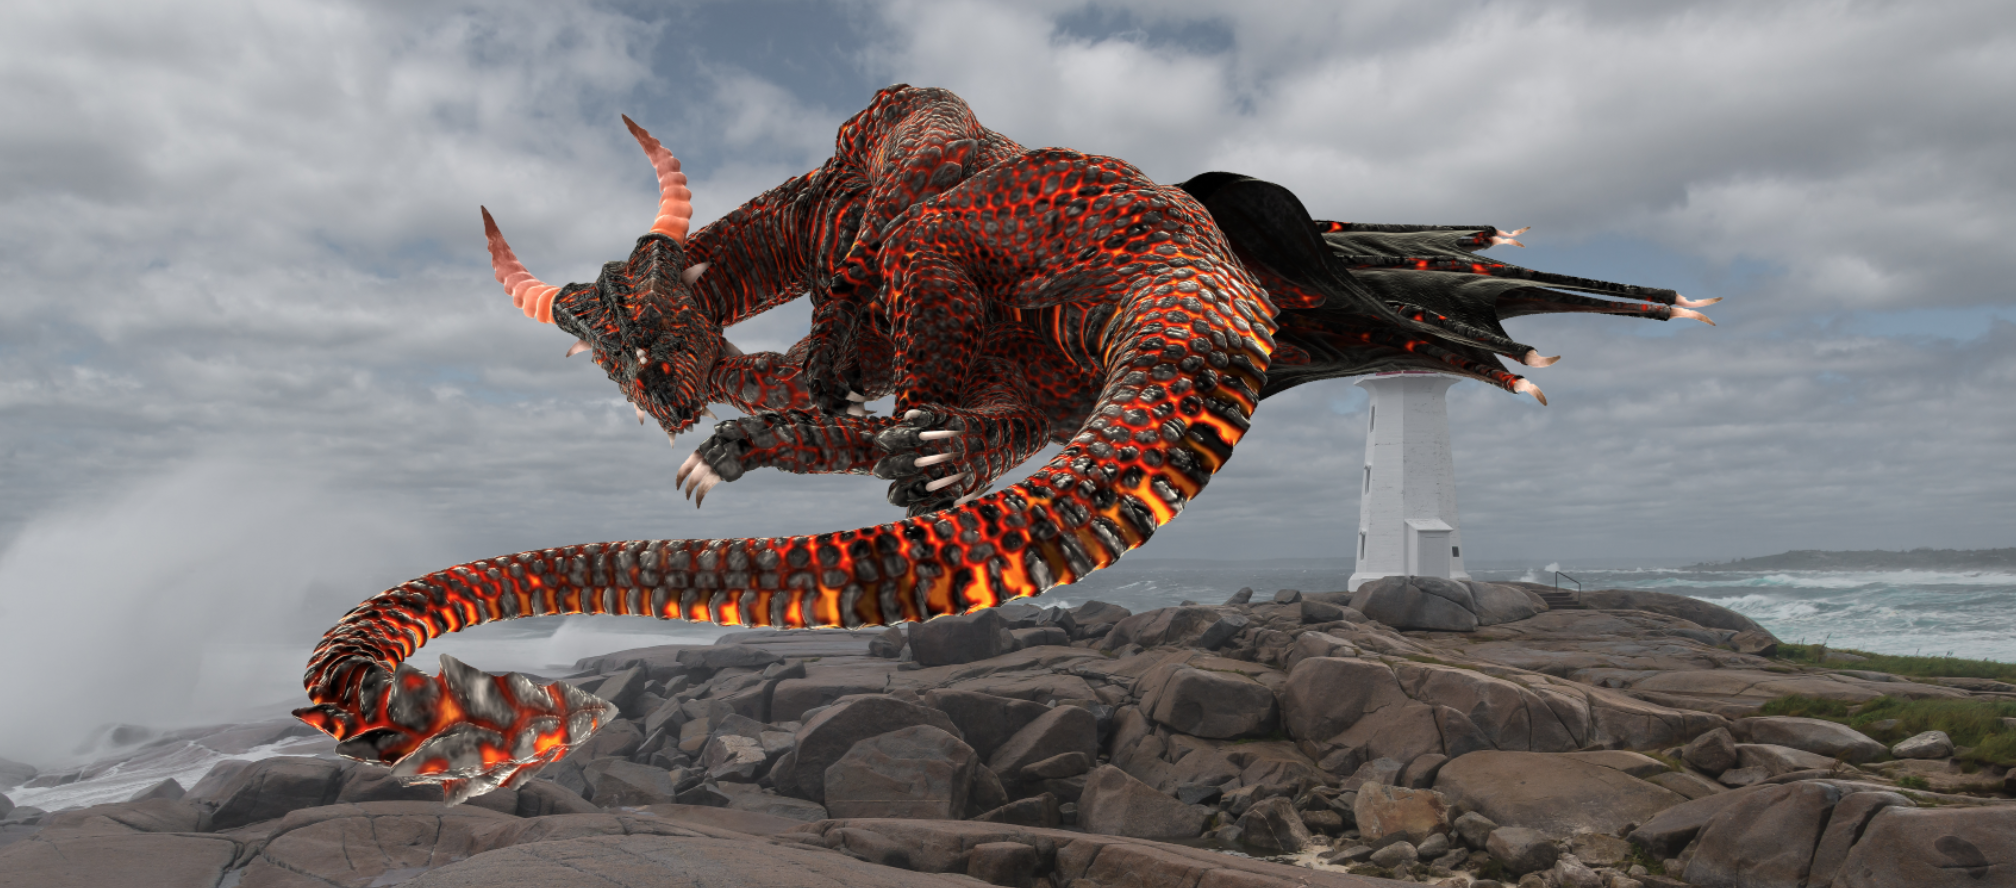
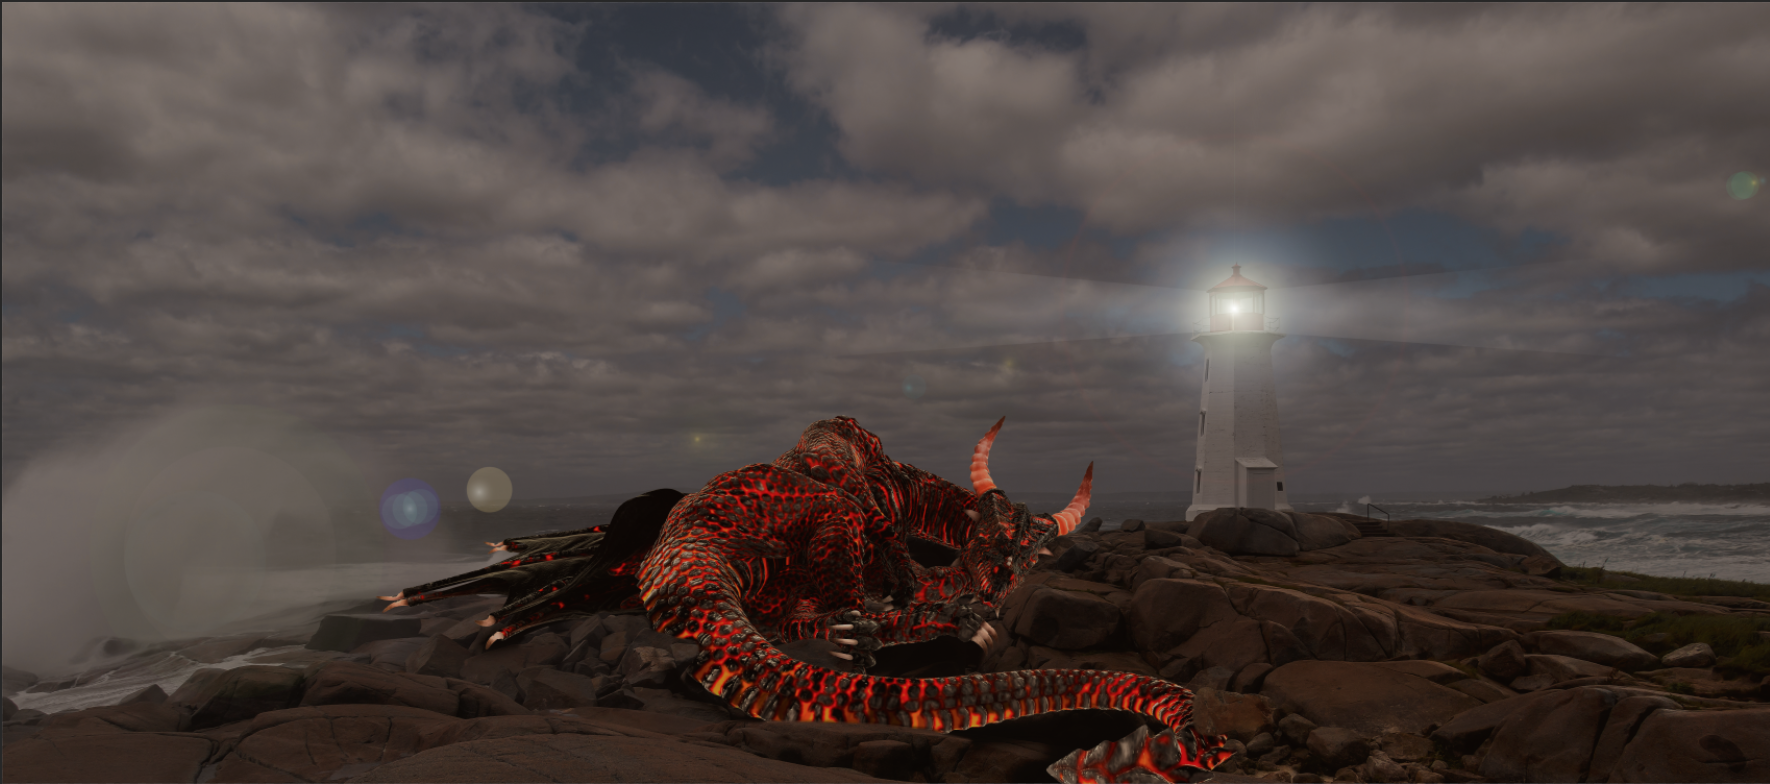
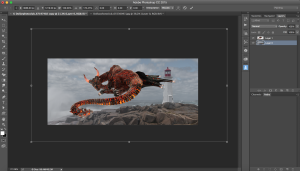
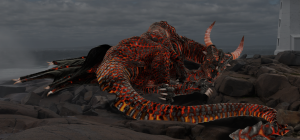
2: Open your Dragon image.

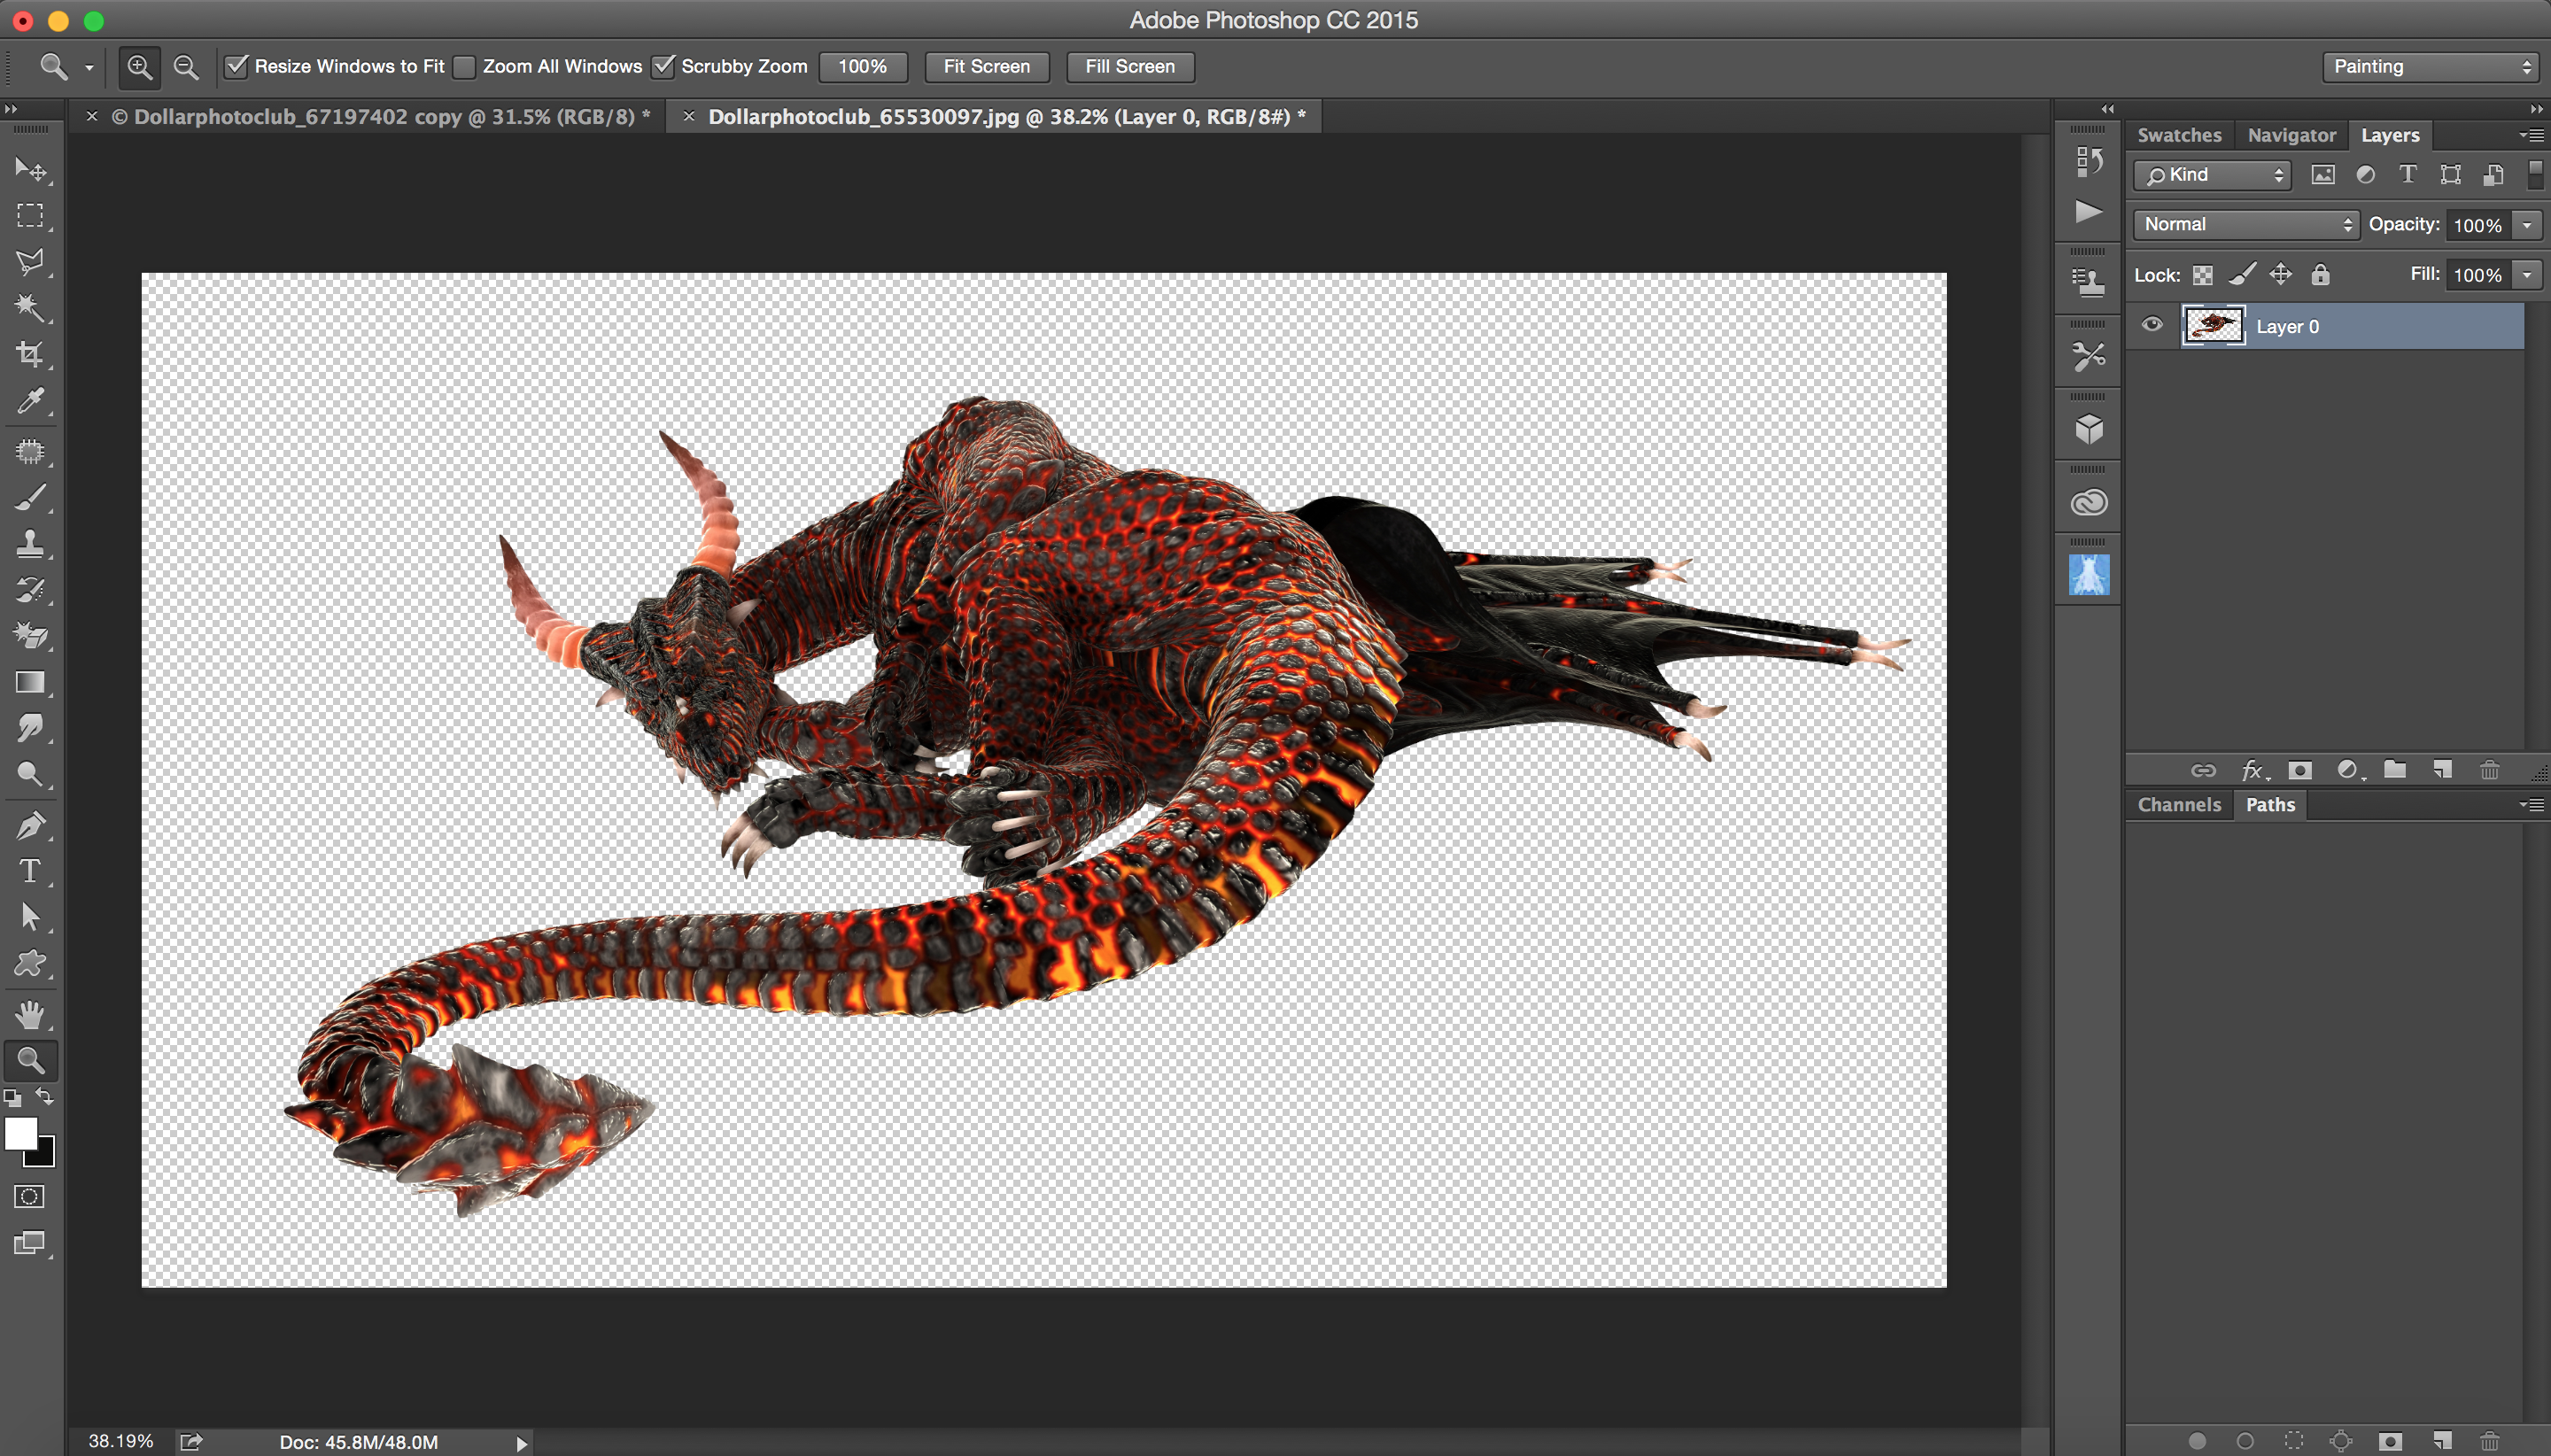
3: Unlock the Dragon’s background layer ( click on a lock icon )
4: Remove the white background ( you can use any method you are comfortable with ). I used the Magic Eraser Tool

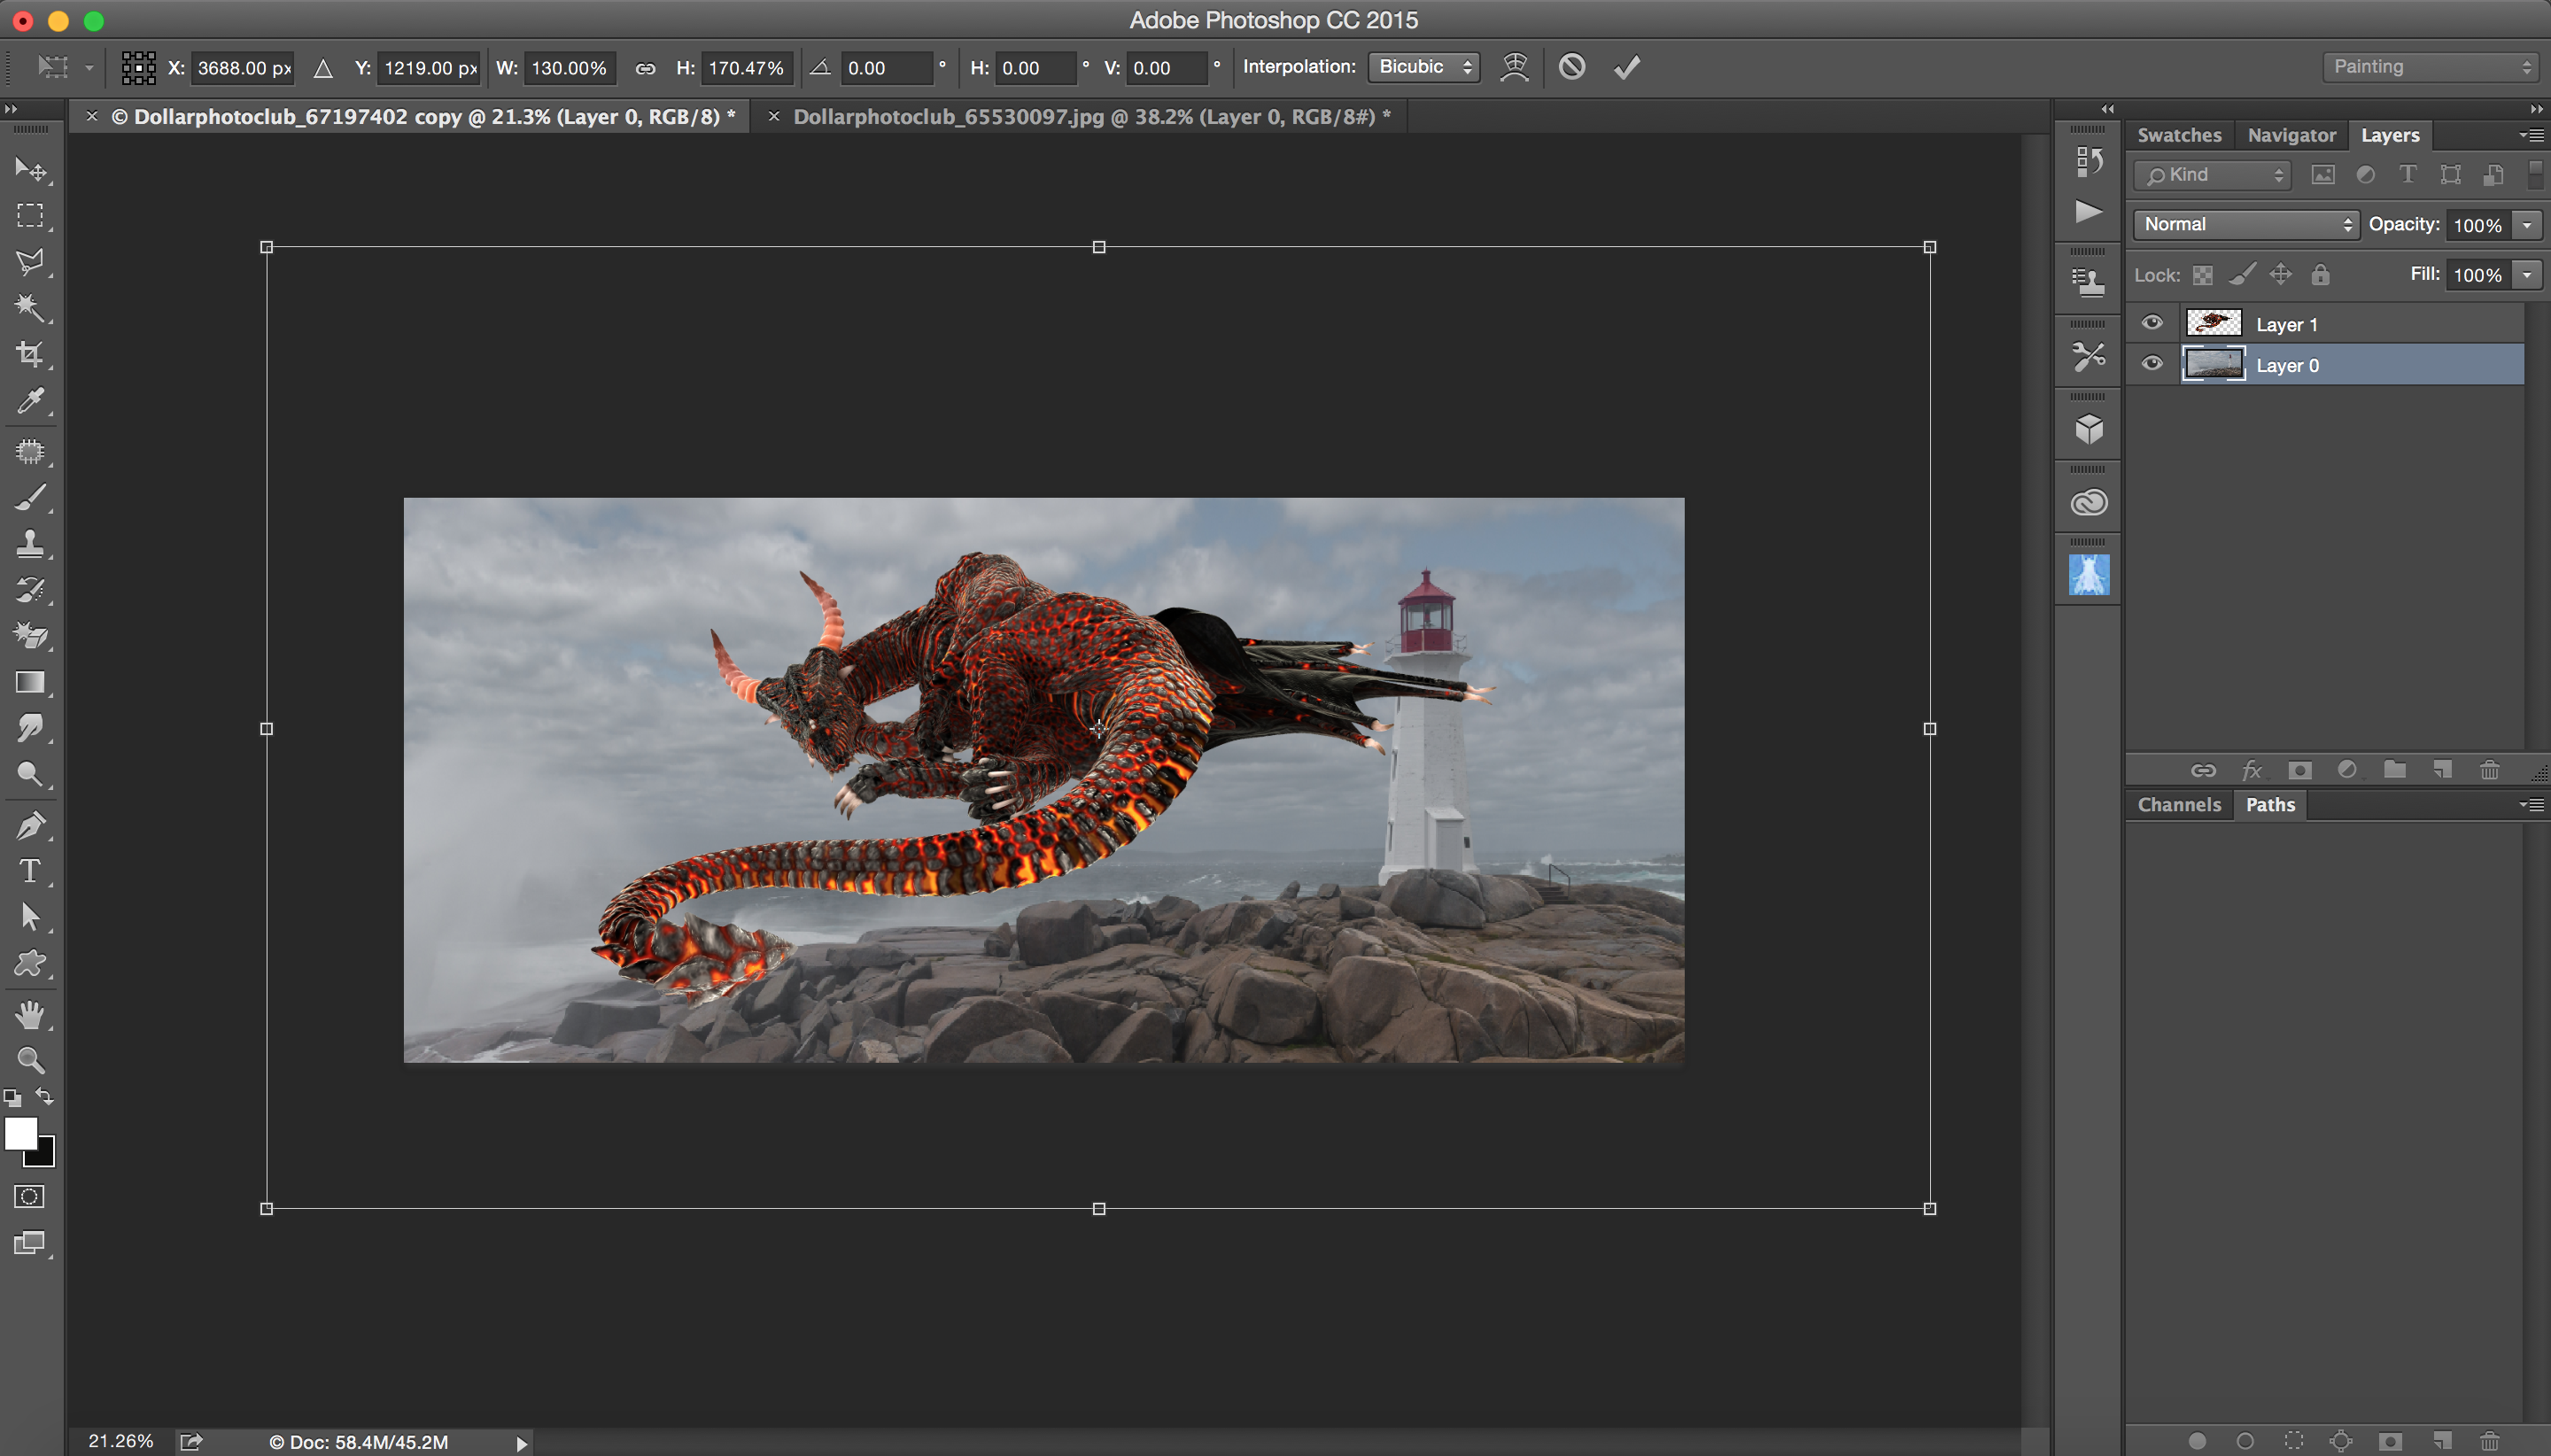
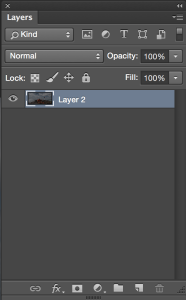
5: Select > All > Edit > Copy
Return to your background image > Edit > Paste

6: Highlight the background layer > Click on the lock icon to unlock the layer > Edit > Free Transform > Resize your background layer

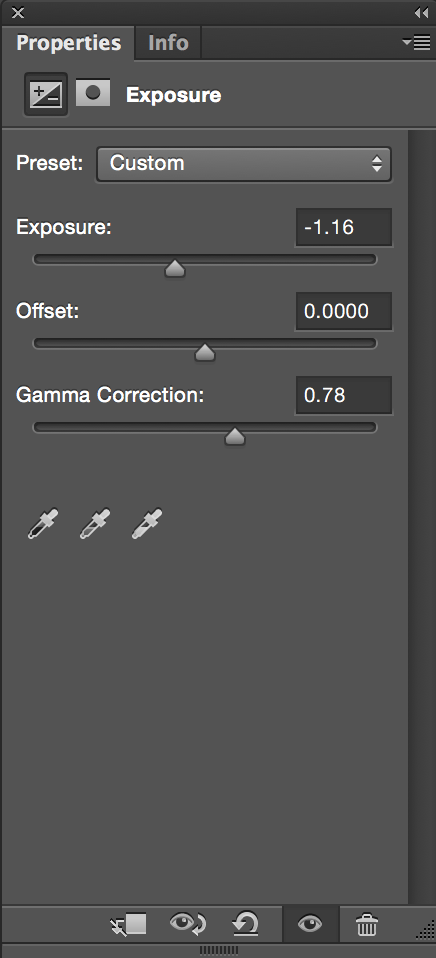
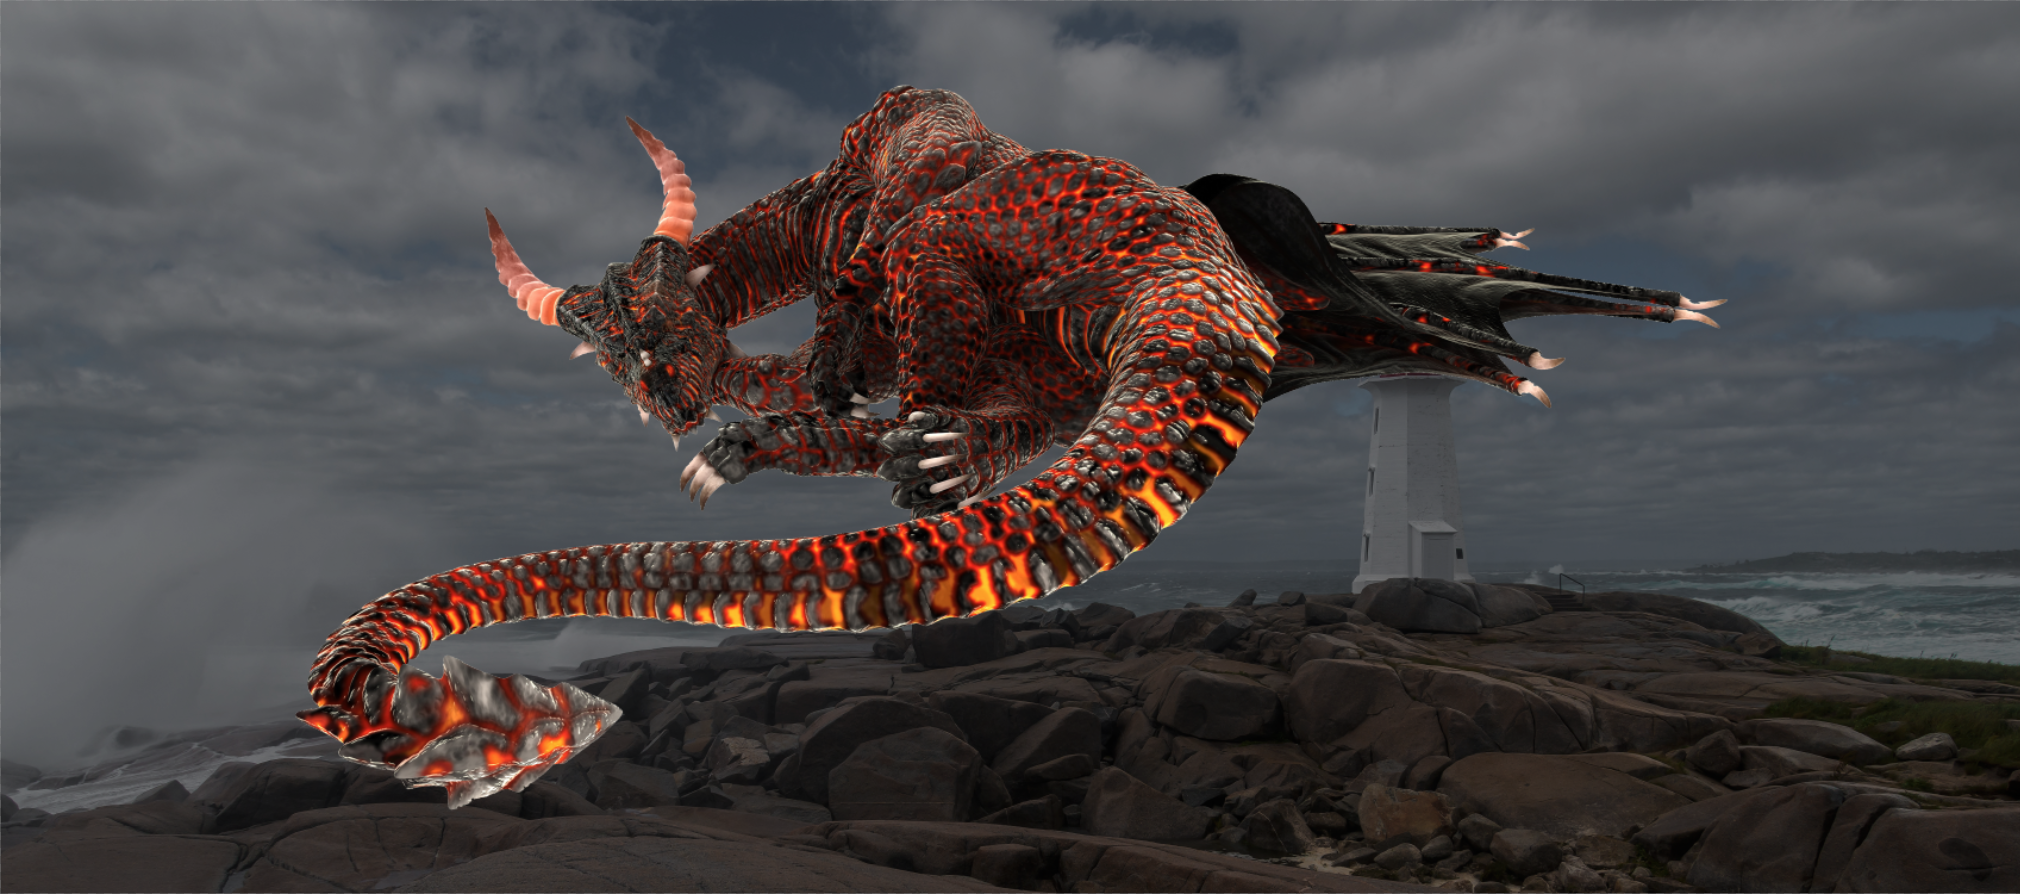
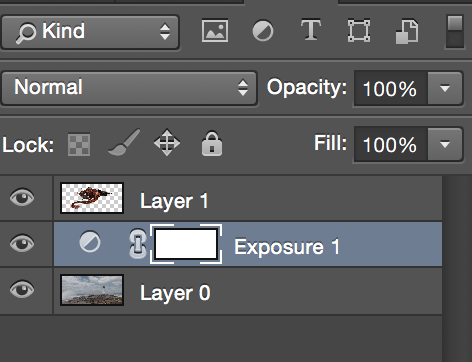
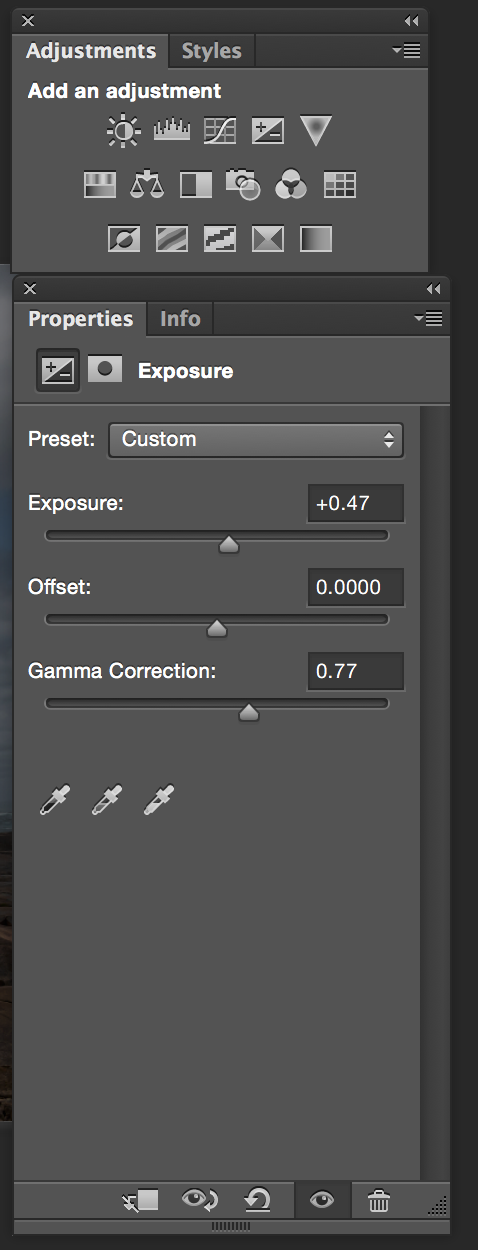
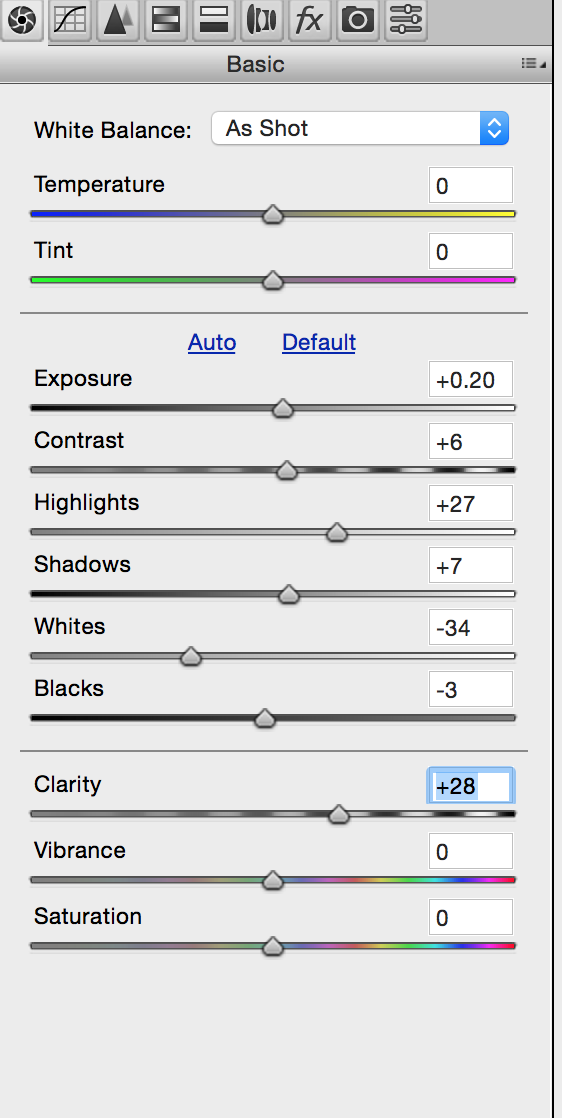
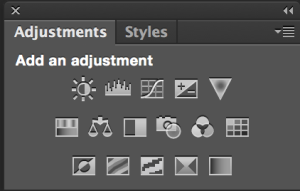
7: Adjustments > Exposure


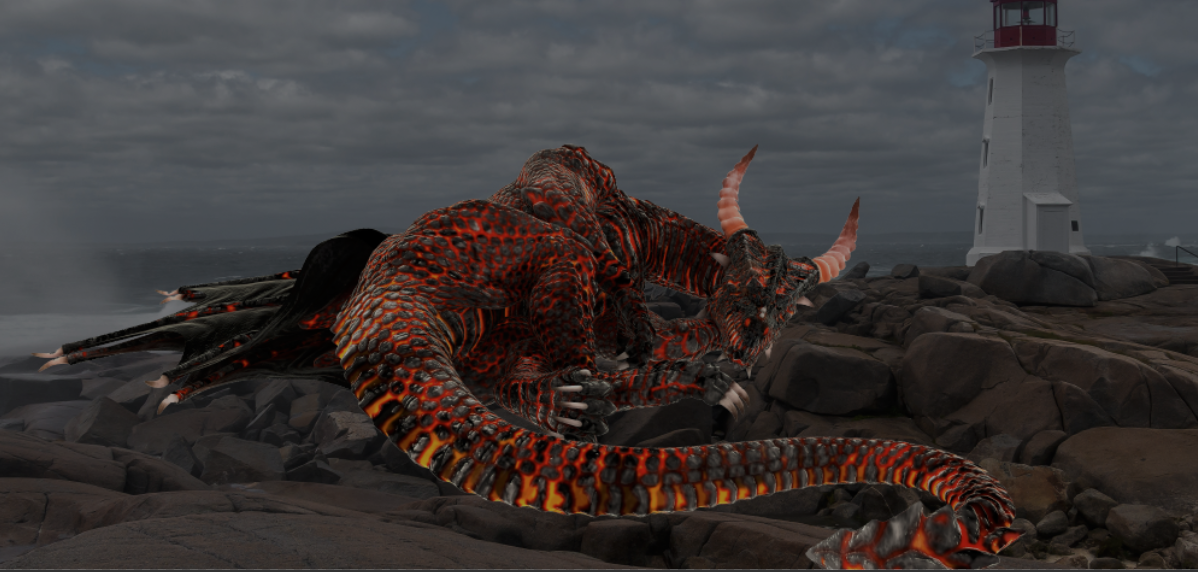
8: Highlight the Dragon Layer > Edit > Free Transform > Resize and change position of your Dragon

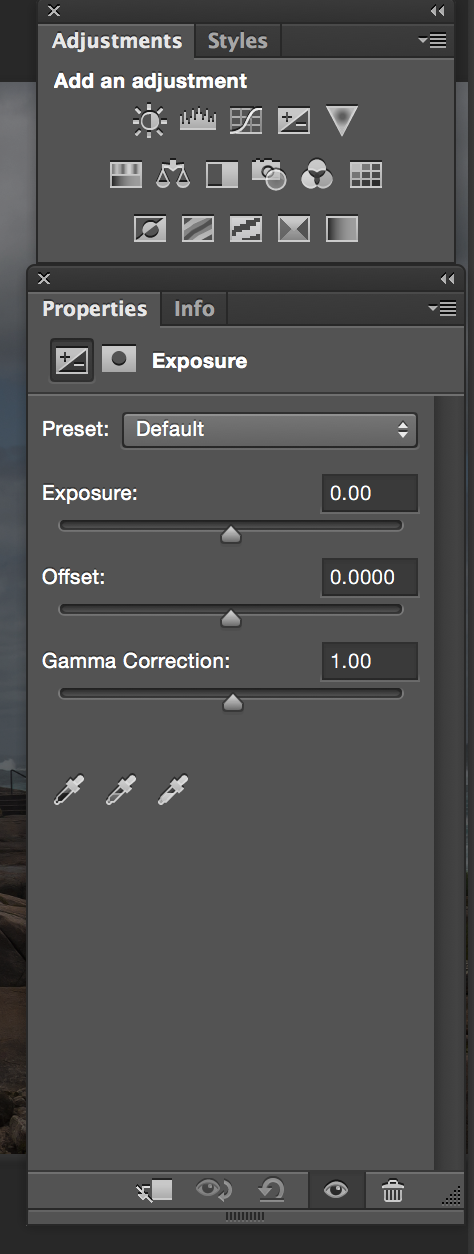
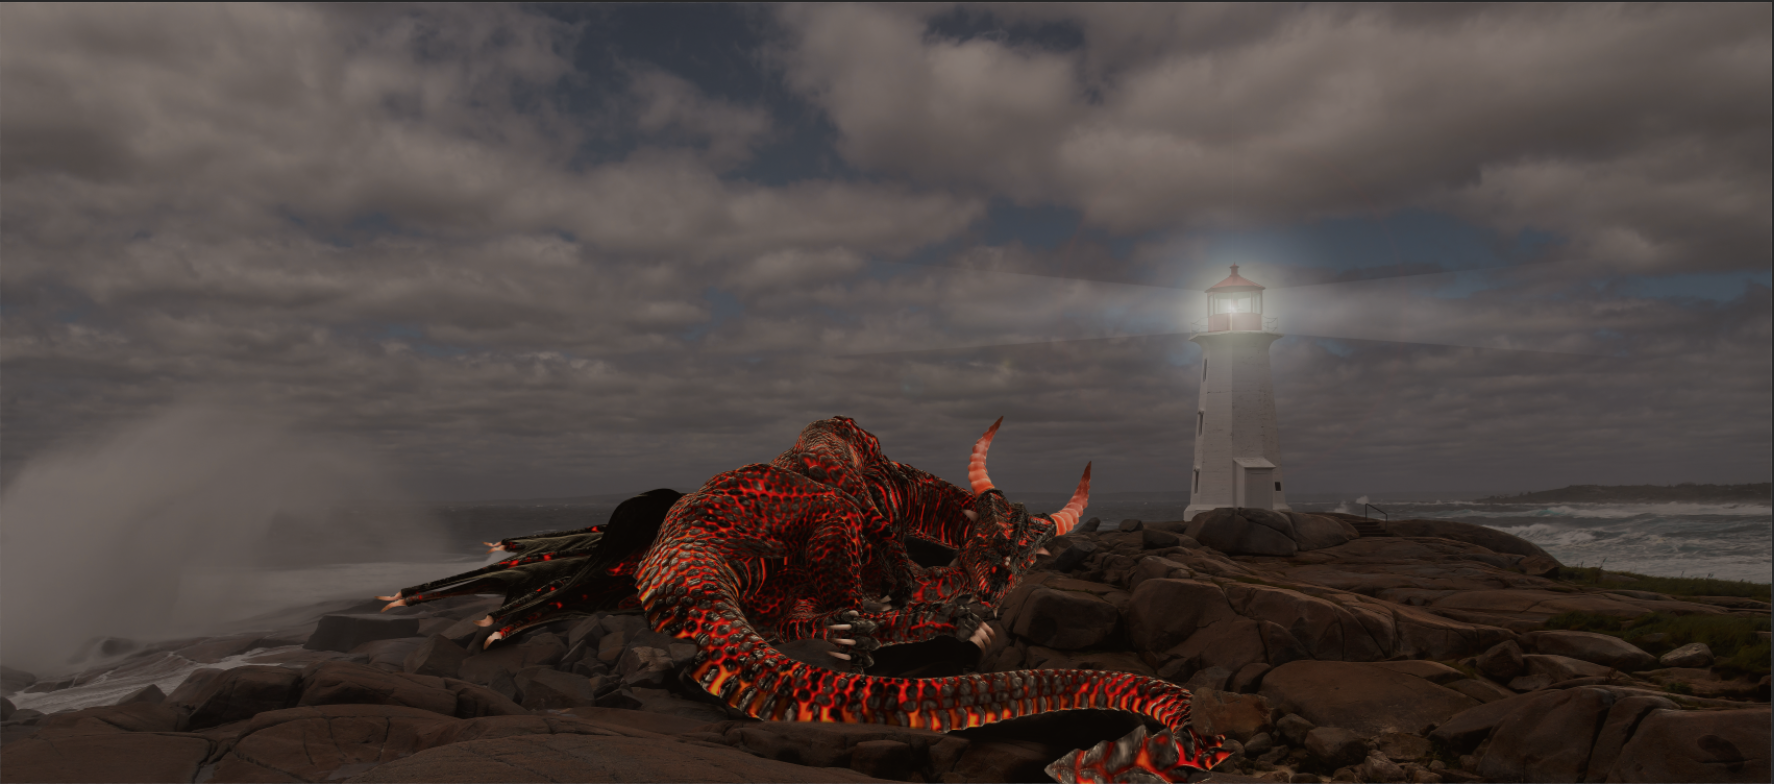
9: Adjustments > Exposure > Click on Clip to Layer to affect only the layers below ( your Dragon Layer)

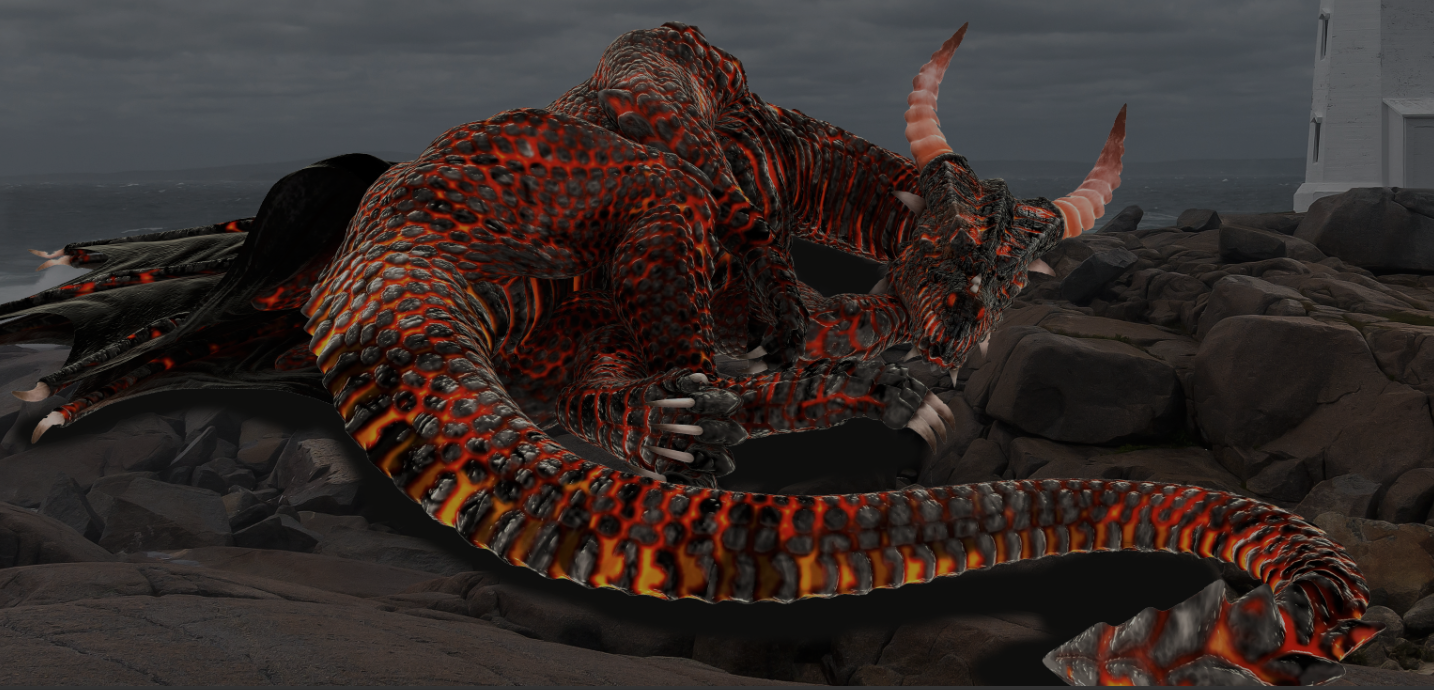
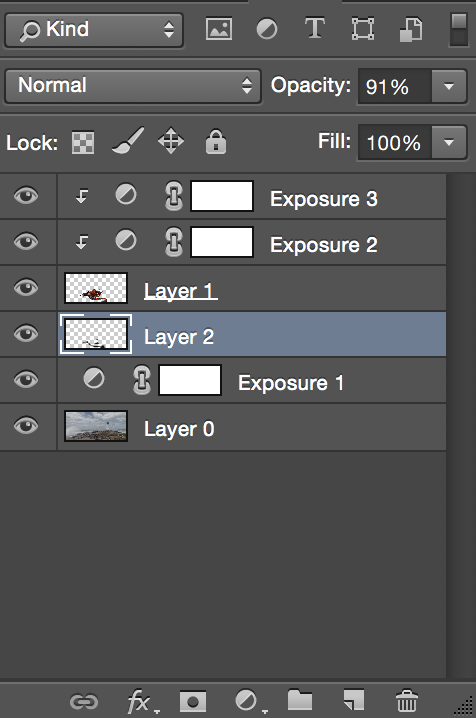
10: Click on your Dragon Layer > Dodge Tool > Highlight some parts of the Dragon’s skin
11: Add empty layer bellow the Dragon’s Layer
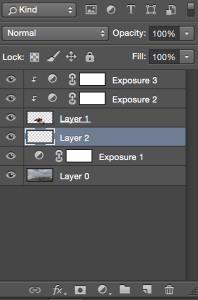
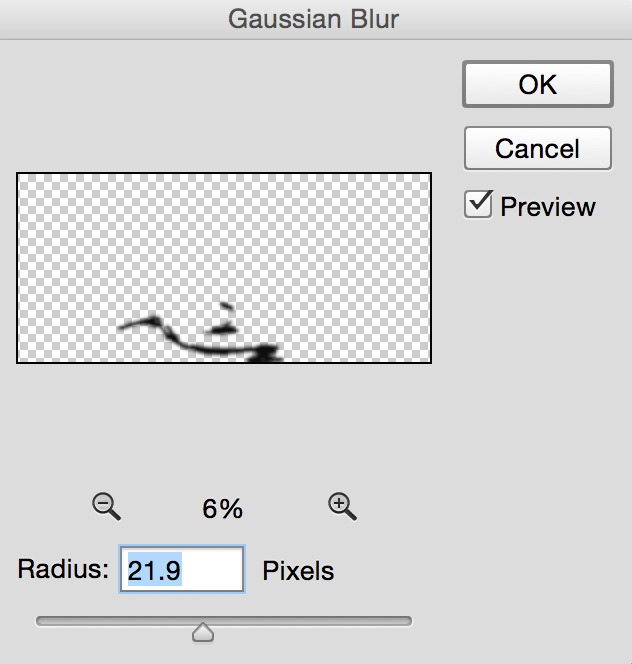
12: Using the brush tool with black color paint the area under the Dragon to apply shadow

13: Filter > Blur > Gaussian Blur > Set the Layer Opacity = 91%


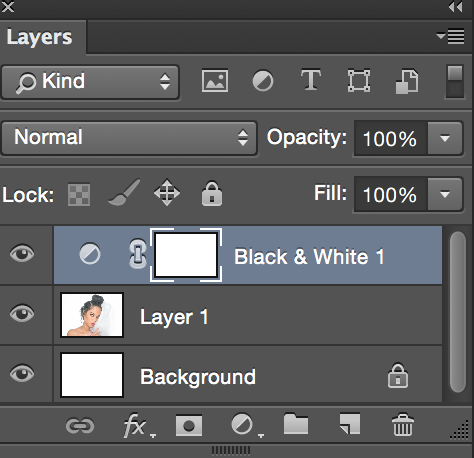
14: Highlight the Dragon Layer > Right Click > Convert to Smart Object > Merge Down > Add Layer Mask > Erase some parts of your Dragon to apply more realistic effect
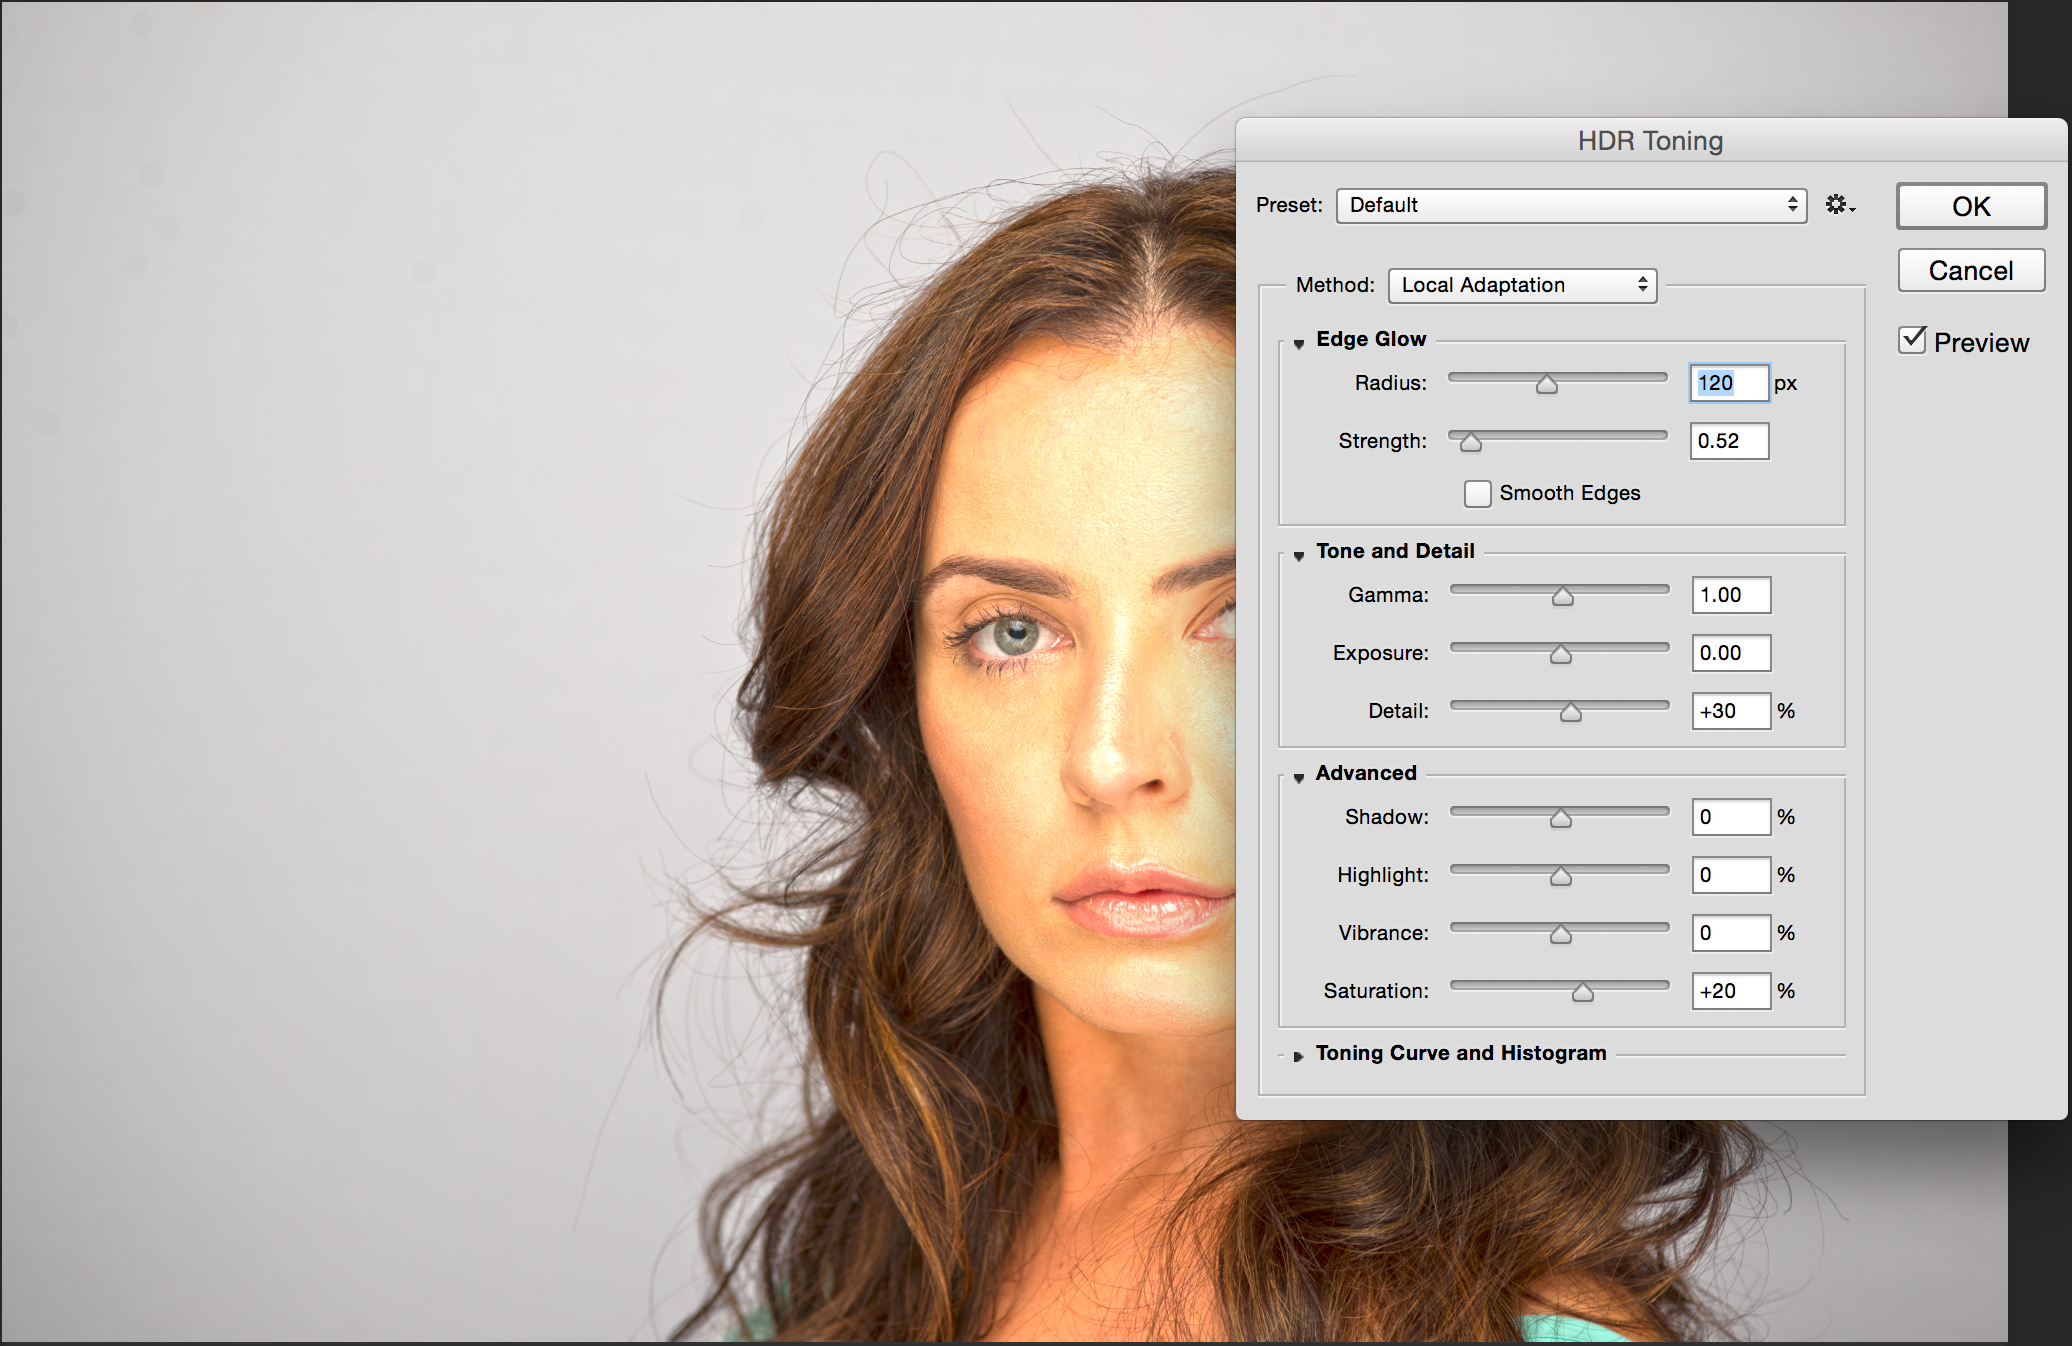
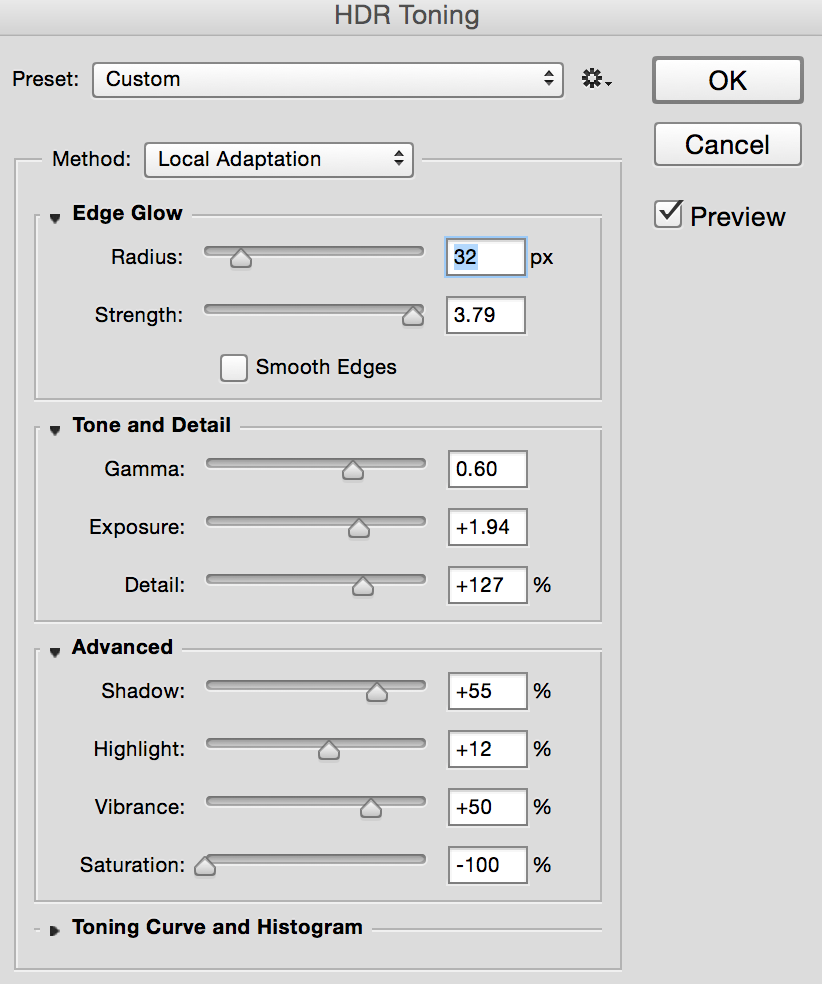
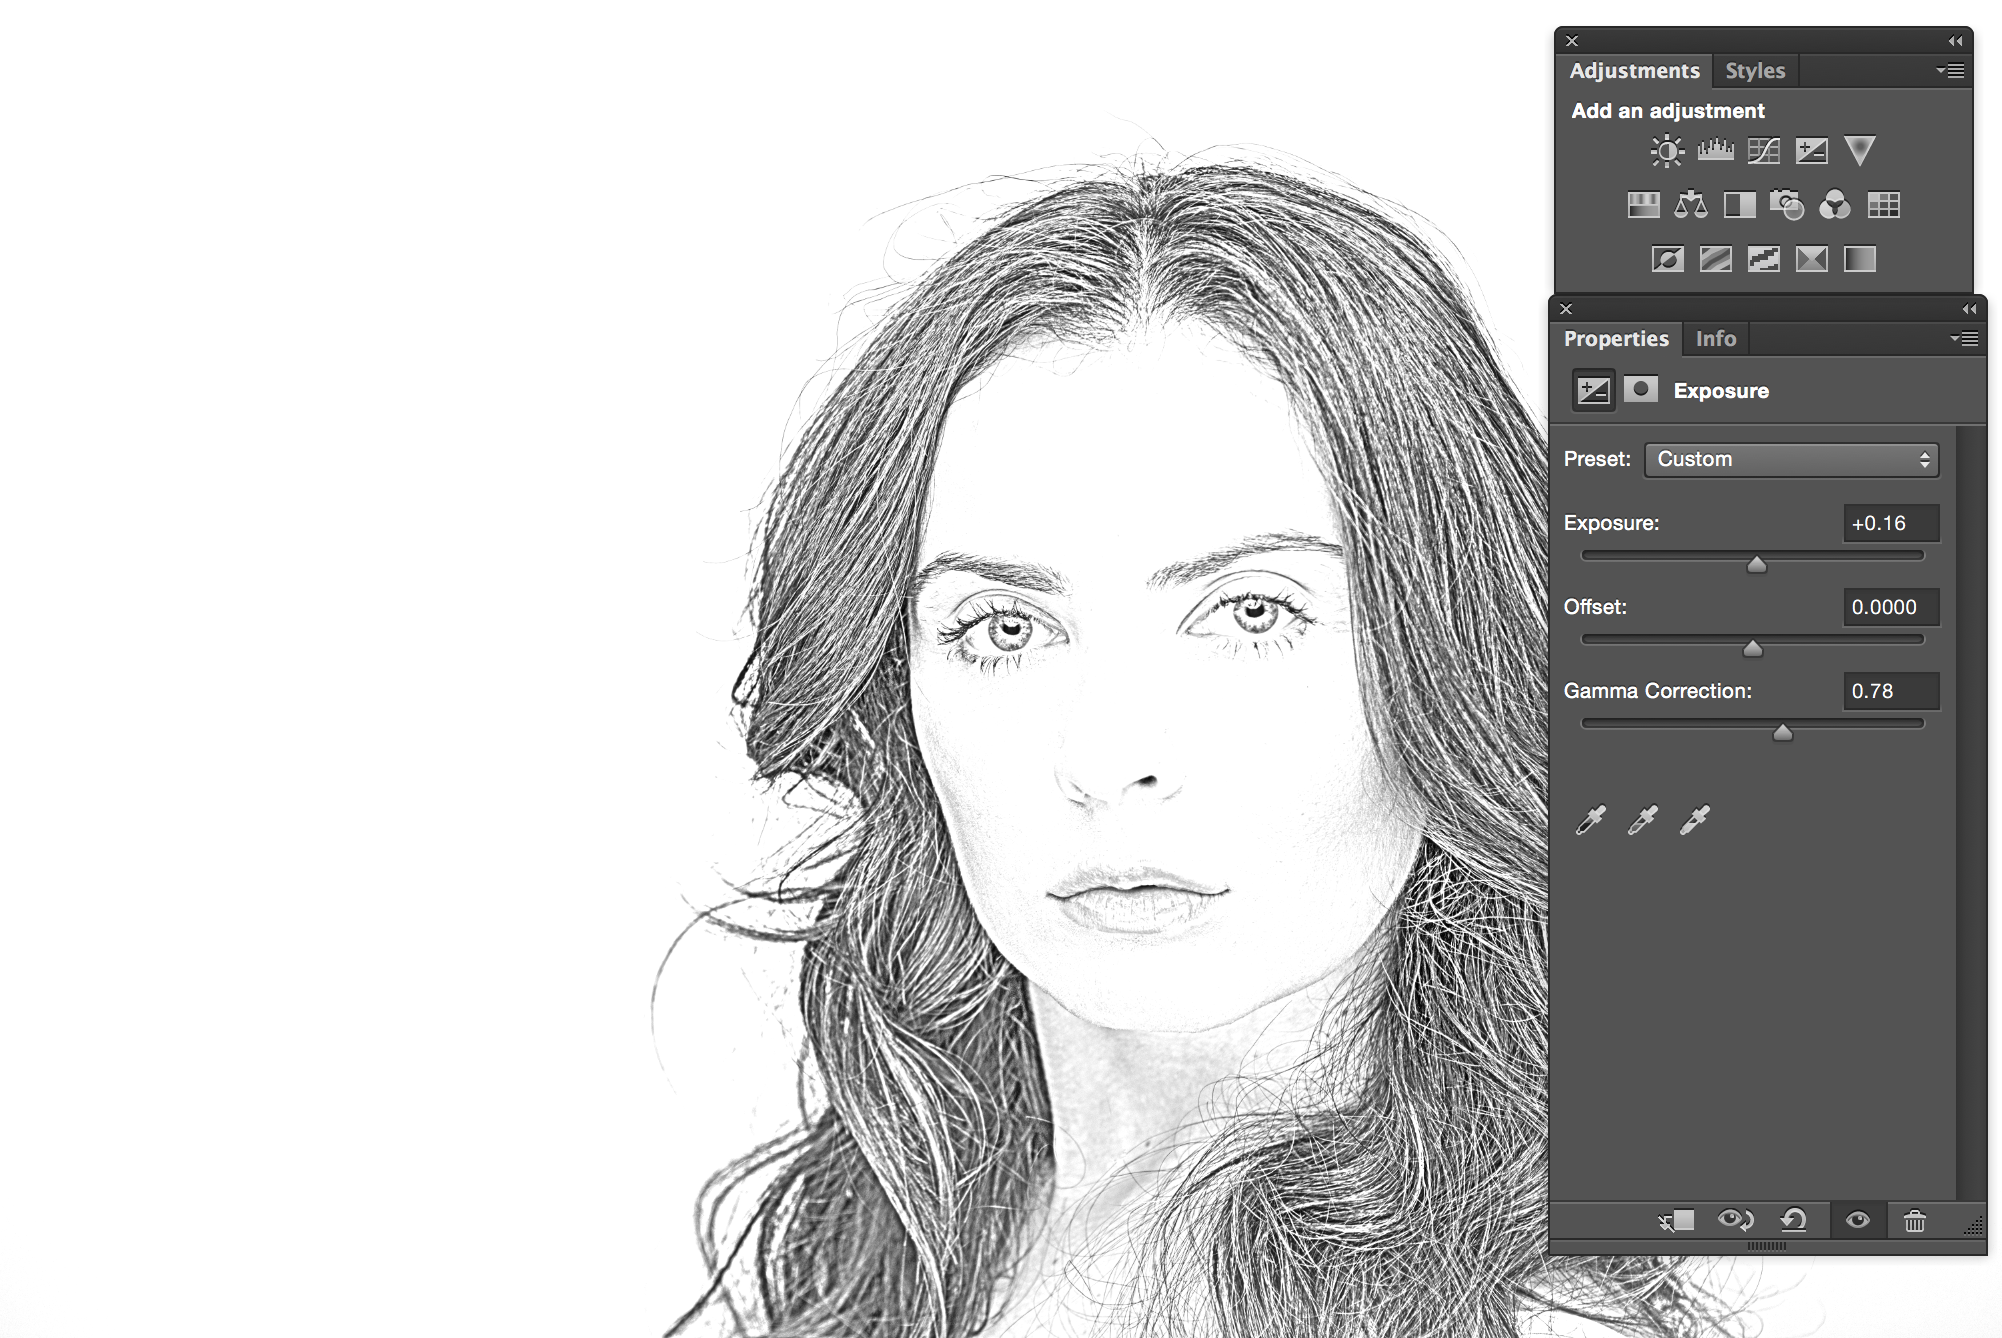
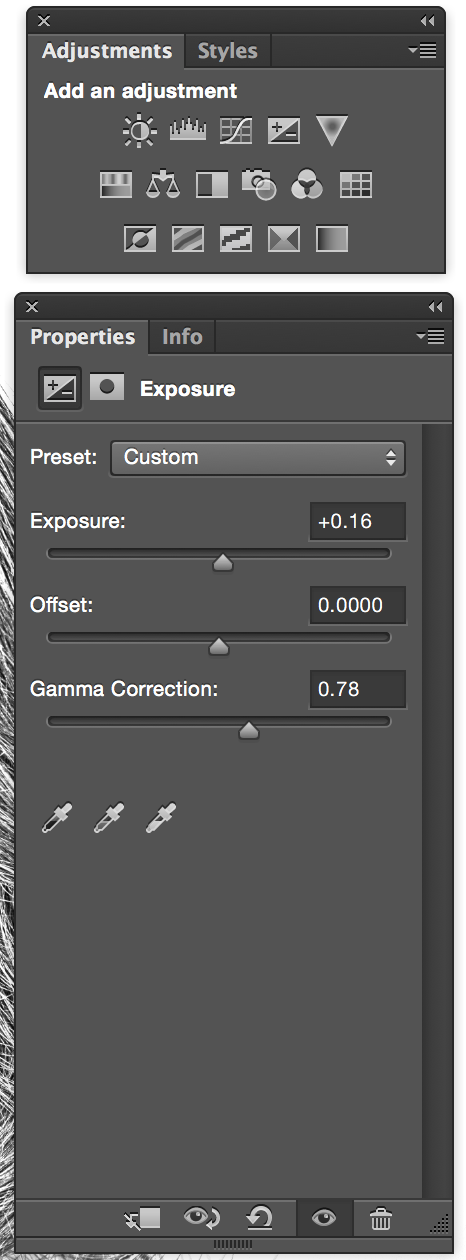
15: Layer > Merge Visible
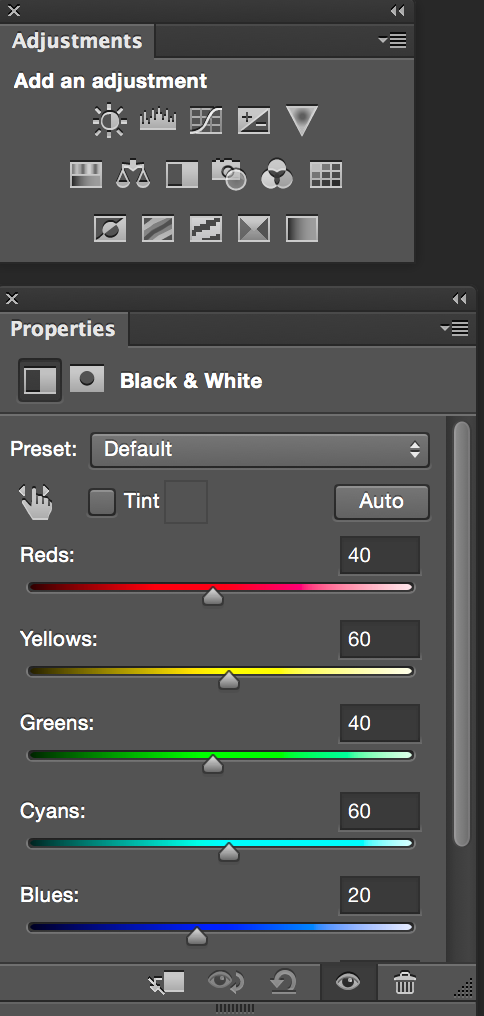
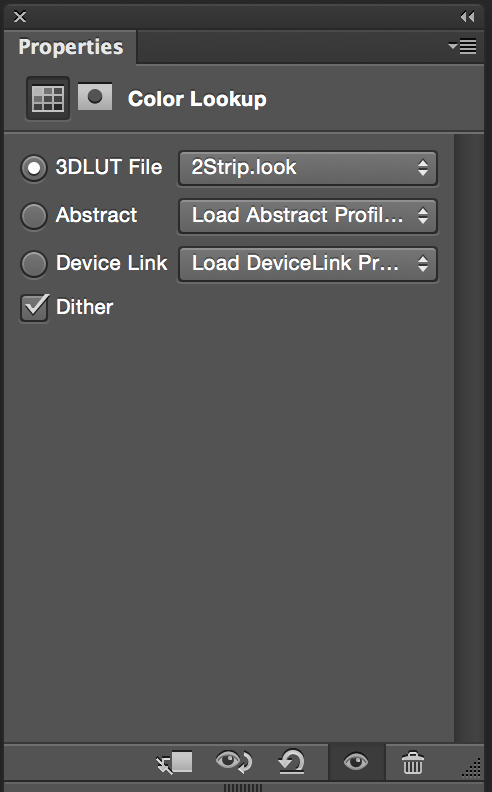
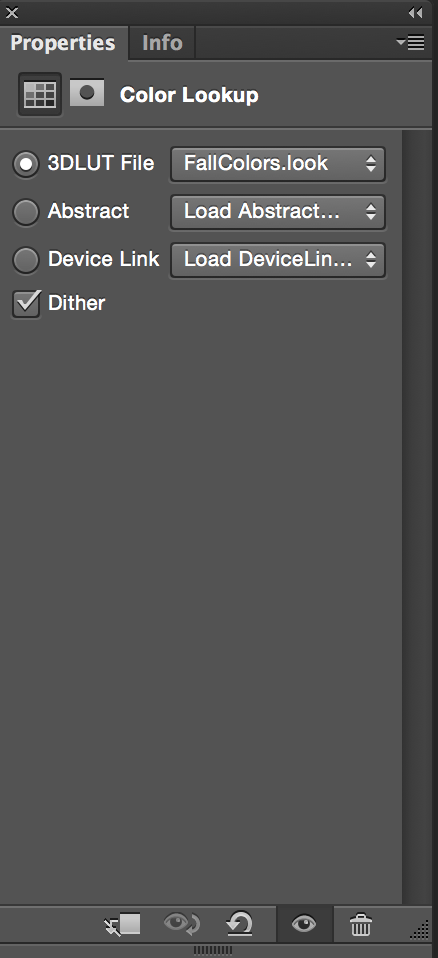
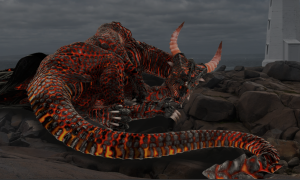
16: Adjustments > Exposure

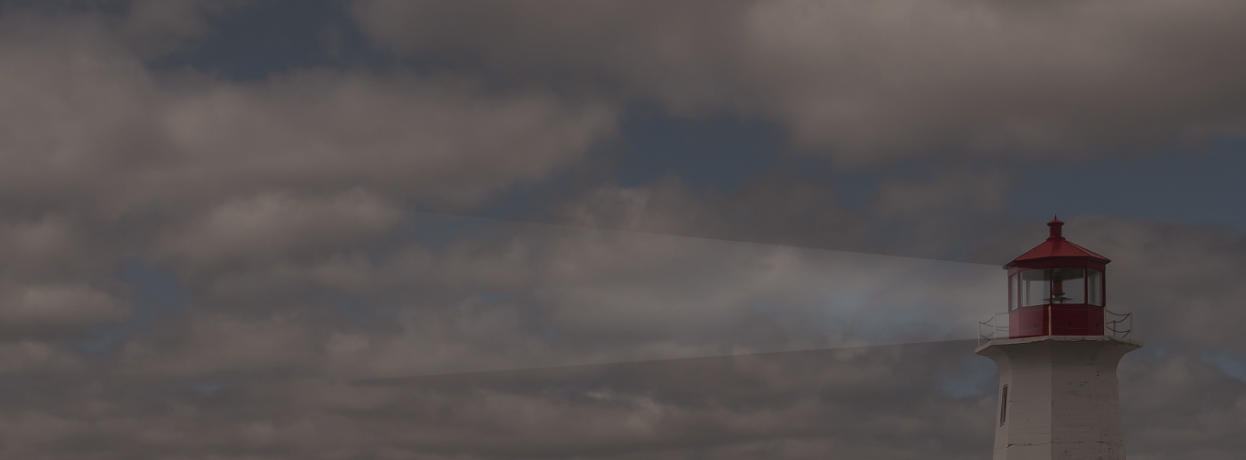
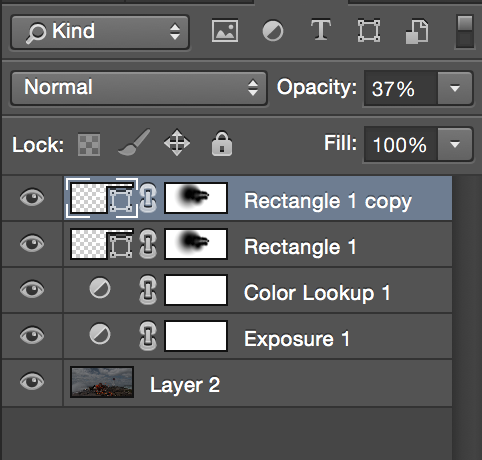
17: Adjustments > Color Lookup > FallColors.Look

18: Create a new Layer > Rectangle Tool with the White color on it

19: Edit > Transform Path > Distort
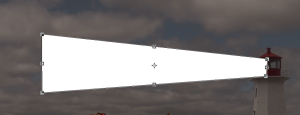
20: Set a Layer opacity = 37%
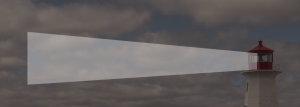
21: Add layer mask > Using Gradient Tool erase ages of your shape


22: Duplicate Restangle 1 Layer

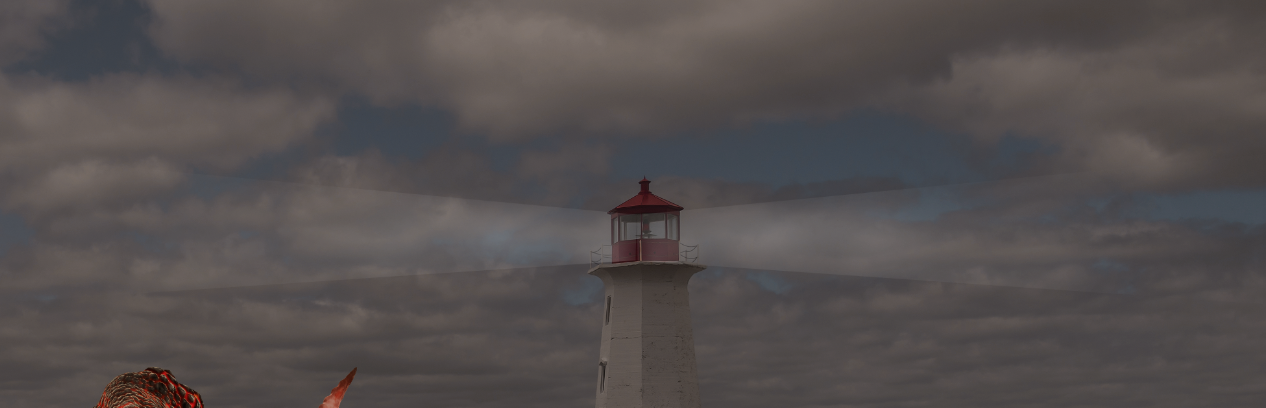
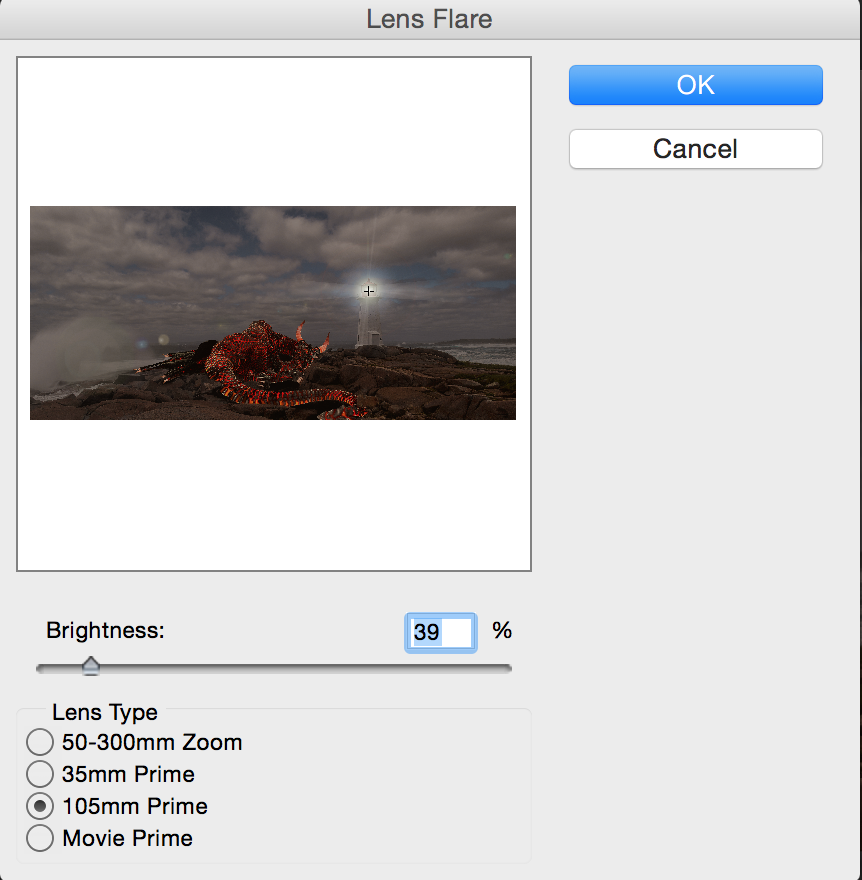
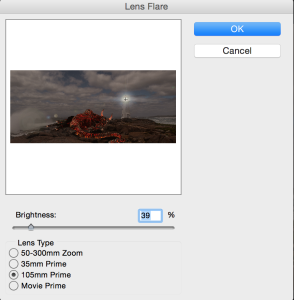
23: Edit > Free Transform

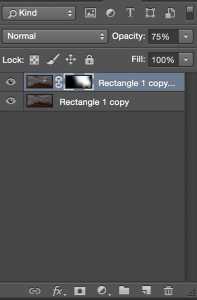
24: Merge Visible Layers > Duplicate your layer > Filter > Render > Lens Flare
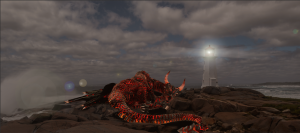
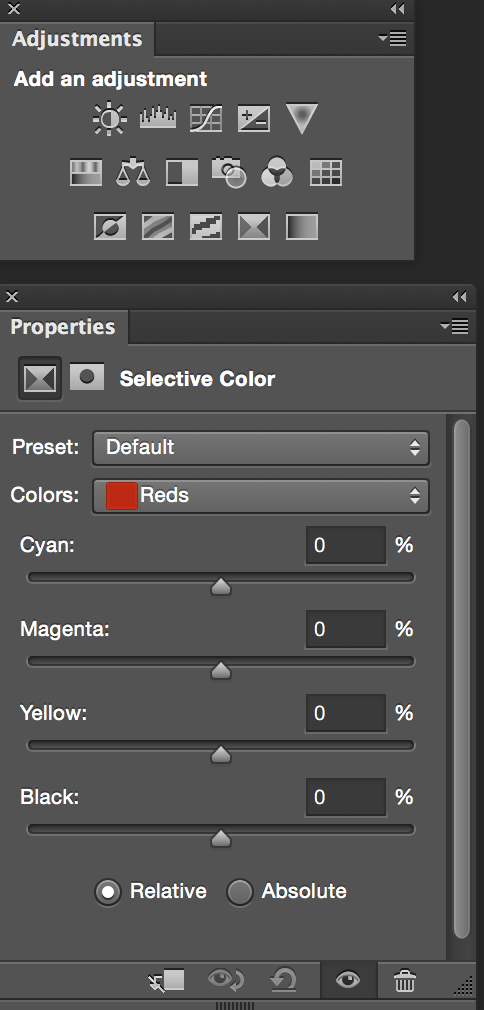
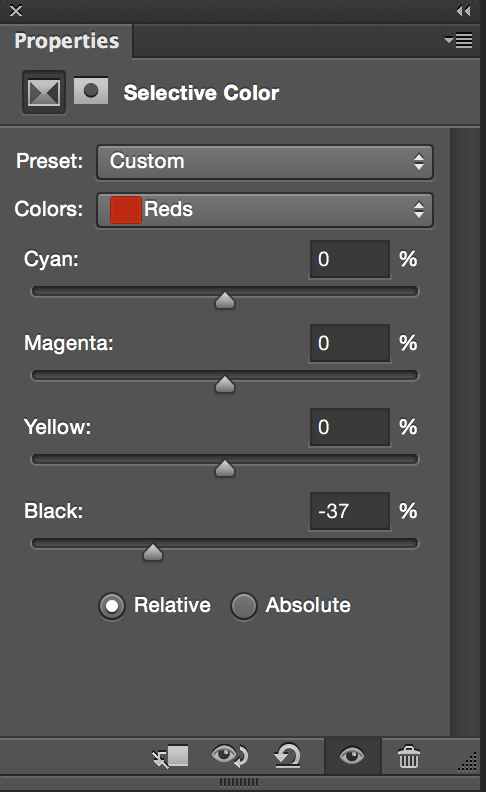
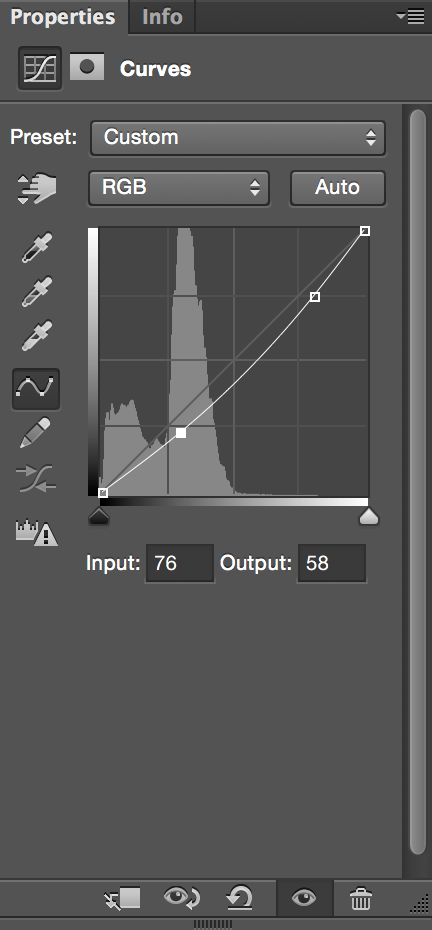
25: Set the top layer opacity = 75% > Add layer mask > Using Gradient Tool erase the lens flare effect from the ages of your layer

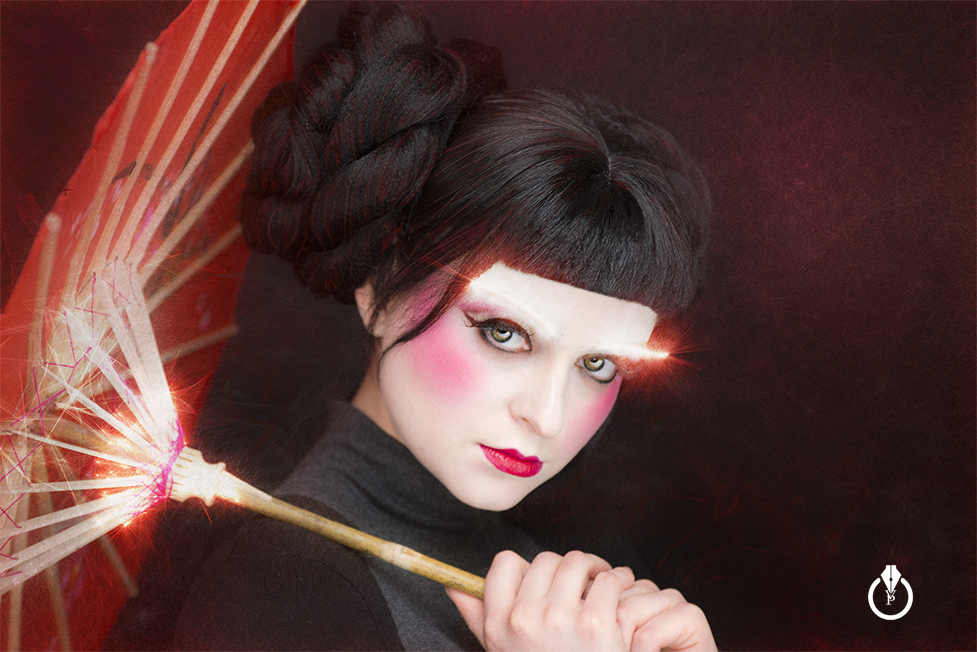
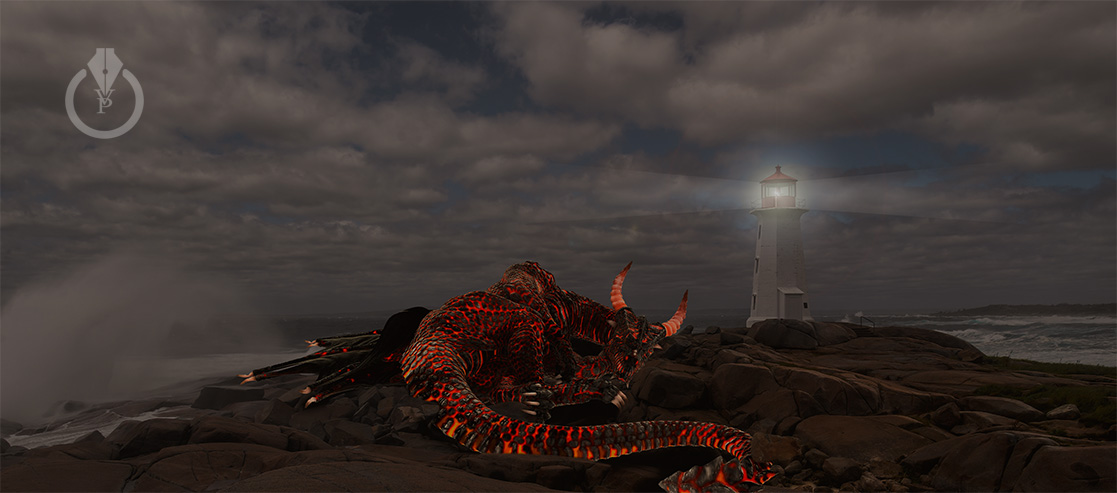
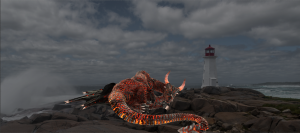
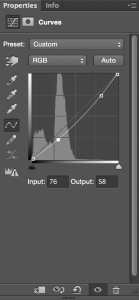
26: Adjustments > Curves
27: Your images is ready