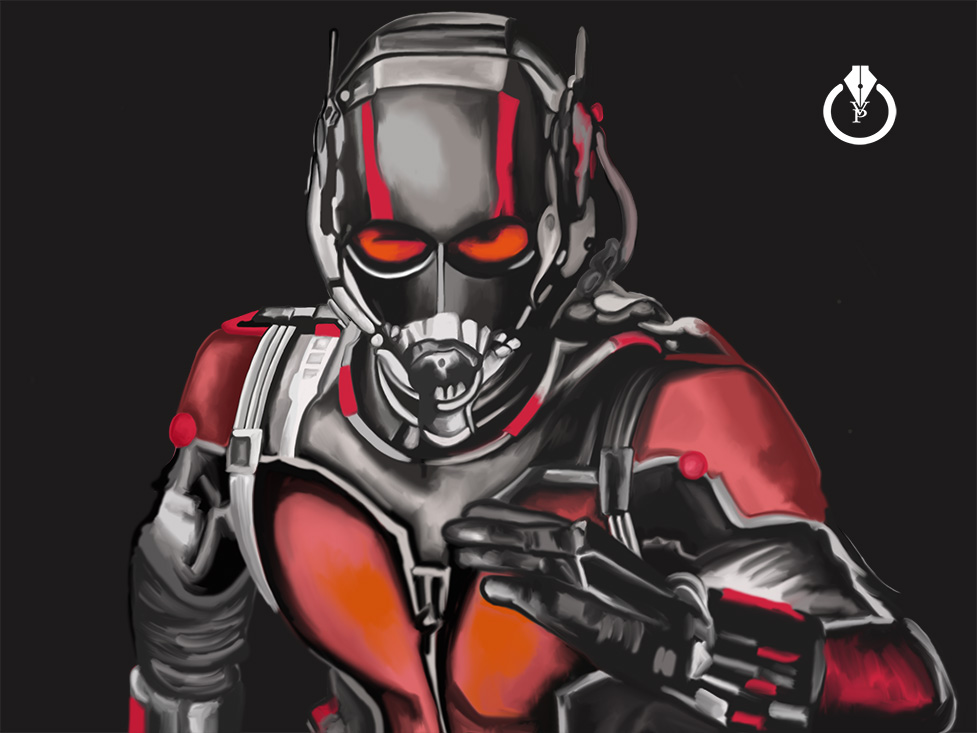
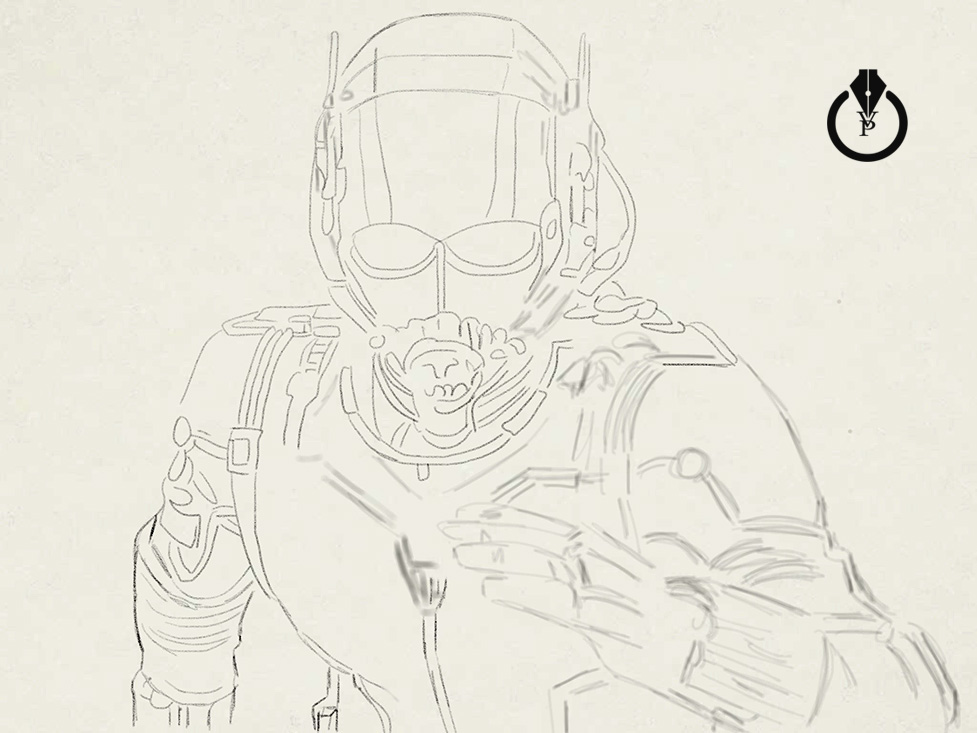
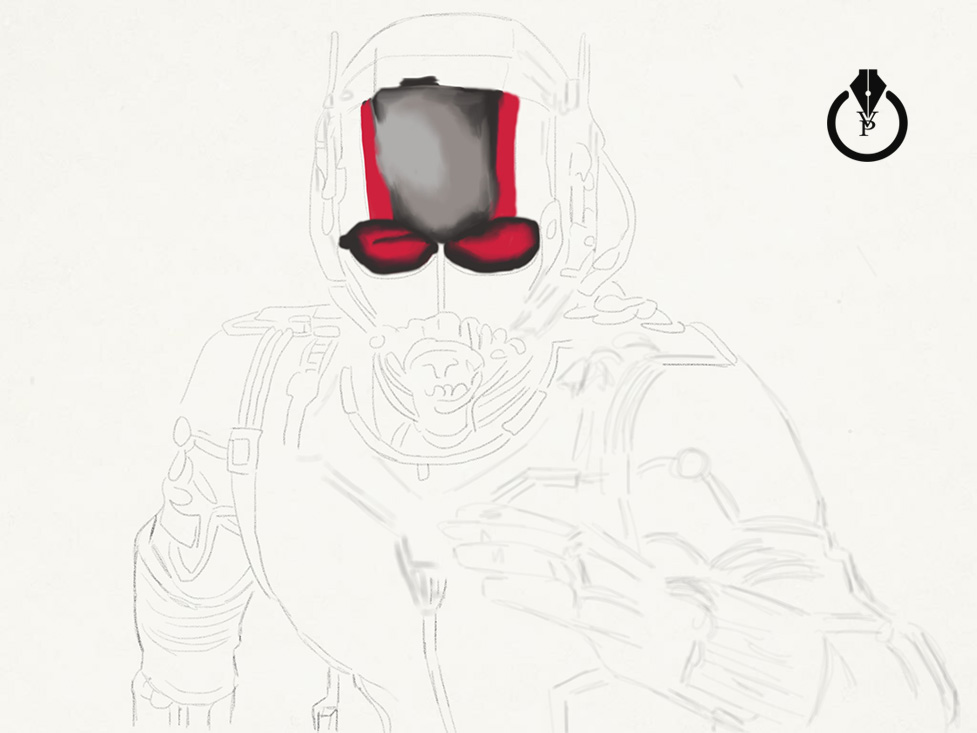
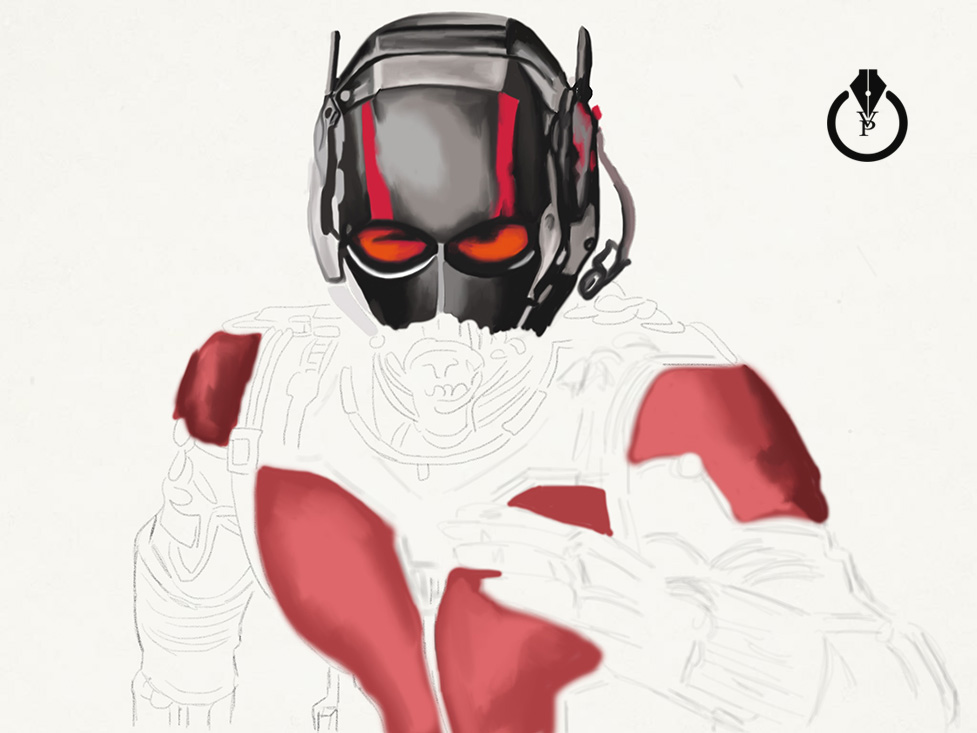
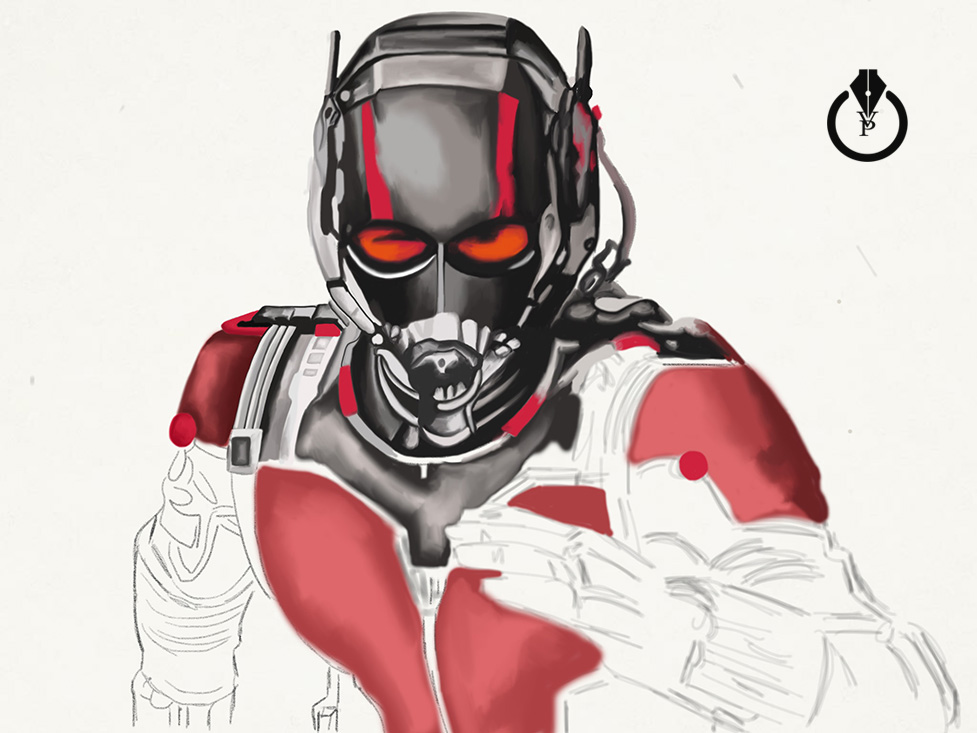
Ant-Man painted with Adobe Sketch, Adobe Ink, Adobe Photoshop and Wacom

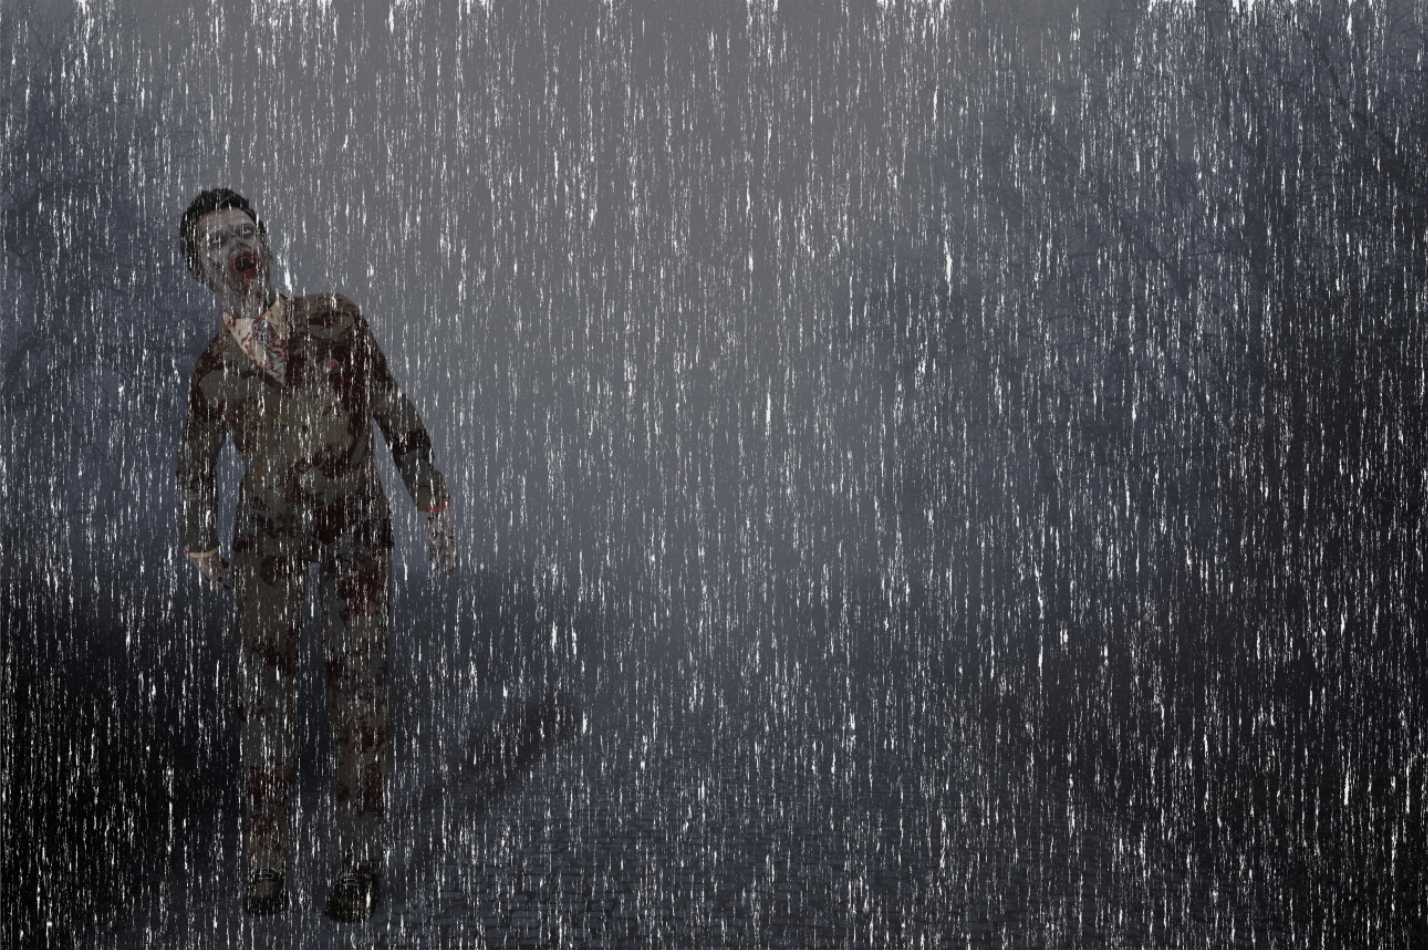
In this tutorial I will show you how to create a Zombie image in Adobe Photoshop
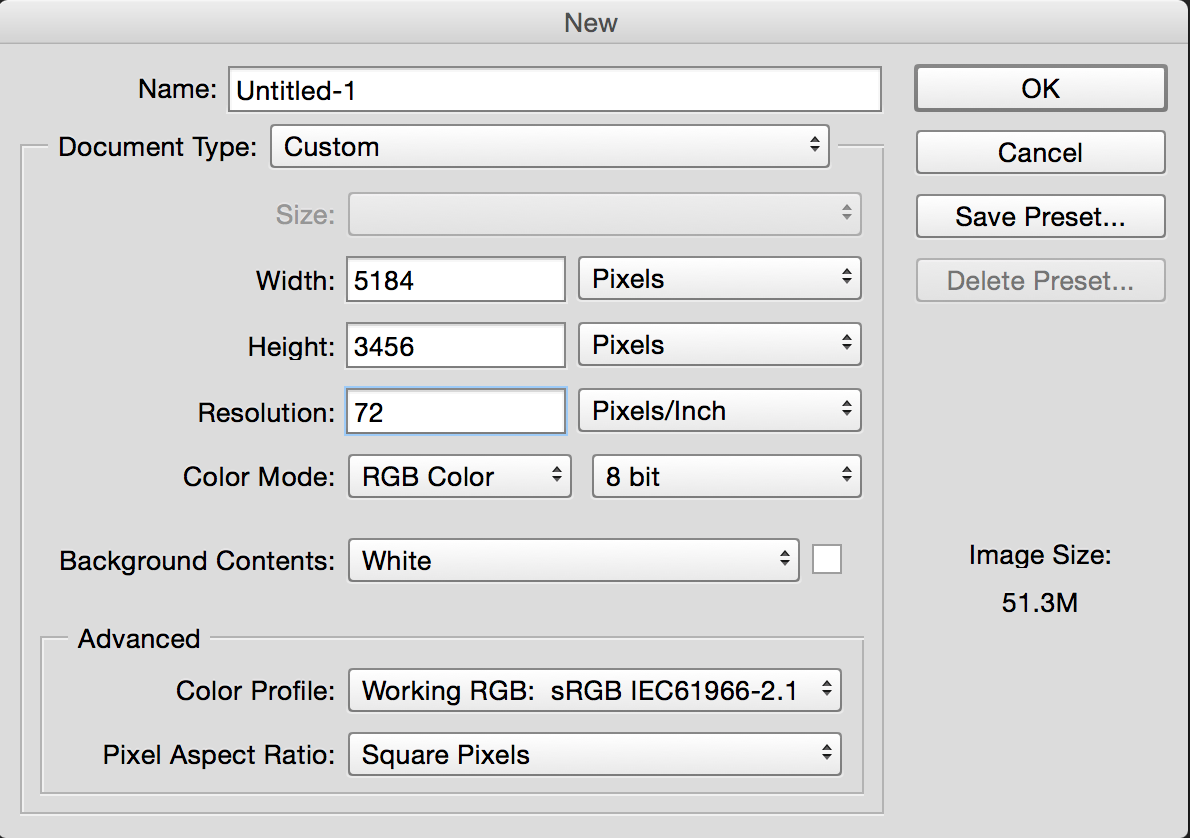
1: Create a new document
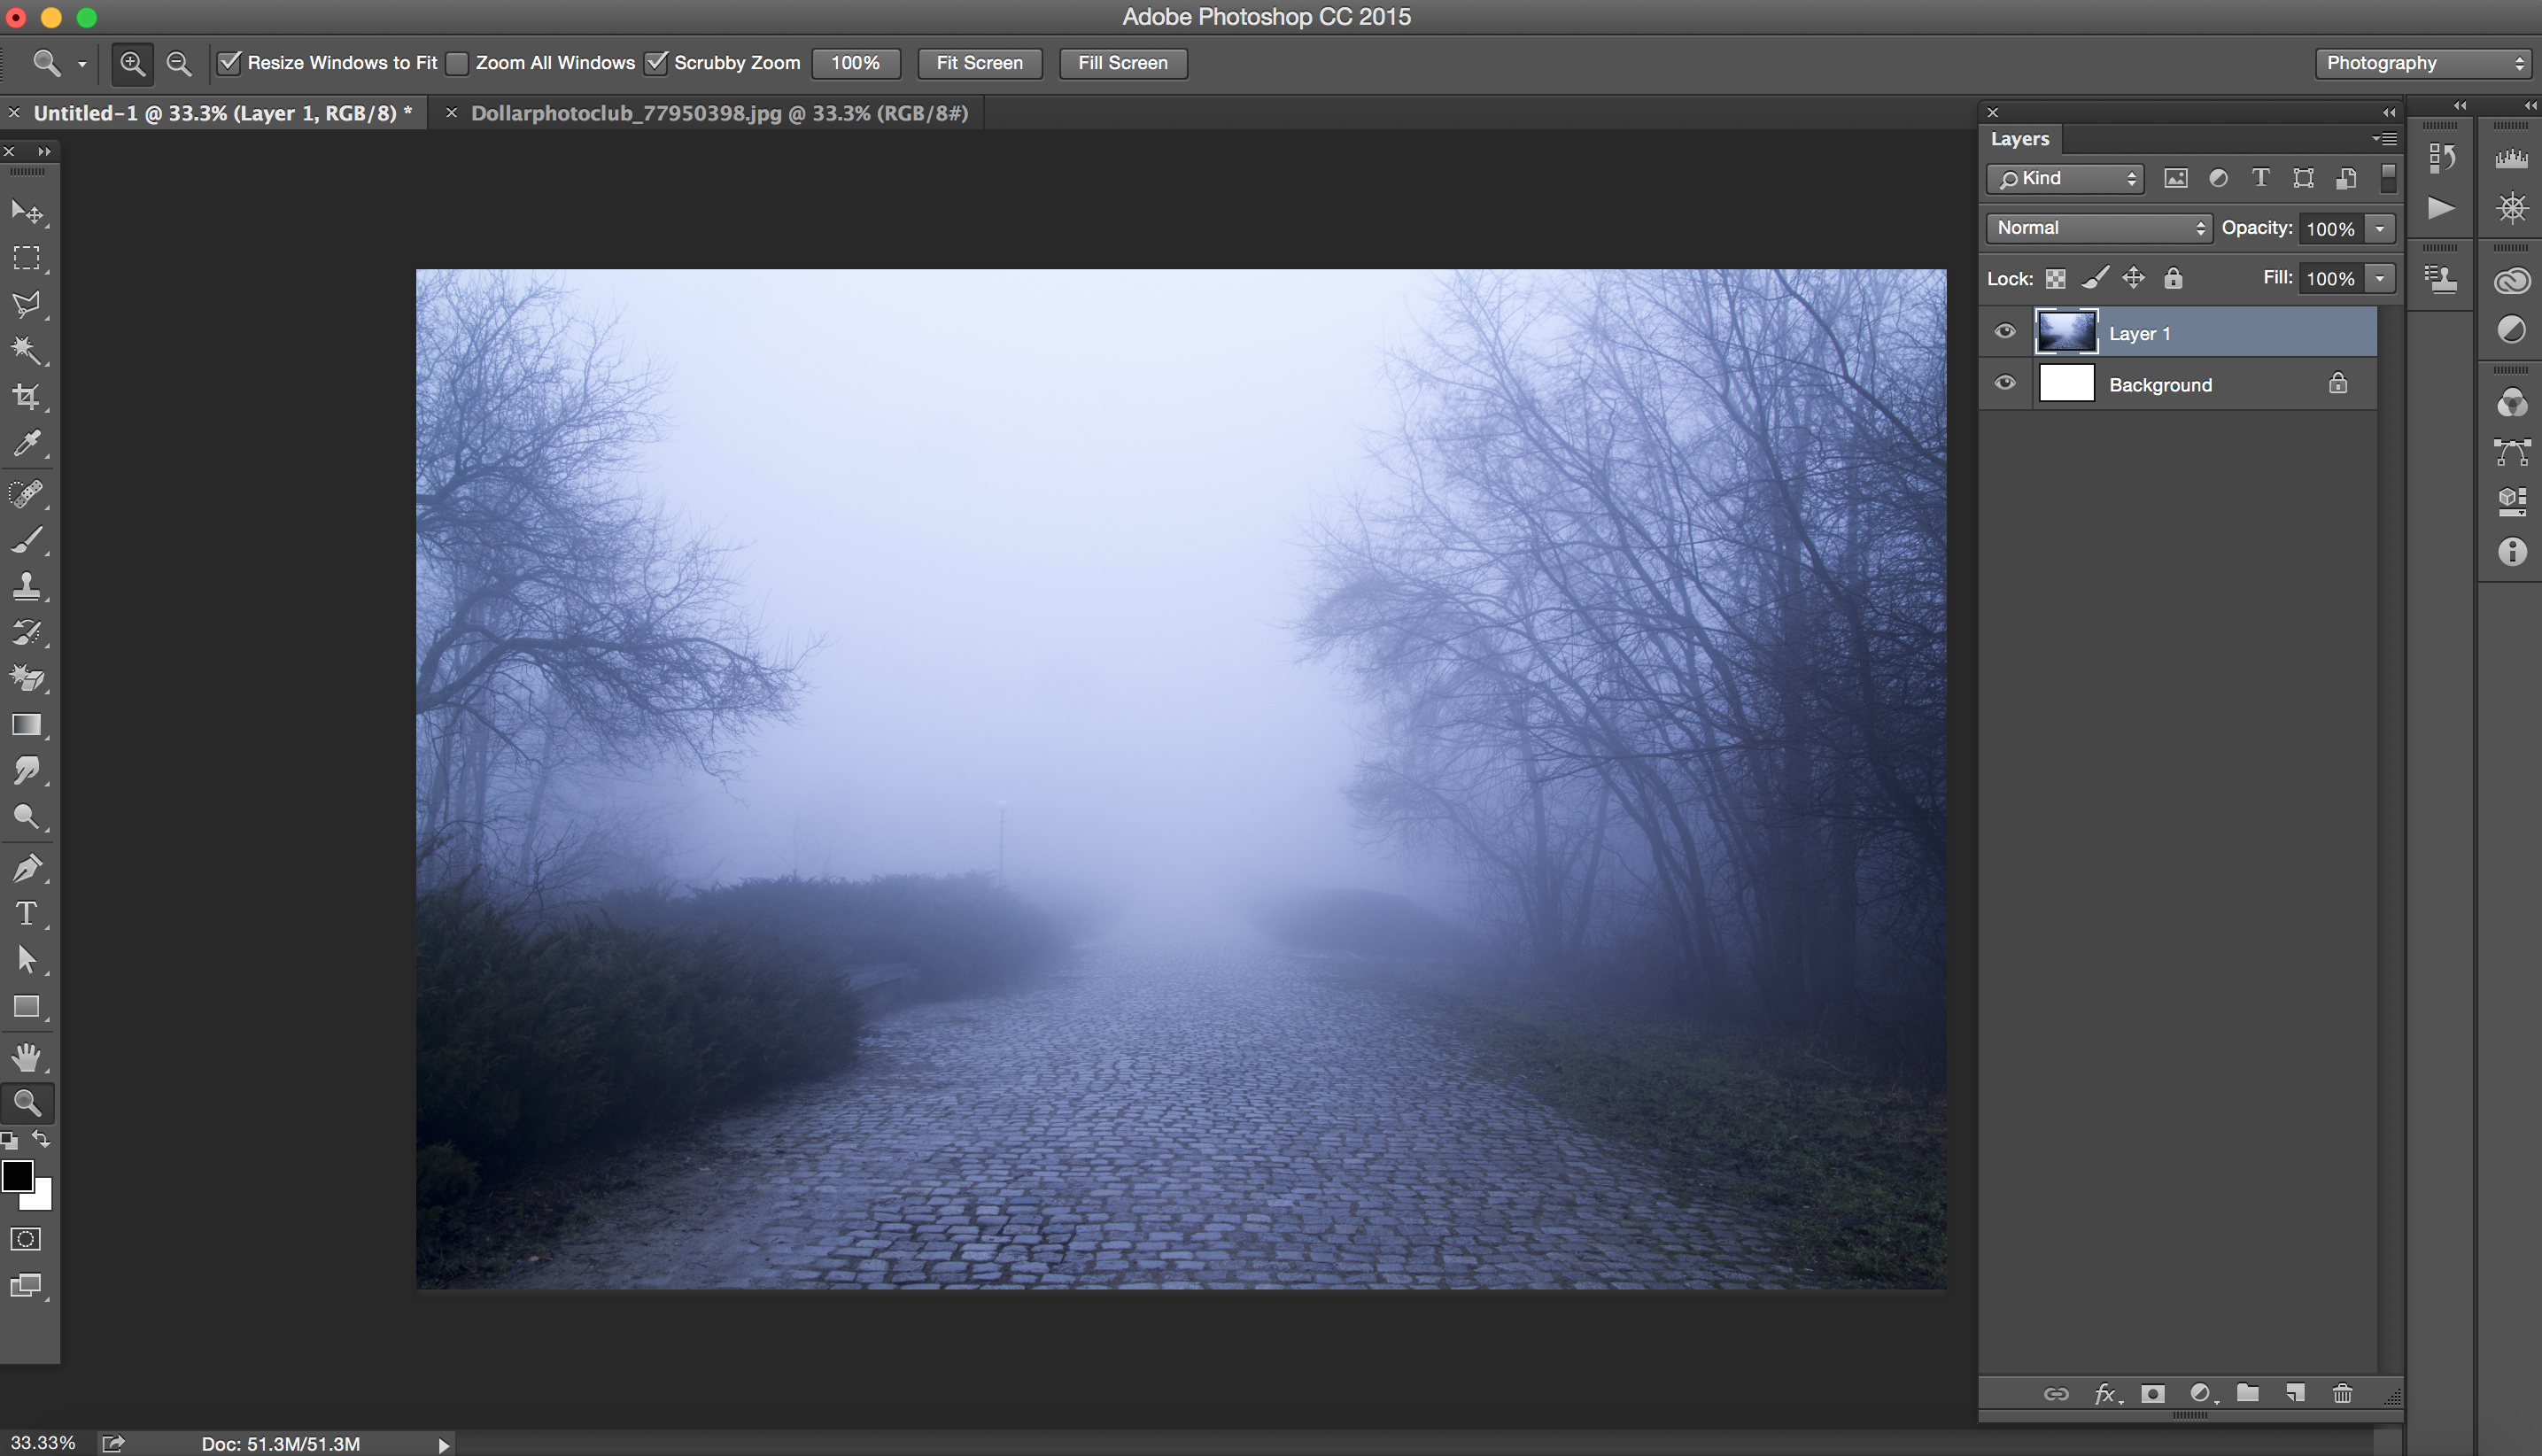
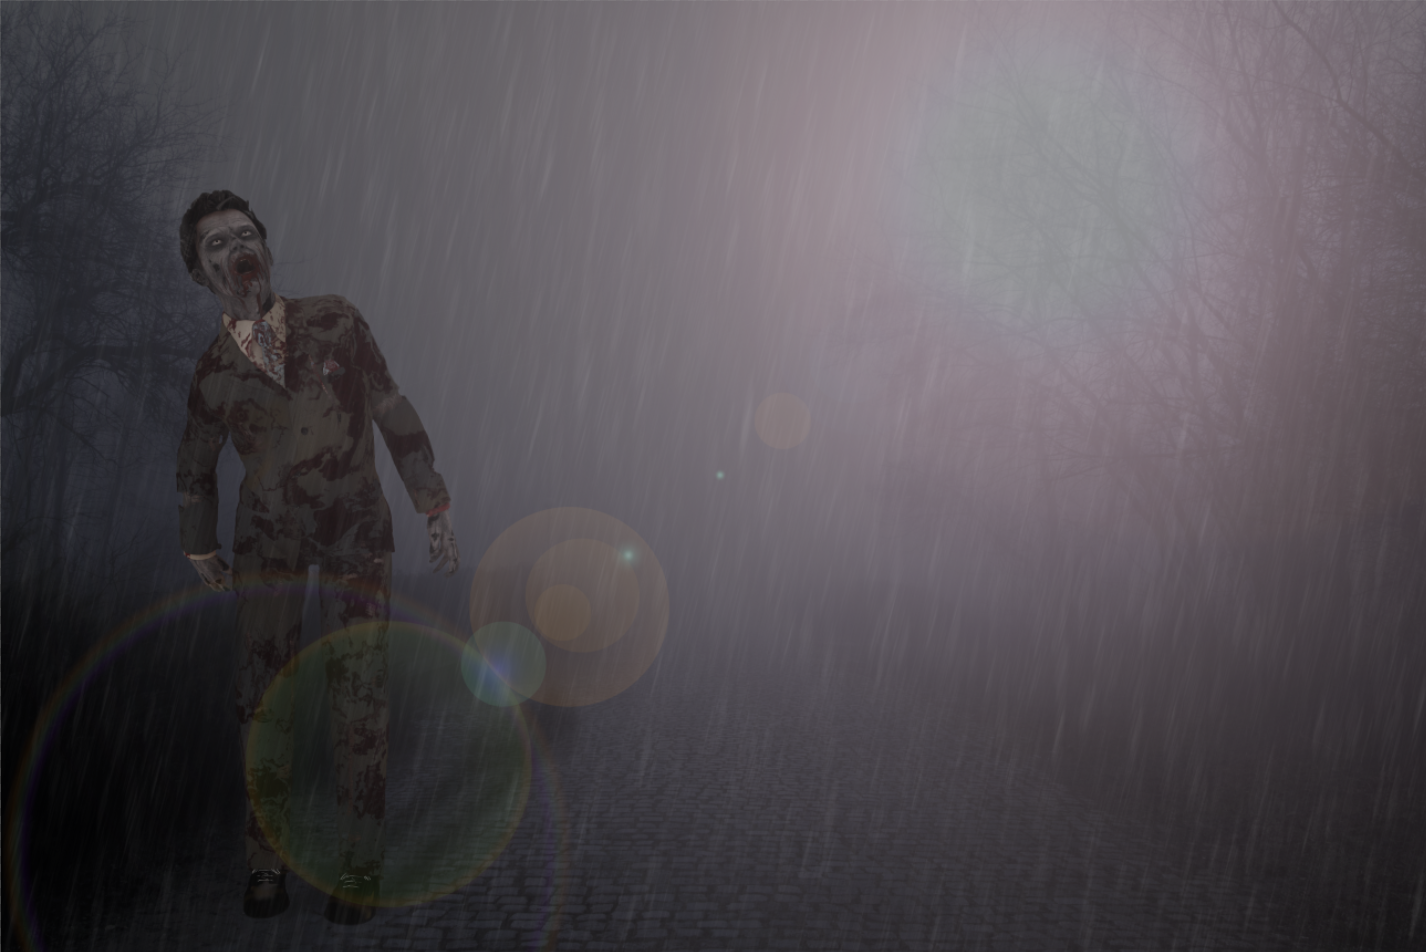
2: Open the image you would like to use as a background image. I am using image I downloaded from Dollar Photo Club.
Select > All > Edit > Copy > Highlight your new document > Edit > Paste
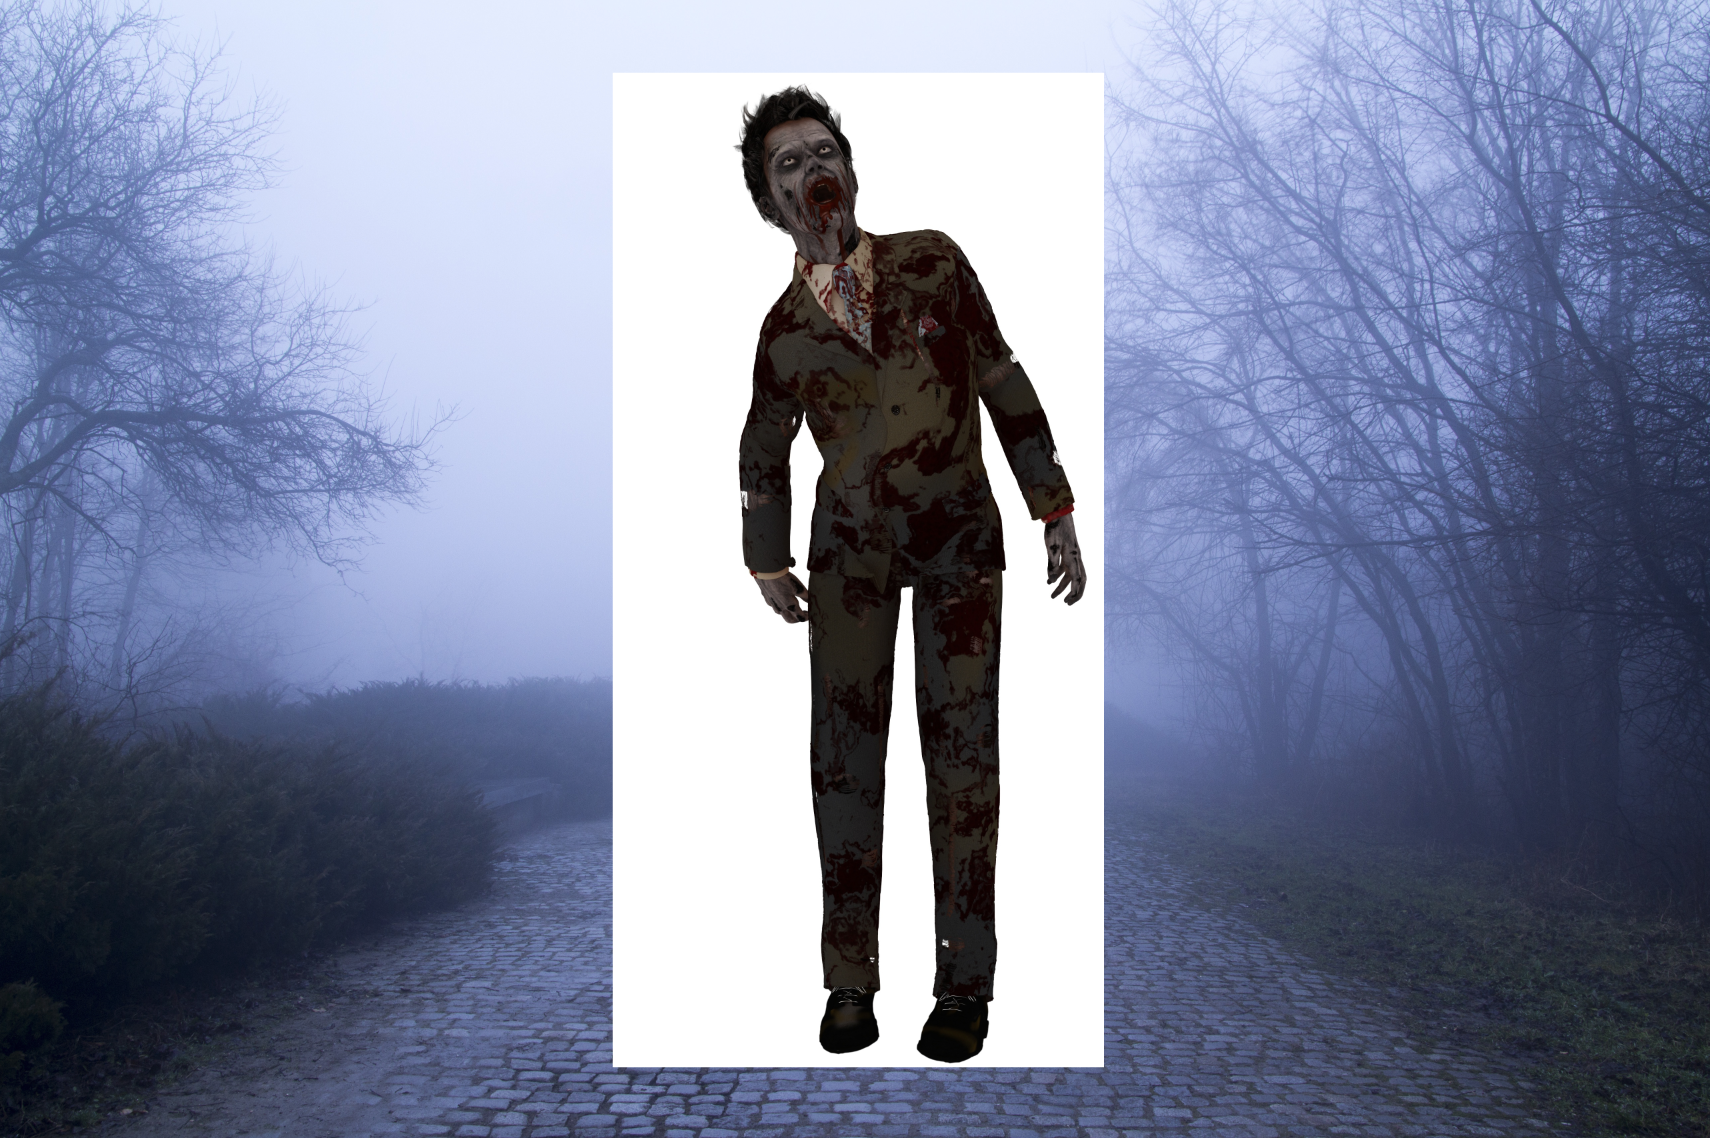
3: Open your Zombie image. I am using image I downloaded from Dollar Photo Club.
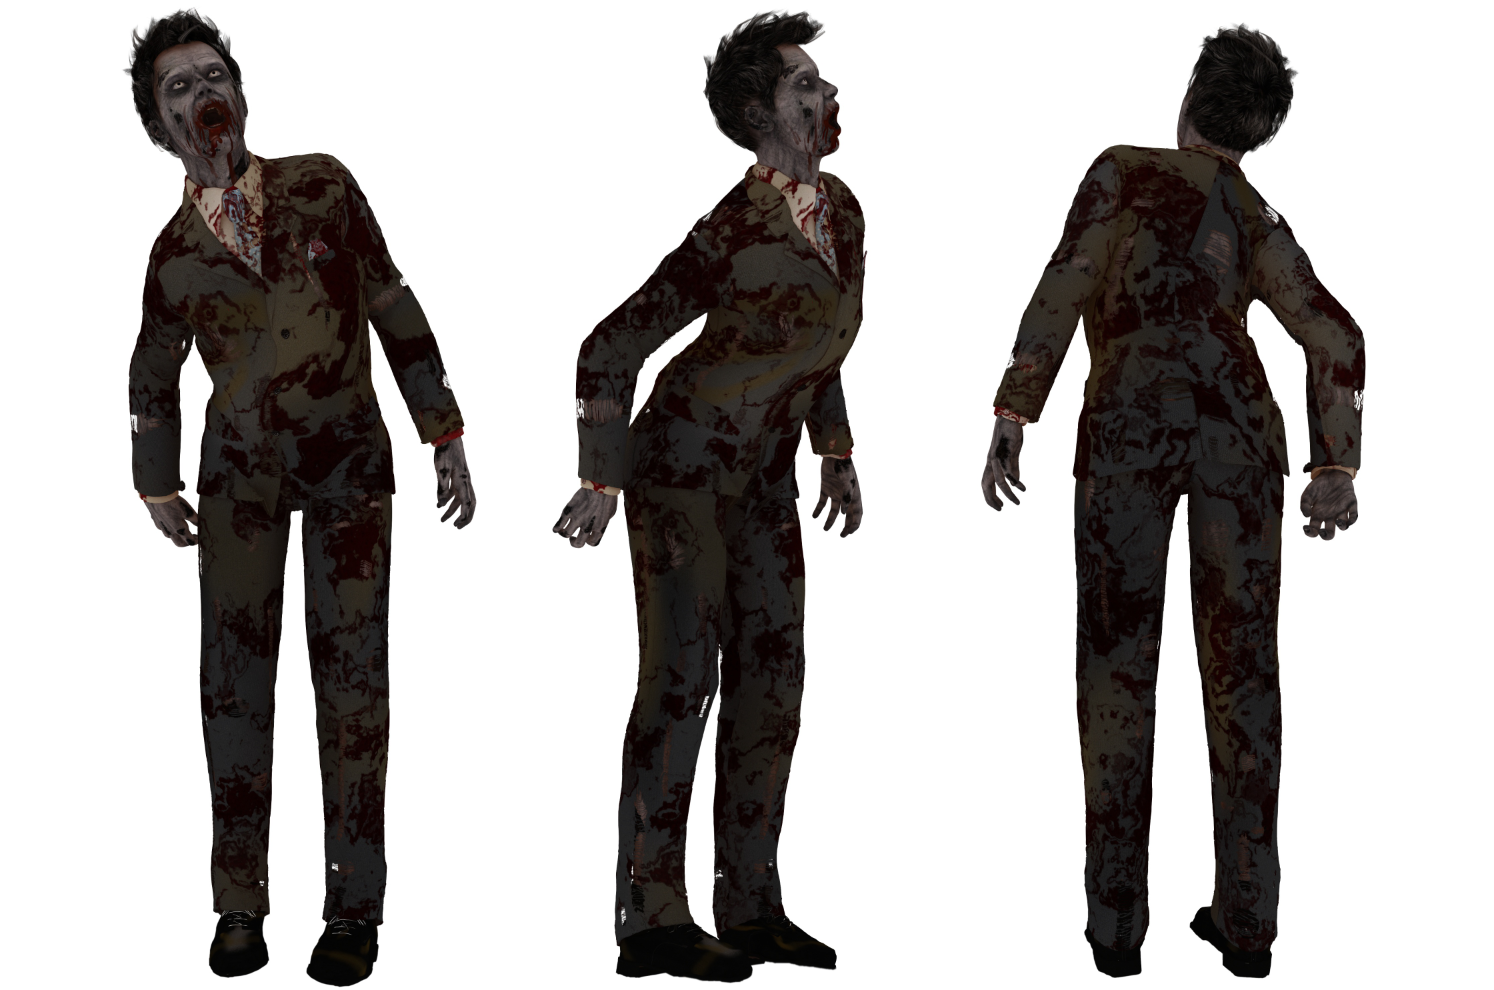
4: Using Rectangular Marquee Tool select your Zombie
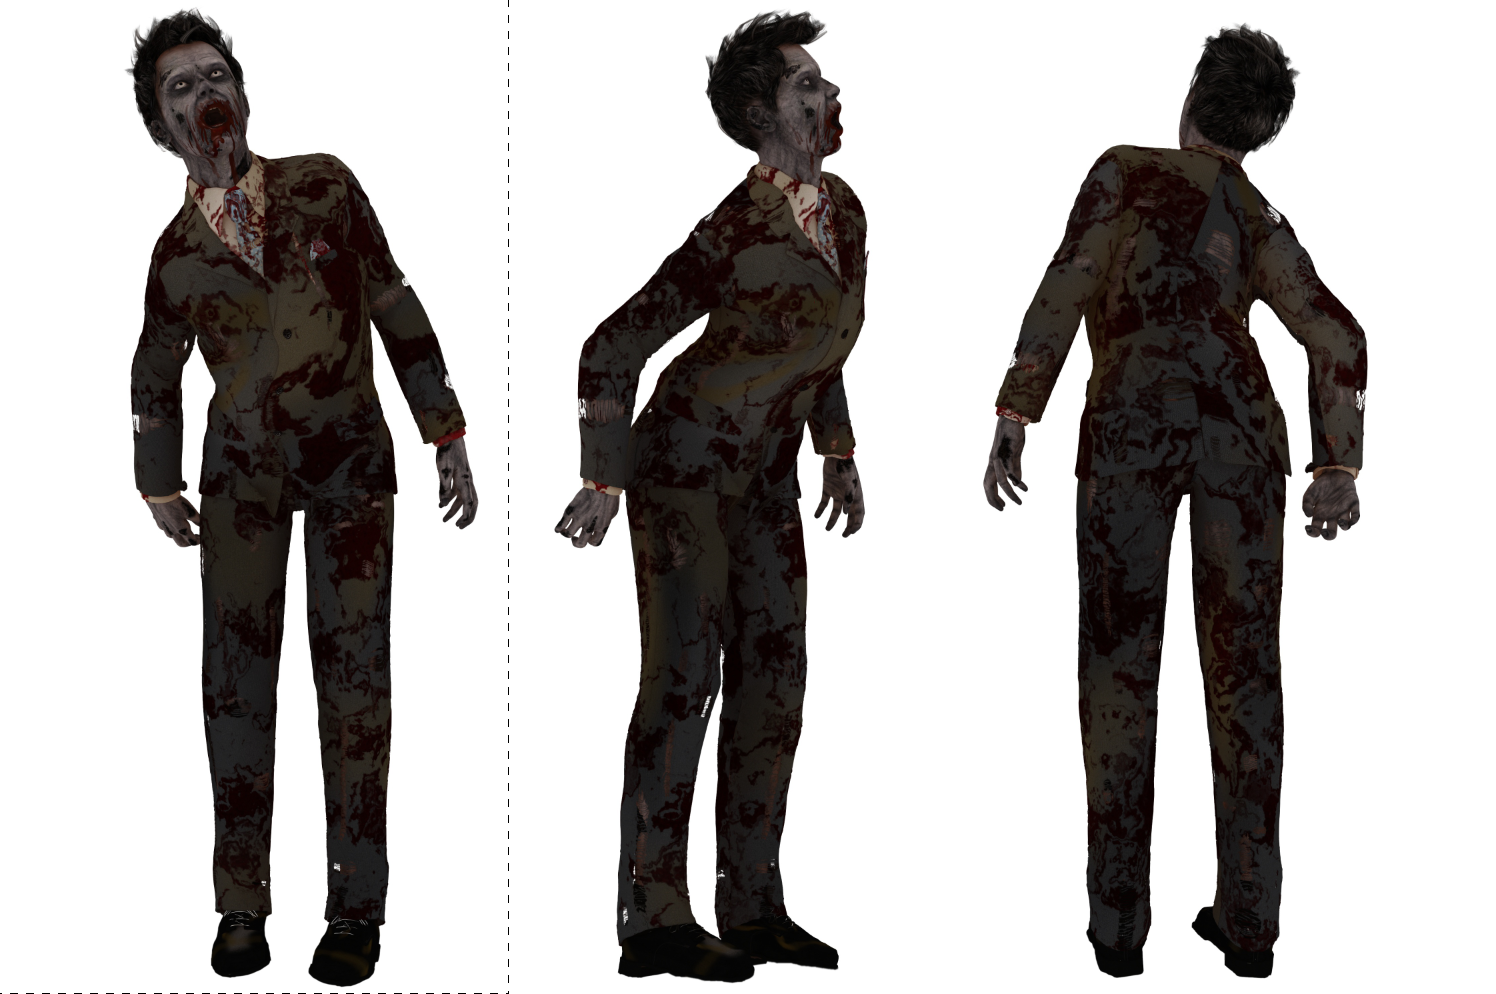
5: Edit > Copy > Highlight your document > Edit > Paste
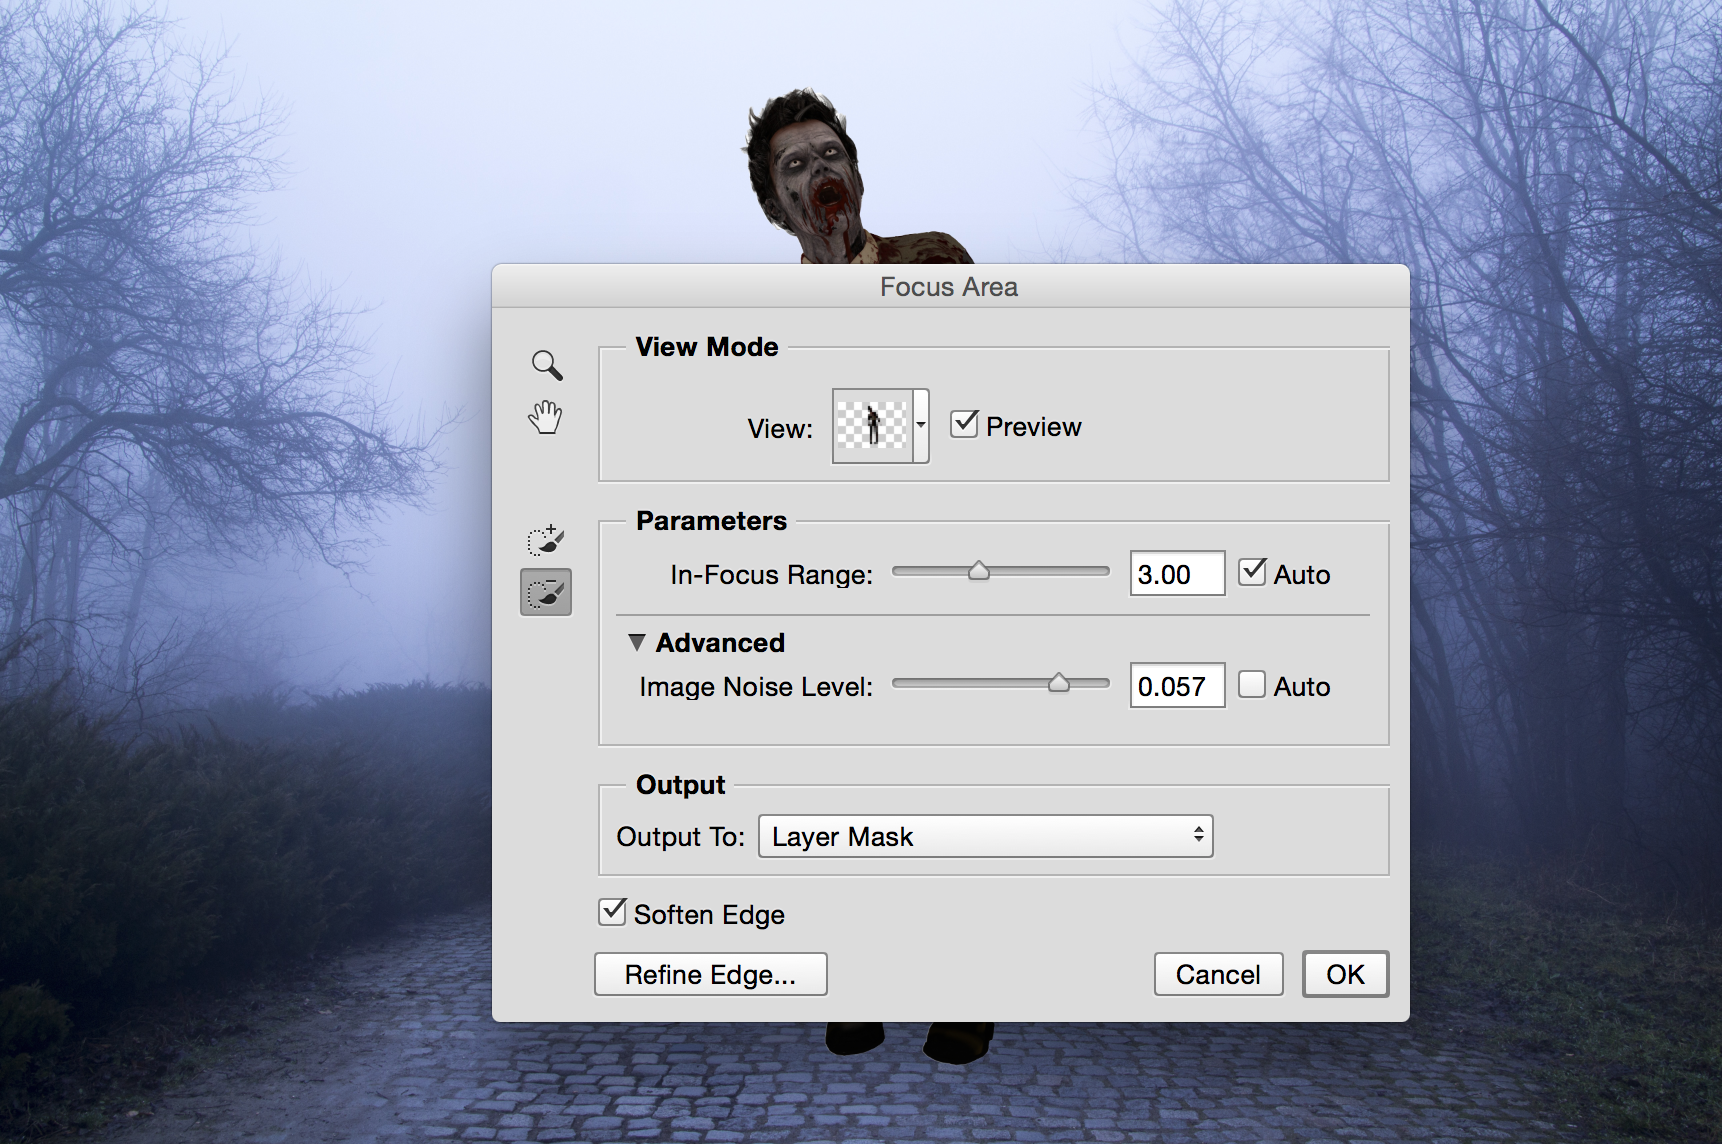
6: Select > Focus Area > Remove the white background around your Zombie
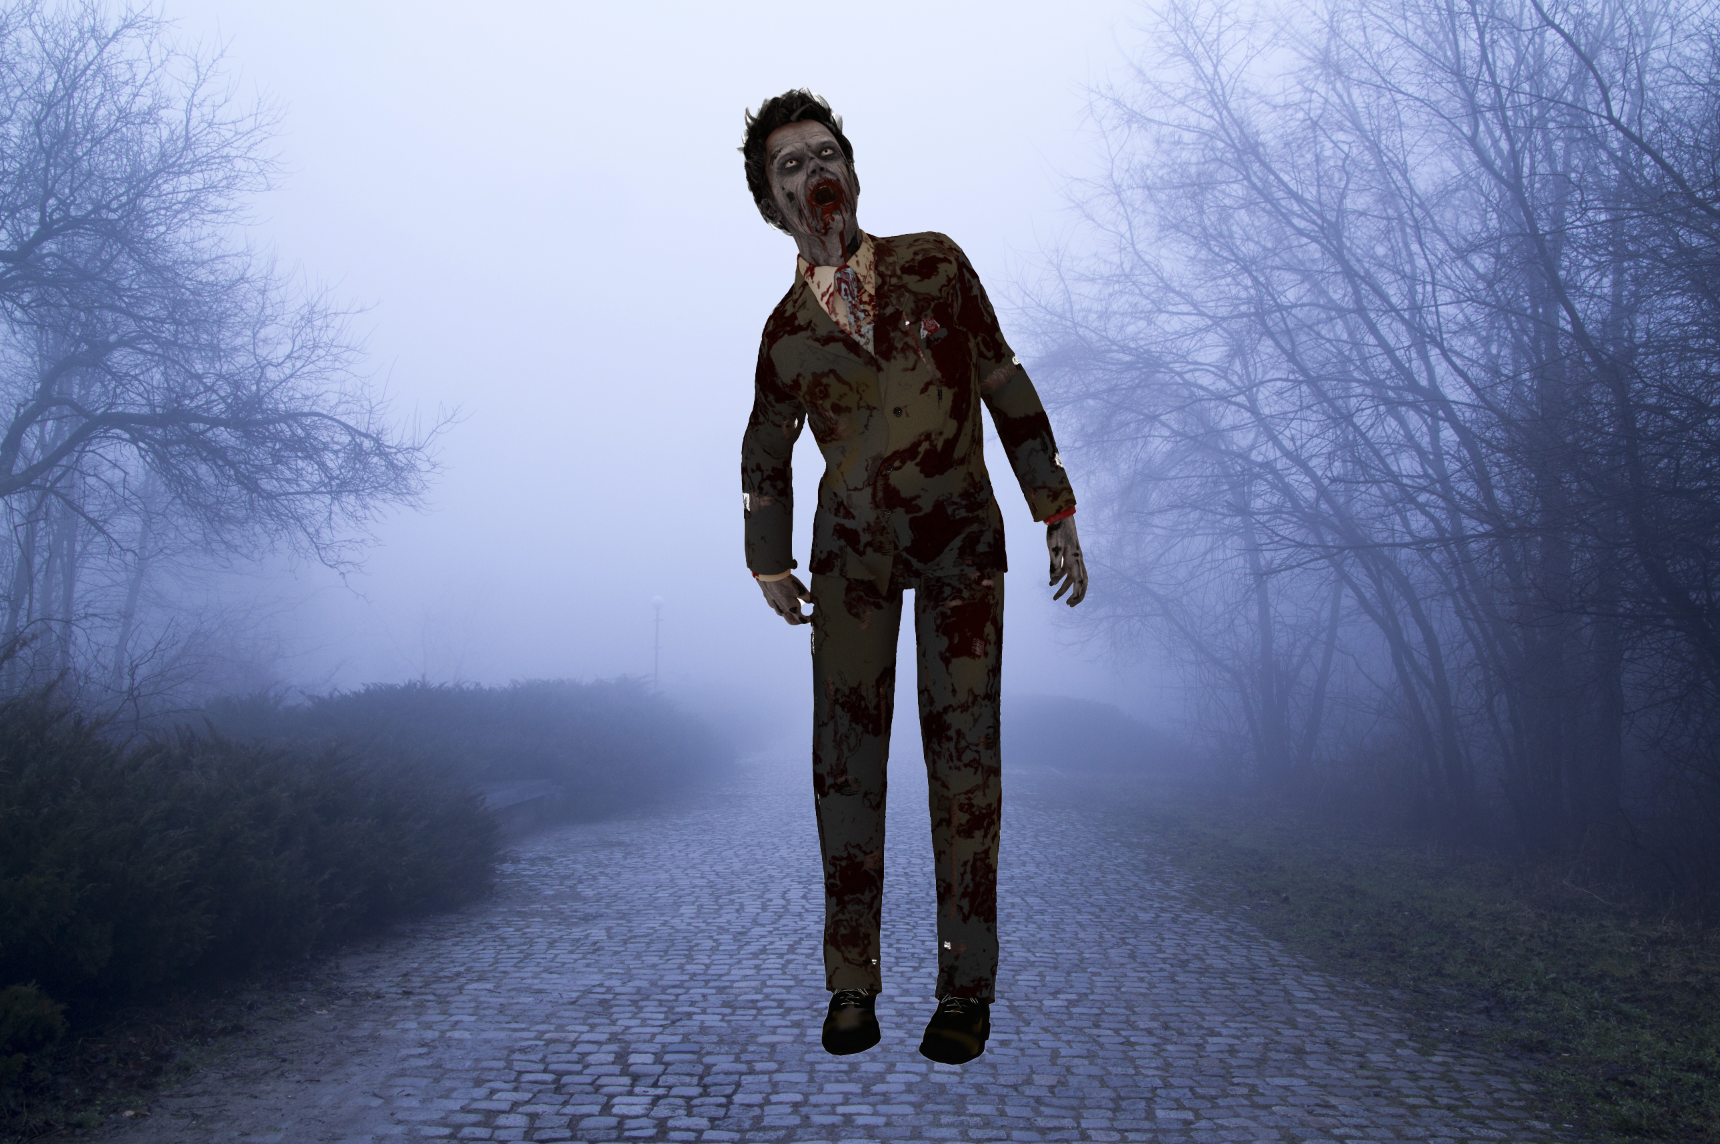
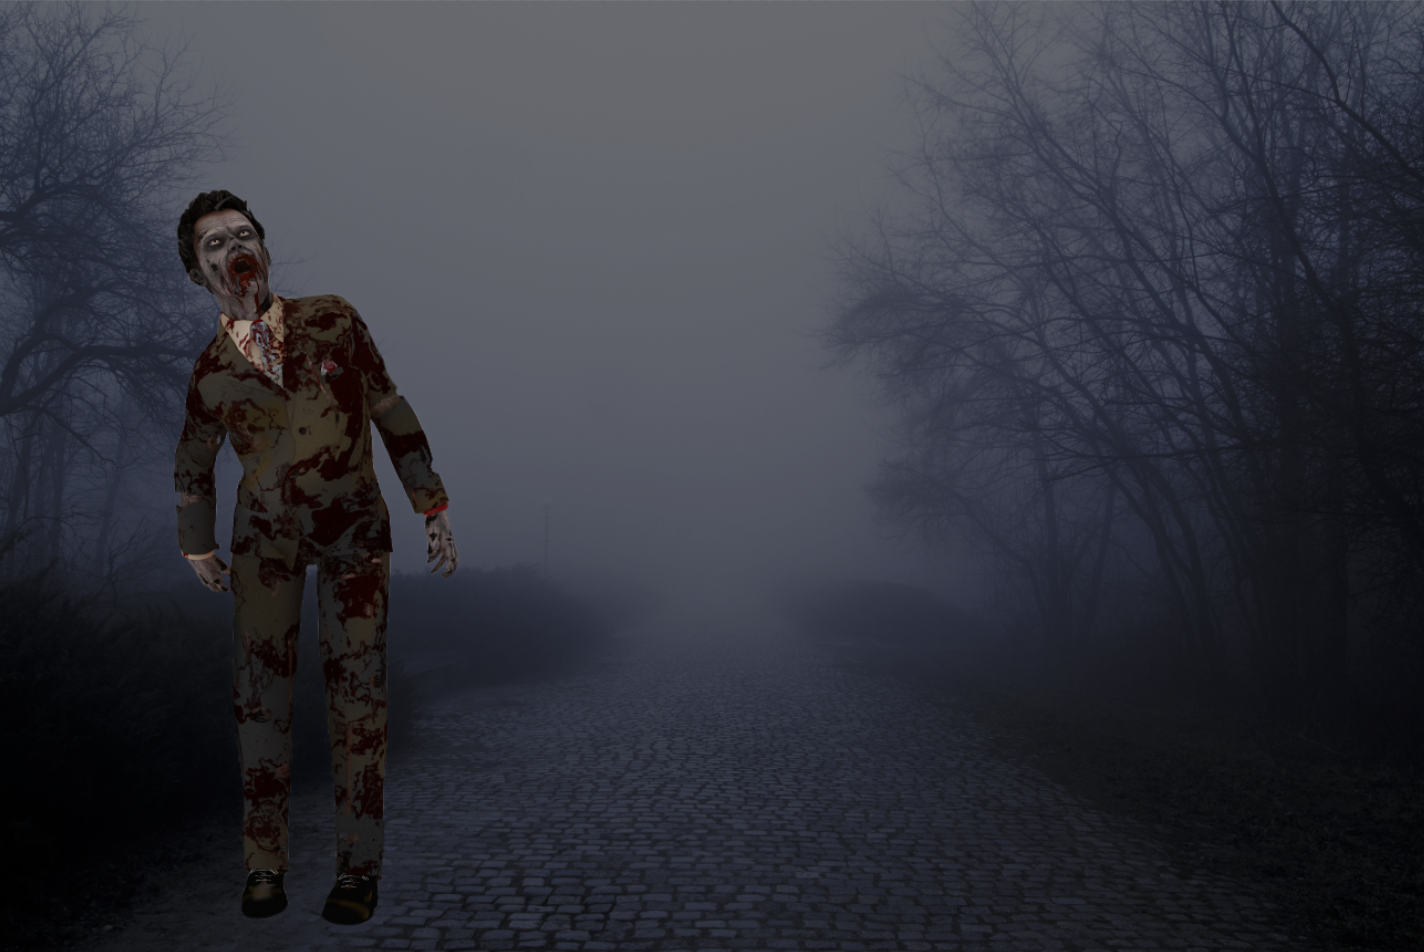
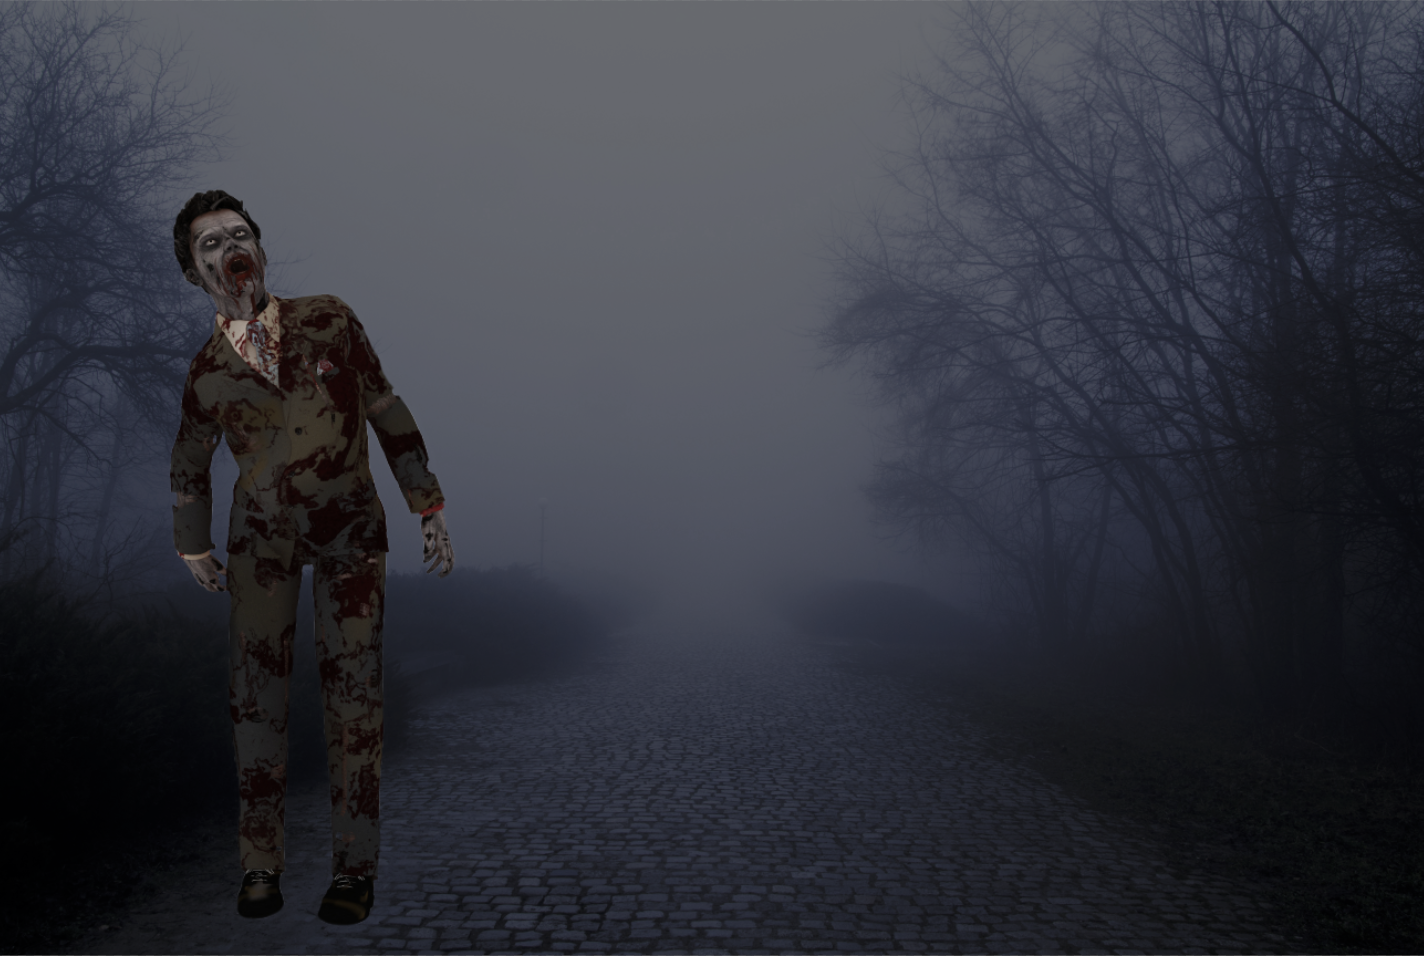
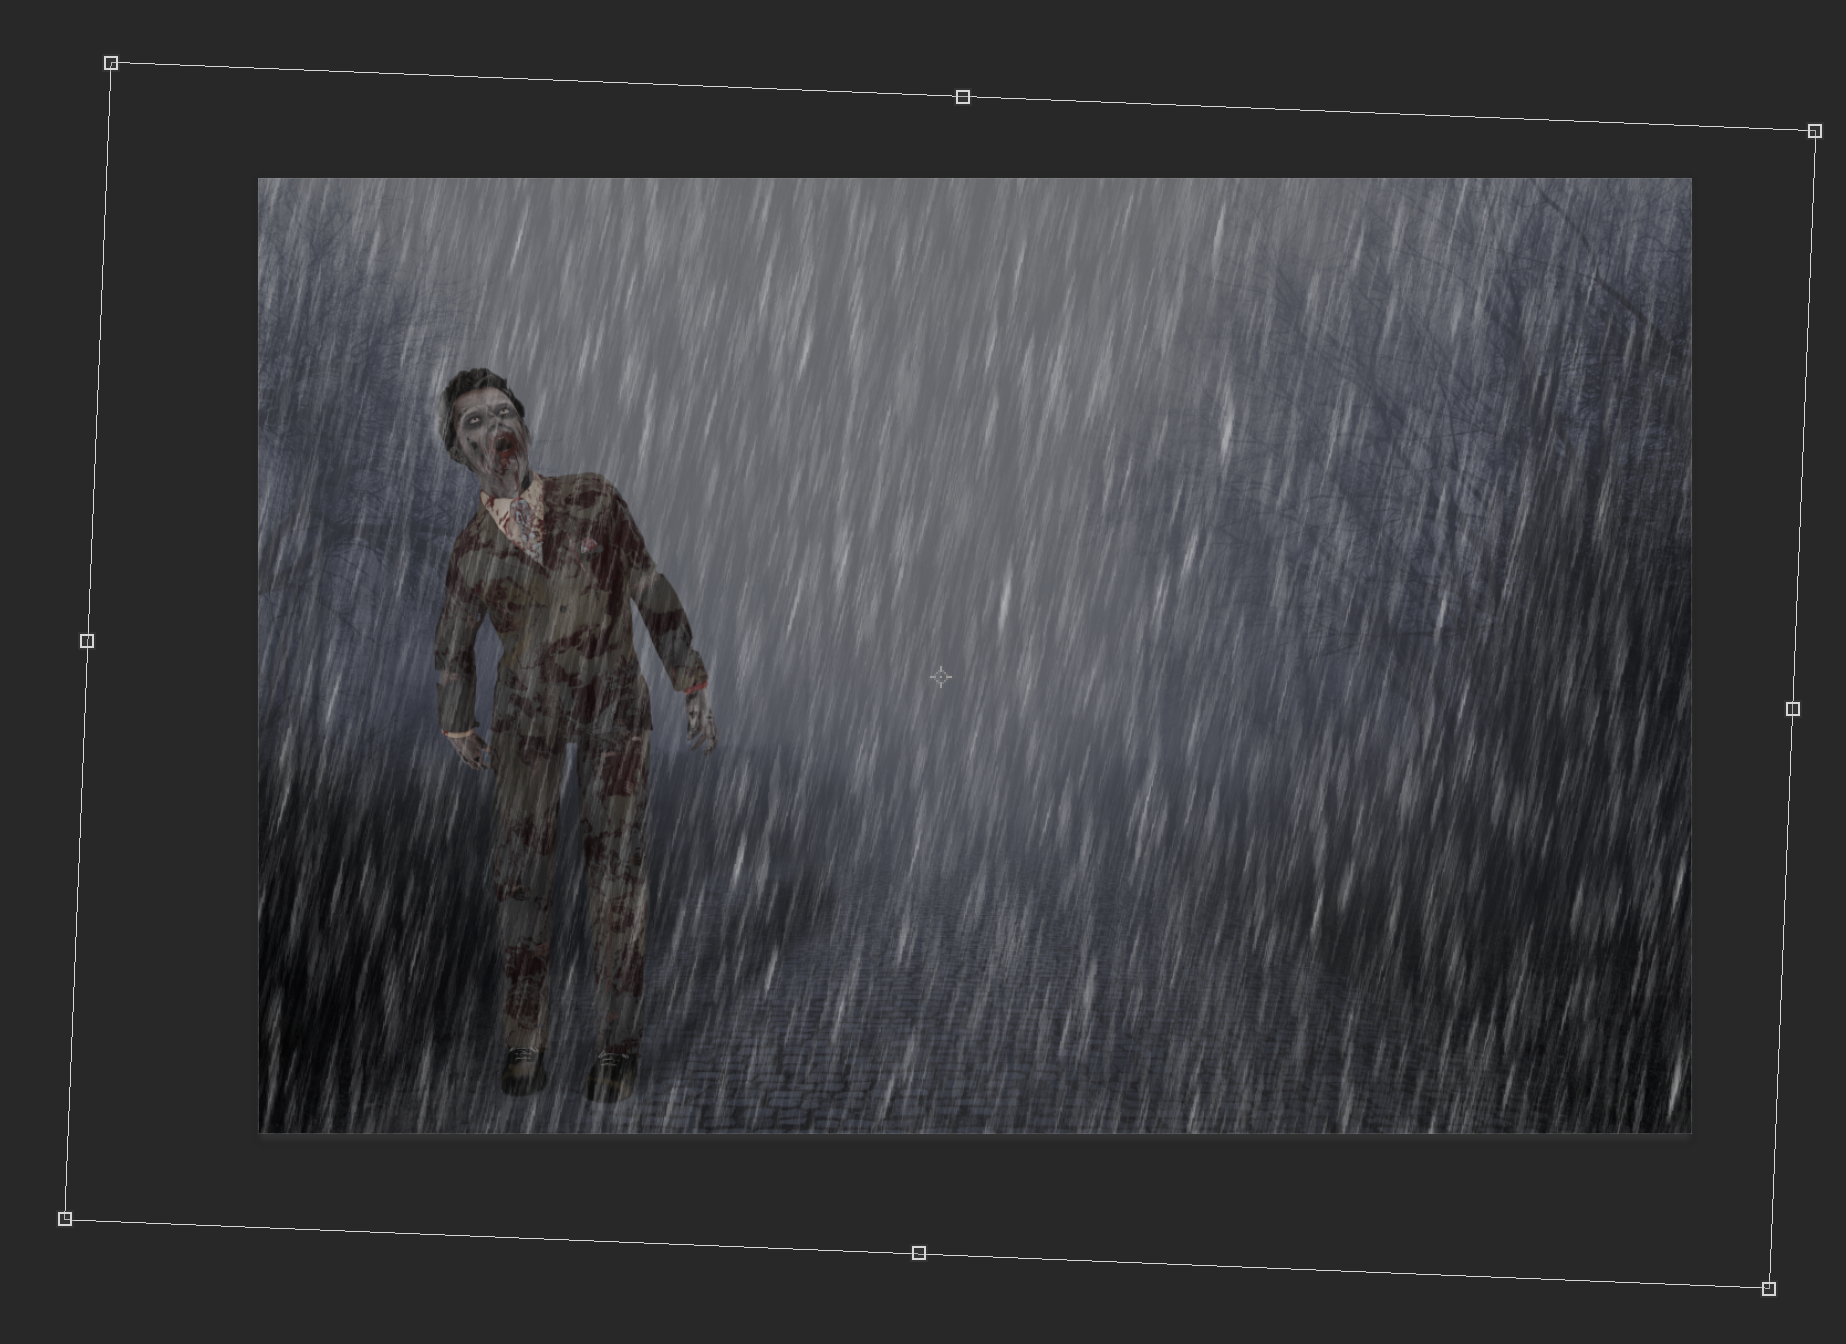
7 : Resize and move your Zombie
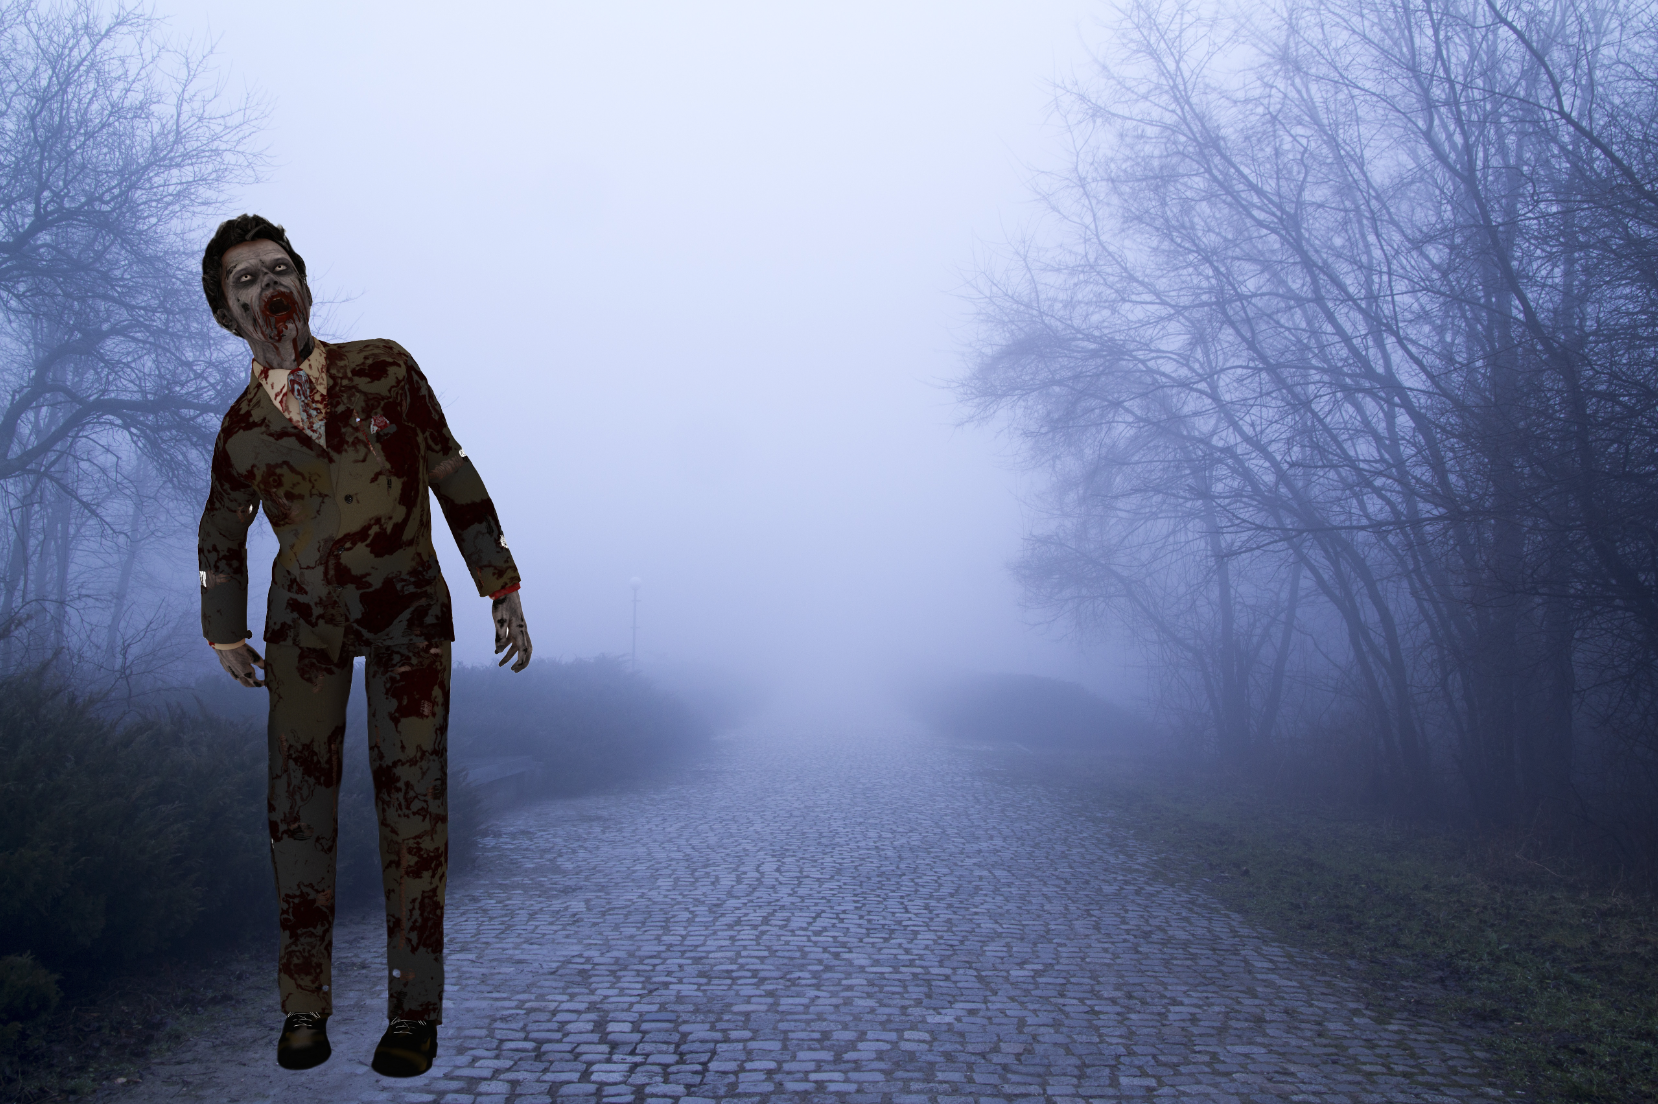
8: Highlight the background layer
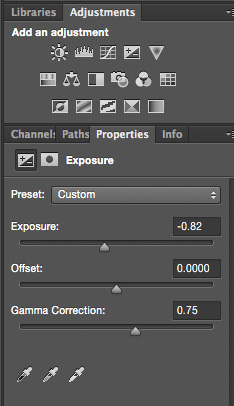
9: Adjustments Layer > Exposure

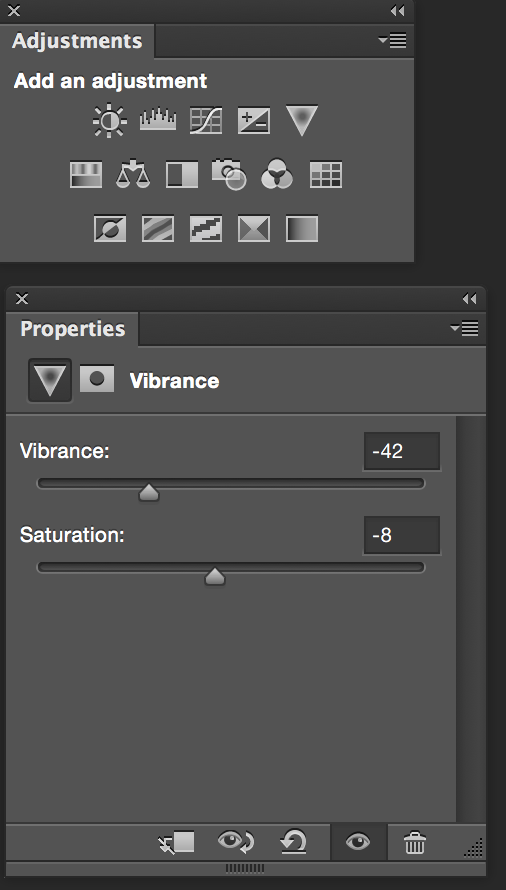
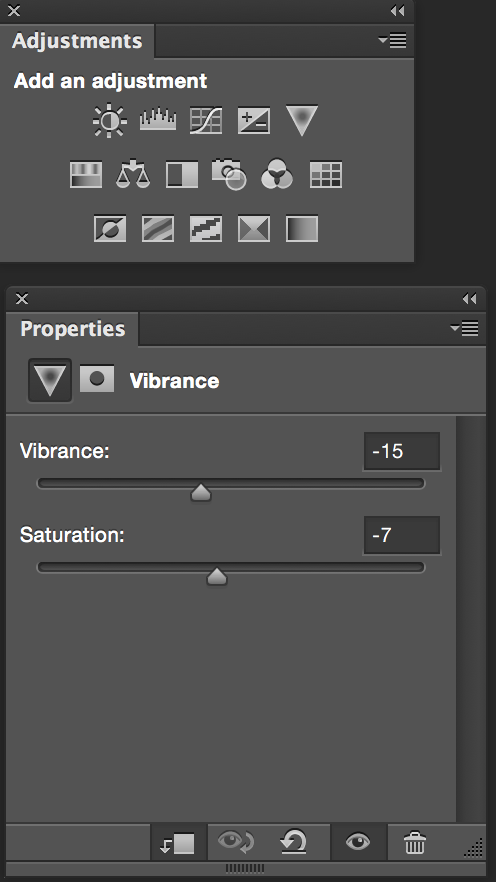
10: Adjustments Layer > Vibrance
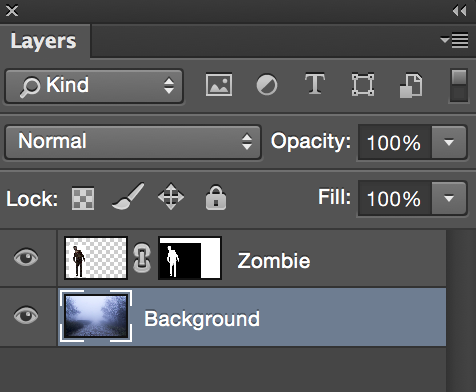
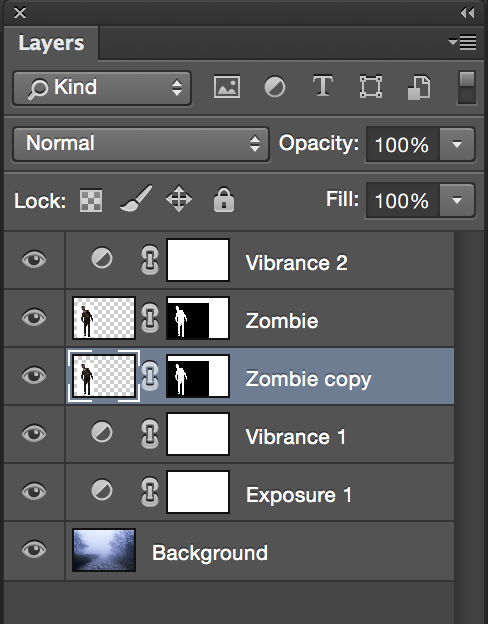
11:Highlight your Zombie layer
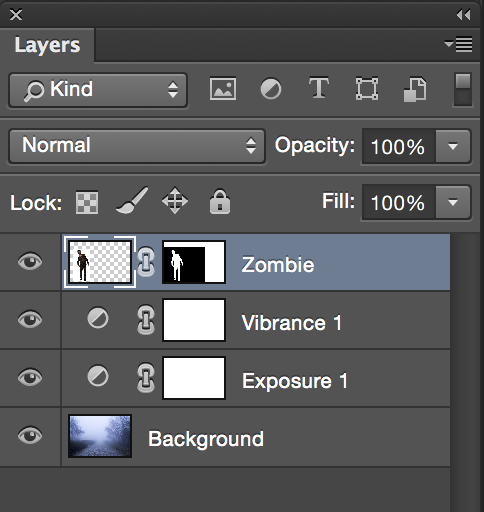
12: Adjustments Layer > Vibrance
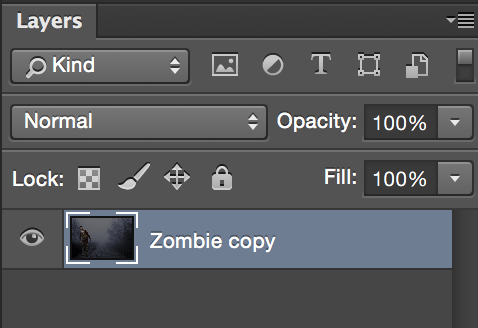
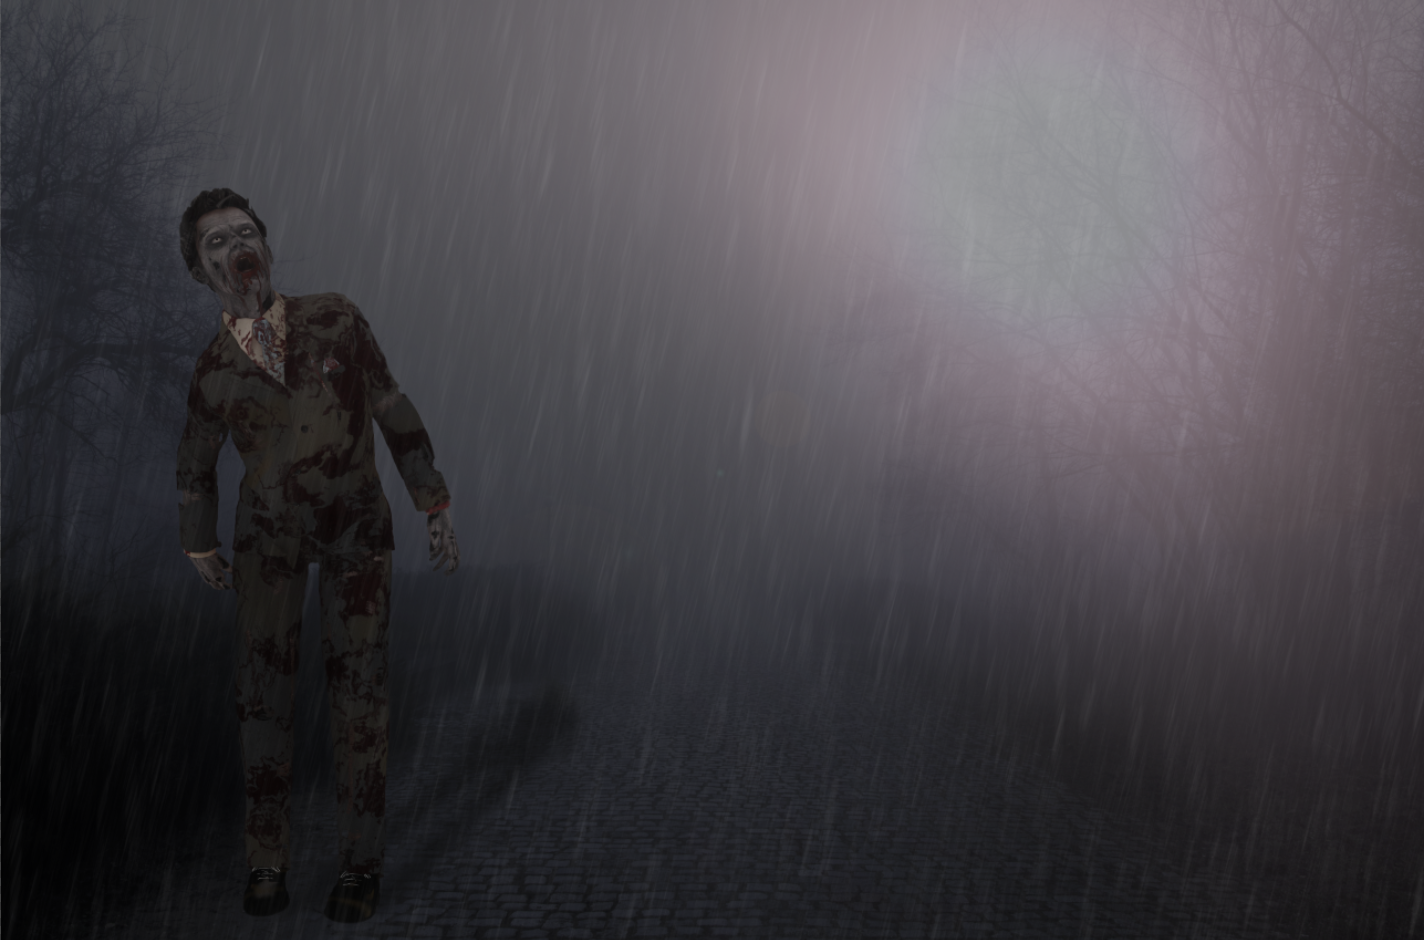
13: Duplicate Zombie layer ( “Zombie copy” layer) and move this layer under your Zombie layer
14: Edit > Transform > Distort
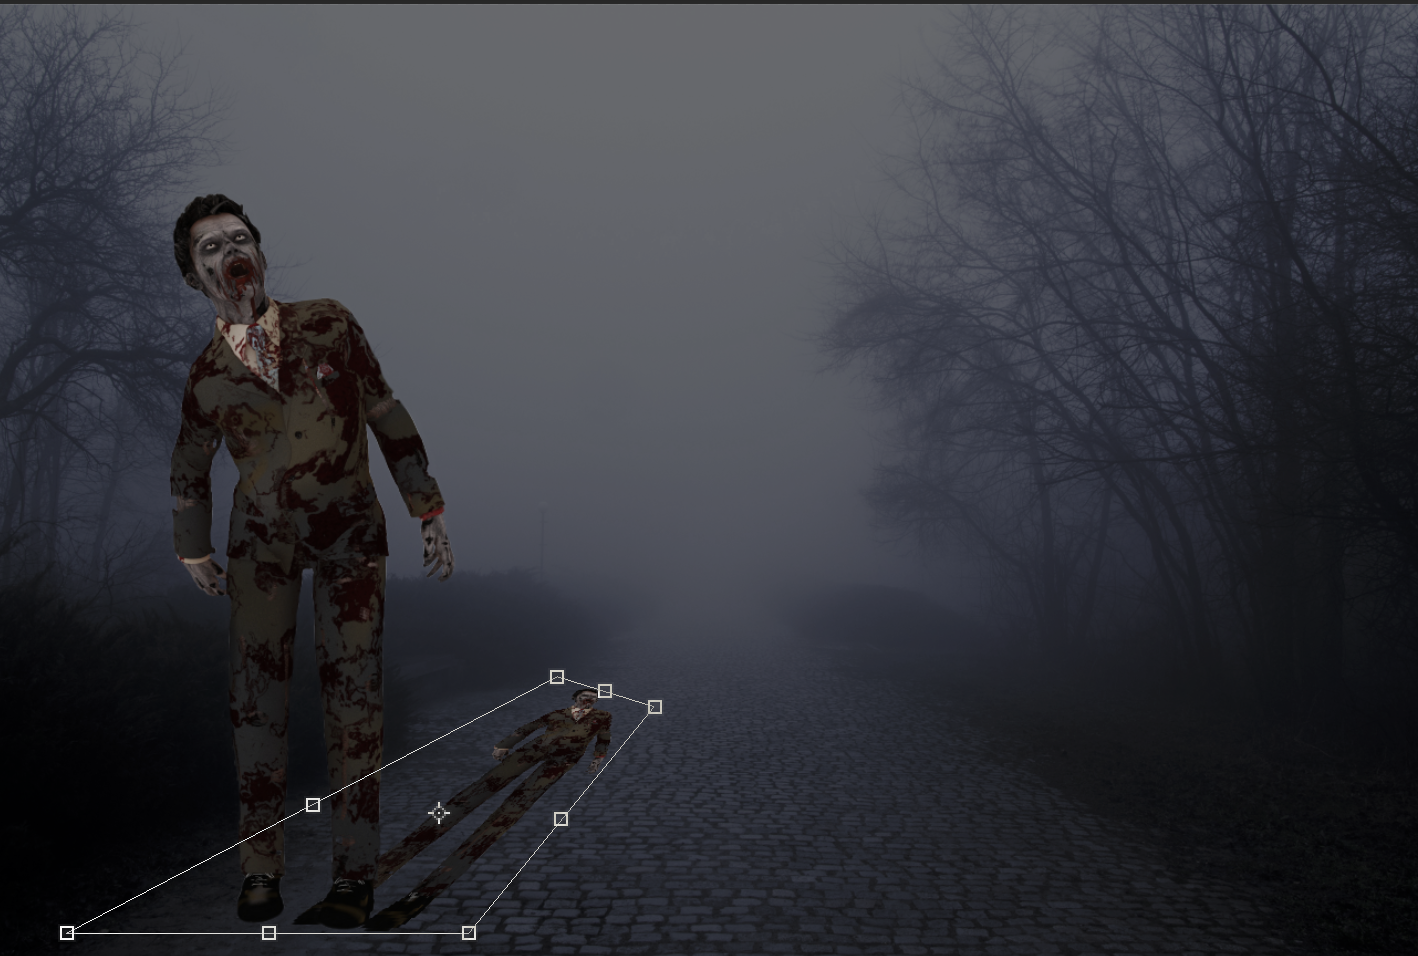
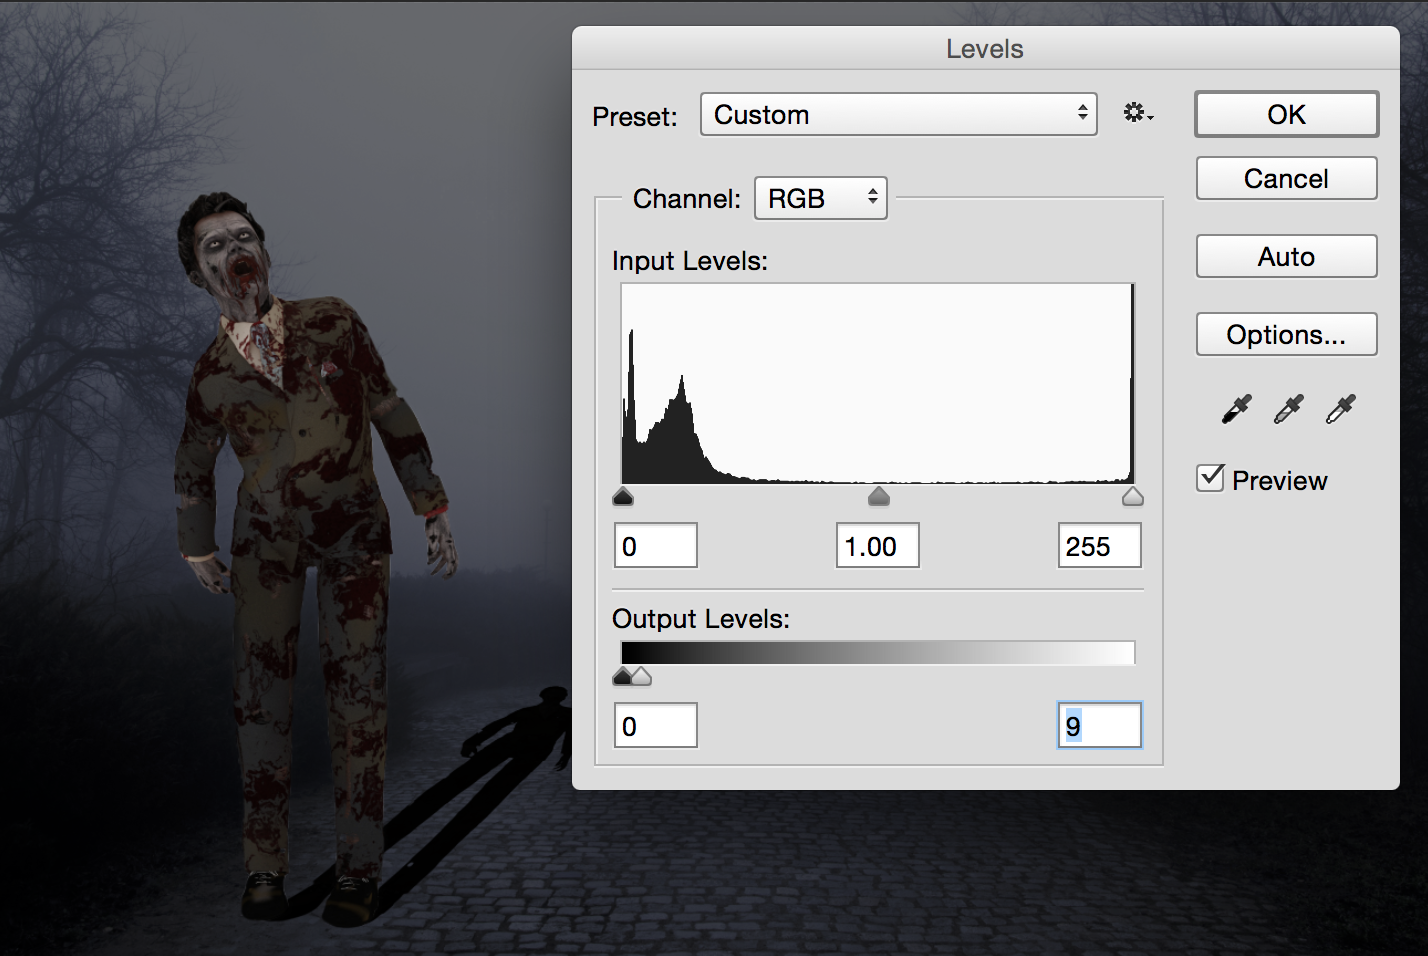
15: Image > Adjustments > Levels
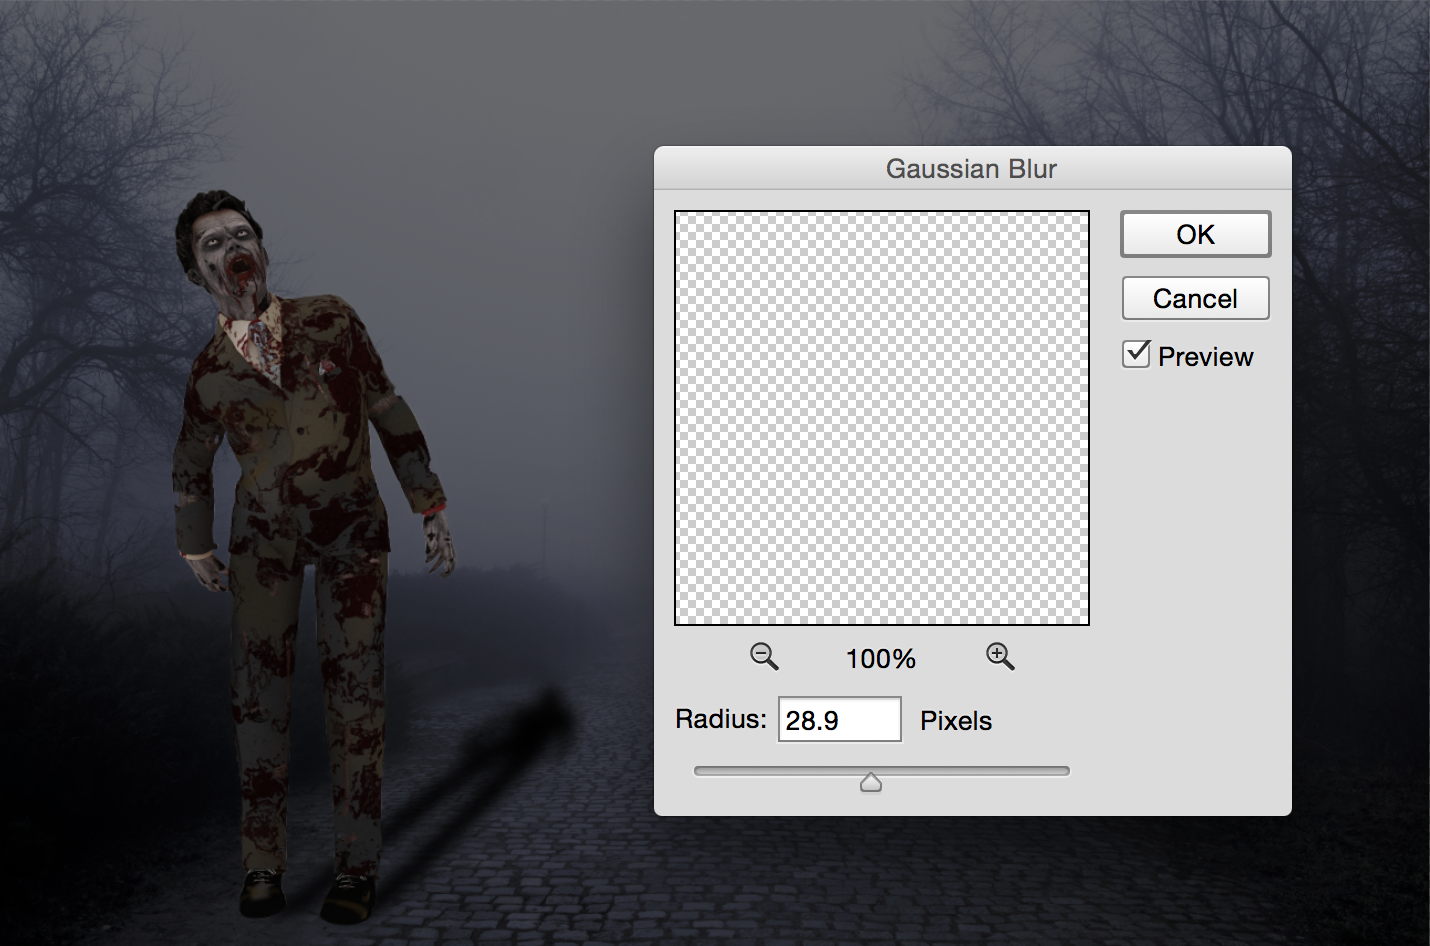
16: Filter > Gaussian Blur Radius = 28.9 Pixels
17: Make Zombie copy Layer opacity = 54%
18: Merge all visible layers
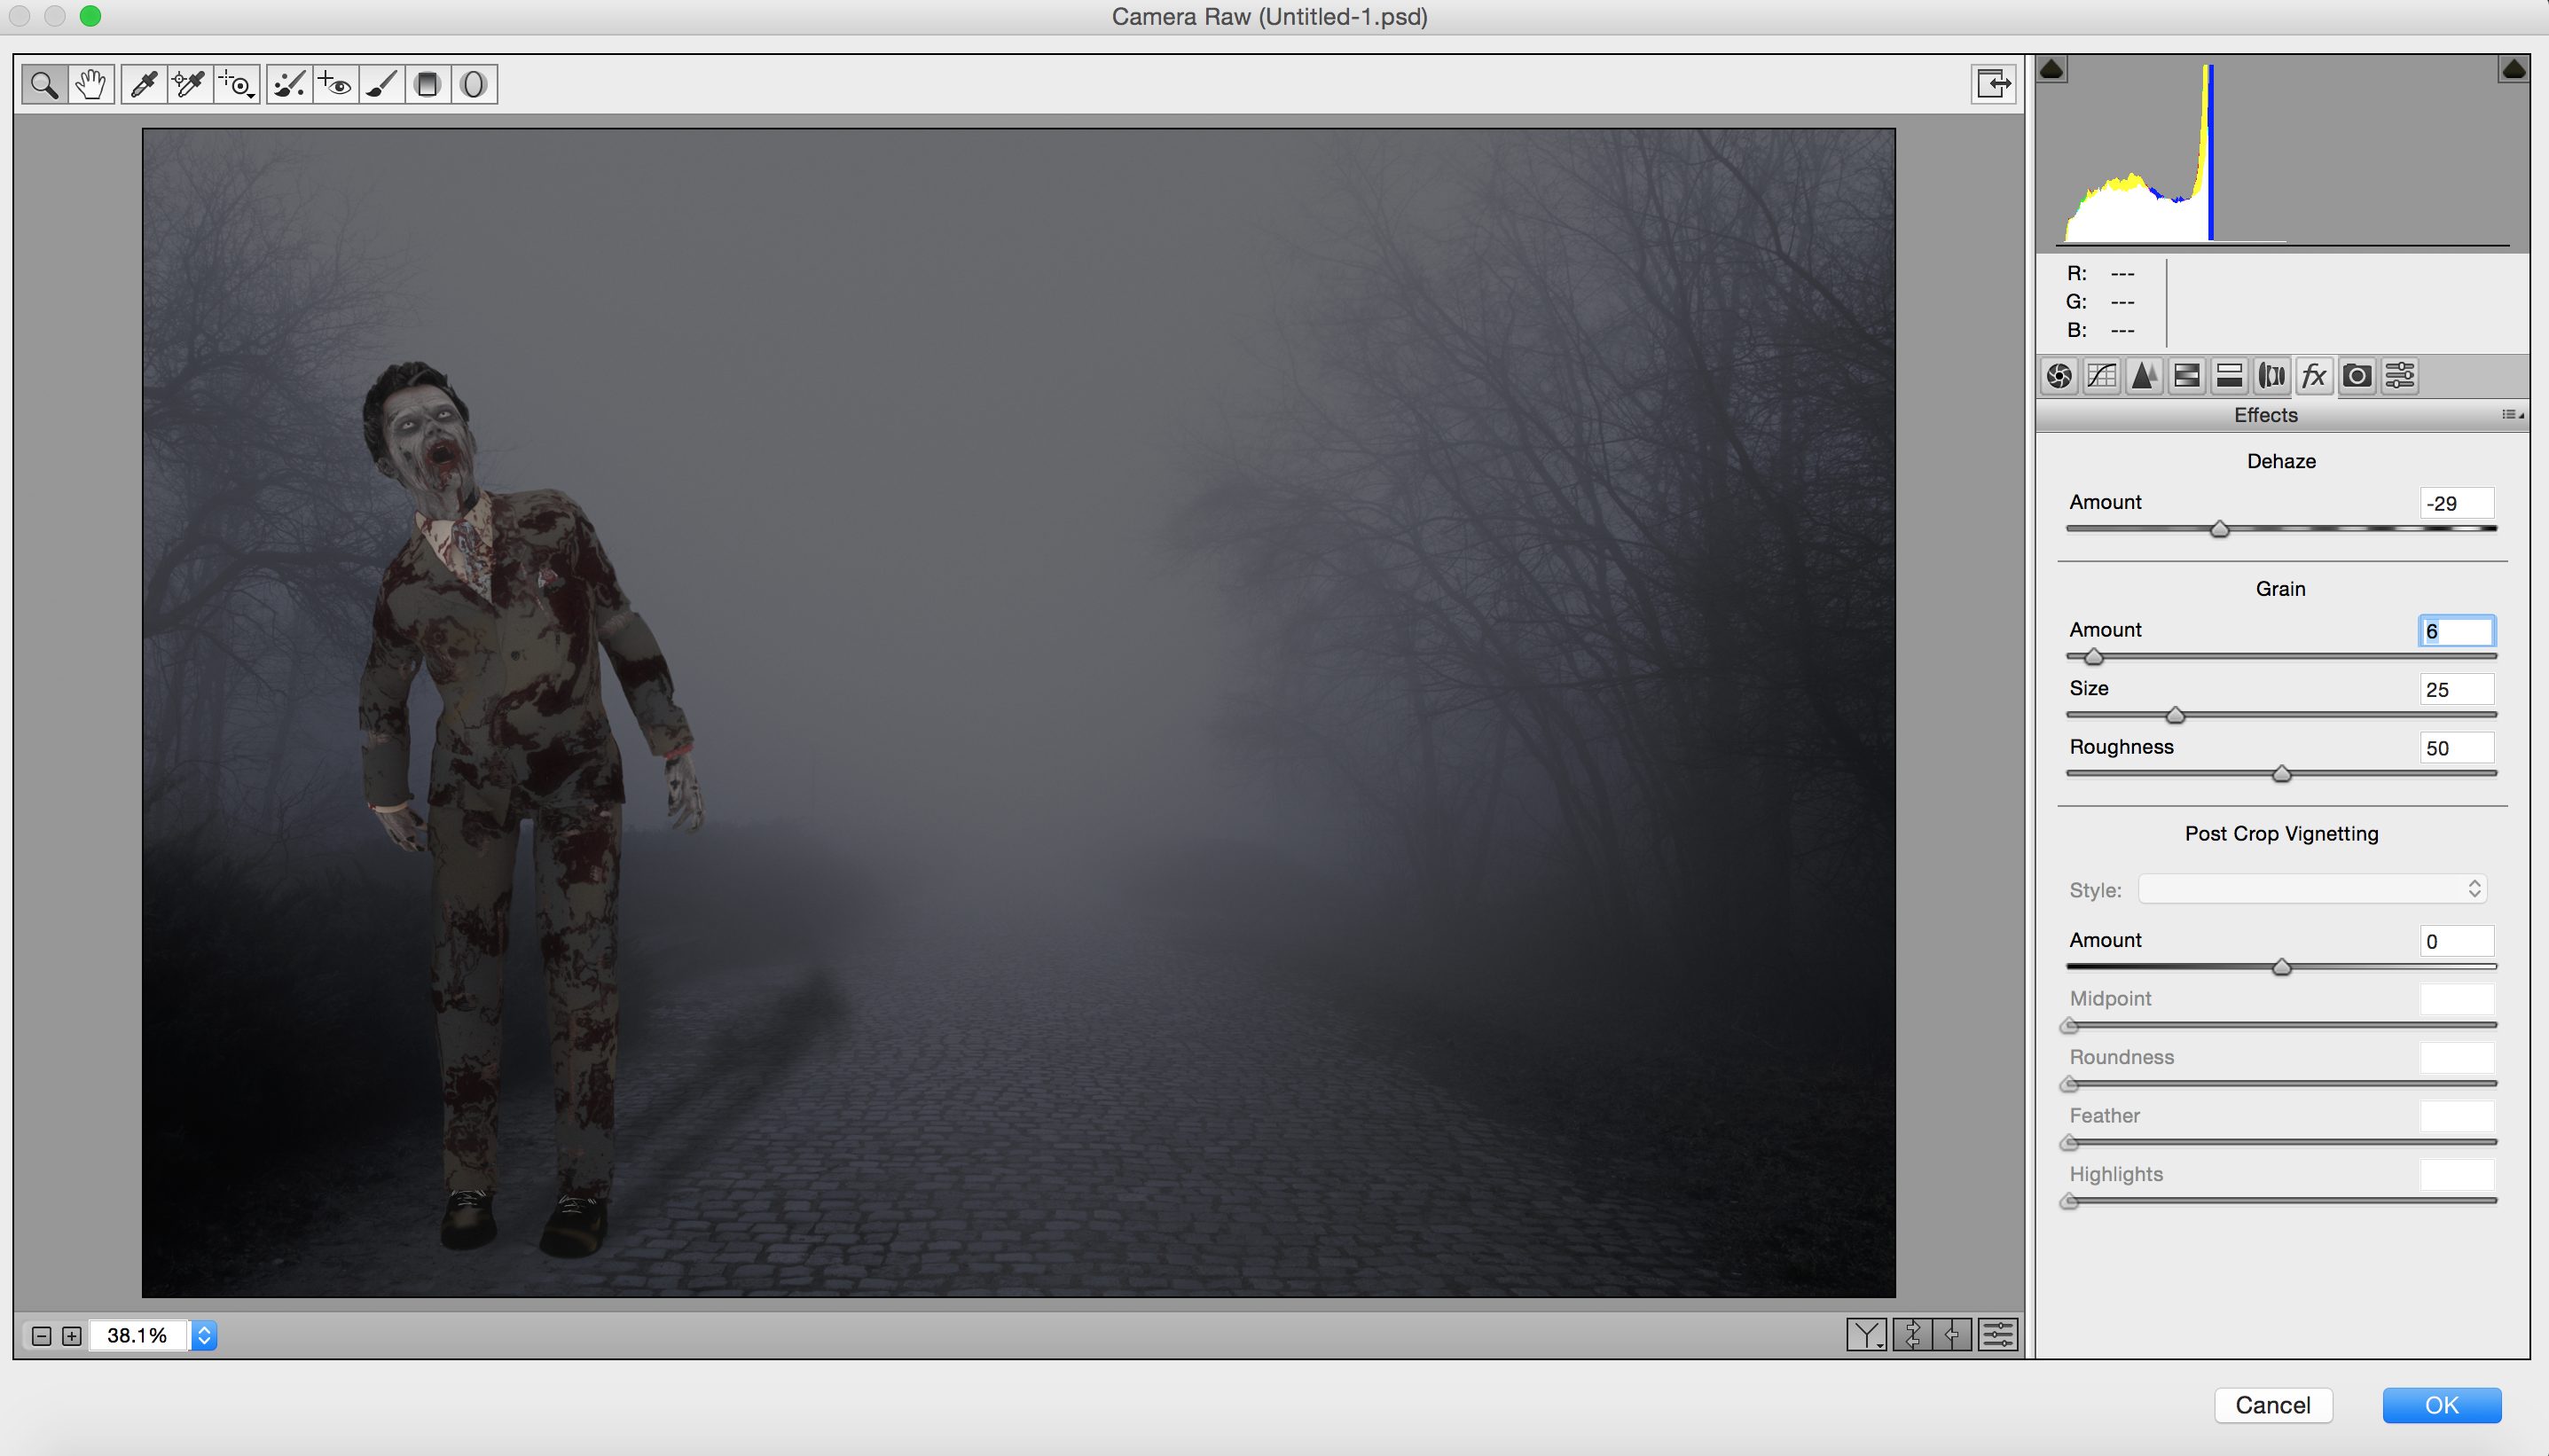
19: Duplicate Zombie copy layer > Filter > Camera Raw Filter > Dehaze filter . Make Dehaze -29, Grain: Amount =6, Size =25, Roundness =50. Click OK and make layer opacity = 59
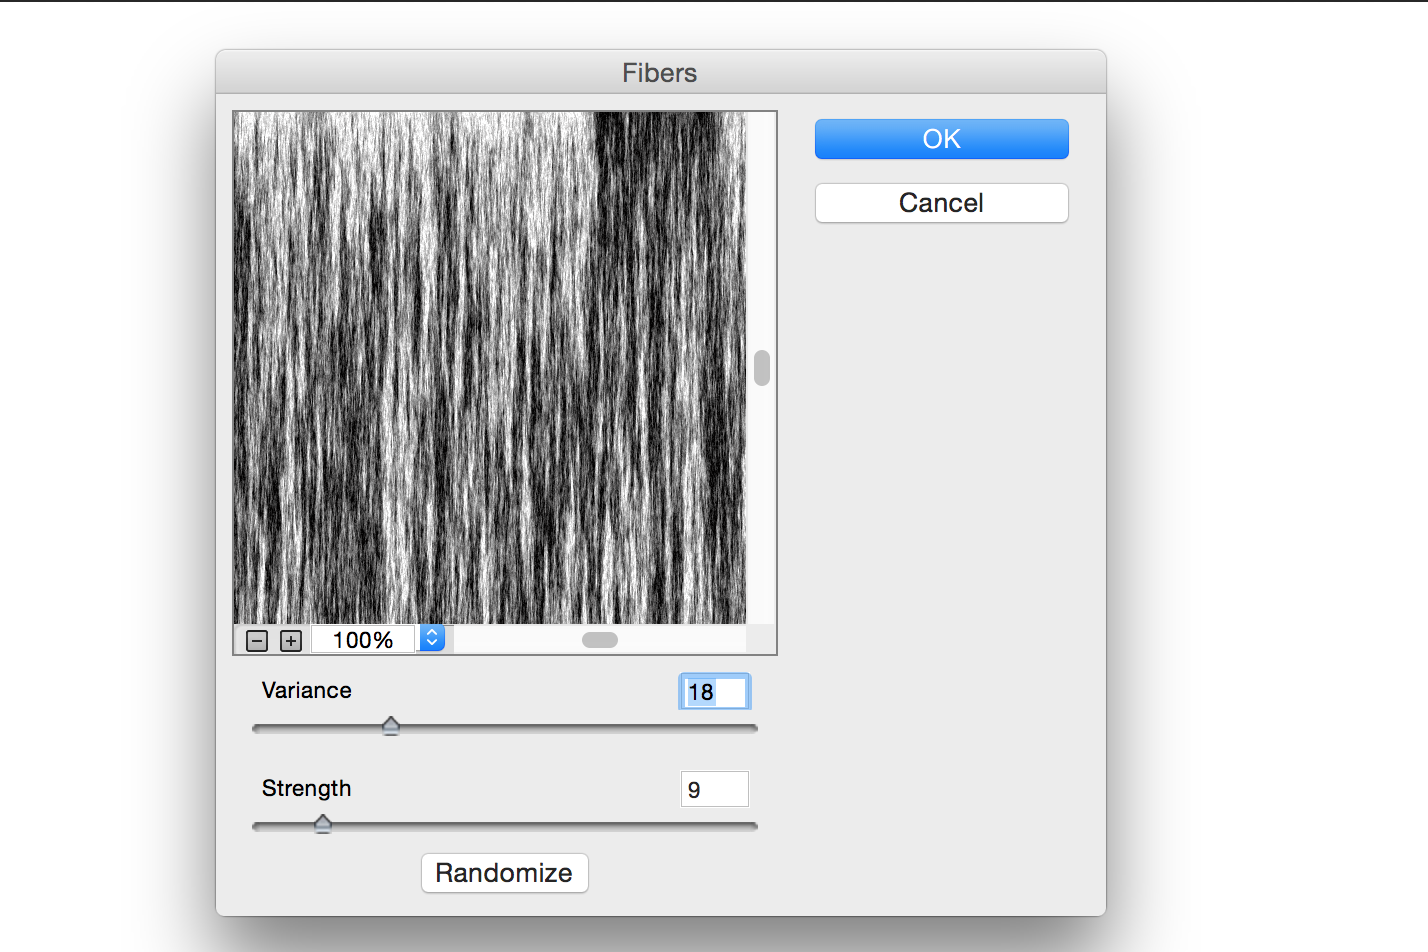
20: Add a new layer with white color on it > Filter > Render > Fibers
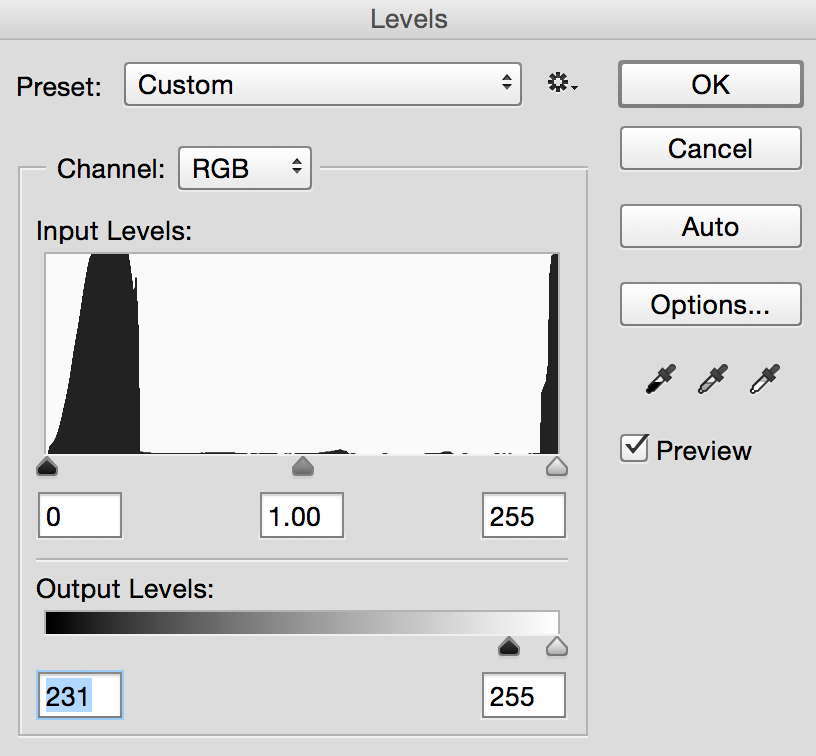
21: Magic Wand Tool > Select the Layer ( simply drag the Magic Wand Tool from the left top corner to the right bottom corner ) > Delete > Select > Deselect >Image > Adjustments > Levels
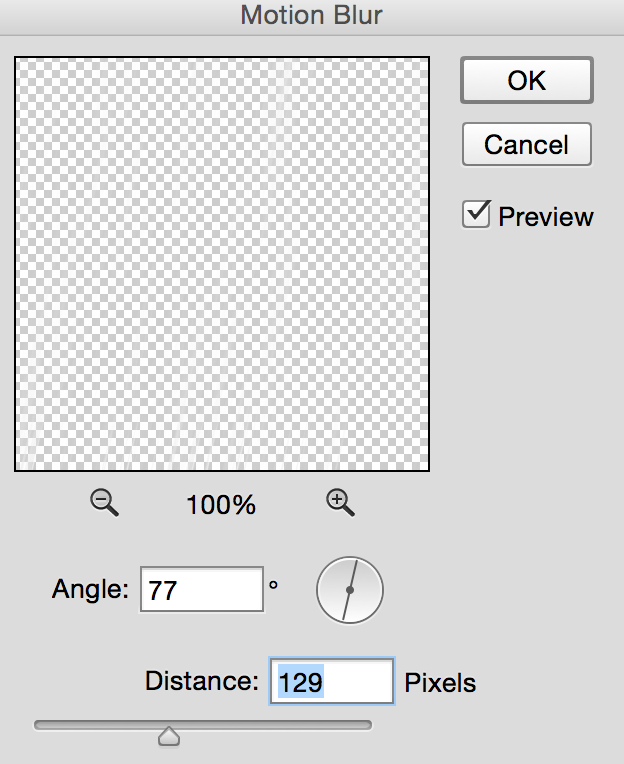
22: Filter > Blur > Motion Blur
23: Image > Free Transform > Resize the rain layer
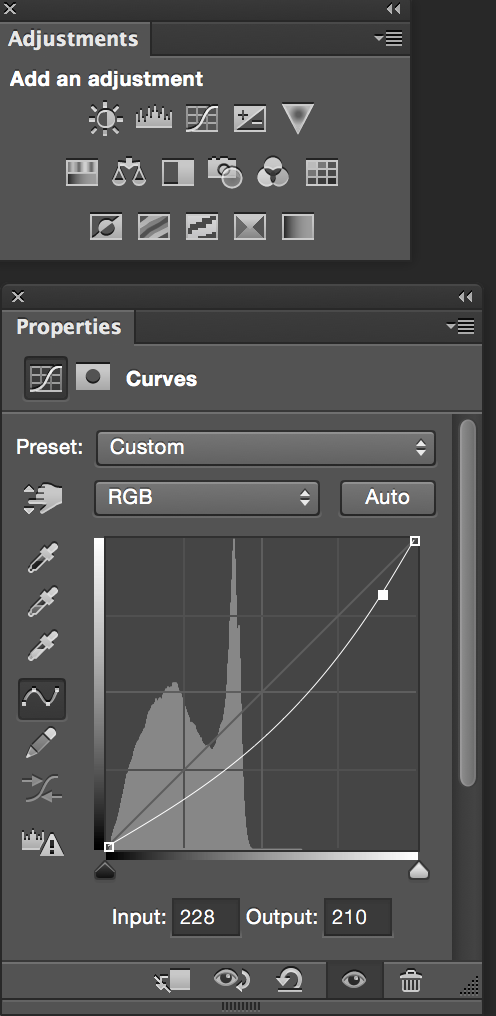
24: Make rain layer opacity = 27 > Adjustments > Curve
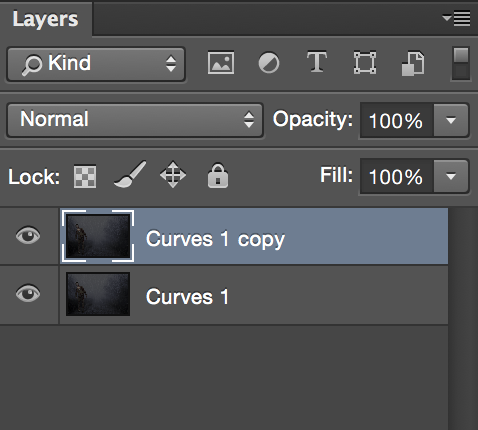
25: Merge All visible layers.
Duplicate this layer
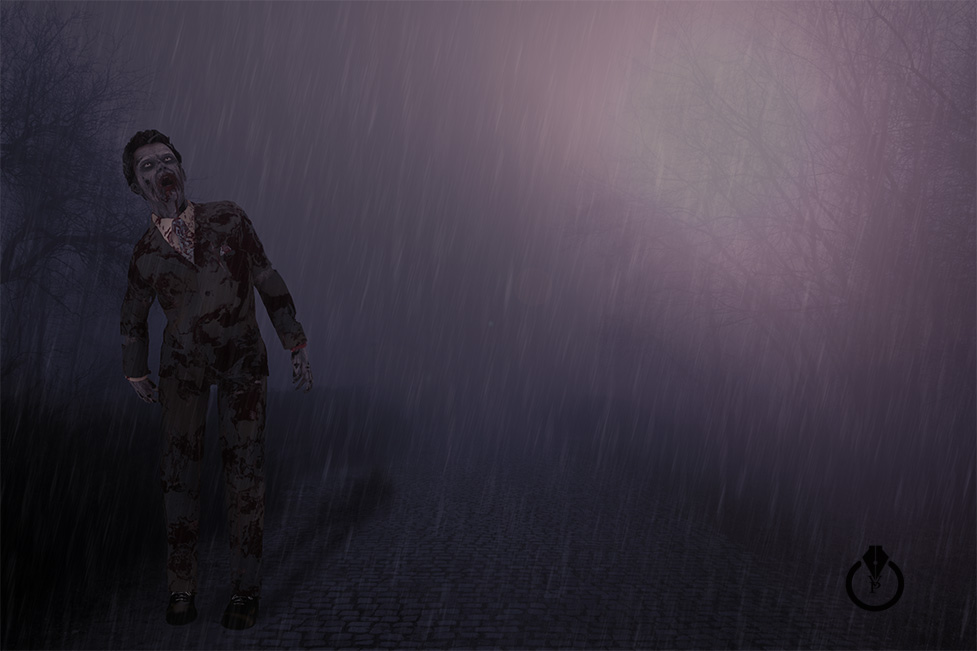
26: Filter > Render > Lens Flare
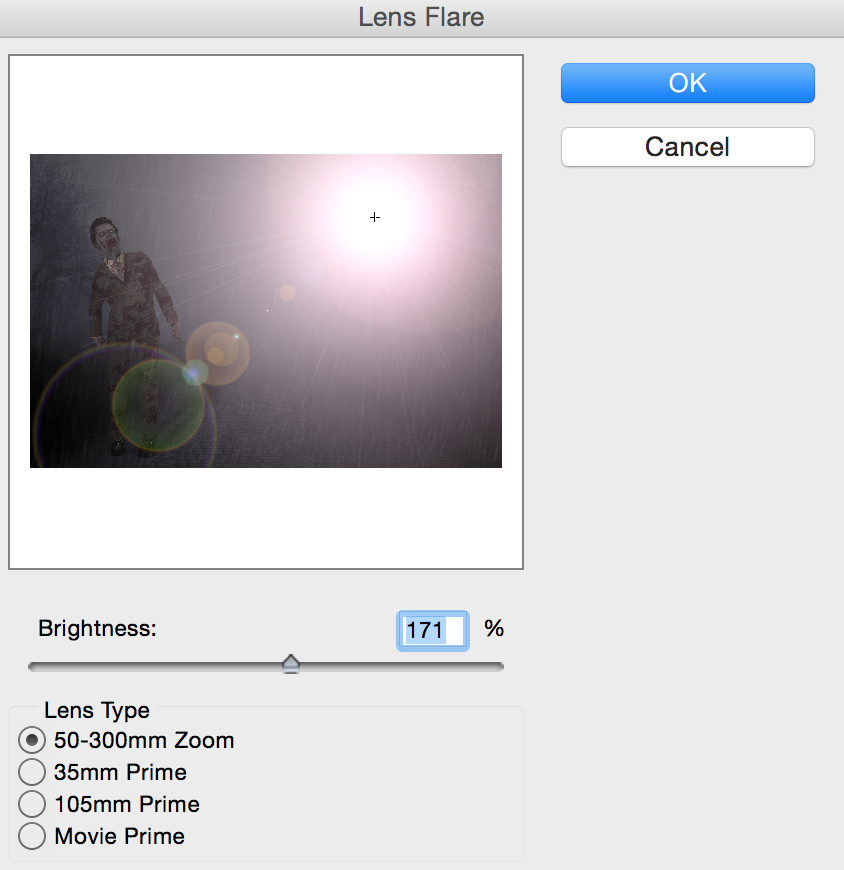
27: Click OK and make a layer opacity = 47% > Add a layer mack > Erase left bottom corner of your lens flare layer ( top layer)
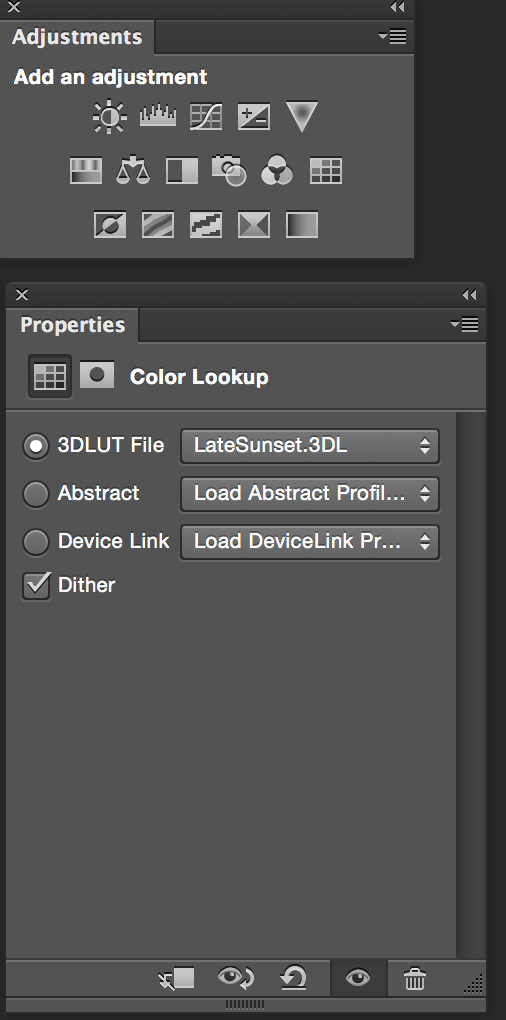
28: Adjustments > Color Lookup > LateSunset.3DL > Layer Opacity =31
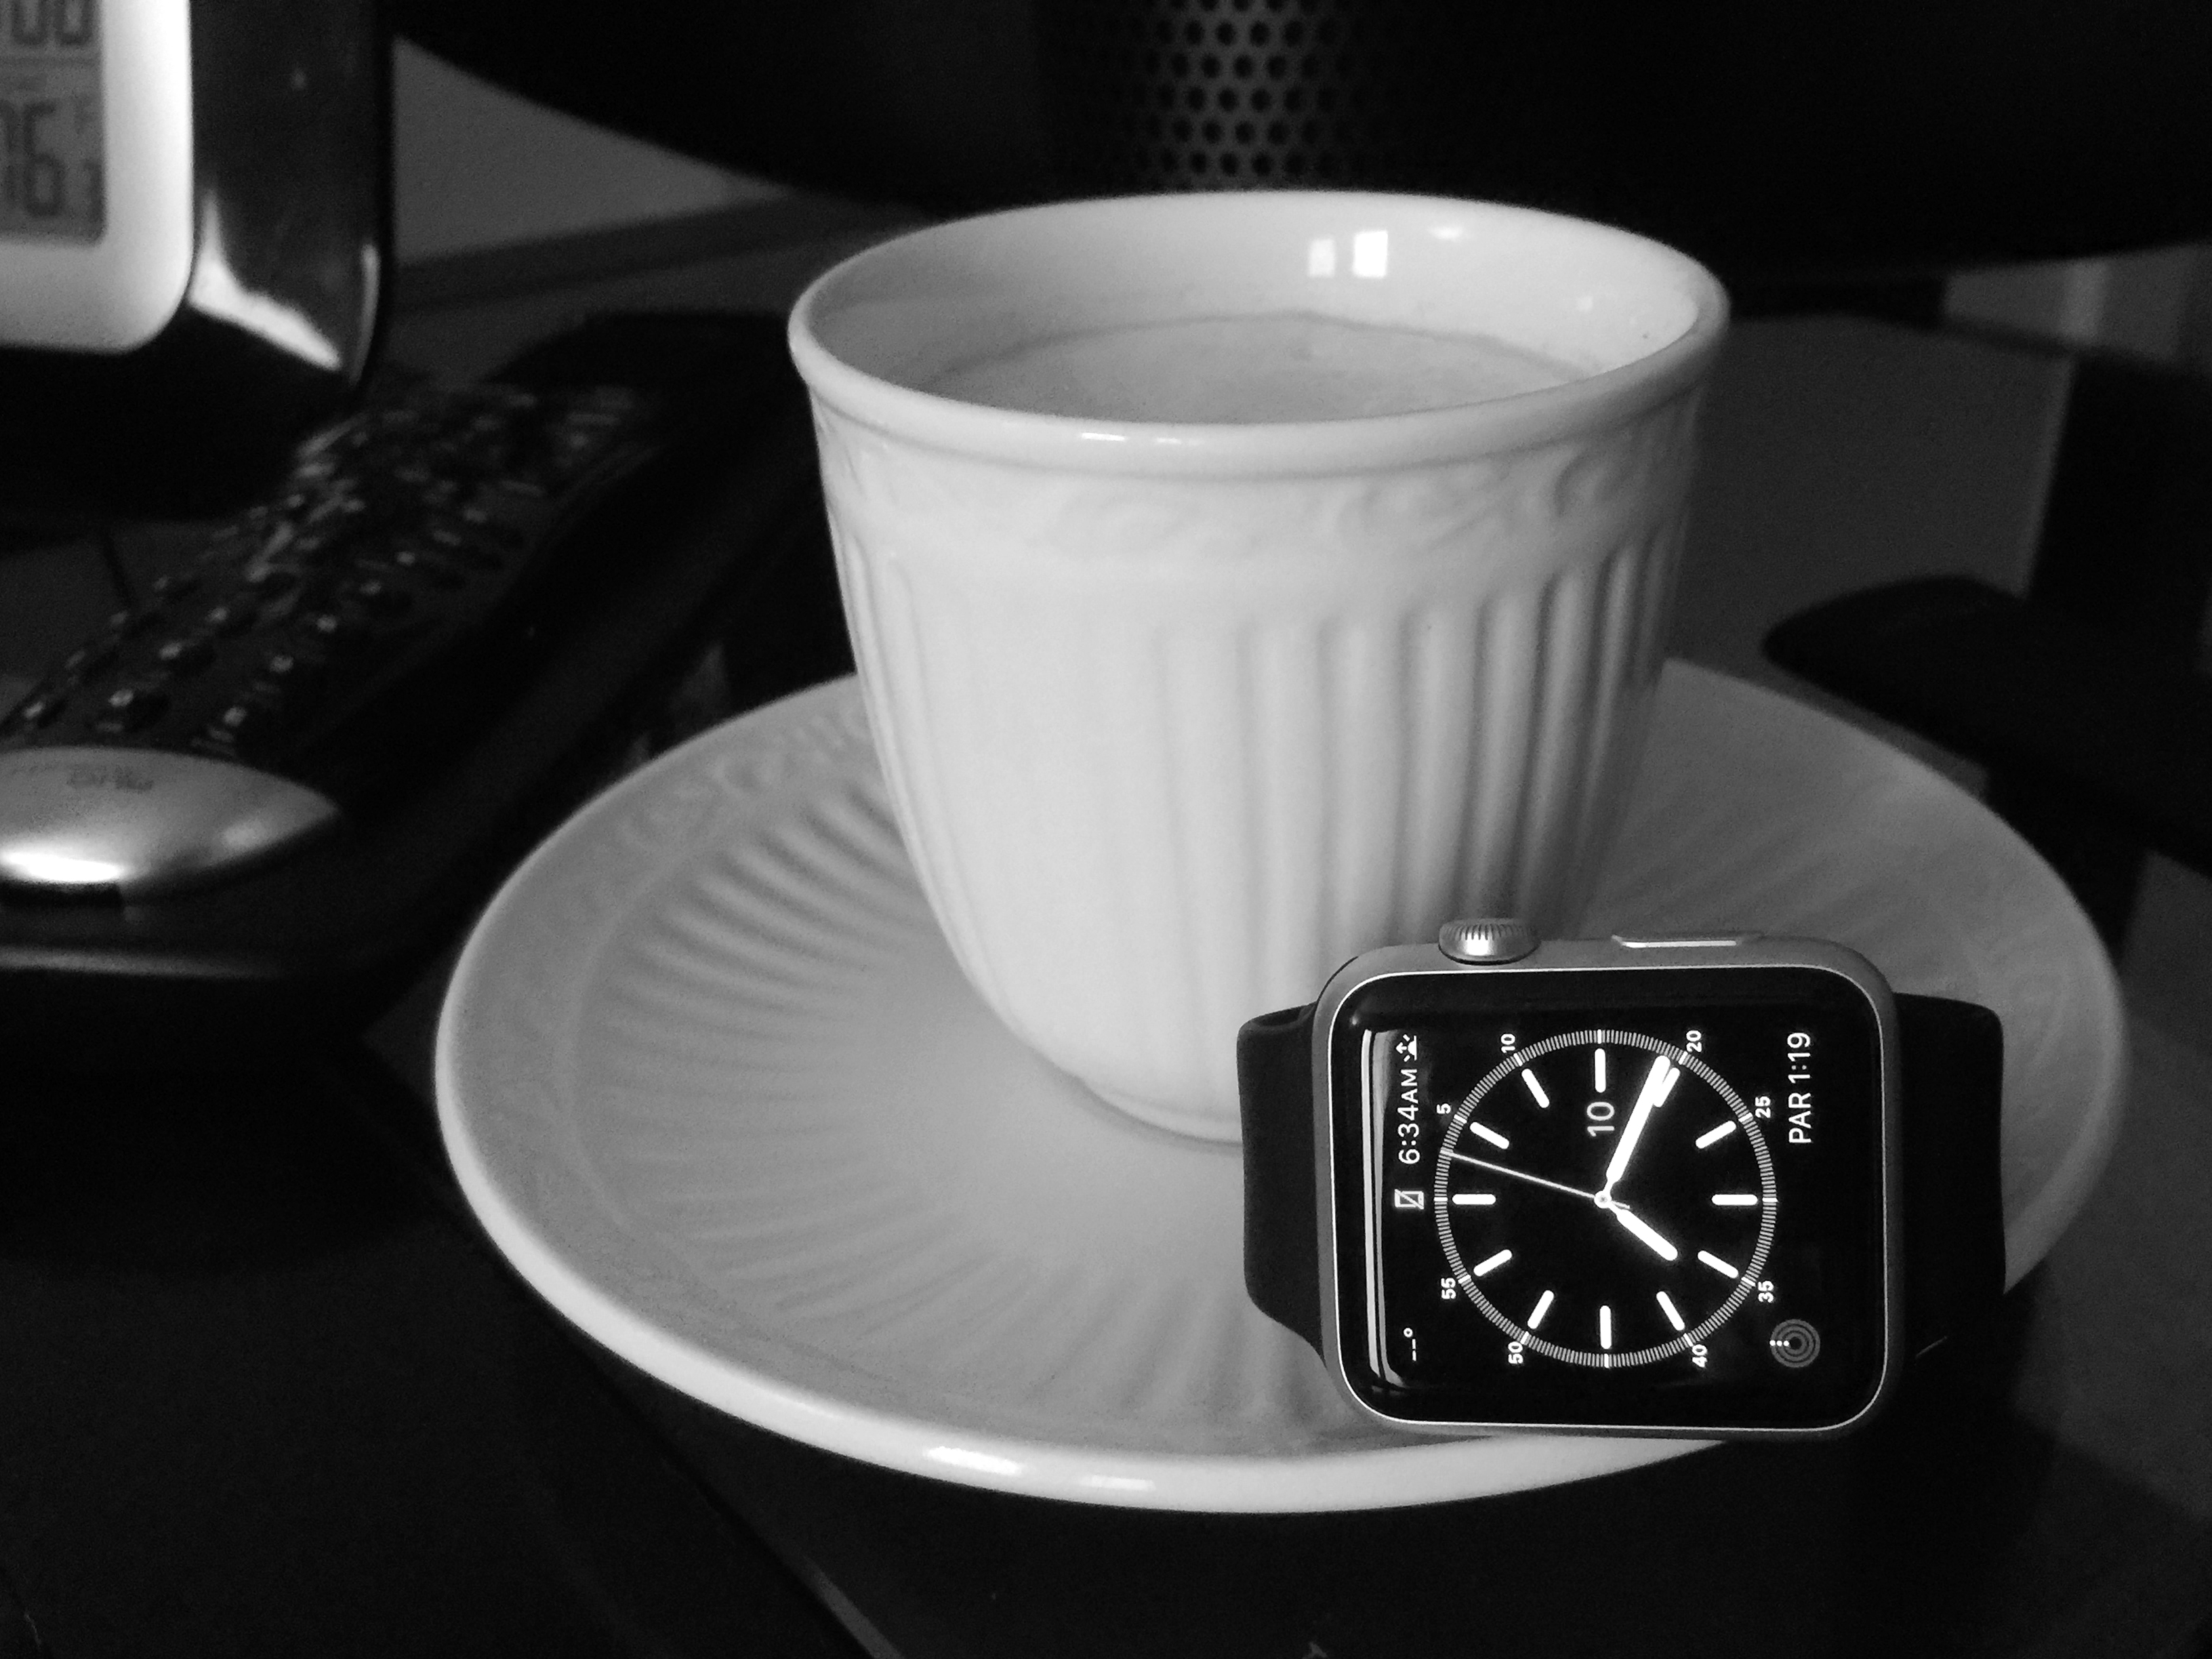
Although I have a very small wrist I still prefer the larger 42mm sport watch.
7 reasons why any woman with children should wear Apple Watch
1: You don’t need to hold your phone in one hand and baby in another hand. Wearing Apple Watch you can concentrate ALL your attention on your child and stay online. You can use your favorite apps such as Instagram, Weather, Cozi Family Organizer, Music apps, and much more.
2: Your favorite shopping lists and coupons are on your wrist, such as Walmart, Target, Groupon!
3: Games for your and your child.
4: Apps for your exercise such as Runtastic GPS Running, Strava Running and Cycling- GPS Run and Ride Tracker, Workout Trainer and much more!
5: Relaxations Apps for you and your child such as Relax Melodies: Sleep zen sounds and much more!!
6: Apple Pay: You can pay at store using Apple Pay.
7: Messages: using Apple Watch message app you can stay connected with your family and friends without any interruption and not taking your attention away from your children! Using Apple Watch Messages app you can reply to any of message simply speaking your response and Apple Watch will send your message as audio or text response!!!

7 Reasons to every business woman to wear Apple Watch
Wearing Apple Watch you will stay on track without any interruption!
1: Productivity :
Keynote, Hours Time Tracking, Salesforce Analytics, 1Password and more..
2: Travel:
Expedia Hotels, FlightTrack, Priceline.com, Uber, Passbook, and more..
3: Communications:
Twitter, Meetup, WeChat and more.
4: Health and Fitness:
Workout, Nike + Running, Runtastic PRO GPS and much more!!
5: Apple Pay!!!
6: Online Banking
7: News:
CNN, NYTimes, The Wall Street Journal, ESPN and more…
7 reasons why any creative woman should wear Apple Watch
1: Adobe apps:
Creative Cloud, Behance, Adobe Color CC
2: Shoot, Share & Print:
Camera + Photo & Video, Pro Camera & + HDR and more!
3: Learning on the Go:
Meetup and more..
4: Stay Connected:
Twitter, Instagram and more!
5: Productivity:
Lumy – Helps You Track Photographic Times, and more…
6: Apple Pay
7:Productivity :
Keynote, Hours Time Tracking, Salesforce Analytics, 1Password and more..
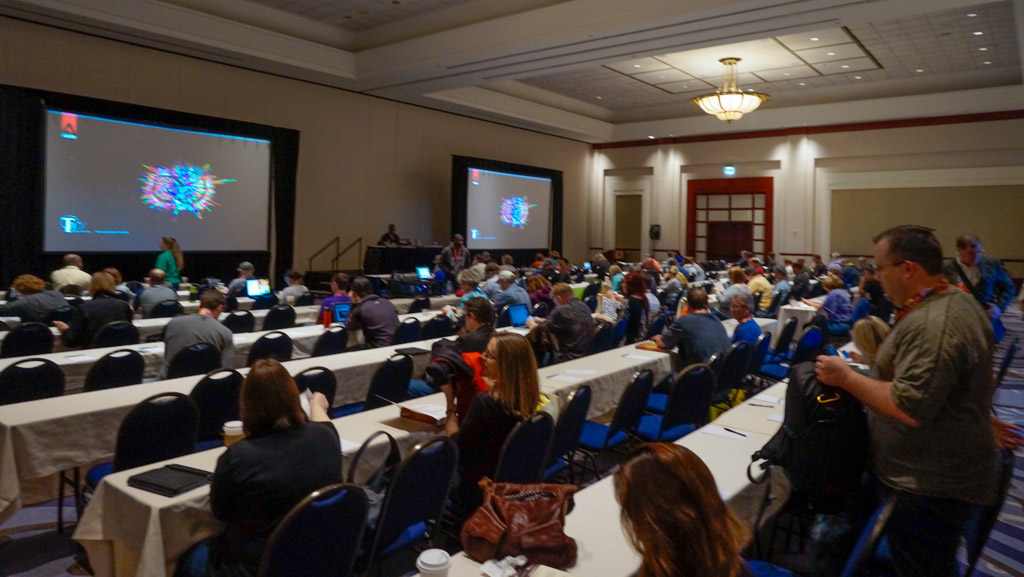
5 reasons to attend Photoshop World 2015
1: Just in a few days you will learn more than you can learn for few years. Life experience, photo sessions, and meeting new creative people, A LOT of energy and inspiration.
2: You will learn in a friendly and welcoming atmosphere “directly” from leaders in industry such as Scott Kelby,Terry White, Joe McNally, Bert Monroy, Larry Becker, Julieanne Kost and more! After any class you are able to meet instructor, ask questions ( and take a selfie 🙂 )
3: Networking opportunity: if you a freelancer or a business owner, networking is everything to you. Through networking you have the opportunity to meet new people, makes new friends and let people know about you. Show your portfolio and ask for their professional opinion about your work. And ALL OF THIS IS INCLUDED.
4: Discover and learn all the latest tips and techniques from Design or Photography industry from World leaders exhibits such as:
Adobe
B&H
Arkon
Dolar Photo Club
Epson
and much more
5: It’s a lot of FUN!
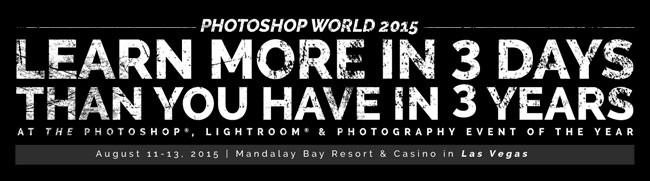
If so you can SAVE $50 by registering here with the Discount Code: TerryWhite50
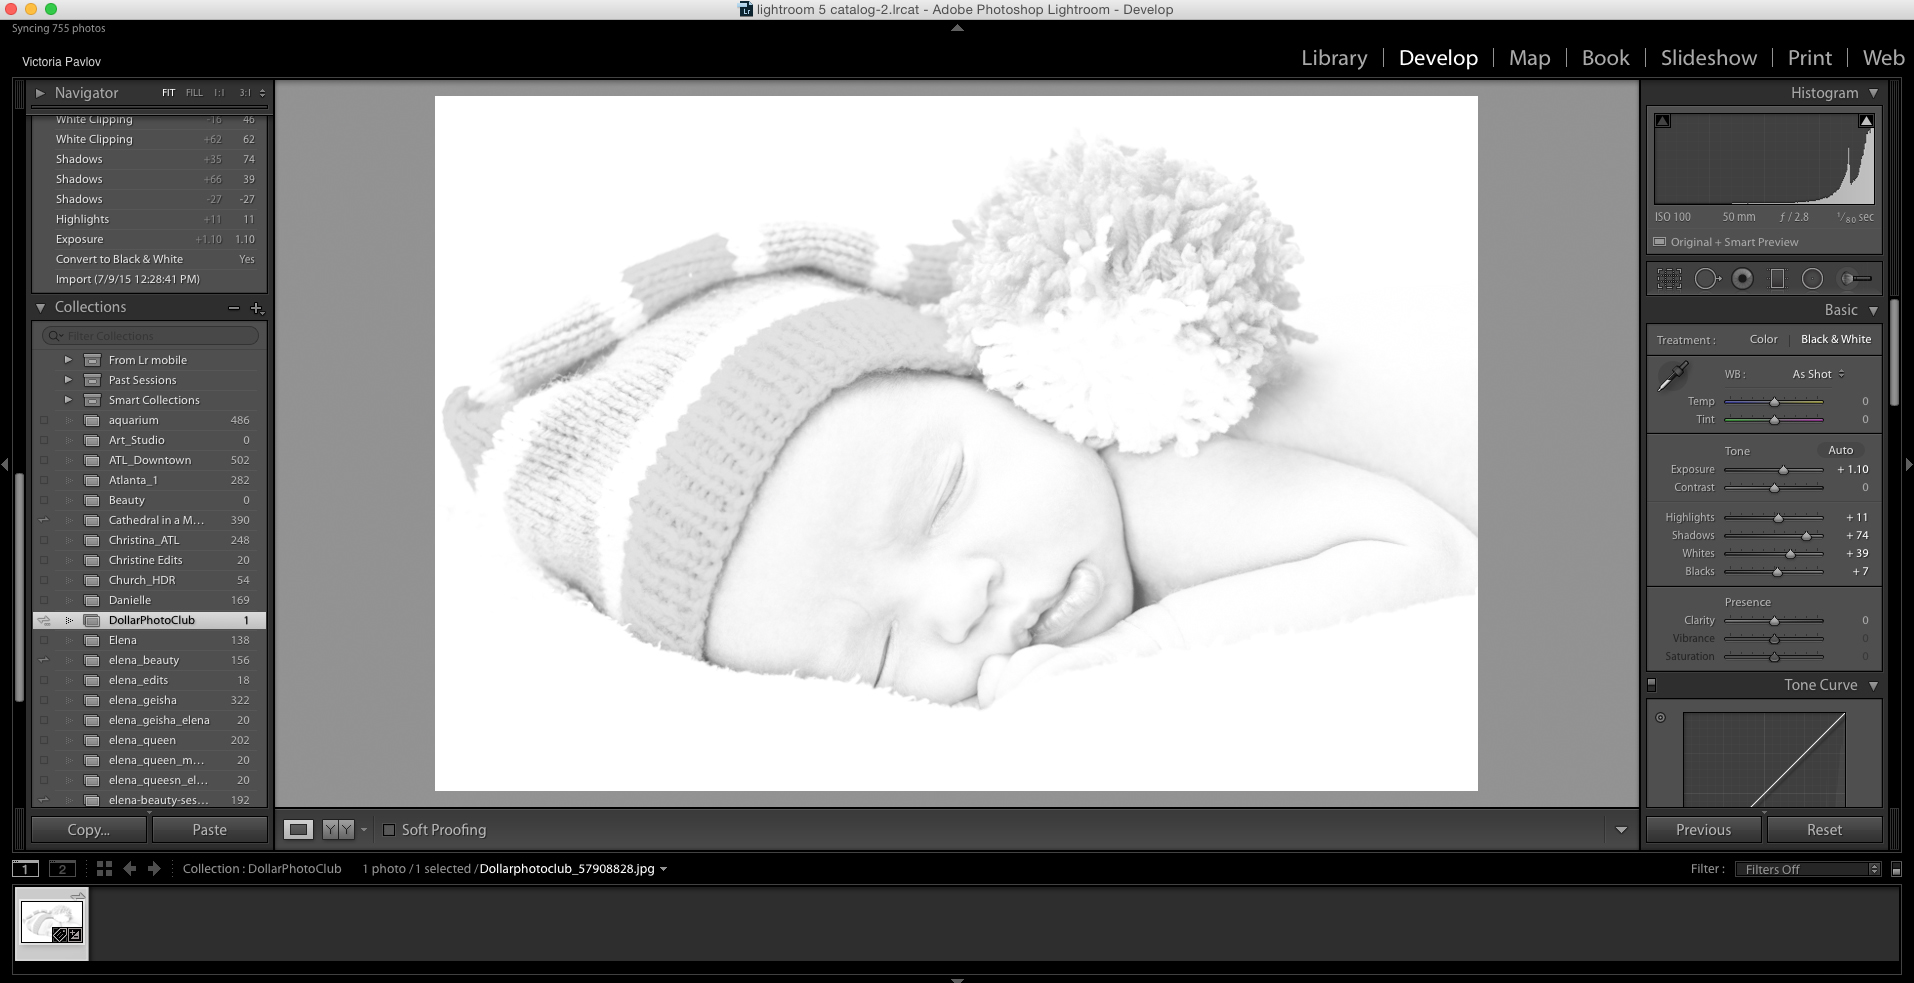
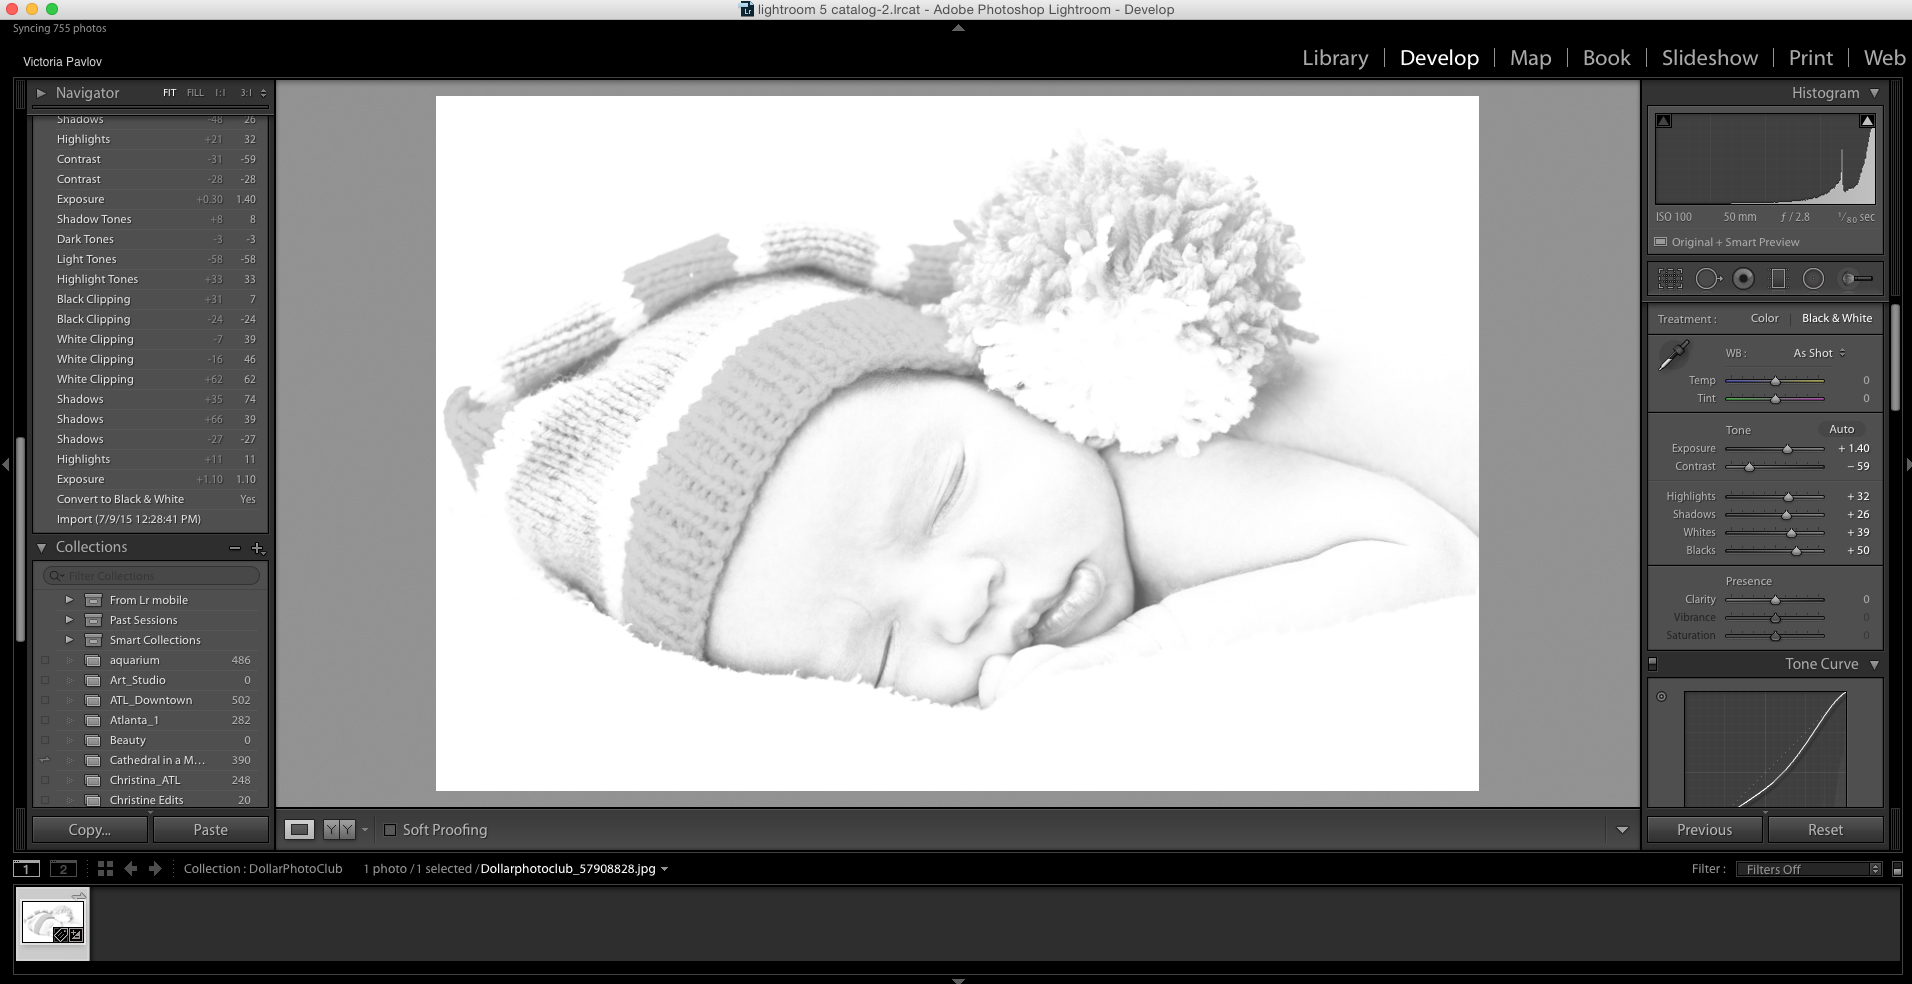
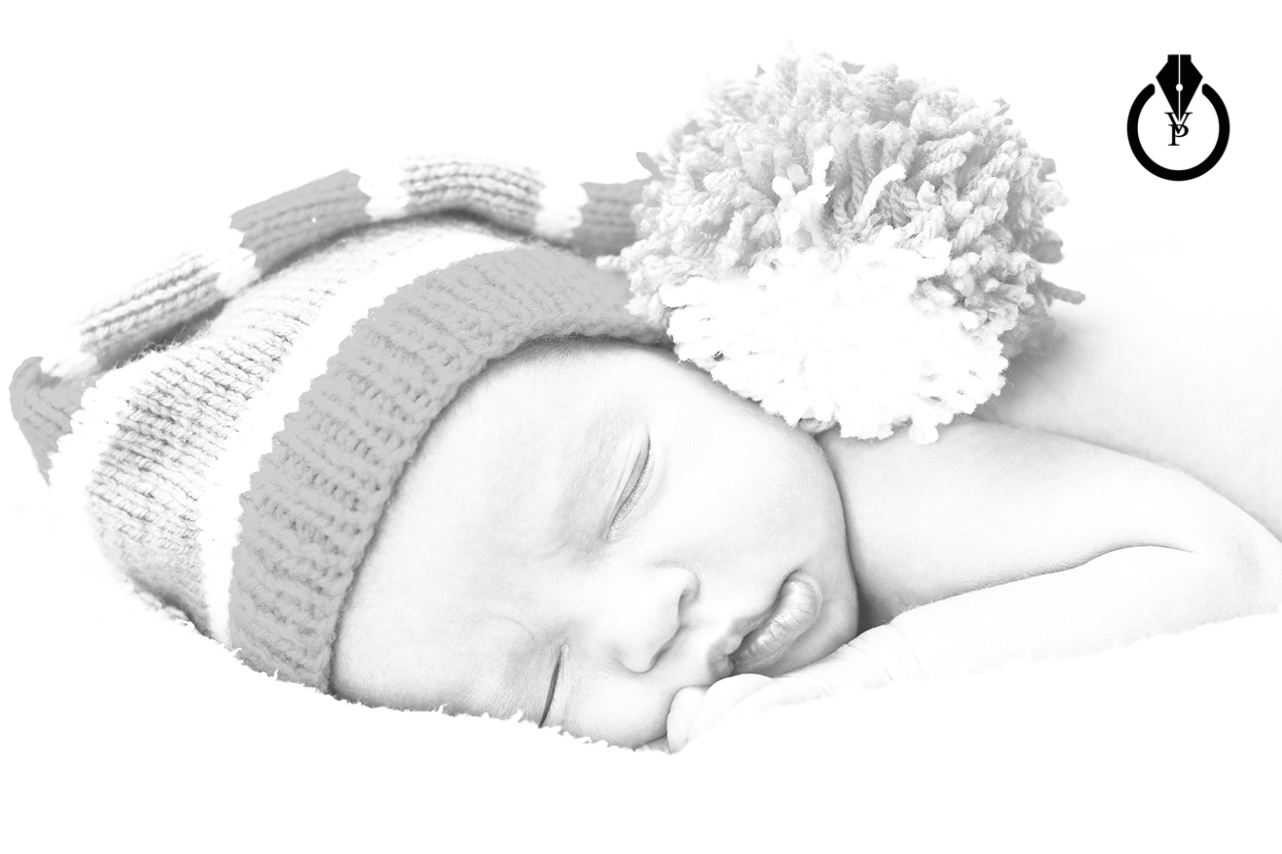
Step by step tutorial how to convert your photo into a drawing using Adobe Lightroom CC:
1: Open your image in the Develop module ( I am using Adobe Stock image #57908828
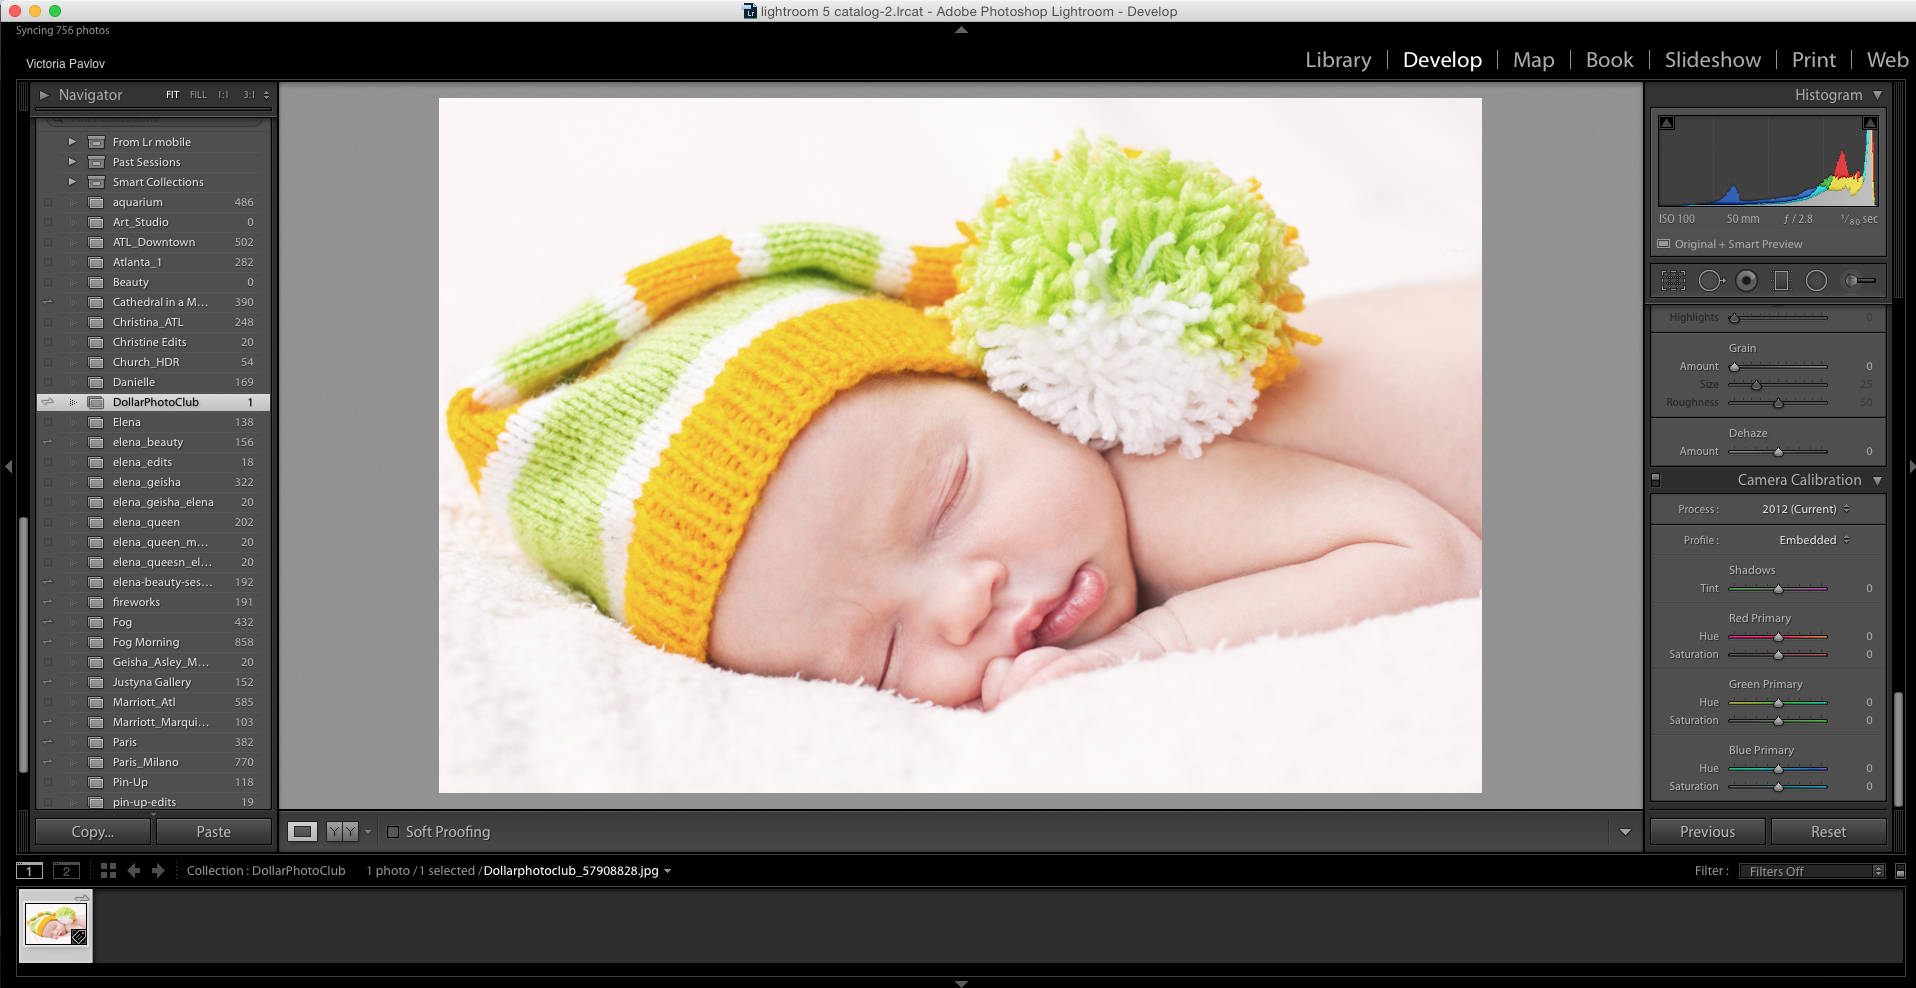
2: Click on the Black & White Tab

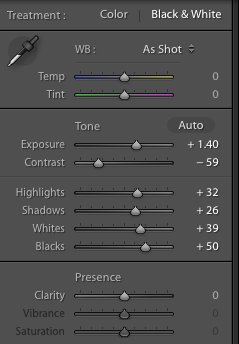
3: Apply the following setting
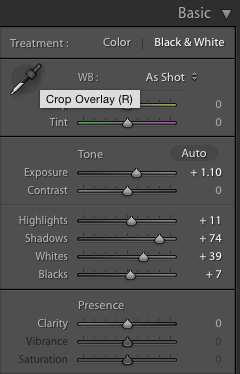
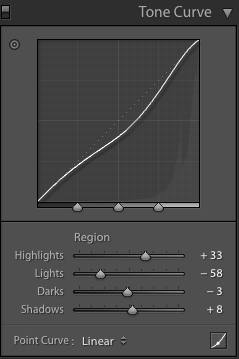
4: Using Tone Curve apply following setting
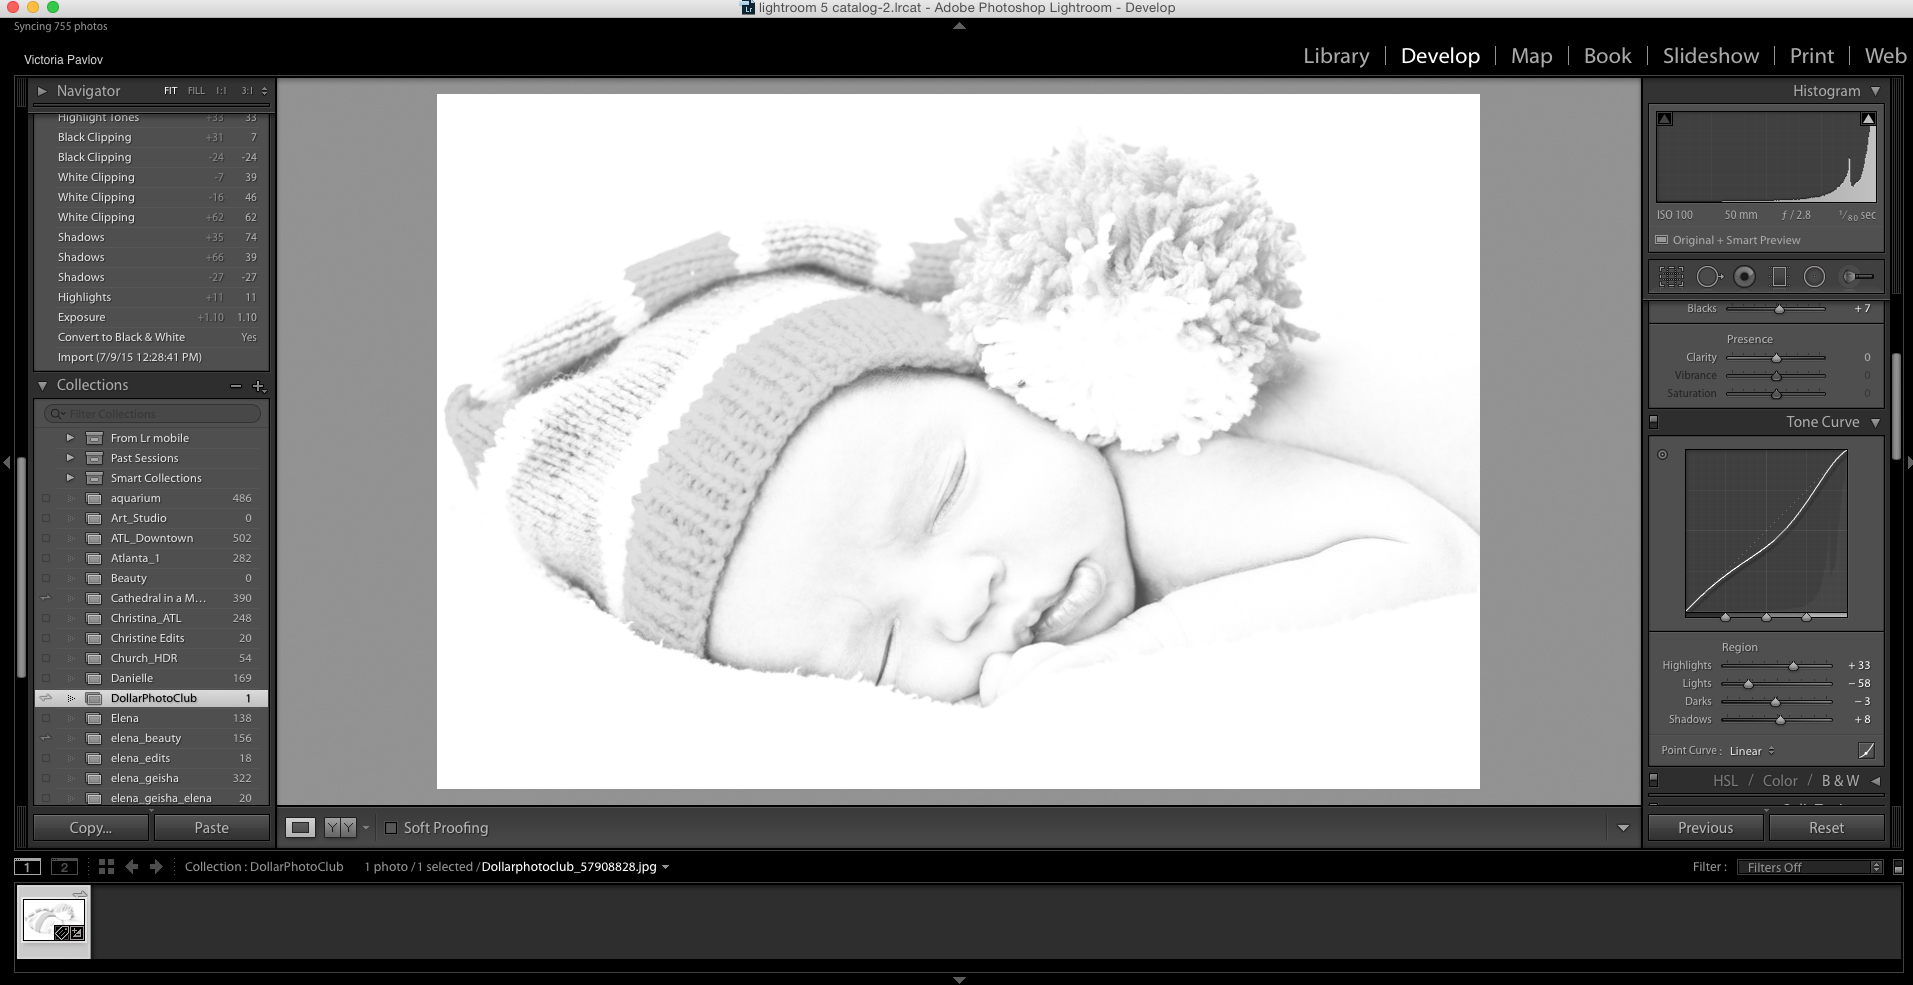
5: Apply the following Black & White Setting

Samsung 64GB EVO Class 10 Micro SDXC up to 48MB/s with Adapter (MB-MP64DA/AM)
Download Adobe Lightroom
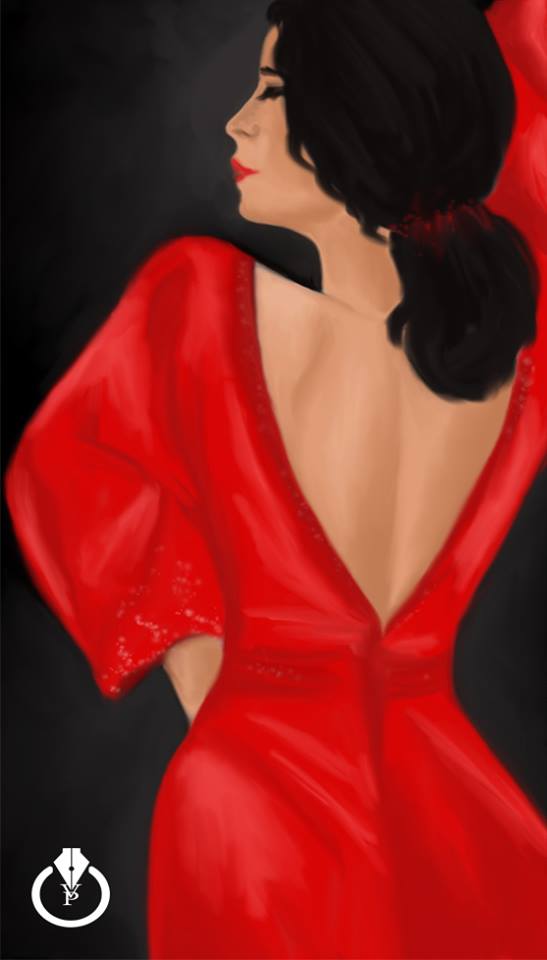
I always believed that we have reached the point that there are no more boarders between “traditional” and digital art. Using Moleskine and Adobe apps we can jump from a “traditional” pencil painting to digital painting using Adobe Photoshop CC.
I started my project using the Moleskine Smart Notebook (Creative Cloud connected )
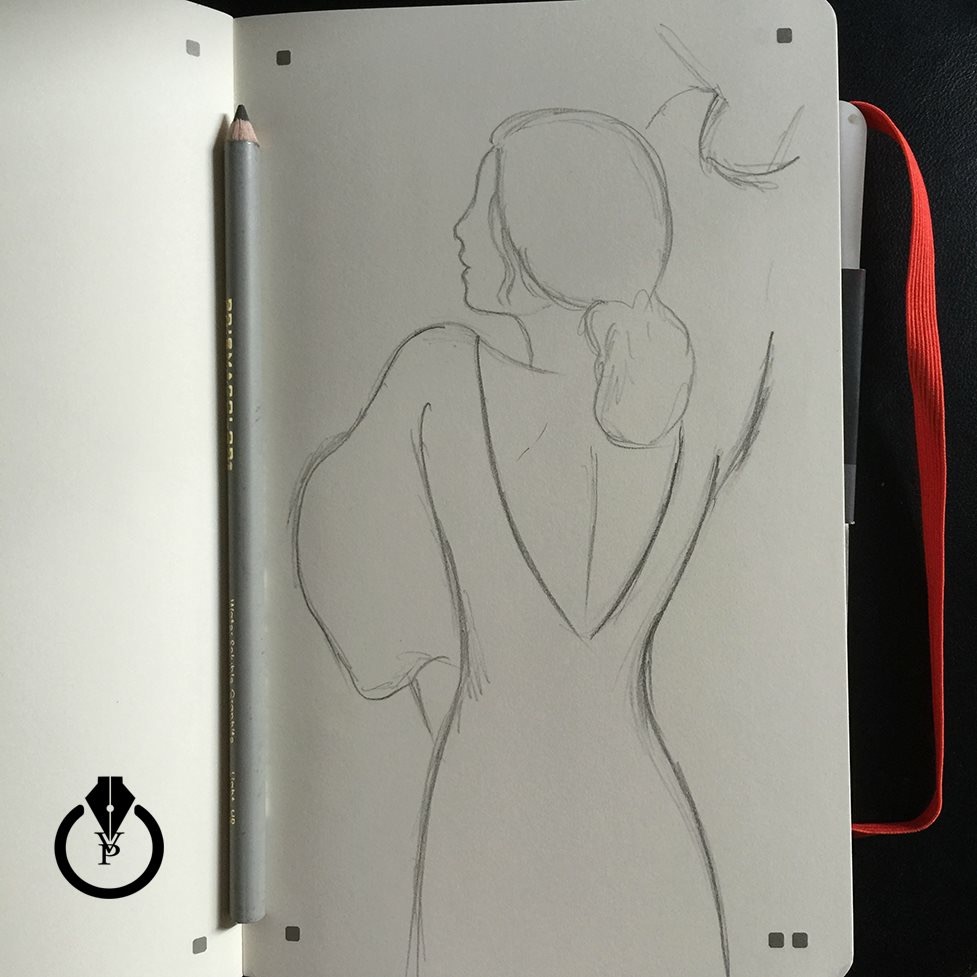
Using the FREE Moleskine, a Creative Cloud connected app I took picture of my sketch . The image was saved in my Creative Cloud folder.
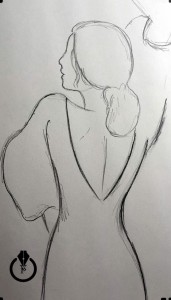
And I finished my project in Adobe Photoshop CC using a Wacom Tablet
Wacom Intuos Pro Pen and Touch Medium Tablet (PTH651)
Wacom Cintiq 13HD Interactive Pen Display (DTK1300)
This year I went to a local park for a 4th of July fireworks display. I pretty much got some nice images using my Nikon and Terry White’s firework shooting settings. But it doesn’t matter how good your settings are we still cant avoid the smoke in our fireworks pictures. Thanks to the Dehaze effect in Adobe Lightroom CC I can remove the smoke from my pictures in a second simply moving Dehaze effect slider to the right. Moving Dehaze slider to the right from 0 to +100 you are removing haze/smoke from your pictures. Moving the Dehaze effect slider from 0 to -100 you can add a haze effect to your pictures.
![]()
See it in action here:

Click on + icon

Click on Camera Roll icon
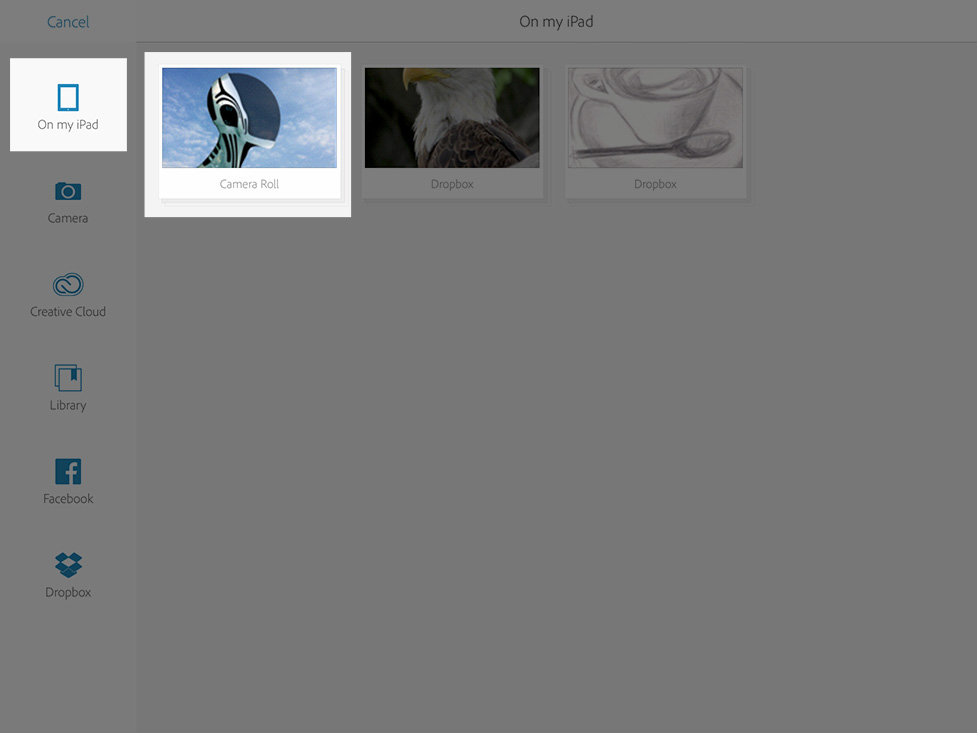
Choose your first ( and it will be our background ) image
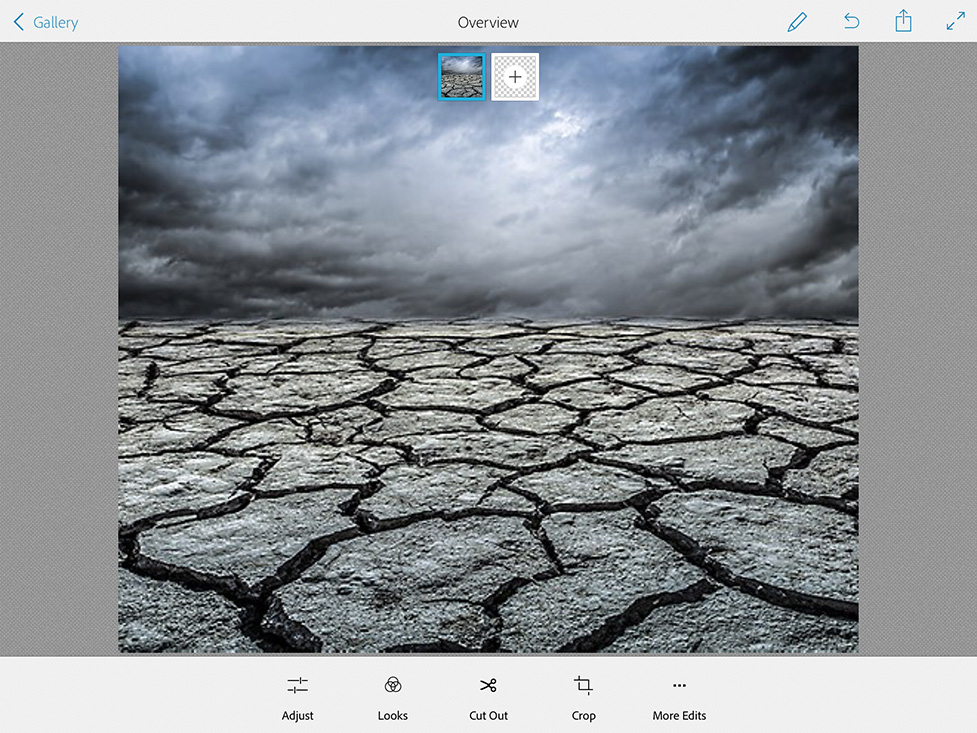
Resize your image
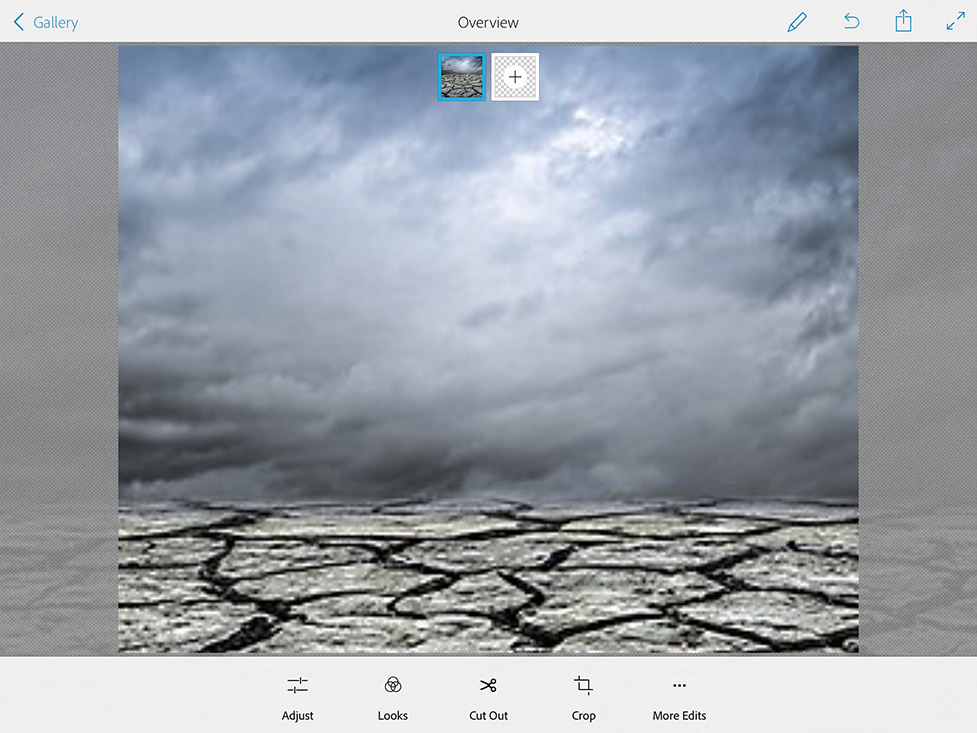
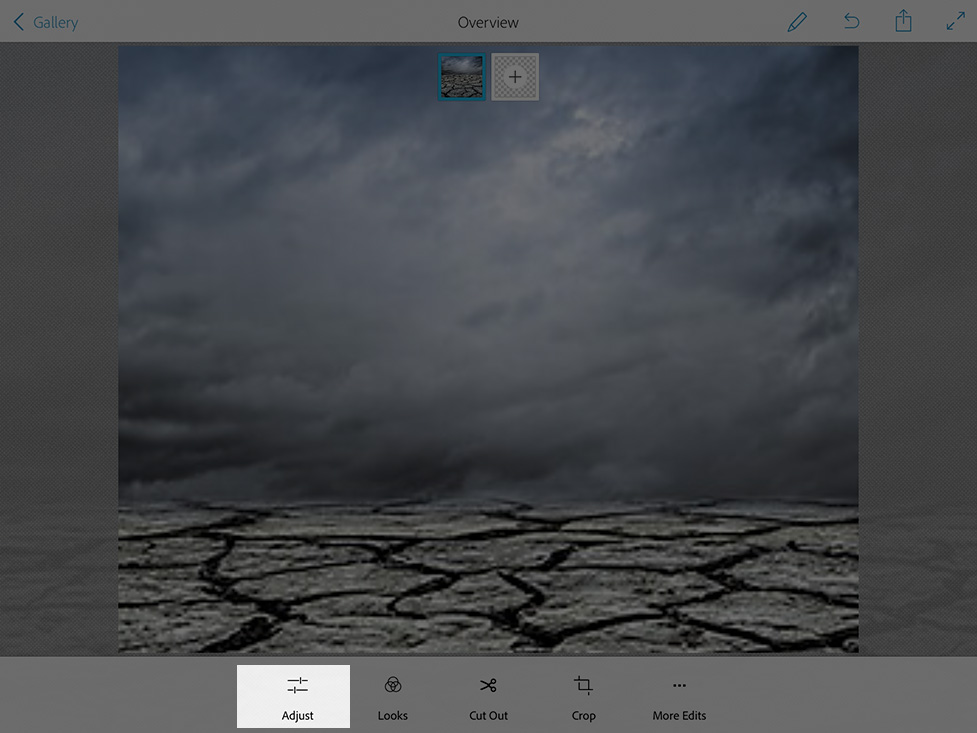
Adjust > Exposure ( move exposure’s slider all way to the left to apply the Night Time Effect to our background layer)
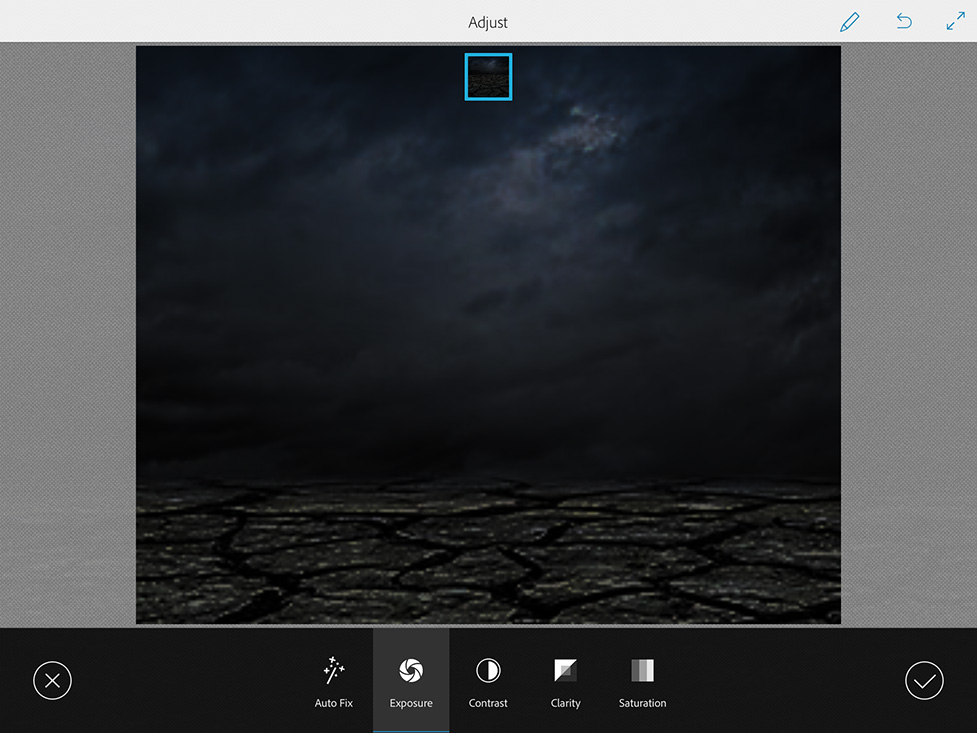
Click on the second layer icon and add your second image
Click on Cut Out icon. Now we need to remove the Moon’s background.
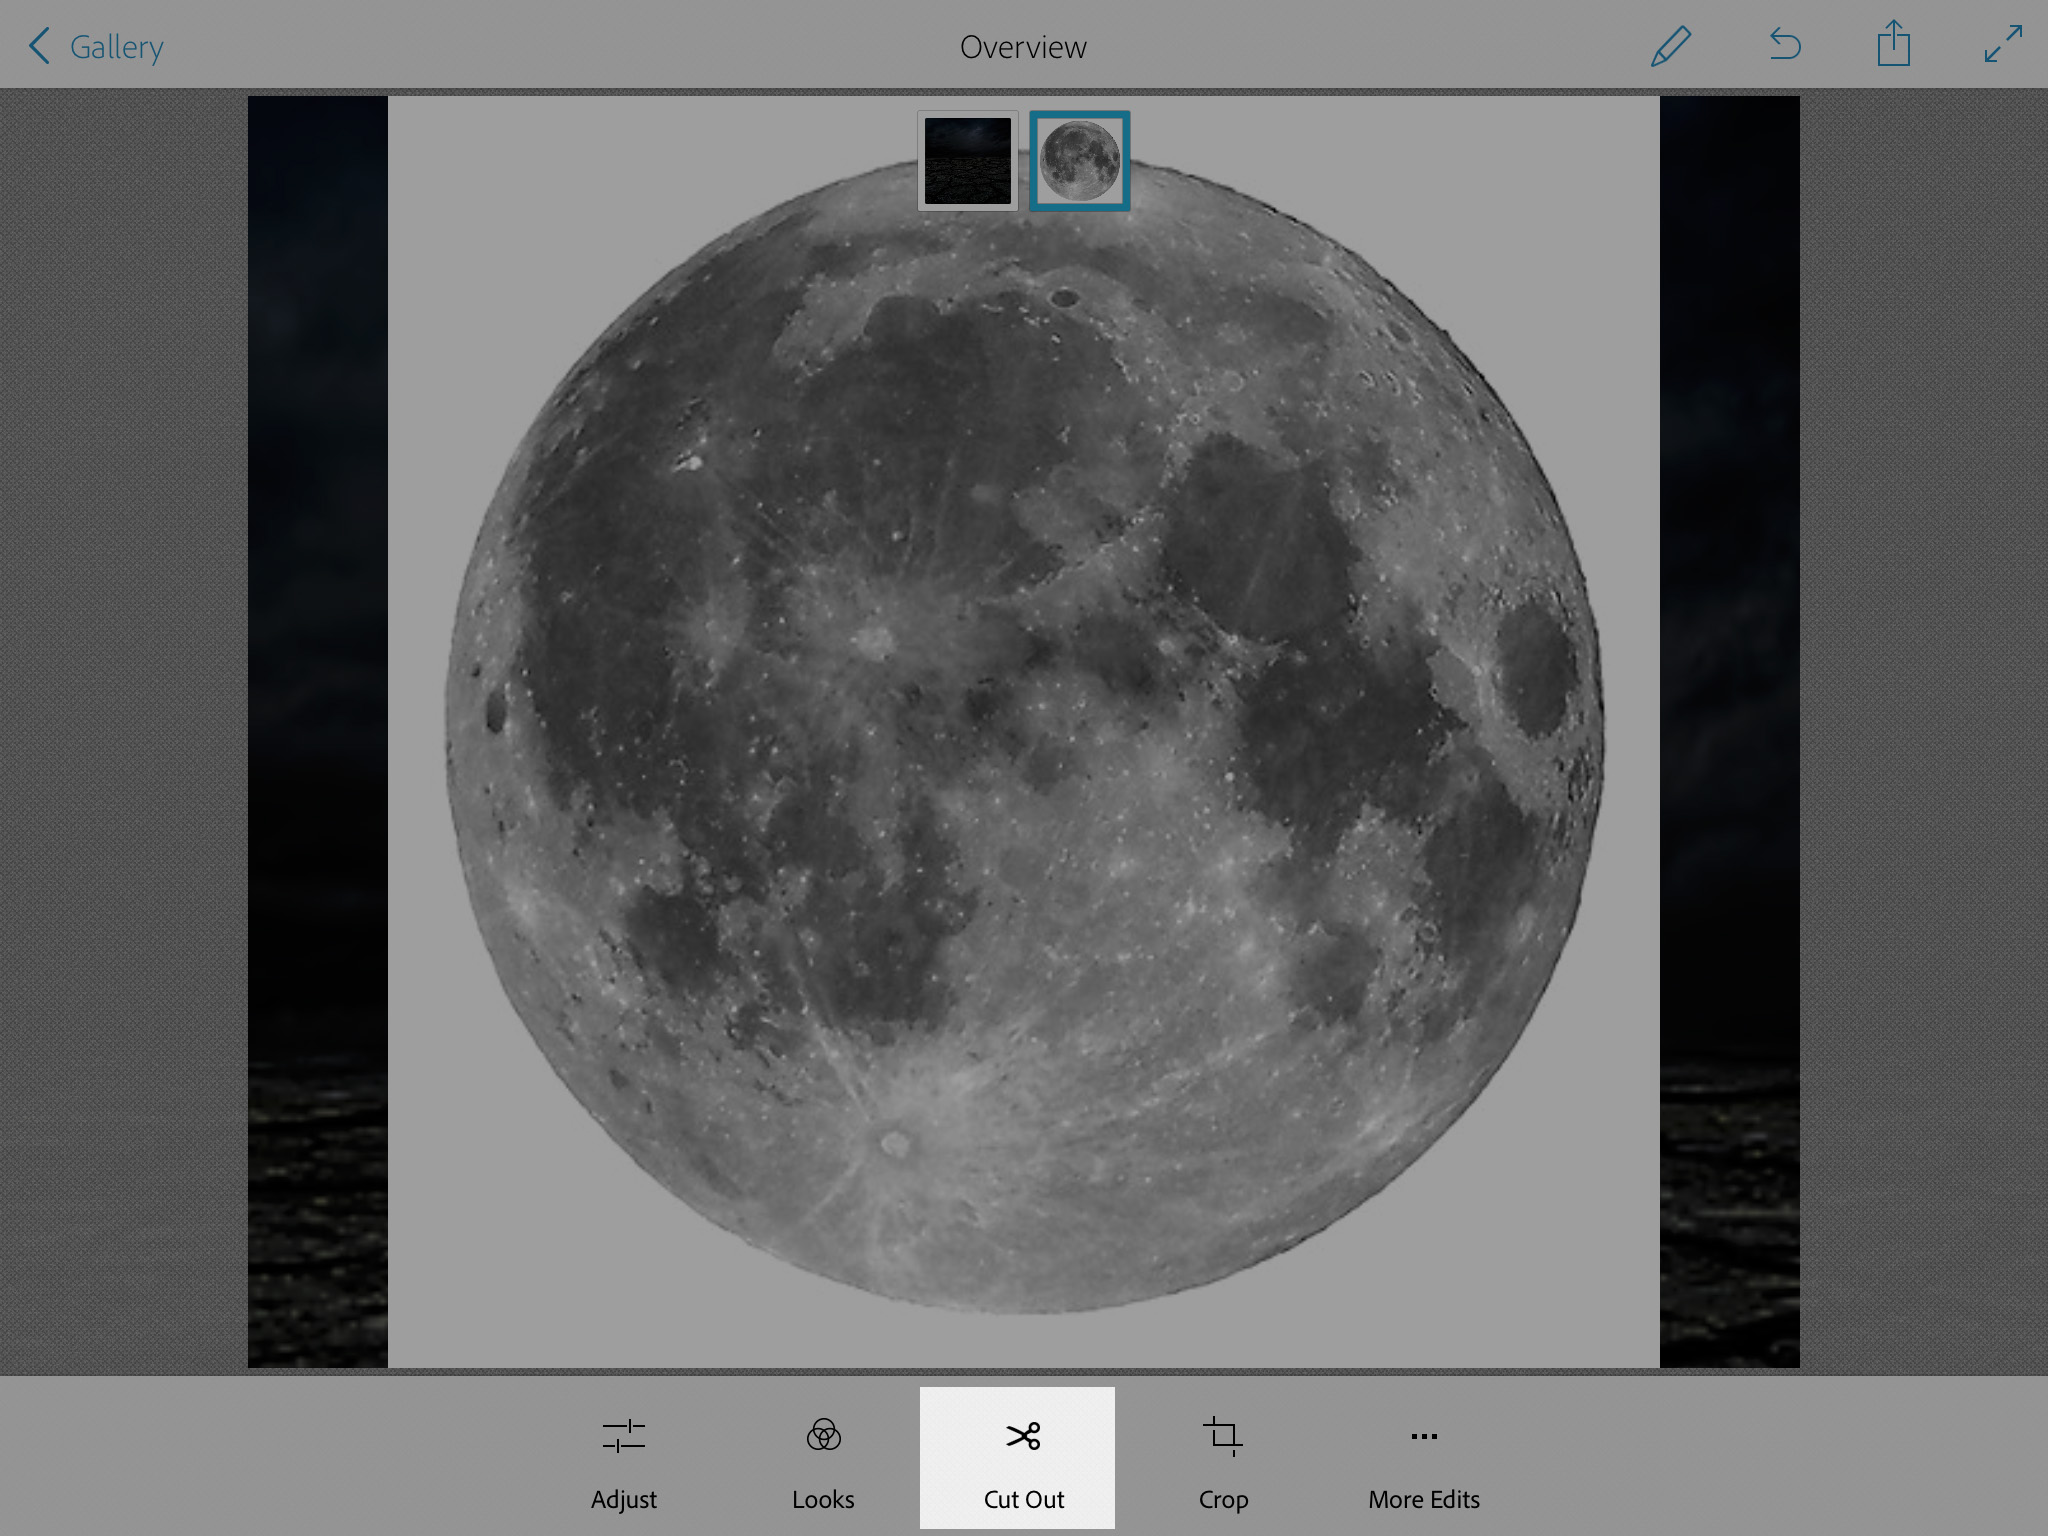
Resize the Moon’s size
Adjust > Exposure ( move exposure’s slide to the left to make the moon darker )
Holding the Moon Layers move this layer over our Background layer

Now we have another “empty” layer. Click on the “empty” layer and chose the robot image
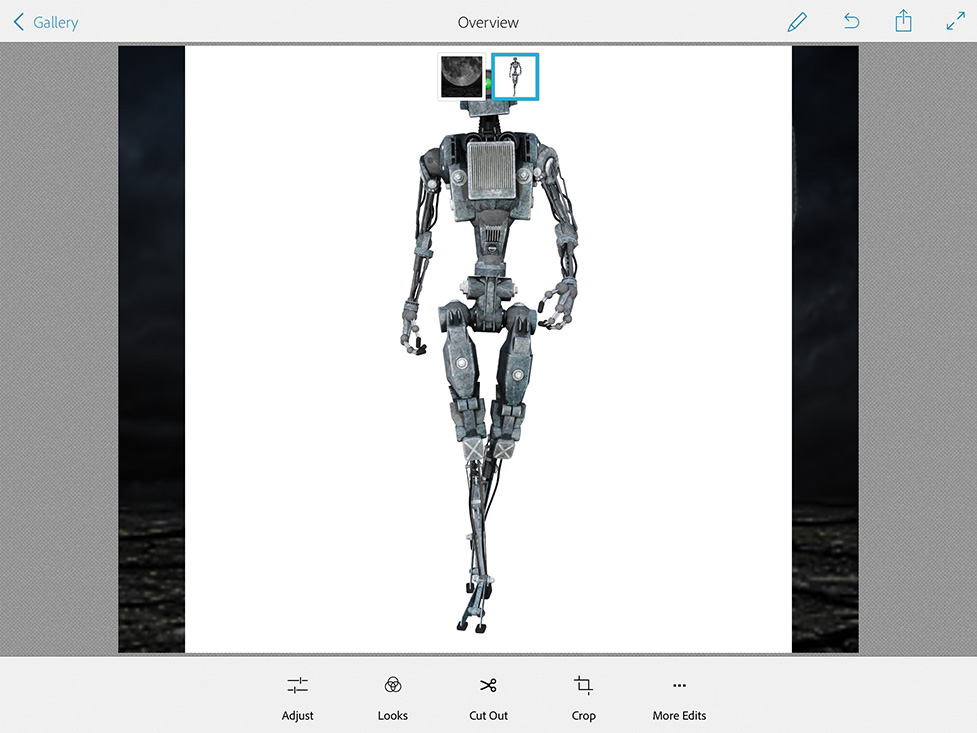
Cut Out > Remove Robot’s image background
Adjust > Exposure > Move Exposure slider to the left to make robot image absolutely dark

Holding Robot Layer icon move this layer over our First layer
Click on Looks icon > Natural + look
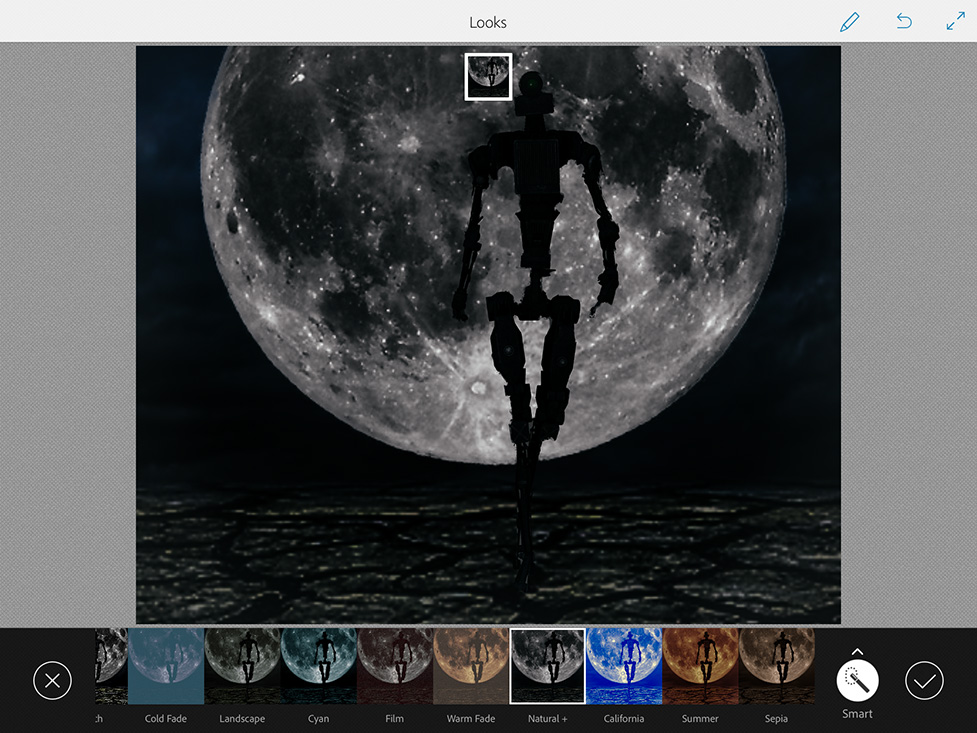
Adjust > Saturation > Move slider to the left
Send to Photoshop > Your image is Stored in your Creative Cloud Photoshop Folder
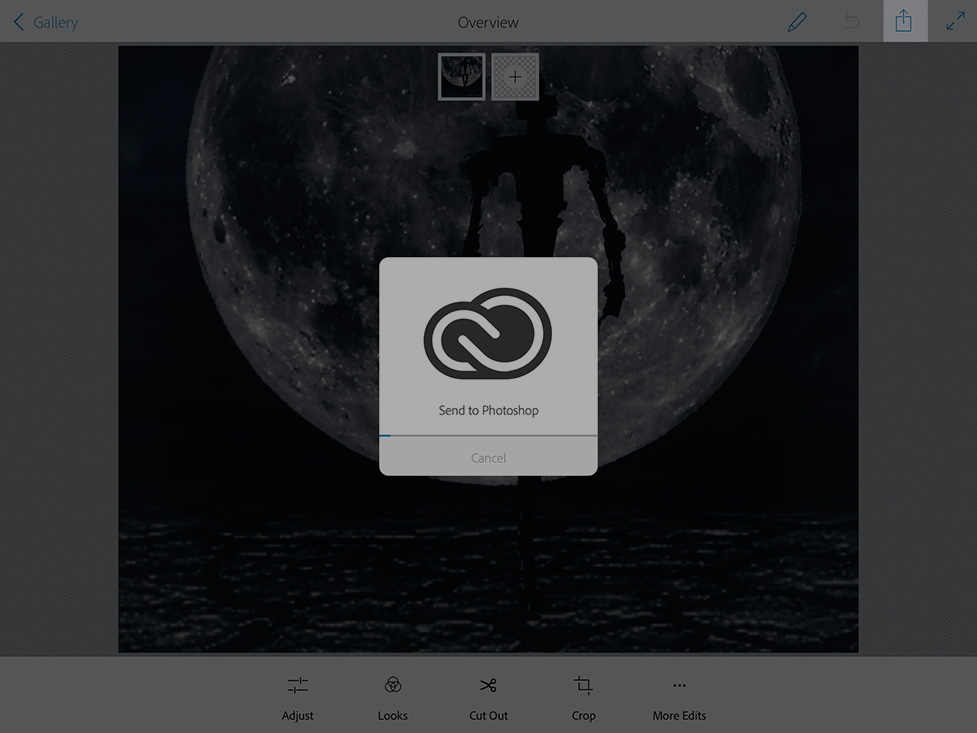
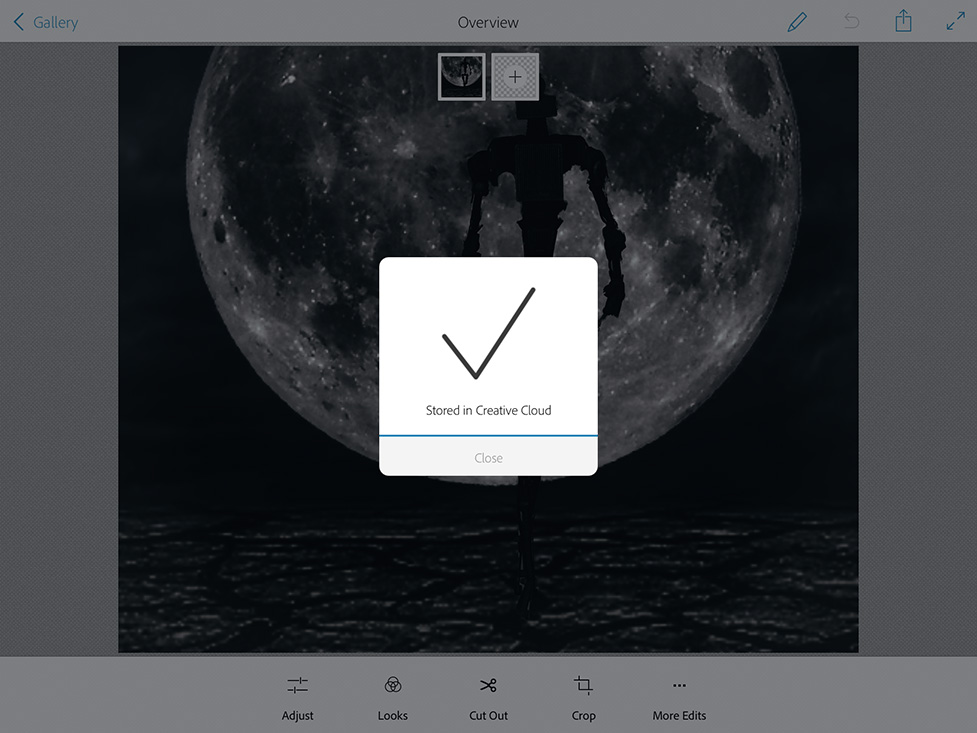
Open your Photoshop Mix image in Photoshop
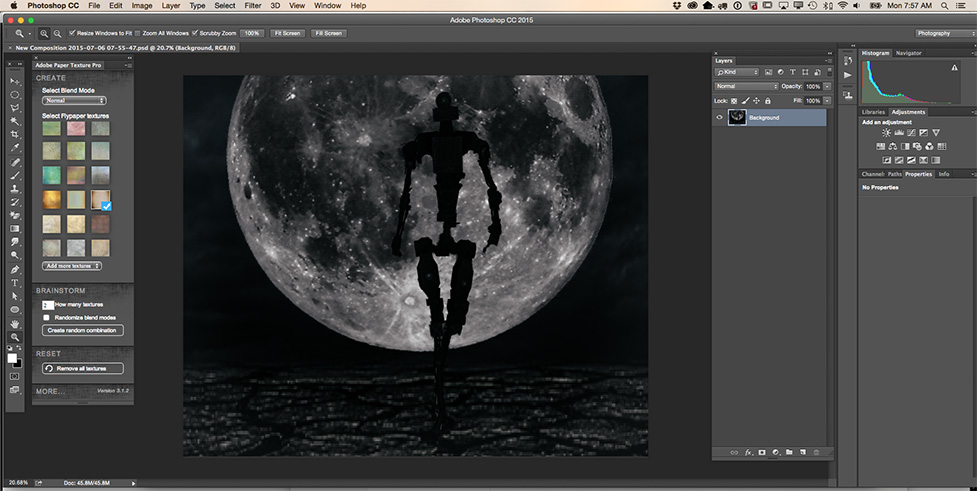
Adobe Paper Texture Pro
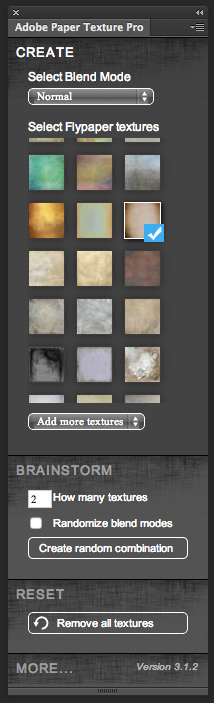
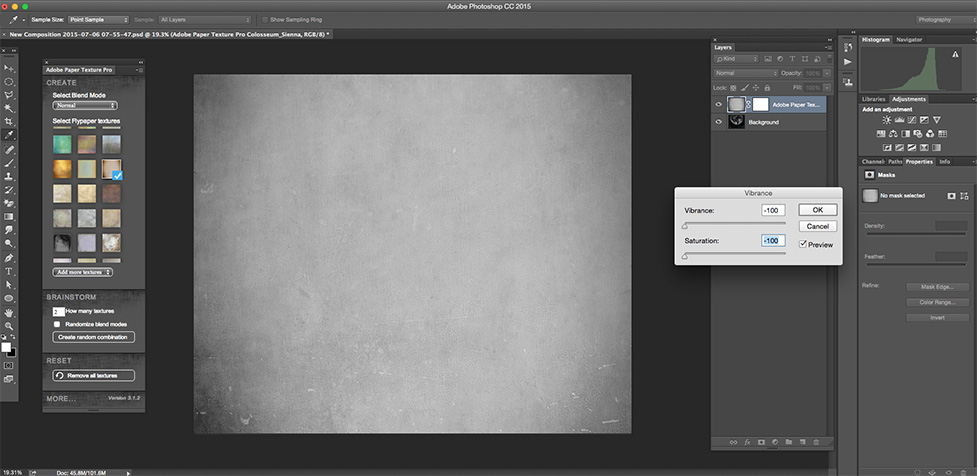
Chose any paper texture you like to work with > Image > Adjustment > Vibrance
Make Layer opacity = 67% > Gradient Tool ( with opacity = 18% )
![]()
Apply mask to highlight the moon and robot
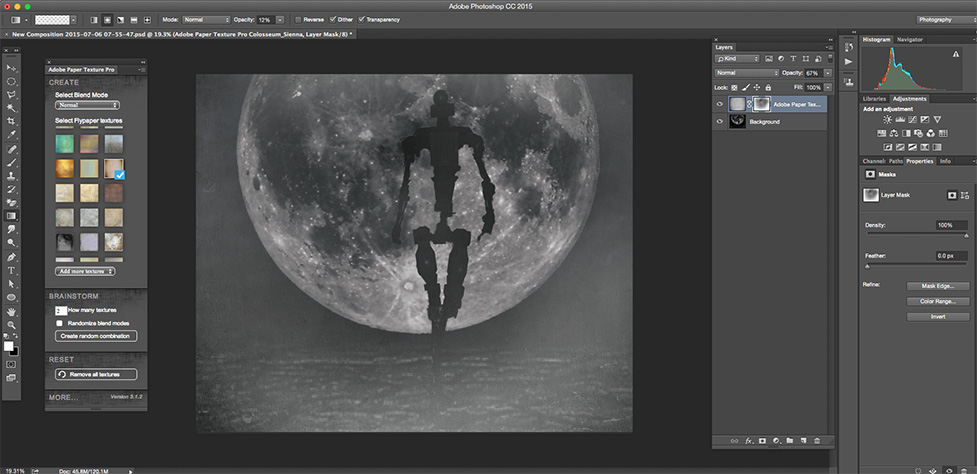
Adjustment Layers > Exposure

Fireworks


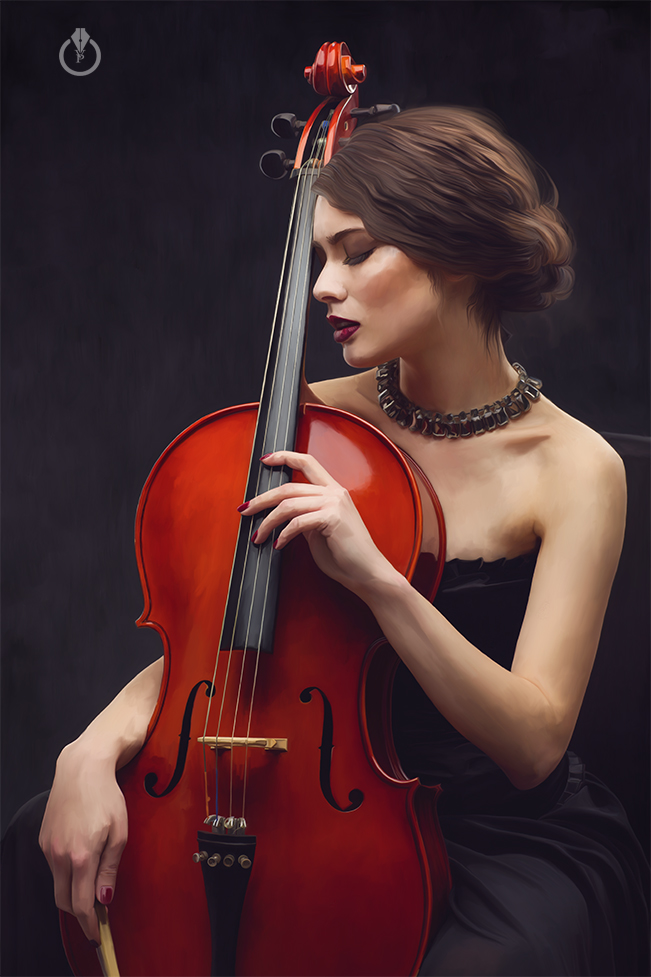
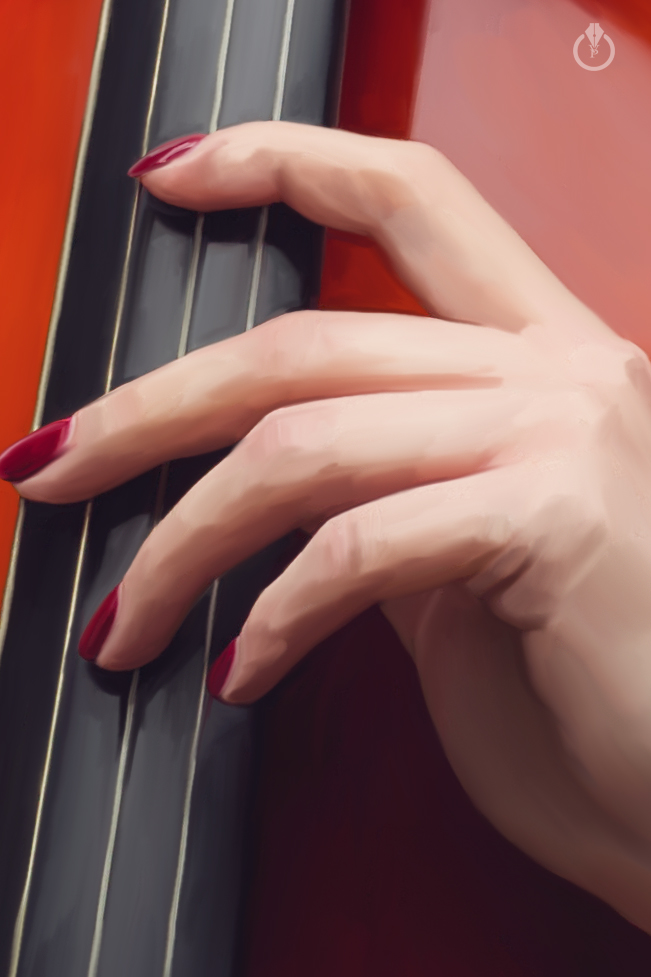
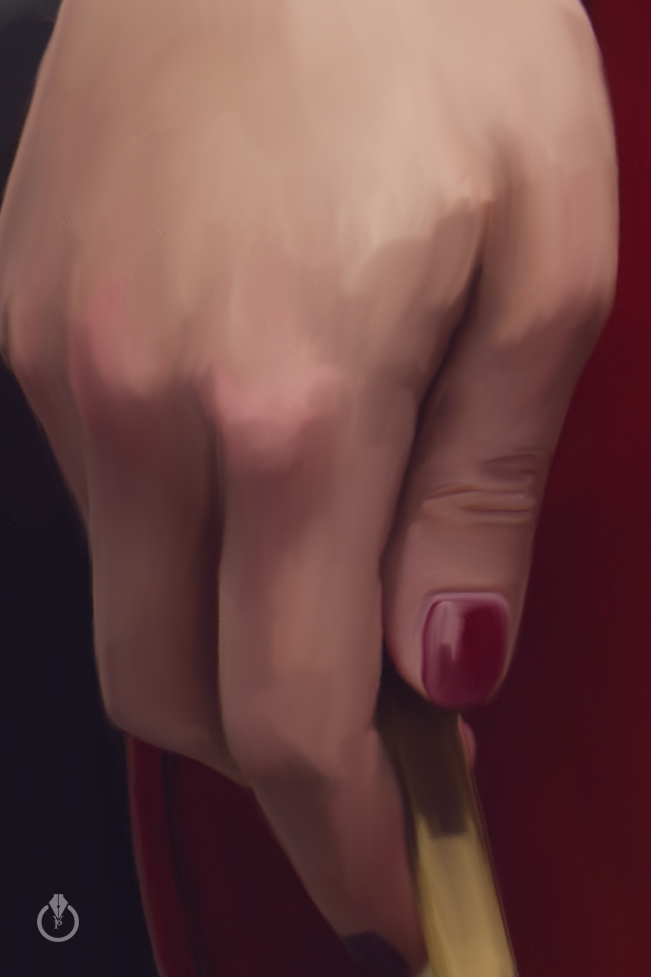
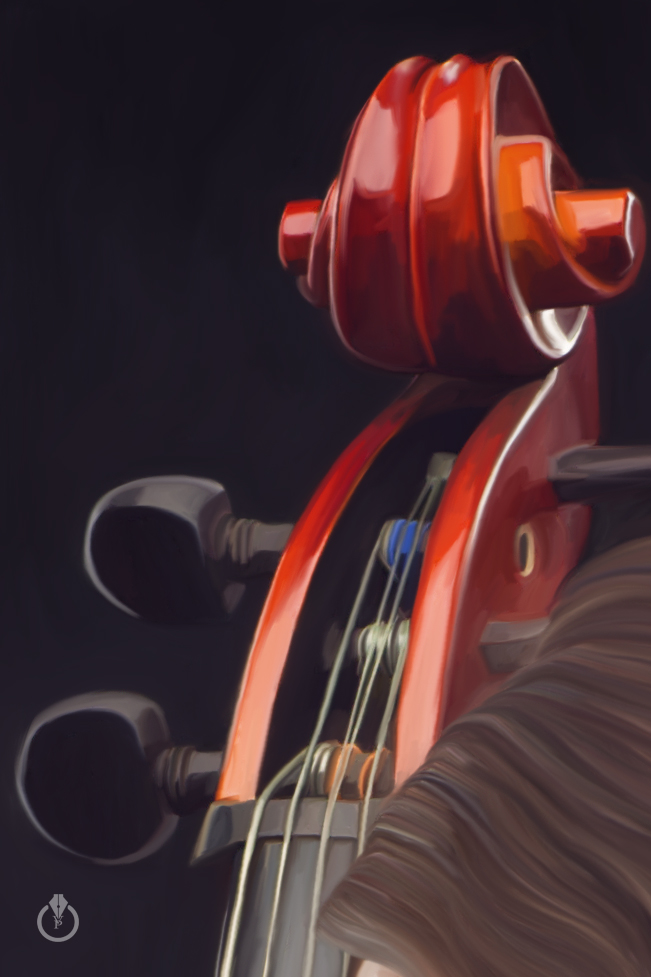
Musician painted in Adobe Photoshop CC and Wacom using Mixer Brush Tool