My Black Panther fan art painted in Adobe Photoshop CC with Wacom Cintiq


My Black Panther fan art painted in Adobe Photoshop CC with Wacom Cintiq
I’m very please to announce my NEW online training site! “Everything Digital”

About my training site: my main goal is inspire you and make your digital workflow more enjoyable. All of my tutorials are recorded in a conversational manner. No “robotic” talking head tutorials. I want to have a conversation with YOU. I want to make the learning experience more enjoyable. Here you will find different tutorials: from beginner to advanced level. I believe that the learning experience is suppose to be enjoyable and a two-way conversation.
In my All Digital course you will be able to access all of my courses for one monthly payment of $15.00
My Books on Amazon:
Digital Painting for Photographers in Adobe Photoshop CC
Adobe Mobile Apps
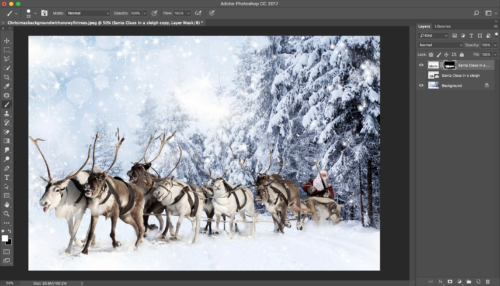
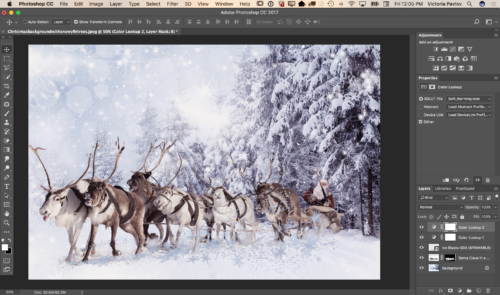
How to create a winter scene in Adobe Photoshop CC using Adobe Stock images and a 3D object from PixelSquid.com
 In this tutorial I will show you how you can create a winter scene in Adobe Photoshop
Adobe Stock images I downloaded for this tutorial:
FILE #: 45012599
FILE #: 94046505
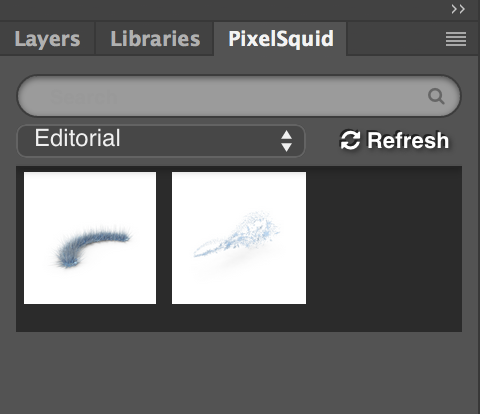
3D object I downloaded from PixelSquid
First of all I downloaded two images from Adobe Stock website. I downloaded those files as preview files and after I tried them out I licensed them directly within Adobe Photoshop CC
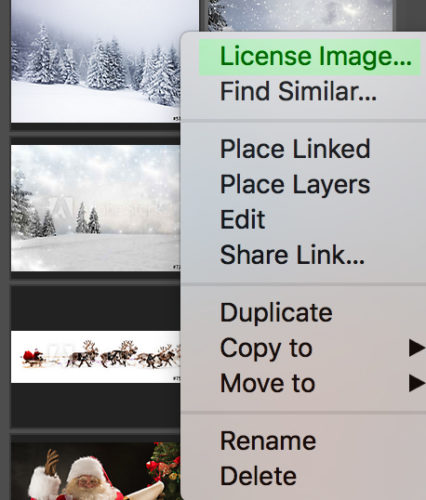
Right Click on a image in your library panel you want to license > License Image
Double click on your licensed image (in the library panel)
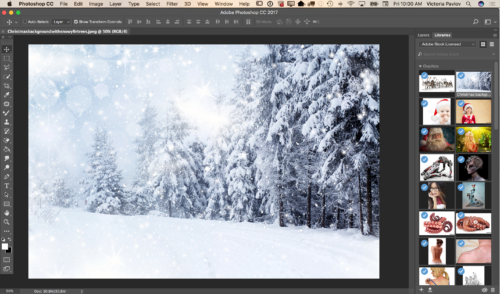
To bring another file into your document from your library panel > Click on the image > Drag into your document

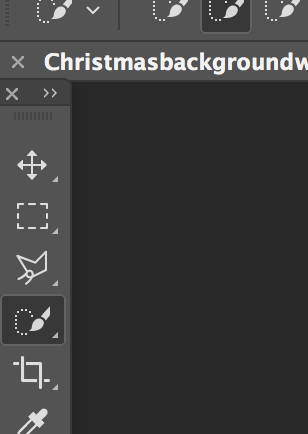
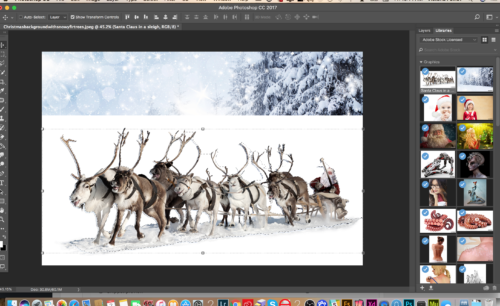
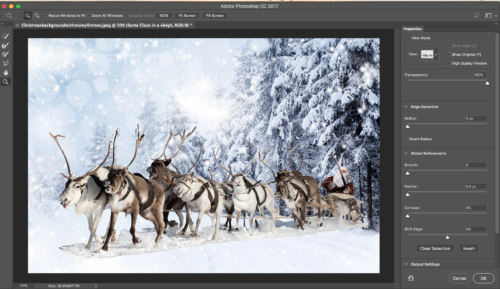
Using the Quick Selection Tool select Santa Claus and the reindeer? (don’t worry if your selection is not perfect. You will be able to fix it later on)
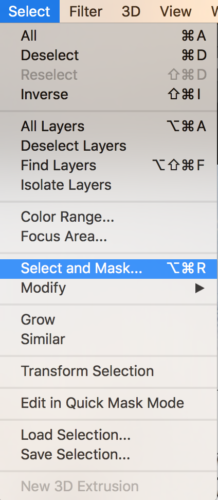
Select > Select and Mask
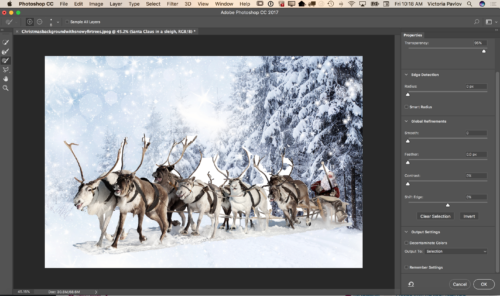
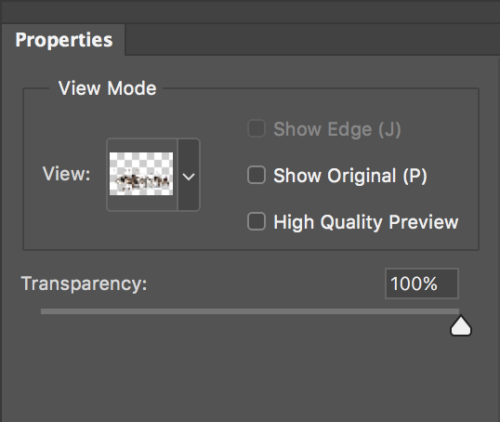
Change the View Mode to Onion Skin and Moon Transparency Slider all way to the right 100%. This way you will be able to see the background layer and make all the necessary corrections toyour initial selection right away.
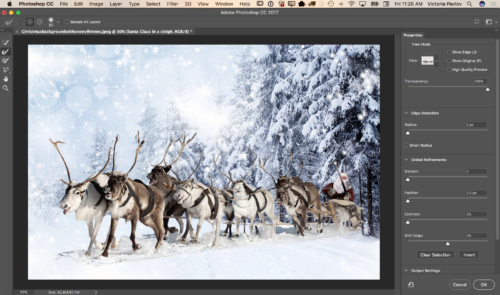
Zoom In your document
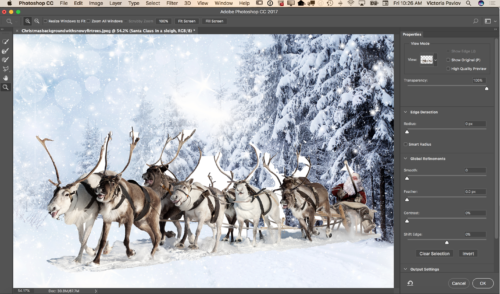
Using the Brush Tool correct your selection (switch between “+” and “-” if needed to correct the selection)


After you are happy with your selection switch to the Refine Edge Brush Tool

Switch View Mode to Black and White

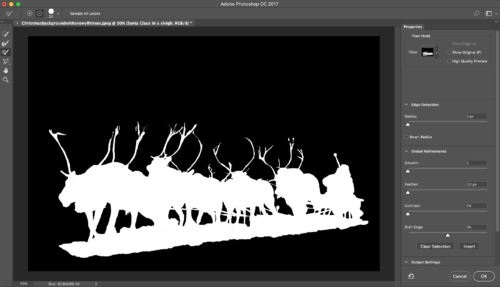
Using the Refine Edge Brush Tool clean up the edges of your selection.

After you are happy with your final selection change the Output Setting to New Layer with Layer Mask
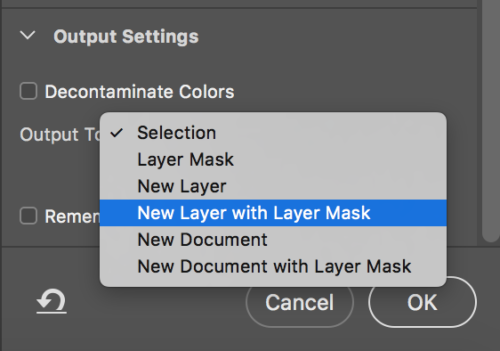
Click OK

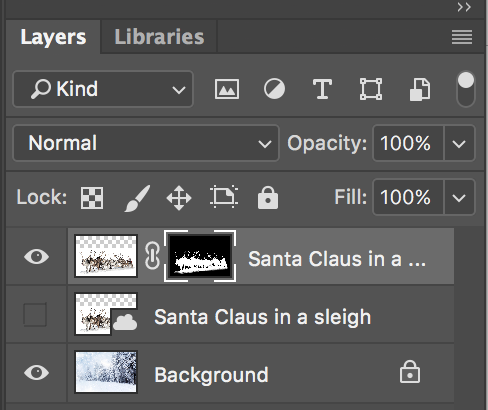
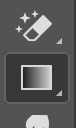
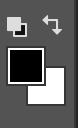
Click on the Mask Icon (Santa Layer) > Gradient Tool with Black color
![]()
Correct the part between snow under the reindeer and background snow line (simply paint it out using gradient tool)
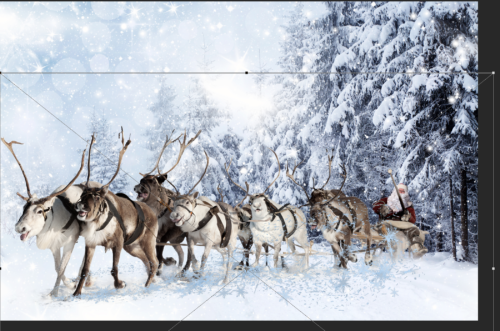
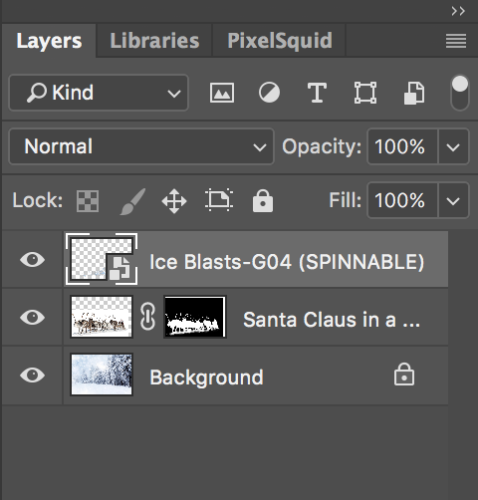
Previously I downloaded a 3D object from PixelSquid.com and now I will simply click on this object (snow) and object will be added to my document
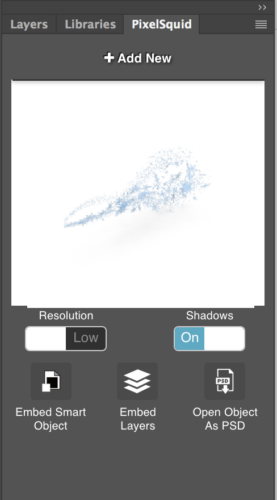

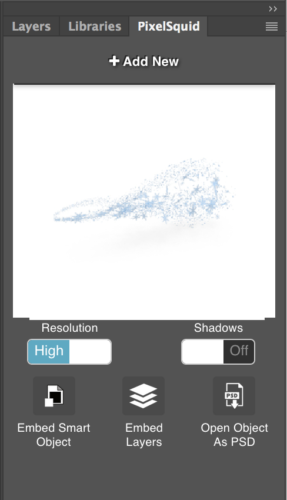
Now I will rotate my 3D object, also will Switch to High Resolution and remove the Shadow
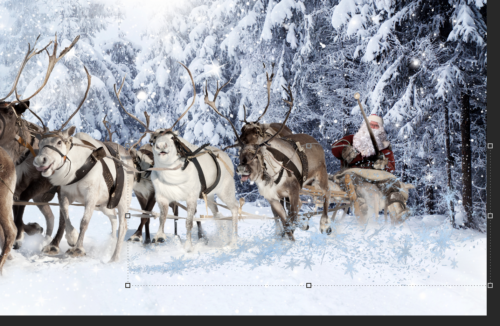
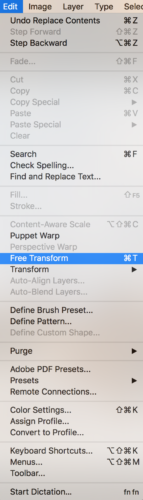
Resize your 3D object using the Free Transform tool
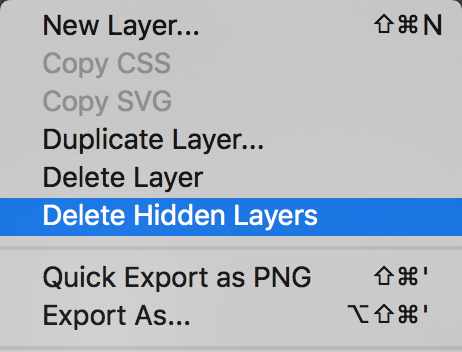
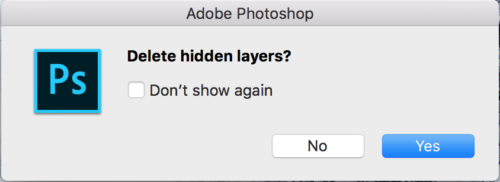
Delete the Hidden Layer from Layer Panel
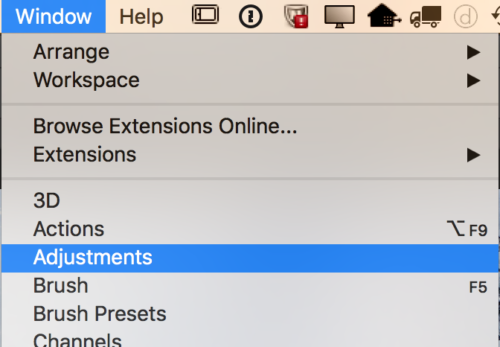
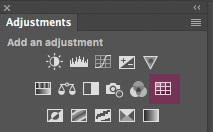
Window > Adjustments
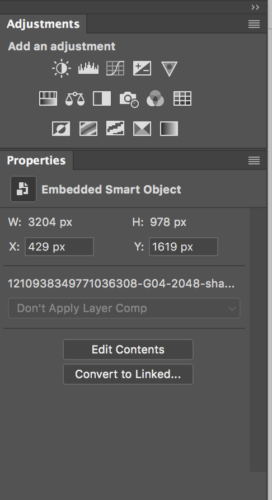
Color Lookup Adjustment
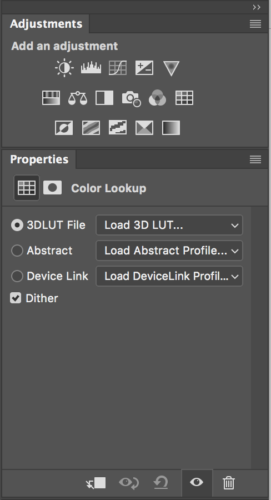
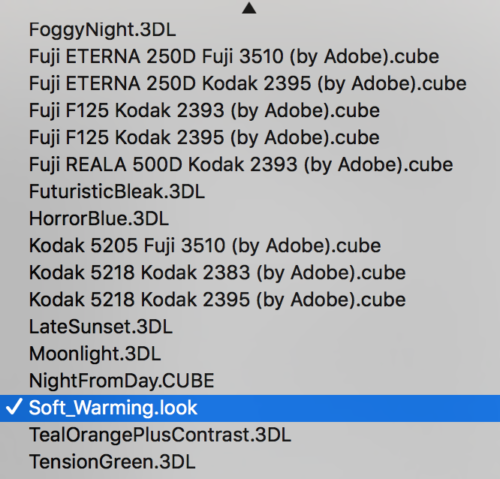
Choose Soft_Warming.look

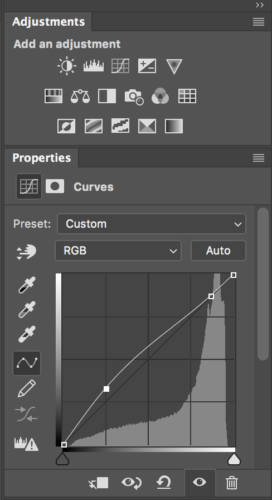
Adjustments > Curves
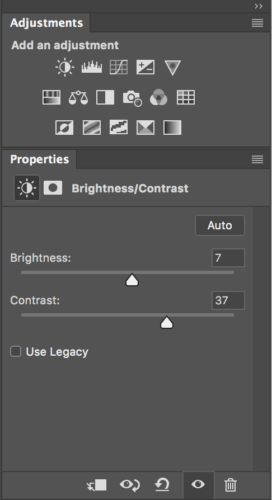
Adjustments > Brightness / Contrast
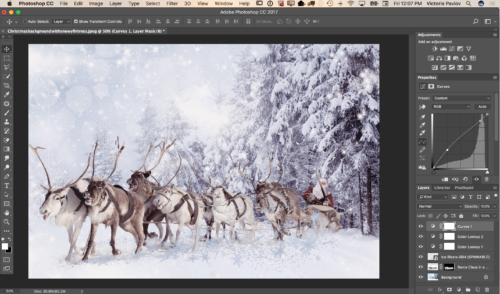
Make 3D object layer’s opacity = 67%
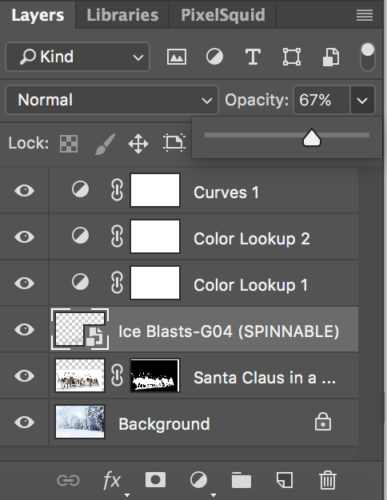
Now your image is ready

My Books on Amazon
How to create a custom font in Adobe Photoshop CC.
As a graphic designer I was waiting for the ability to be able to create a custom font for a long time. Using Fontself Maker you can create any custom font you want. You can create vector or color font in no time. Now we as designers have no limitations with our font creativty. Just create a font and use it!
My Books on Amazon:
Digital Painting for Photographers
Three helpful tips for your mobile workflow

More and more people are using mobile apps to do real work. Mobile apps on our mobile devices give us the freedom of creativity on the go. These three tips will help you to bring your creativity to the next level.
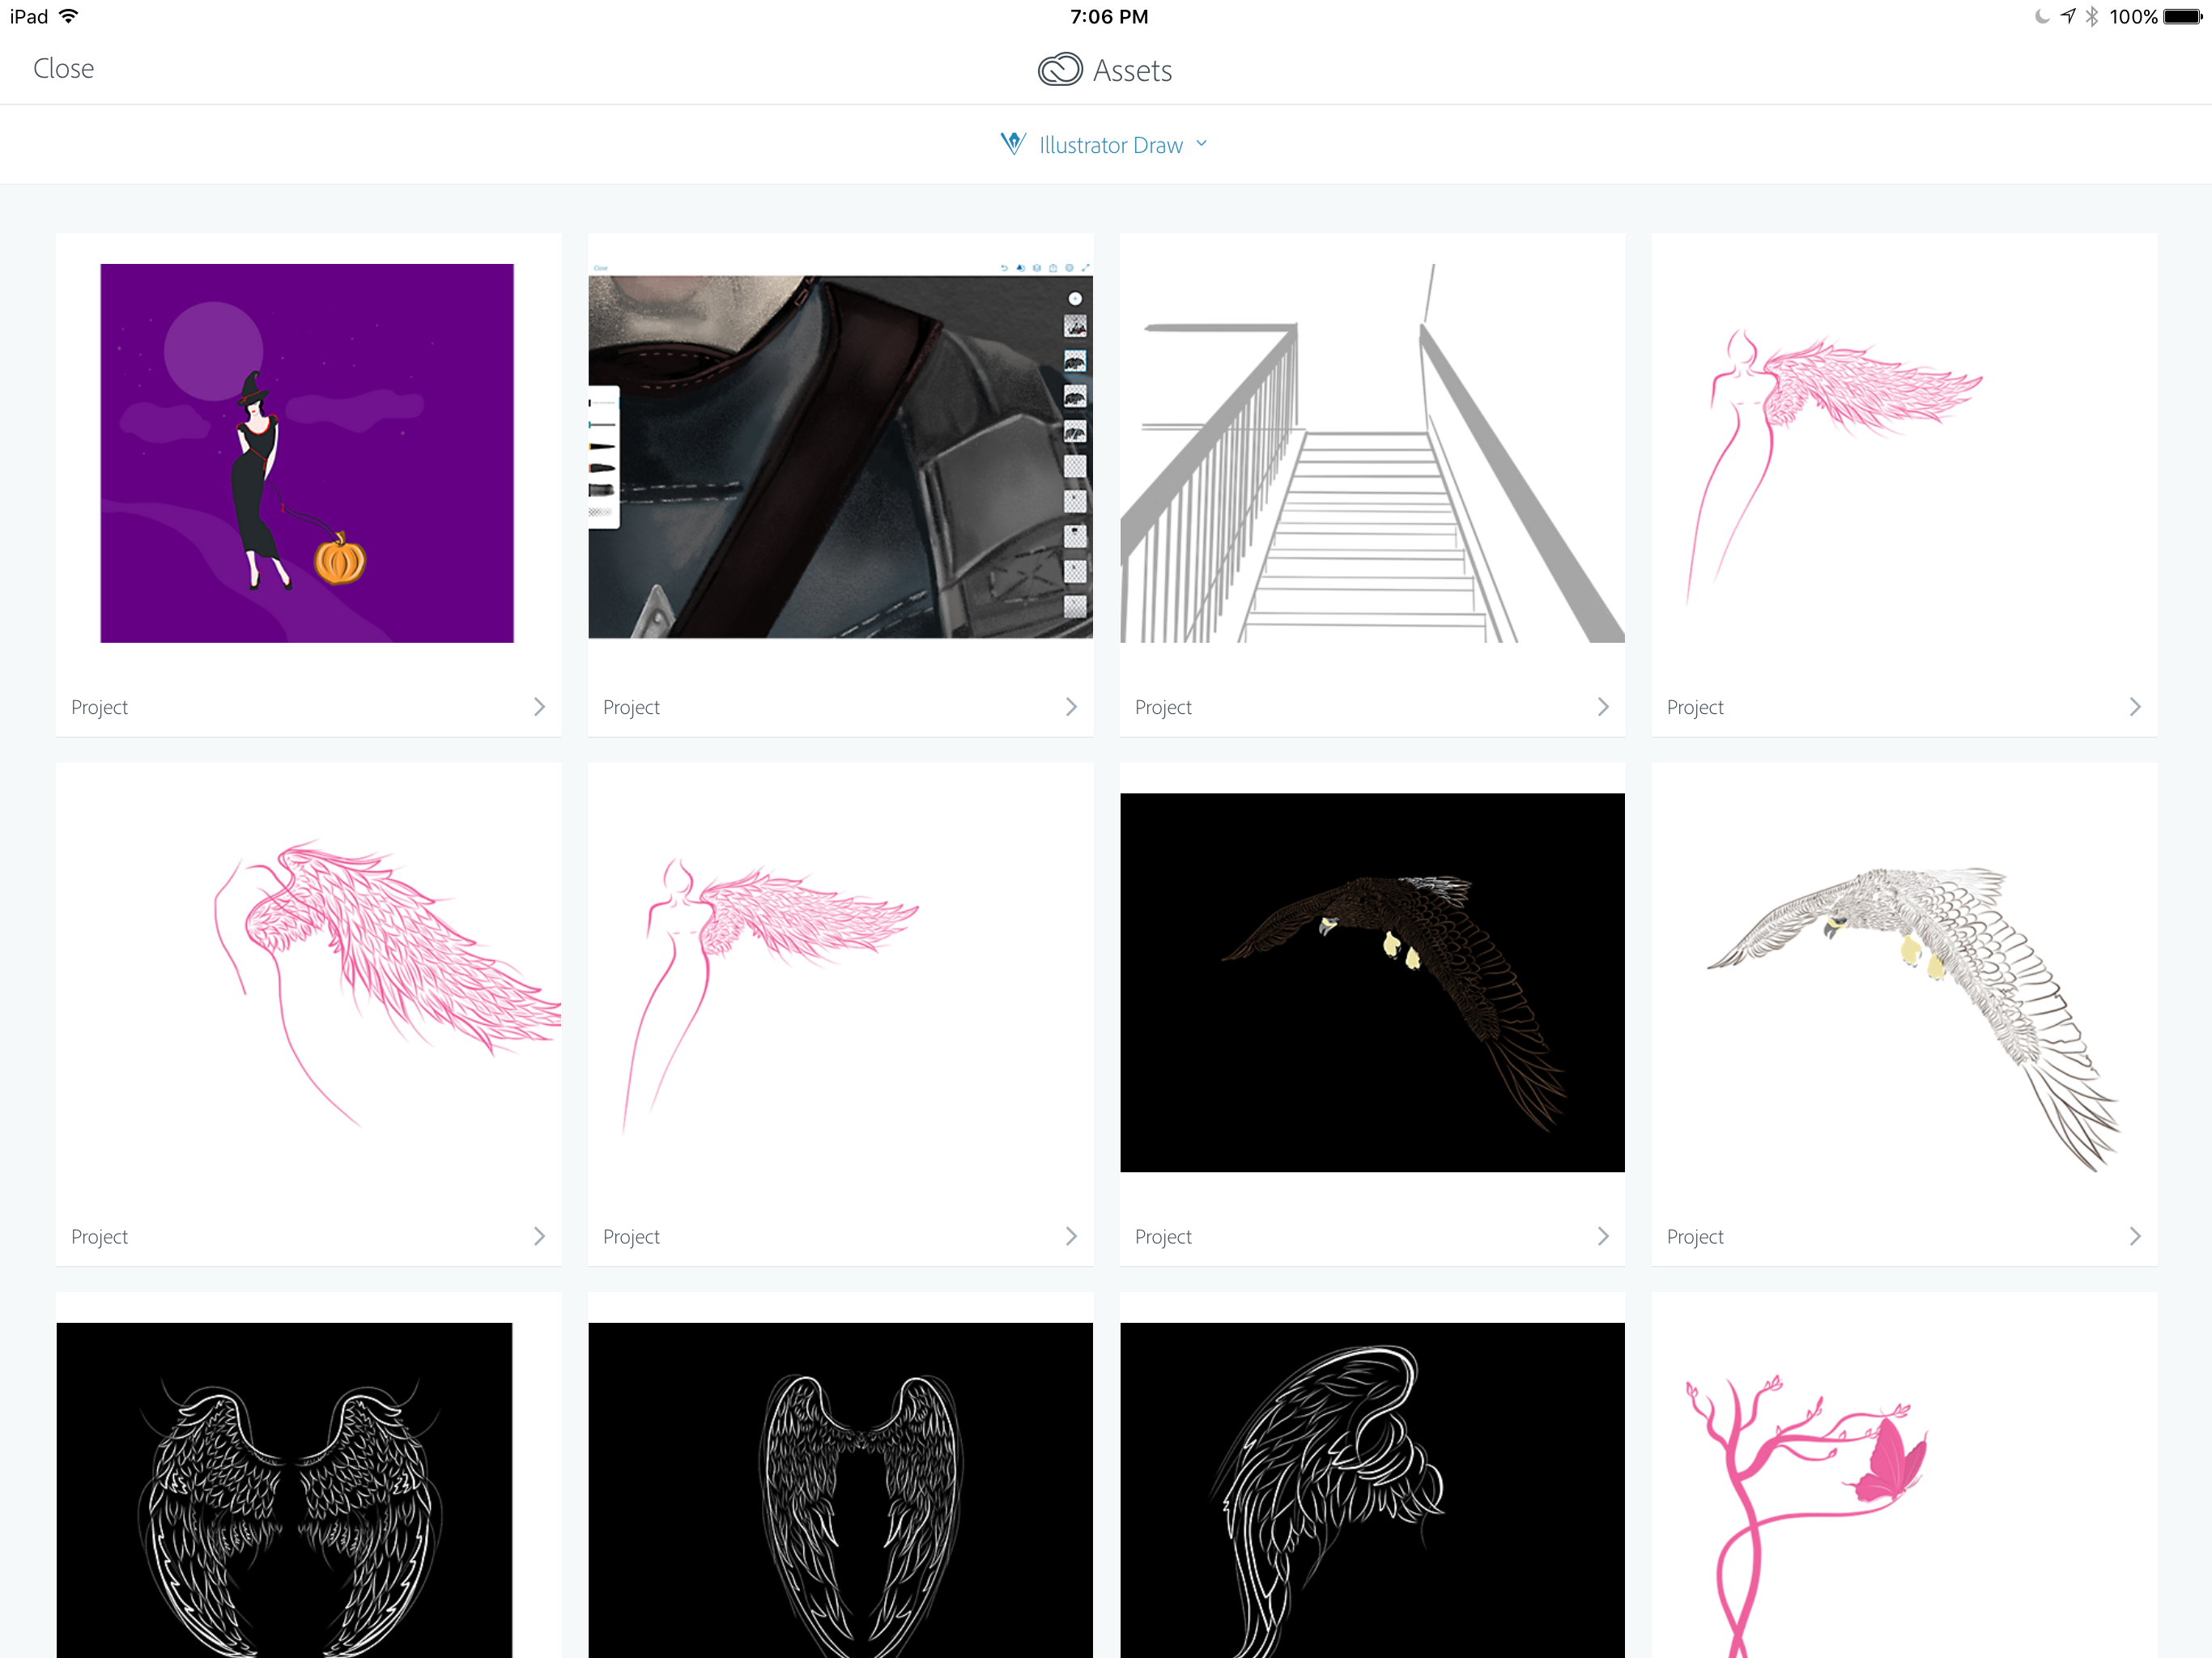
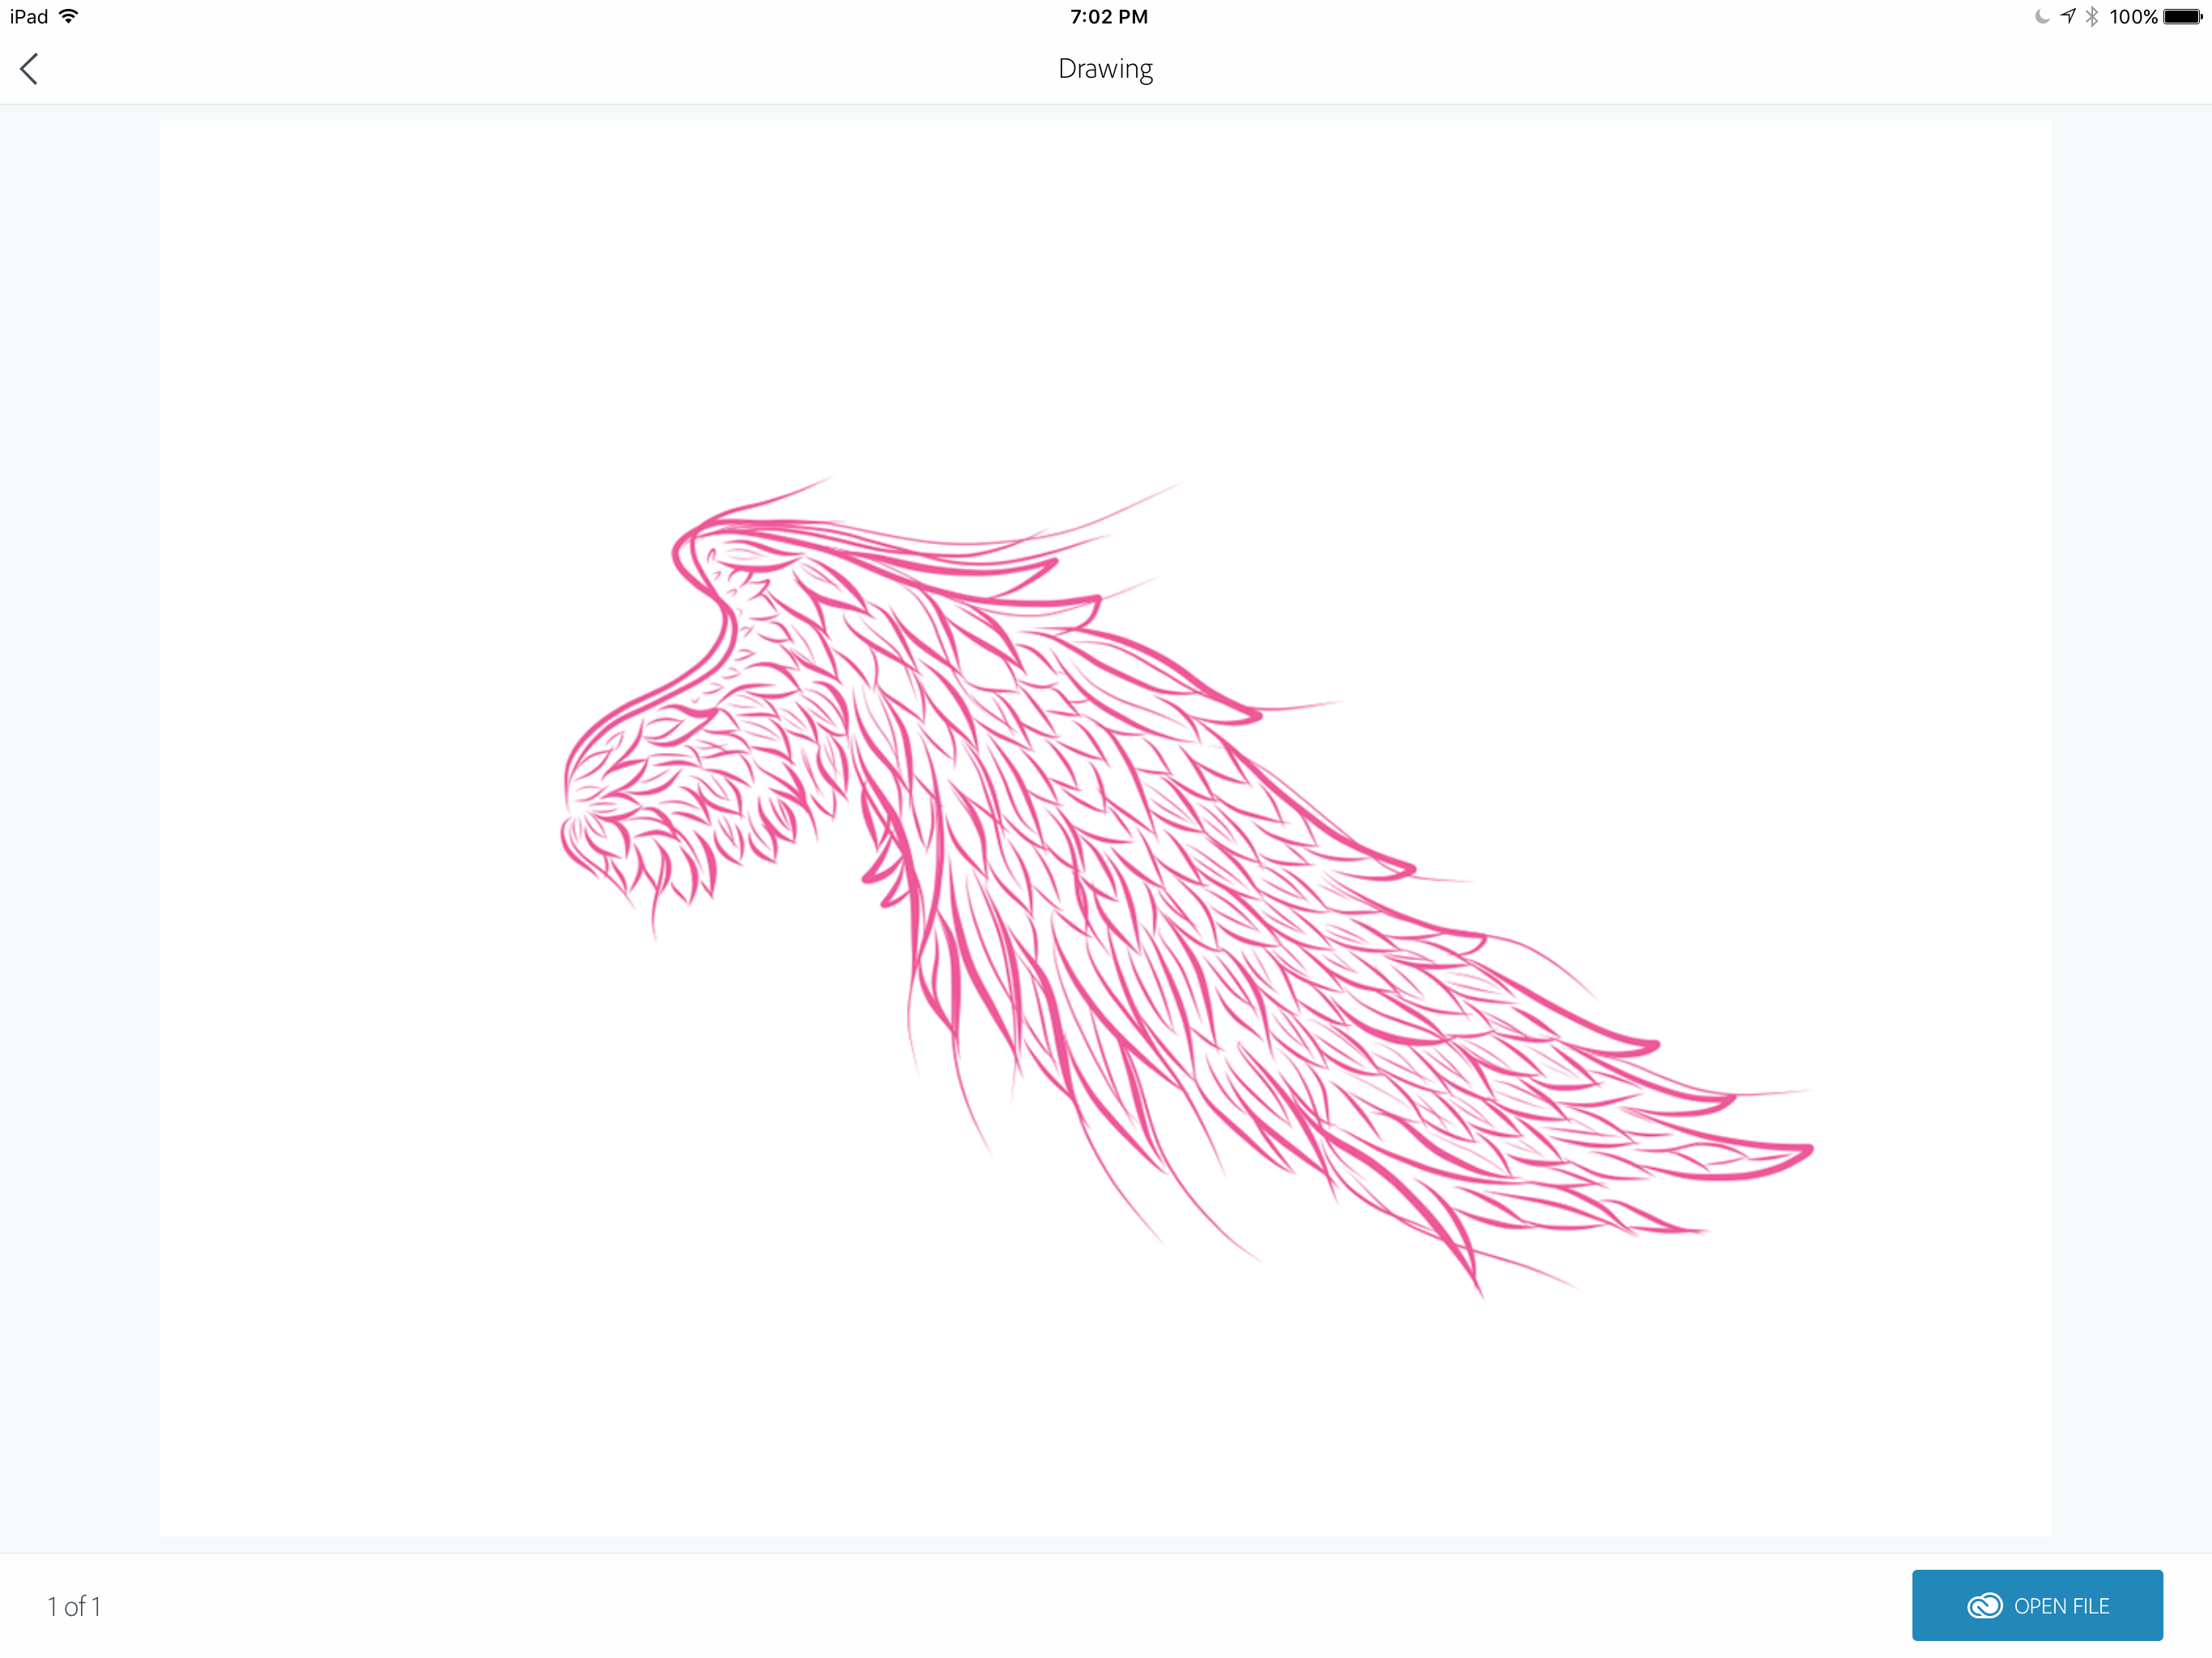
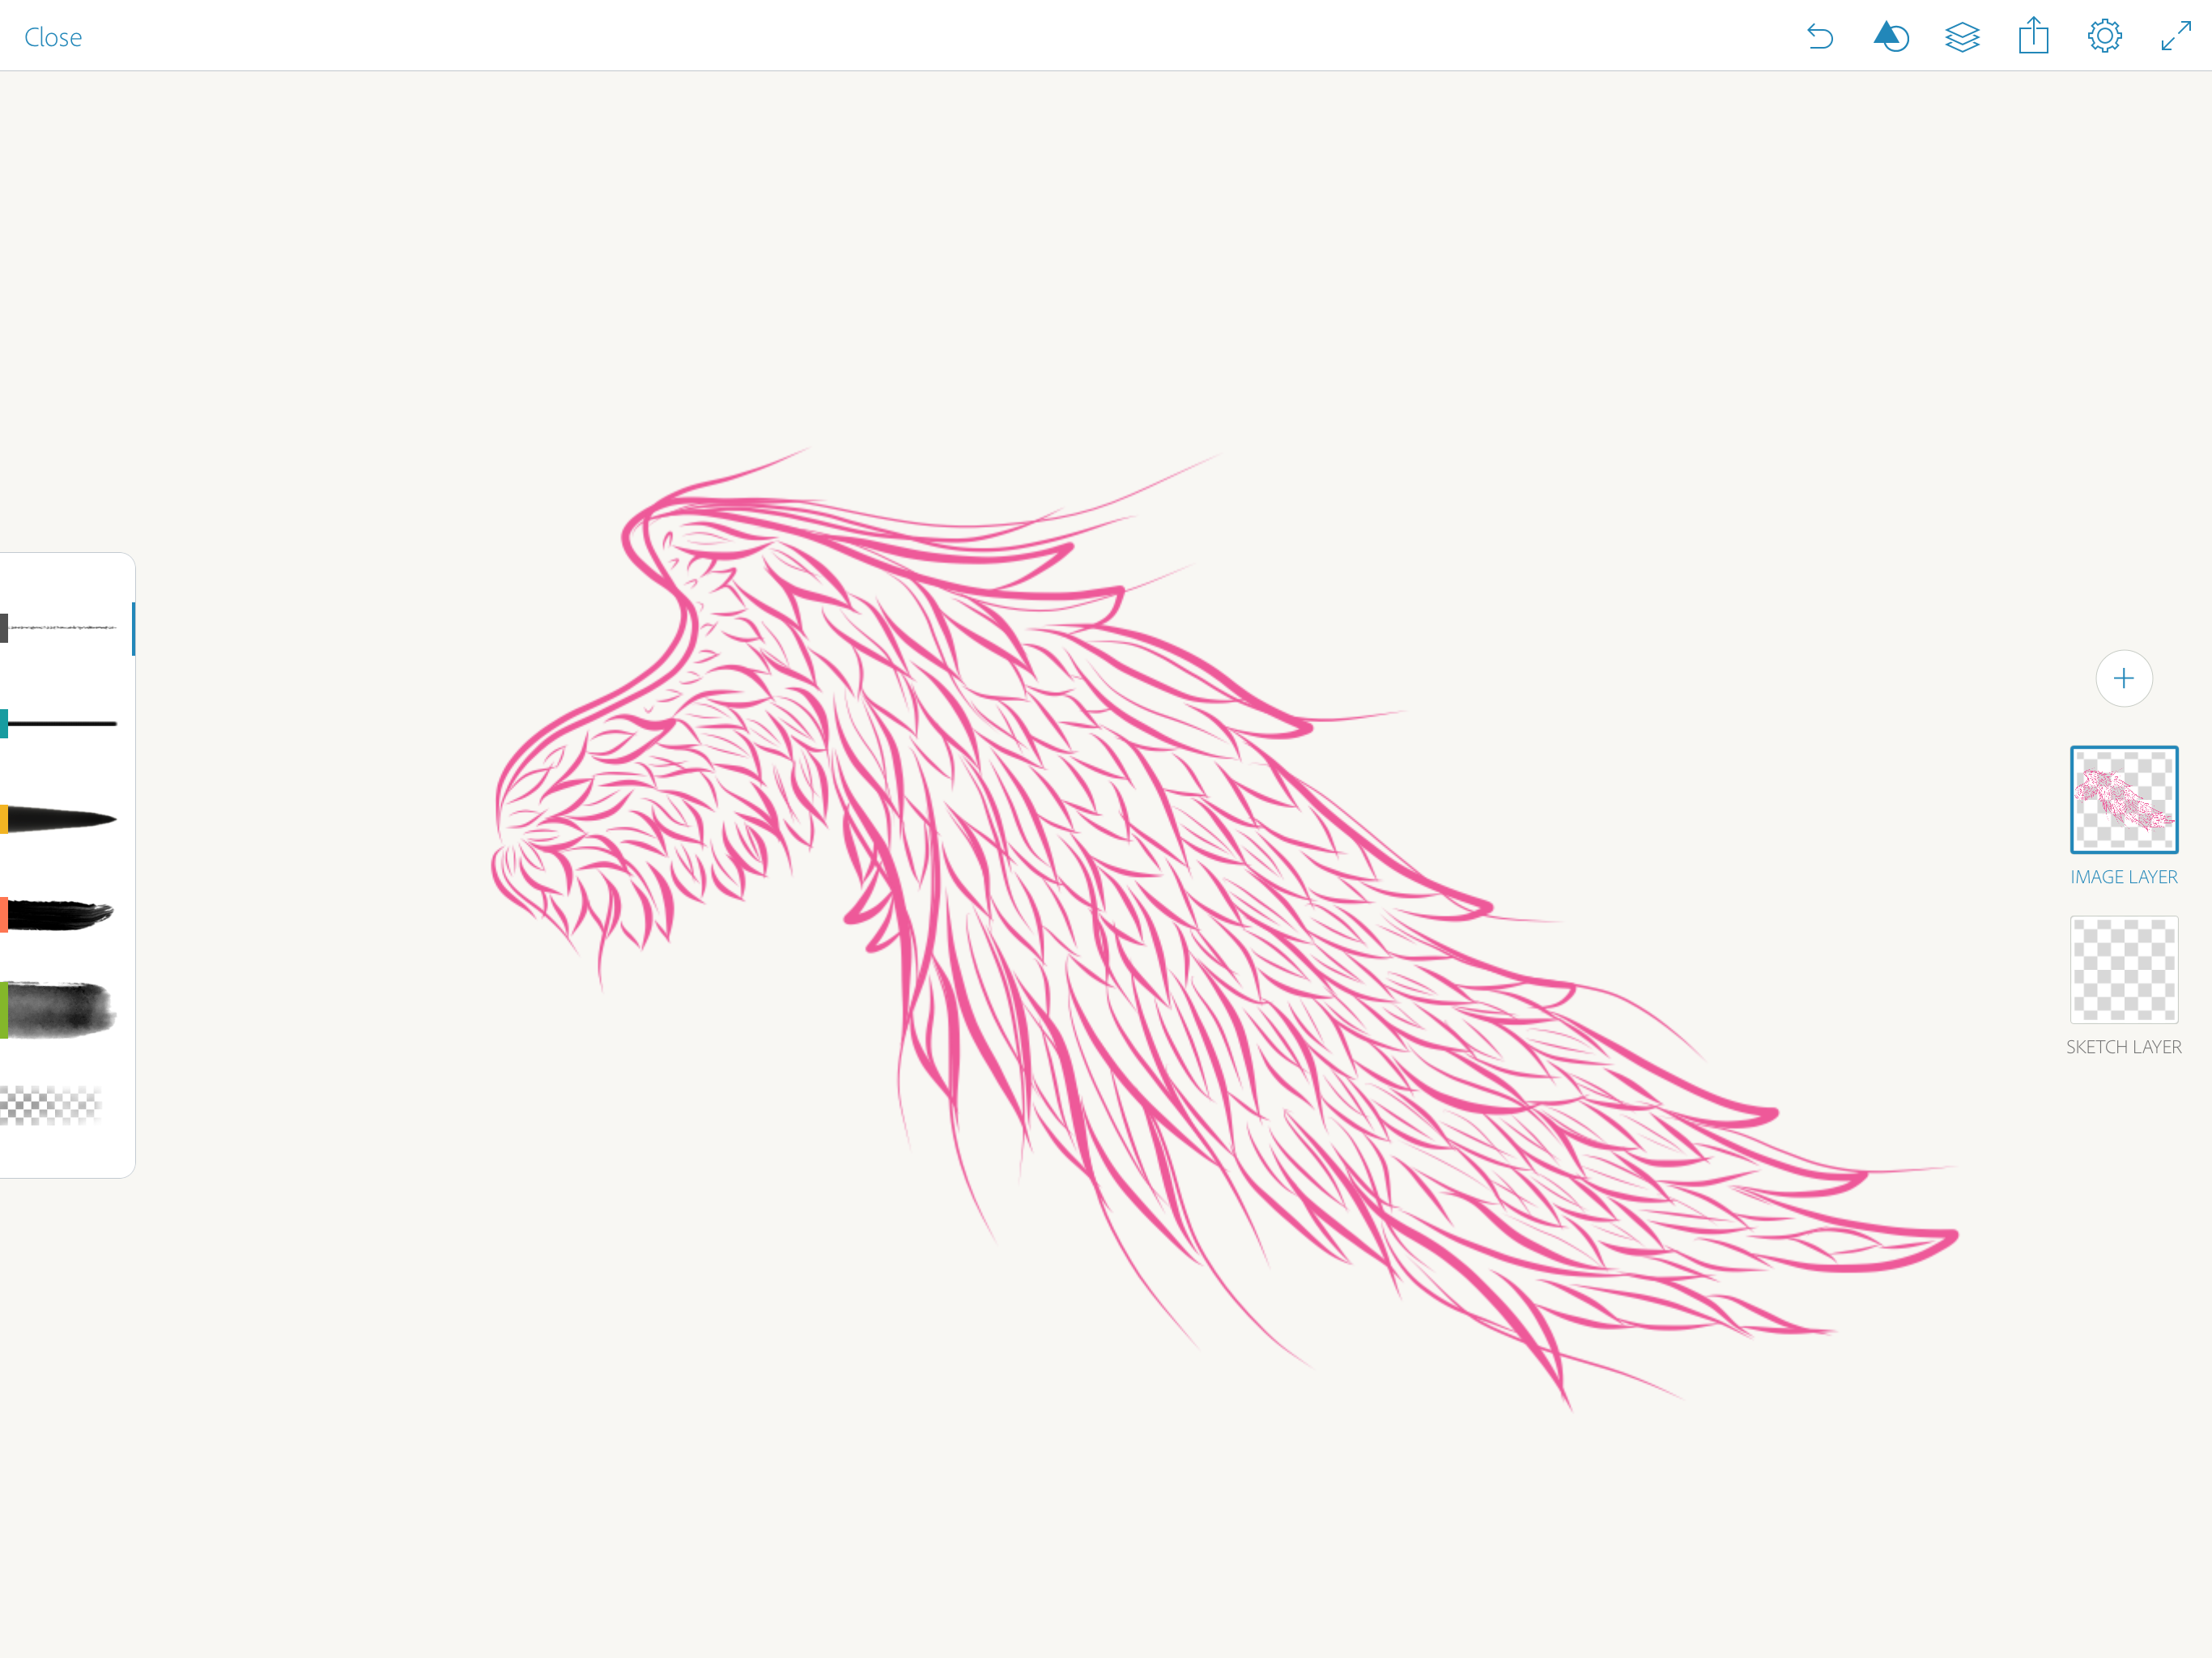
1: Bring your project created in another Adobe Mobile app as an image layer to your current Adobe Mobile App. This will help you to jump between Adobe Mobile Apps when working on the same project.

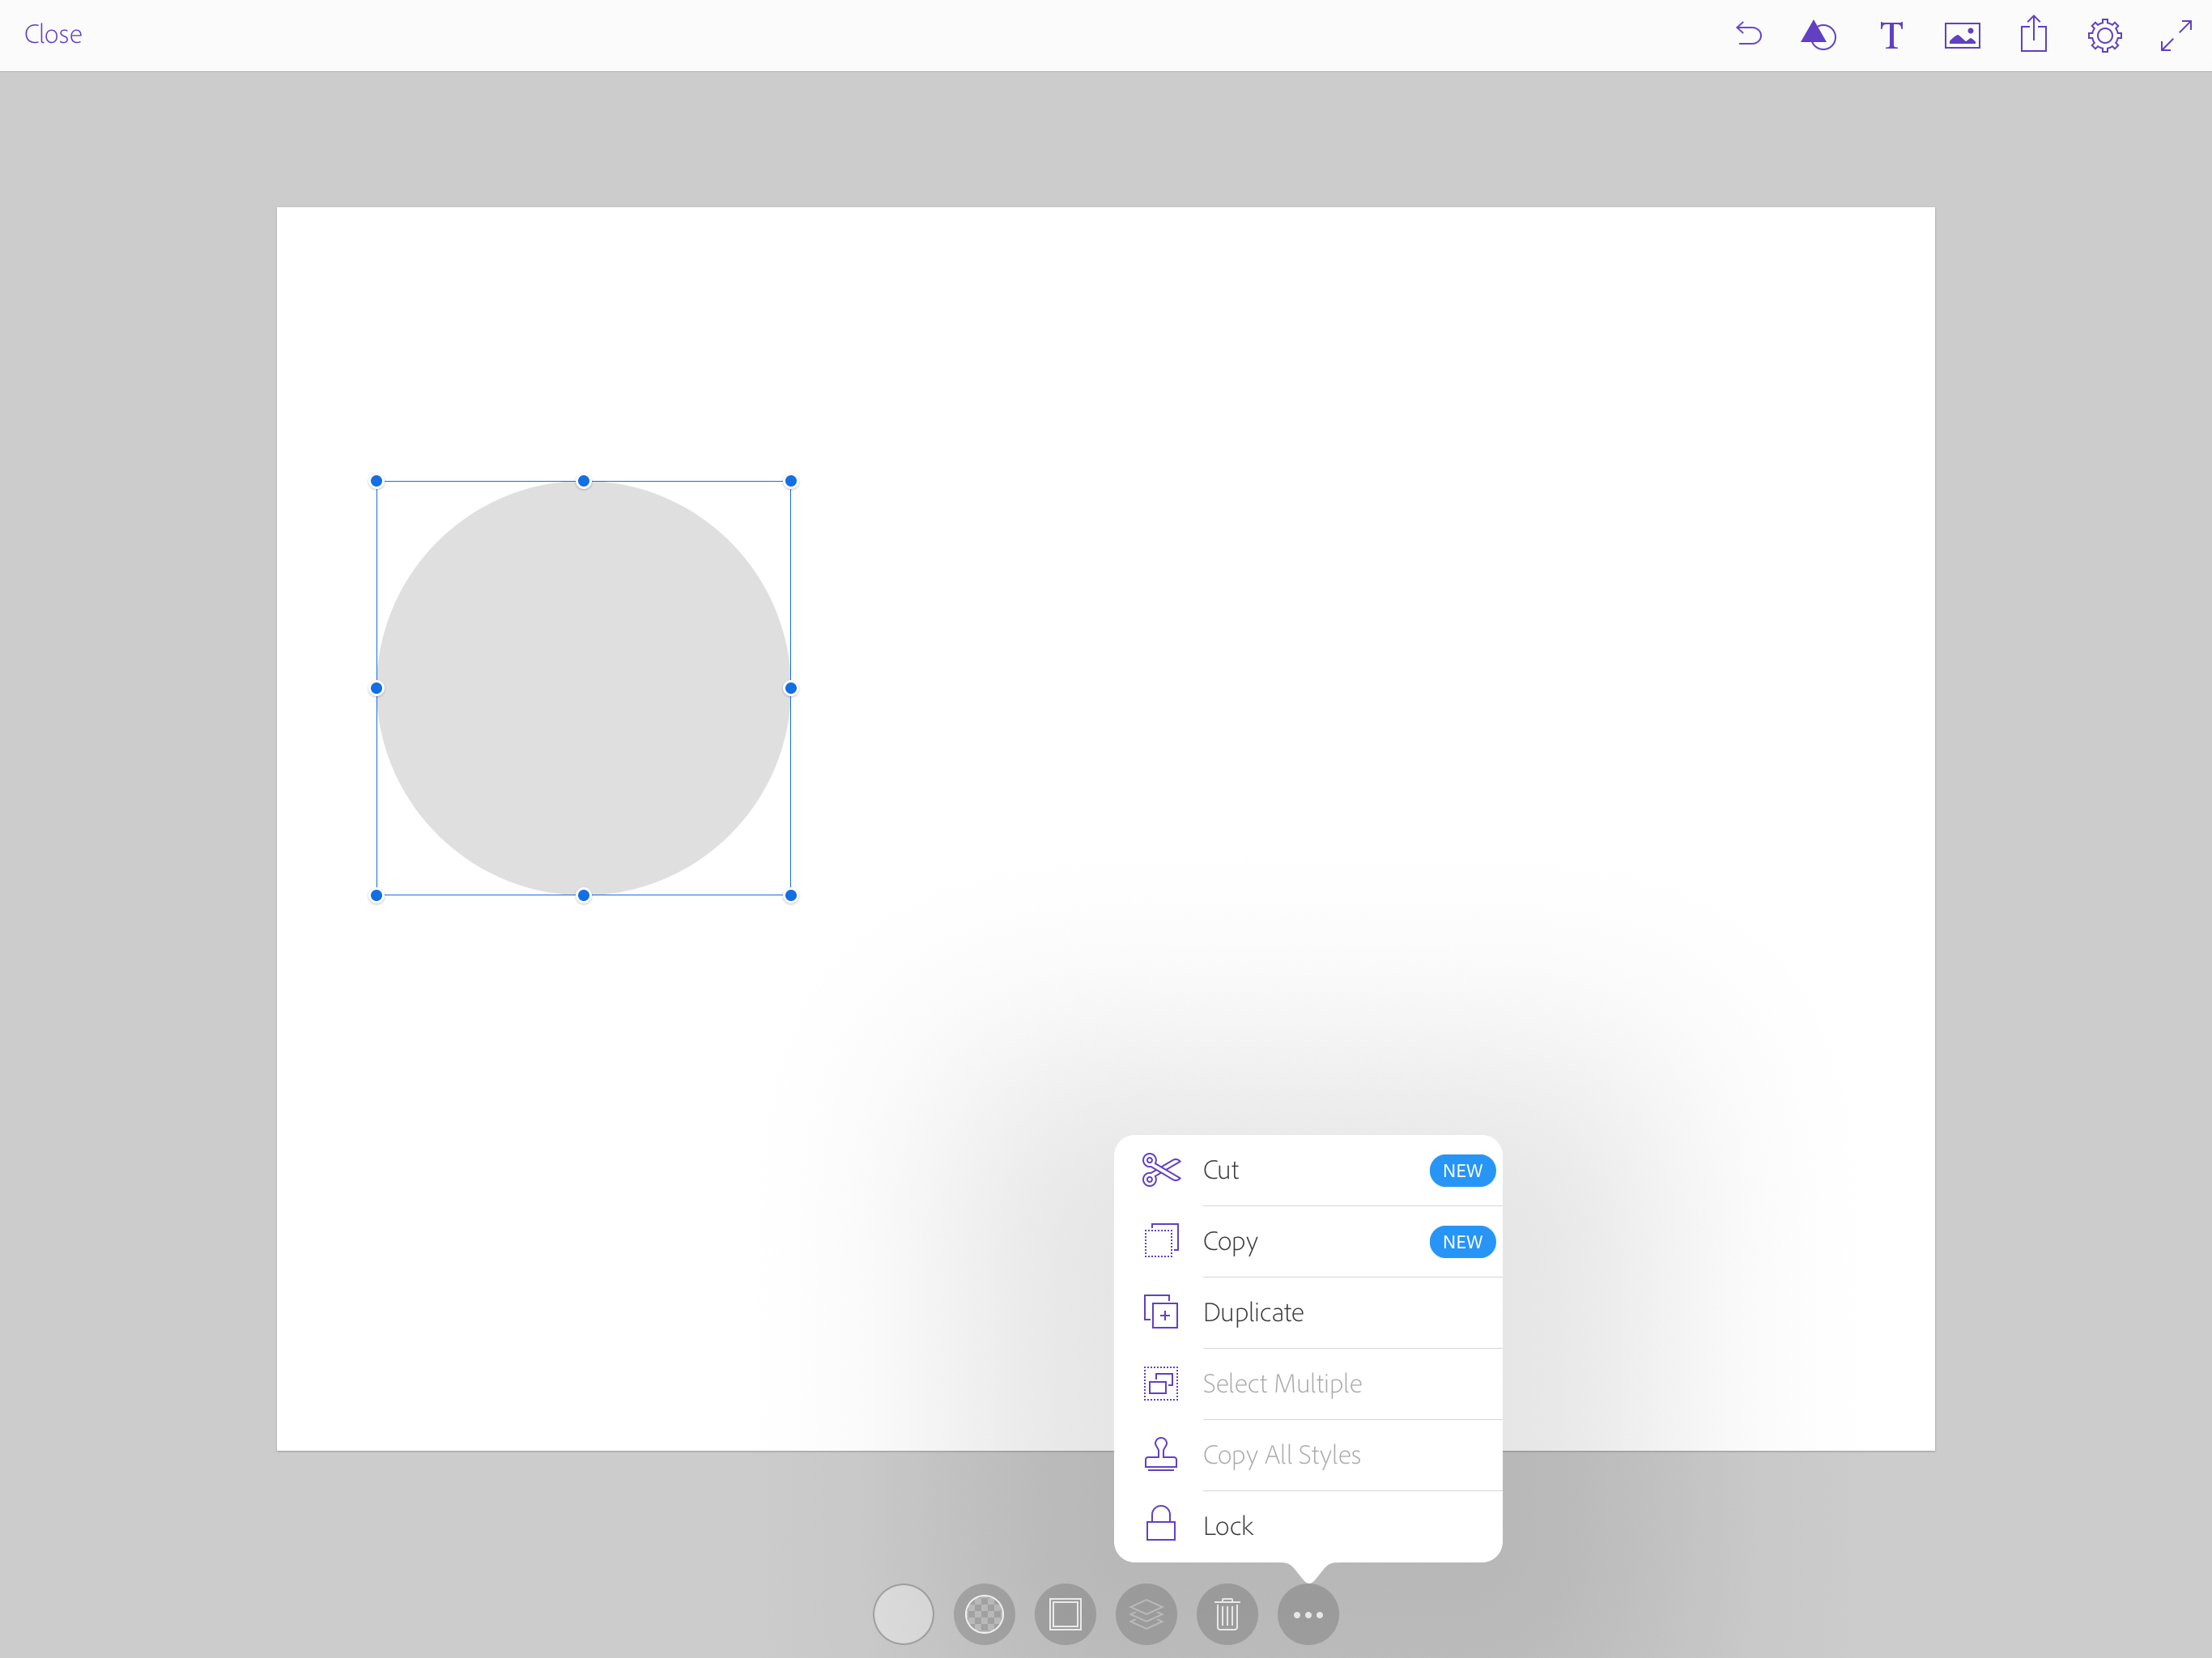
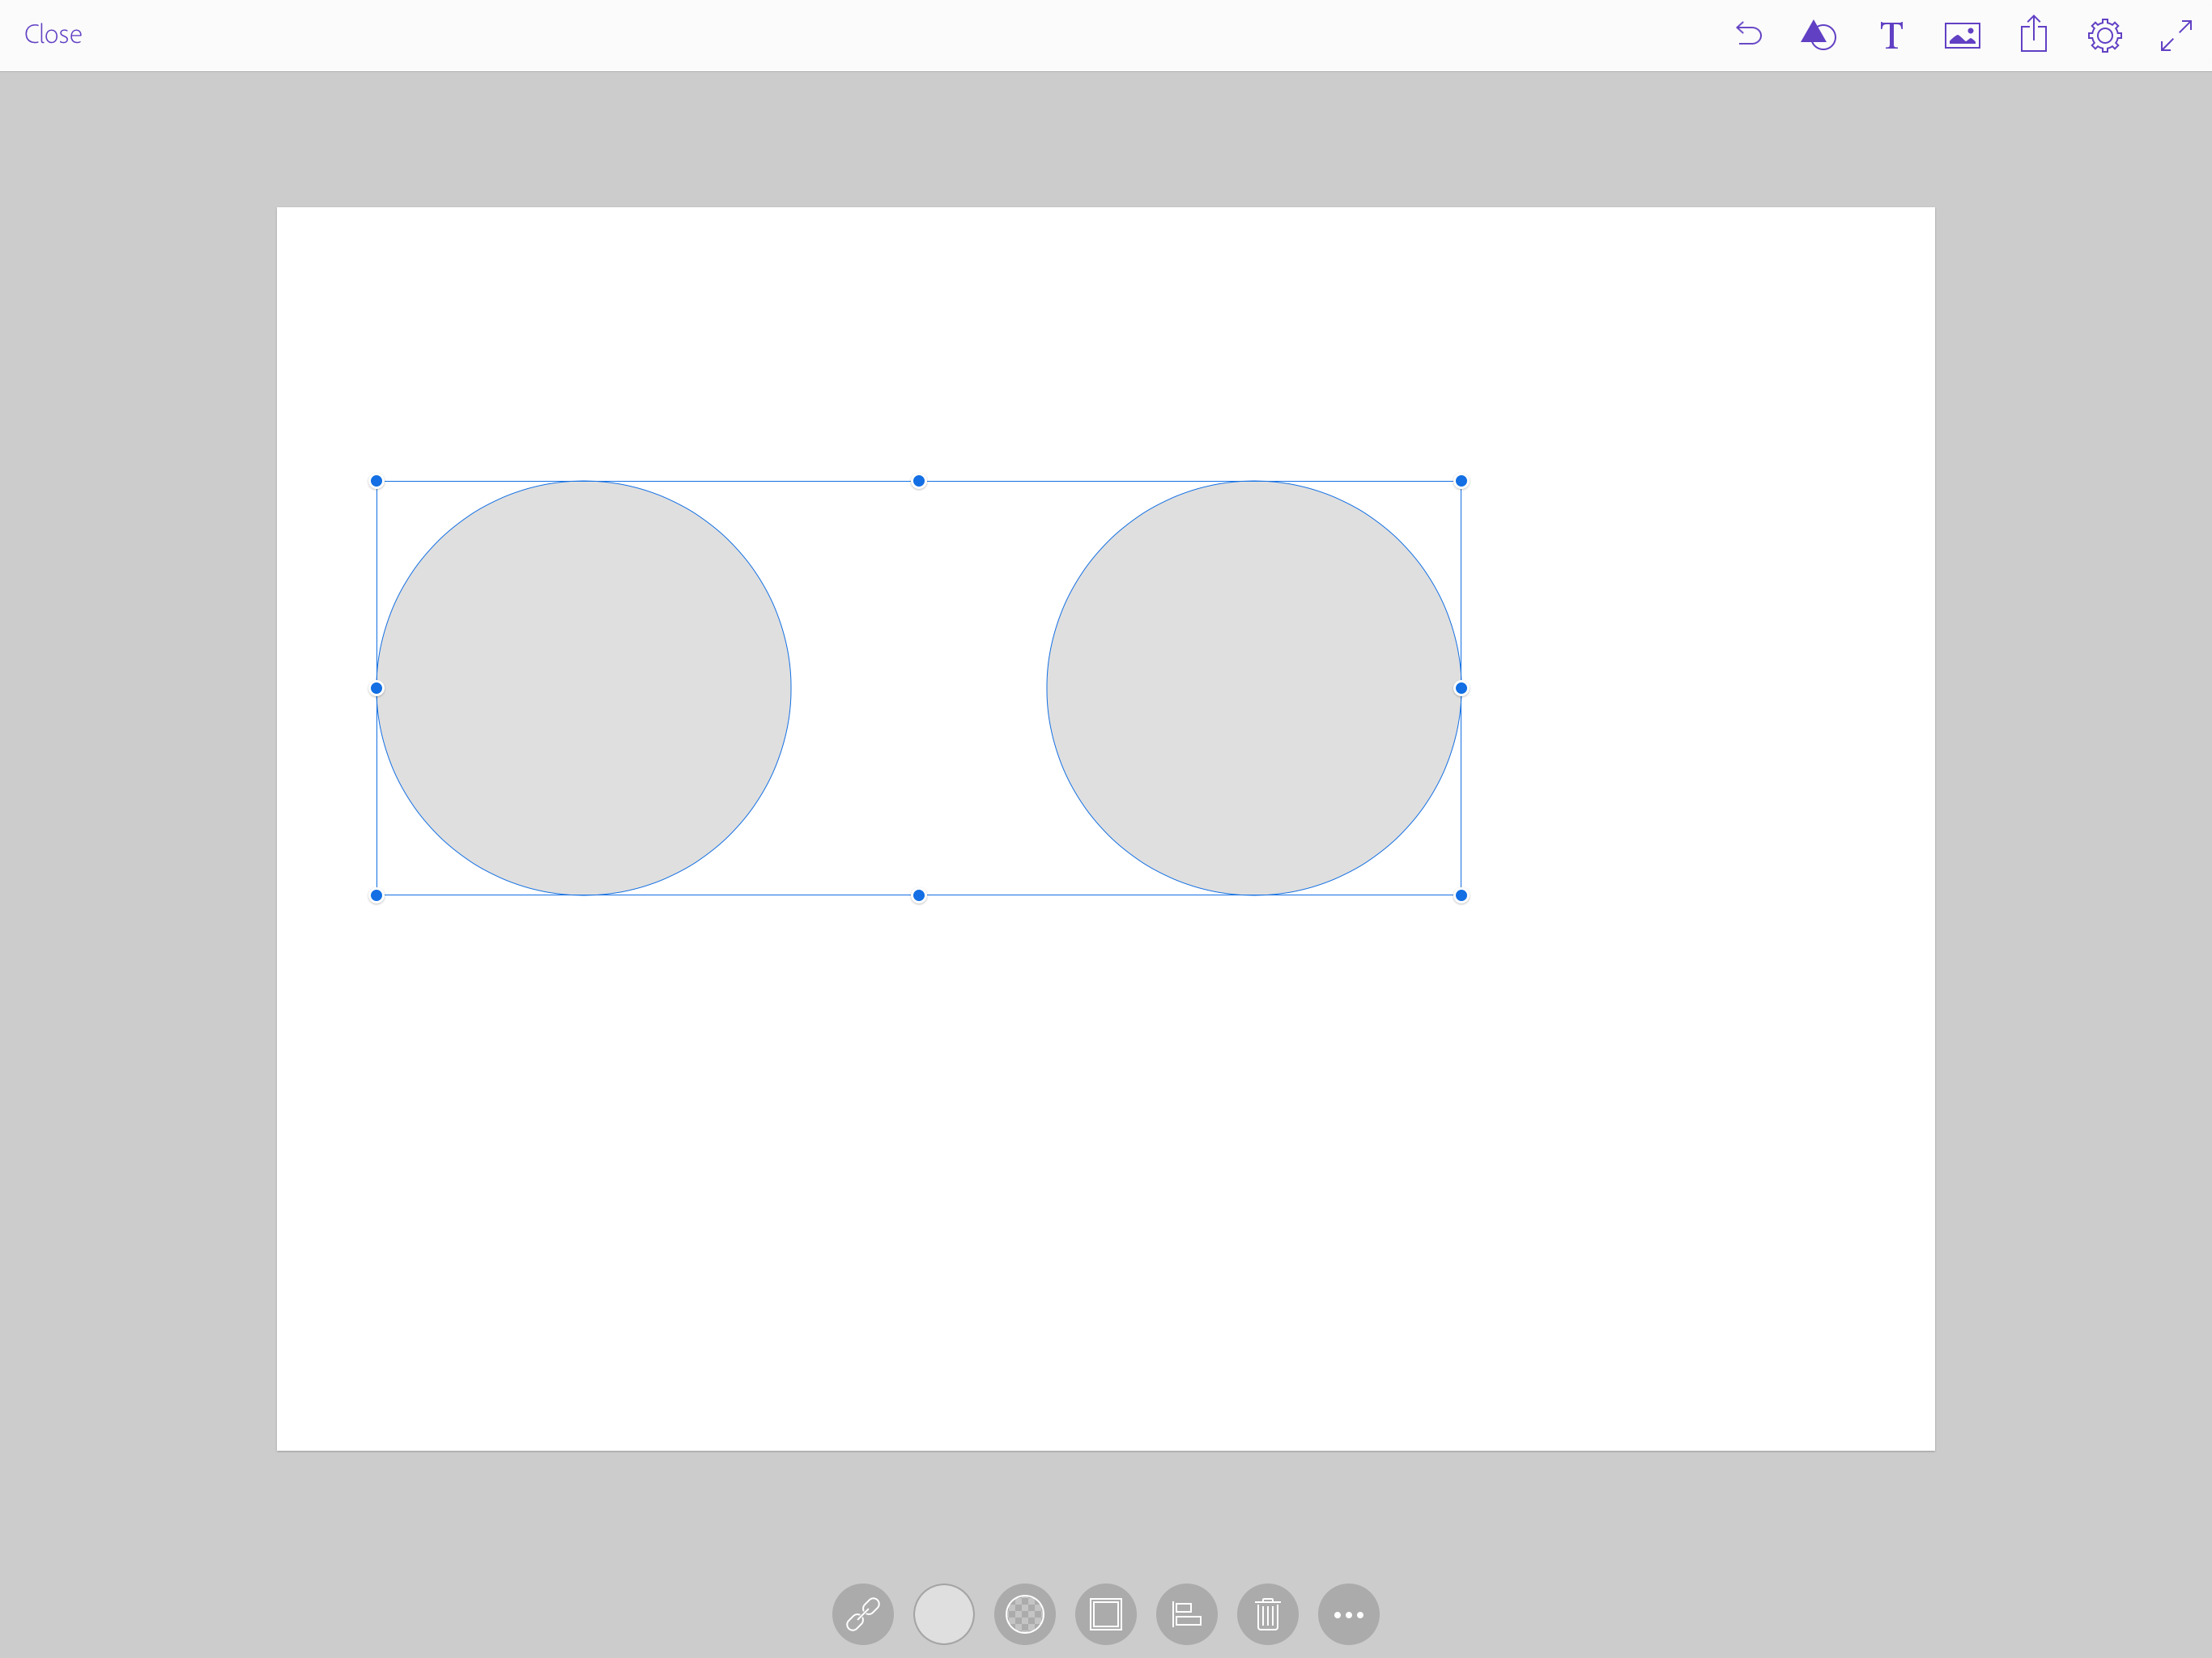
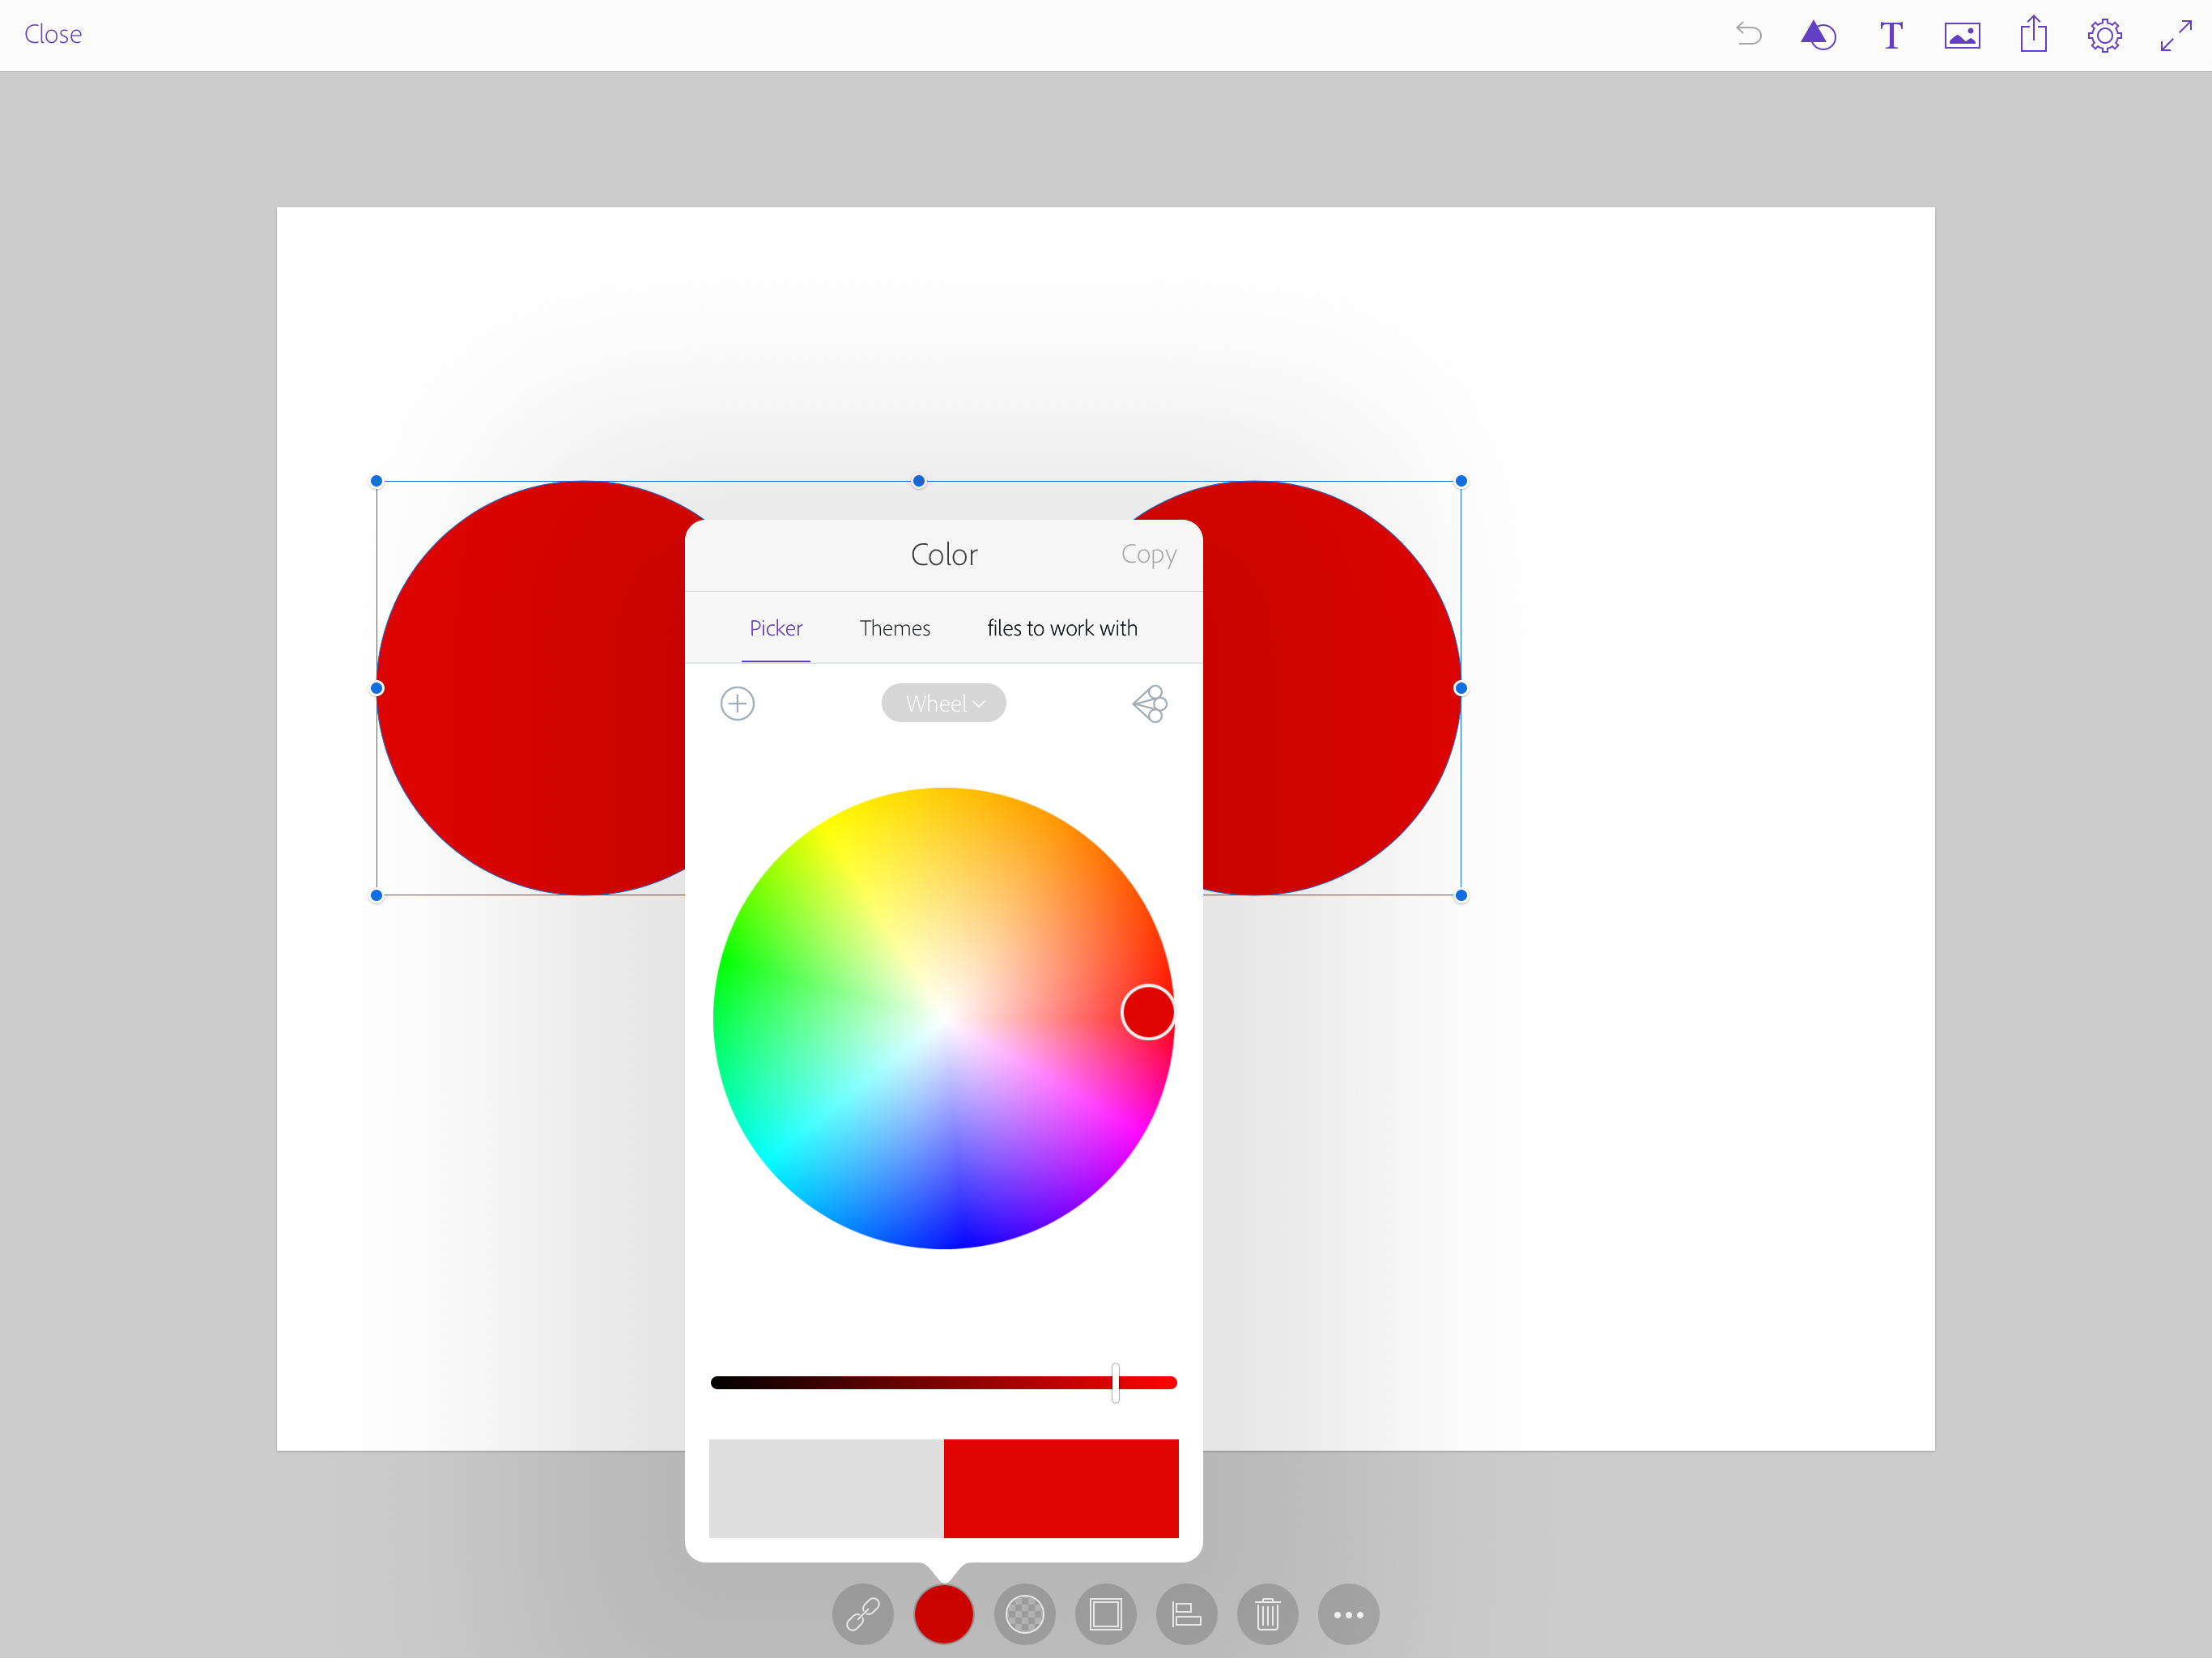
2: In Adobe Comp CC you can select a few objects to apply same effect at the same time Shift (tap and hold) + Tap. Applying the same effect at the same time to multiple objects will guarantee identical effects will be applied to multiple objects and plus it will speed up your workflow.
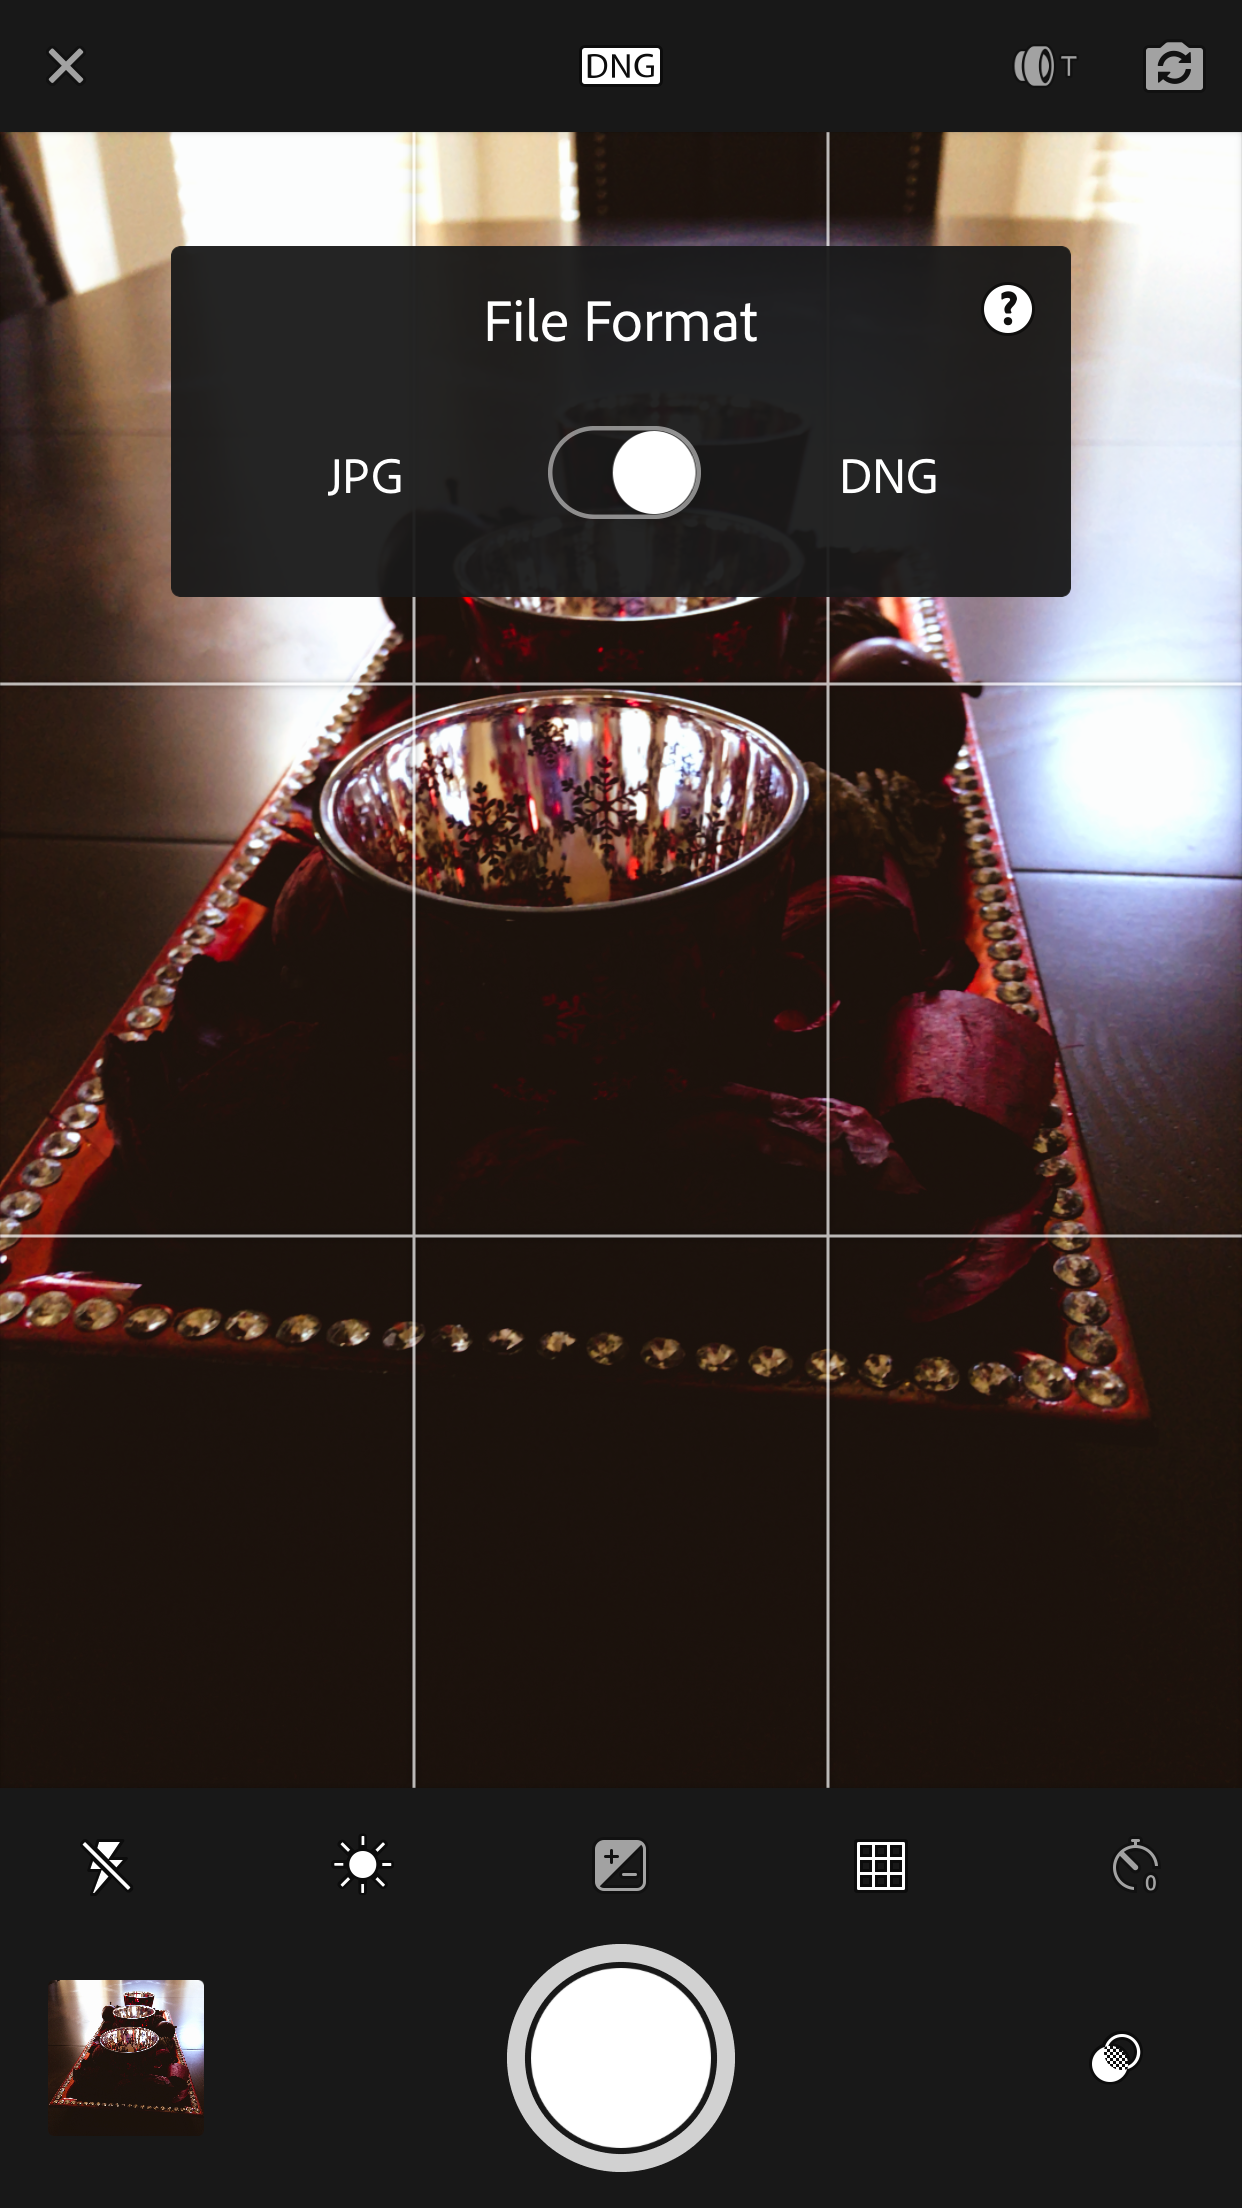
3: In Adobe Lightroom mobile use DNG raw when you shoot using the Lightroom camera. Shooting DNG gives you an uncompressed file. DNG file = raw file
My Books on Amazon
Digital Painting for Photographers in Adobe Photoshop CC
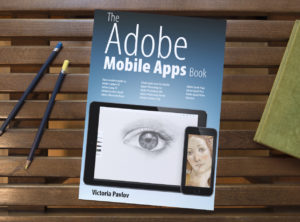
Adobe is pushing the creative envelope with what can be done on mobile devices. In this book you will see how to use Adobe’s complete offering of FREE mobile Apps to do everything from photo editing, to layout, video editing, story telling, social media posts and full blown page layout. Whether you plan to just start the creation process on your mobile device and finish on the desktop or do your entire project on your mobile device, this book will show you what’s possible in each app and best of all provide you with the knowledge of how to use the apps.
How to add a sunset effect in Adobe Photoshop
I took this picture few year ago in NYC using my iPhone

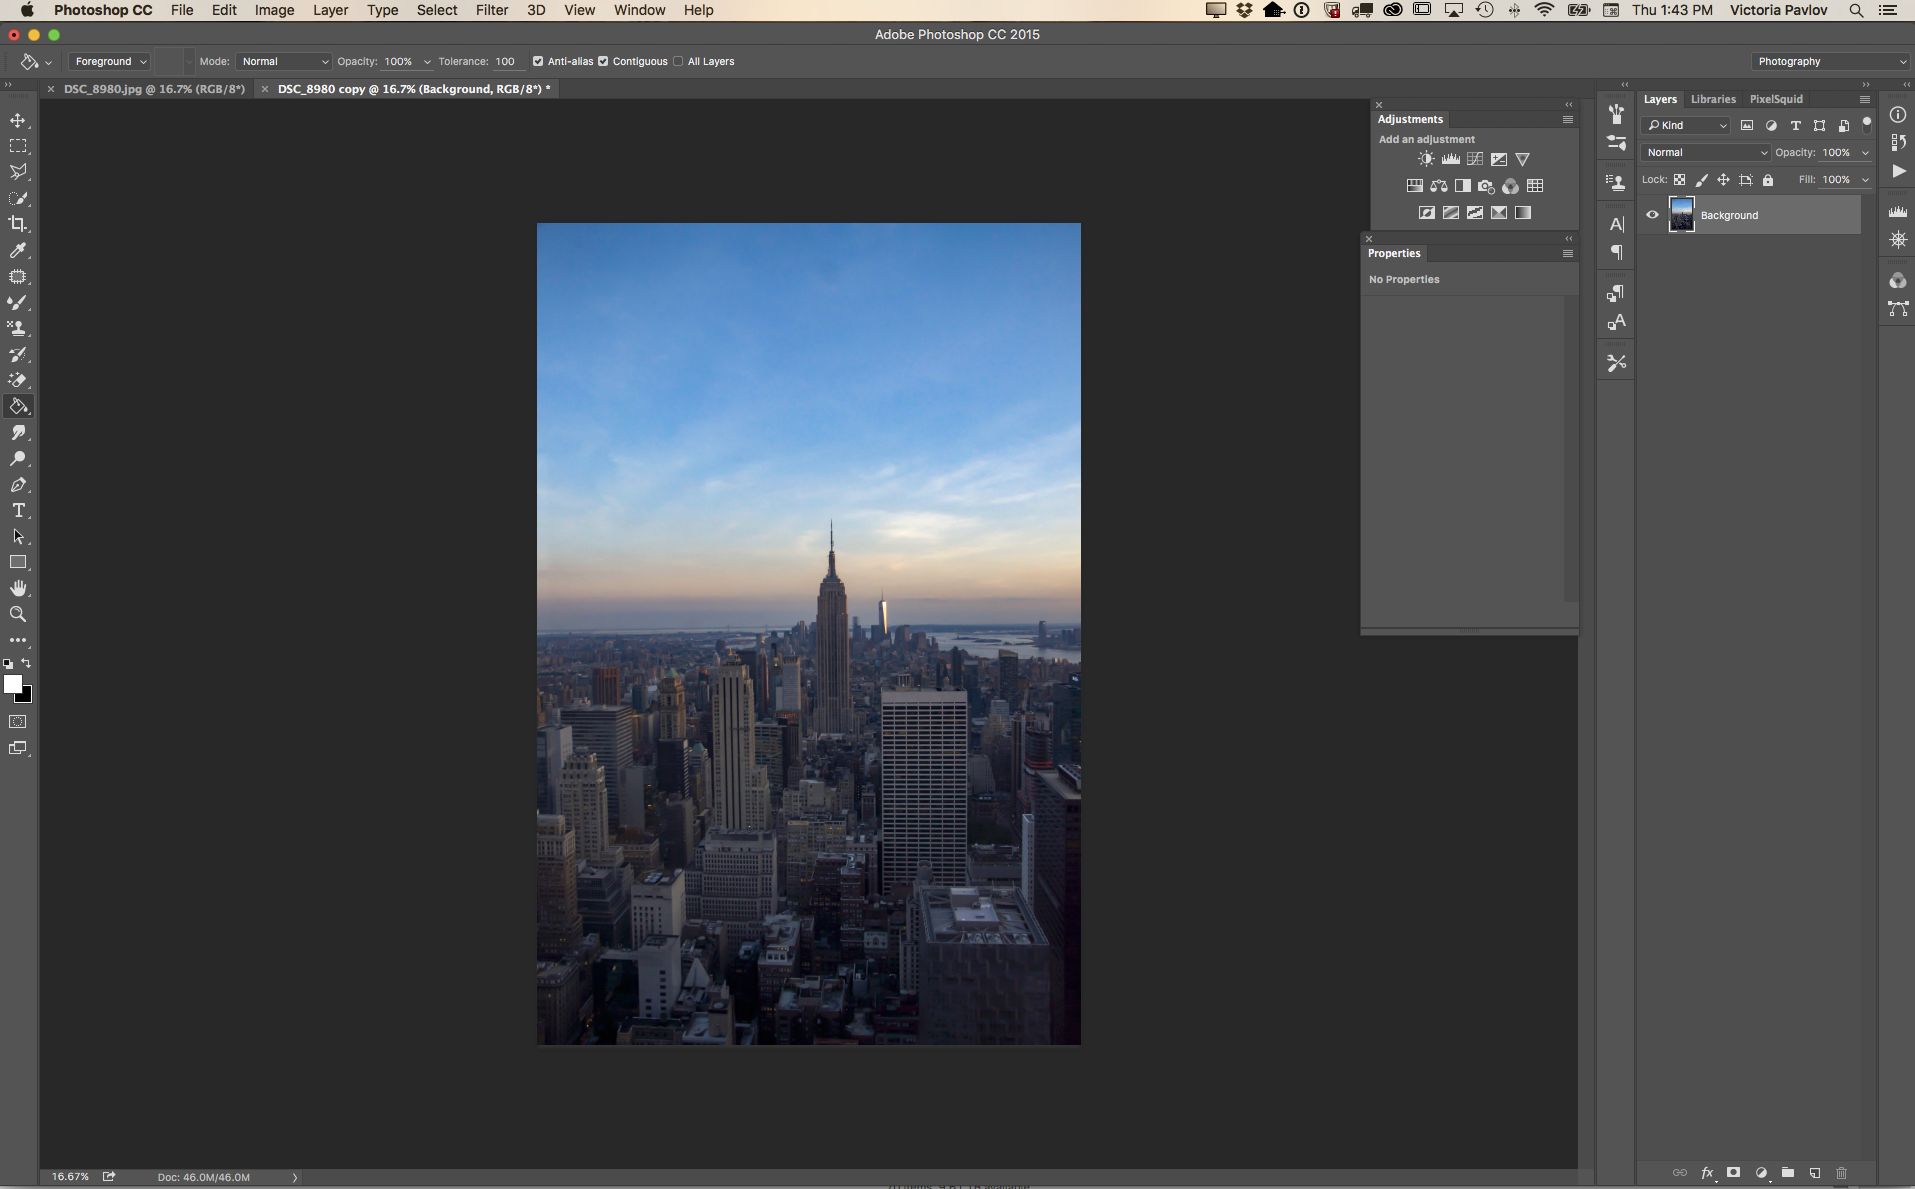
The above image was taken in the evening through a glass window with MANY PEOPLE around me so I did not have time to adjust my camera settings. Thanks to Adobe Photoshop I can improve my image (because I know how warm and beautiful the sunset looked and I want to make my photo looks as close to original condition as possible).
Window> Adjustments
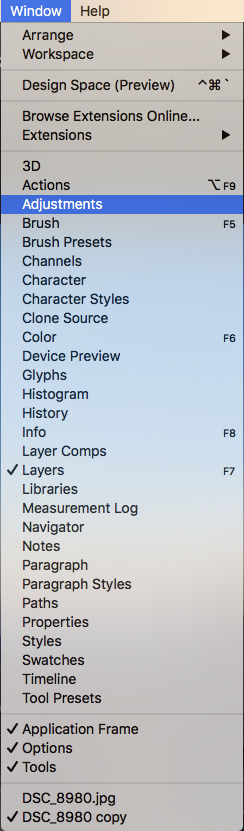
Color Lookup > FallColors.look
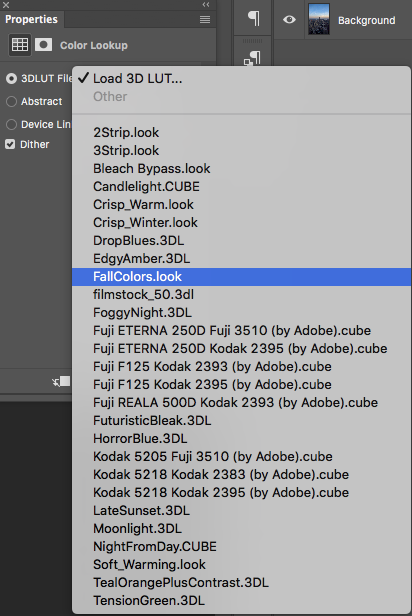

You can change the layer’s opacity (if needed)
My New Book “Digital Painting for Photographers in Adobe Photoshop CC “ on Amazon


Many of you who know me know that a huge part of my digital imaging belongs to digital painting using Adobe Photoshop CC and Adobe Photoshop Sketch on iPad. I have different techniques in Adobe Photoshop and Photoshop Sketch, even a digital painting technique for photographers (and no, you don’t need to be a professional painter to be able to use this technique).
Many times I am asked what I prefer most to draw in: Adobe Photoshop CC or Adobe Photoshop Sketch. Now I will answer that question:

is my digital heart. I am using Photoshop with EVERYTHING (photo retouching after my photography sessions, photo restoration, photo manipulation, graphic/web design, painting, 3D, animation, and much more). For me nothing is impossible in Photoshop.
For digital painting in Photoshop I have three techniques:
Painting for photographers – where the primary tool is the Mixer Brush Tool and you don’t need to have any painting experience.
Painting – where you need to have painting experience or you are willing to learn.
A Combination of Oil Paint filter (yay! we got this filter back!) and the Mixer Brush Tool.
I am using a Wacom tablet for all my digital needs on the desktop and especially with my digital painting workflow
The Adobe Photoshop Sketch experience or “traditional” method of painting/sketching using an iPad is like you are using a “real” canvas of paper to sketch or draw. You don’t need to be in front of your desktop or laptop to start working on your project. You can start and finish your project using your iPad or you can start your project using your iPad and finish your project in your desktop app such as Adobe Photoshop CC or Adobe Illustrator CC.
Now the “vs” part:
Adobe Photoshop CC: I can create any image in Adobe Photoshop starting from an empty document such as photo manipulation or 3D and after that I can start my painting process in Photoshop (we can’t do that in Adobe Photoshop Sketch). Also I can start my painting process using my photo as a based layer or just a clear canvas / from scratch. I can start my painting in Adobe Photoshop and finish in Adobe Photoshop Sketch. I need to have a Wacom tablet
Adobe Photoshop Sketch: I can start my painting project from scratch or use any images as a base layer (to trace it for example). In Adobe Photoshop Sketch we have AMAZING watercolor paintbrushes (we don’t have these brushes/live effects in Adobe Photoshop ). With the combination of Adobe Photoshop Sketch and Apple Pencil you have an absolutely amazing SKETCHING ability (before Apple Pencil and iPad Pro we were able to have this ability ONLY using the “traditional” method of sketching). Using Adobe Photoshop Sketch you can draw/sketch from ANYWHERE using your iPad.
Question: which do I prefer most? BOTH. I am using Adobe Photoshop CC and Adobe Photoshop Sketch every day. I can’t choose which is most important to me (like choosing which limb is most important to me). Both applications are different and both are very important to me. See my Adobe Photoshop work on Behance.net.
I am planning to record new series of tutorials:

Any specific tutorials you would like to see? If so please, let me know using Post Comment option below or send me a tweet @Victoria_Pavlov

Astropad with iPad Pro and Apple Pencil
I have been using the full version of Adobe Photoshop CC on my iPad Pro using Apple Pencil via the Astropad App for the past few days. The application that helps me to operate Adobe Photoshop CC on my iPad Pro is Astropad. Astropad costs $19.99 and for this very LOW price I am able to work on ANY project using my Adobe Photoshop CC full version on my iPad Pro from ANYWHERE at my home or studio.
Today I tried digital painting in Adobe Photoshop CC on my iPad Pro using the Mixer Brush Tool and Apple Pencil (a pressure sensitive stylus). I am extremely pleased with how Astropad performs. No lag! My brush strokes remans same (real-time), I don’t need to change anything in my technique. I want to point out that all the colors displayed on in Adobe Photoshop CC using Astropad are absolutely the same to my eyes.
Another BIG plus with Astropad is that I don’t need to look at my monitor during my painting. So the digital painting experience using iPad Pro and Apple Pencil in combination with the full version of Adobe Photoshop CC is ABSOLUTELY identical to traditional painting using canvas, paper and your favorite brush or pencil (My iPad Pro and Apple Pencil review is posted here) .
Now when I travel I will not take with me my medium Wacom Intuos tablet because I always travel with my iPad Pro. My iPad Pro has all my favorite mobile applications like Adobe Photoshop Sketch, Adobe Photoshop Fix, Adobe Photoshop Mix and many more Adobe mobile apps. So why would I need to carry my Wacom tablet with me anymore? I don’t.

