Category Archives: Photography

How To Take Advantage of Small spaces for product photography

Hello everyone. Thanks for visiting my blog today.
Today is all about how to use small spaces for product photography. I posted on my social media a few product images I made for my client, and some of you asked me to share my process.
Use a small space to your advantage:
1: For product photography, you don’t need to have a lot of space. I had a situation when I had no space at all, so I use a bathtub for all my product shots. I used a school project board positioned on top of a bathtub as a table.
Shooting using small spaces can be very helpful to eliminate a reflection in your product. Smaller spaces have less “environmental chaos” reflected in your product, which means less post-production. It’s cheaper to buy a small flag to block the reflection. You even can use one school project board divided into two pieces.
2: Light. Small spaces require less light. So it’s cheaper.

Must have:
1: it’s necessary to have the right surface(s) or backdrop(s) for product photography. The right surface will help to tell the story of your product along with the simplicity of post-production.
I use surfaces I bought from Replica Surfaces. They are beautiful realistic-looking surfaces, easy to shoot with, and easy to clean up. Another big plus is that having even only two surfaces you can create 4 different sciences.
2: Excellent lighting is a must to have. You don’t buy new lights every month or year. So invest in good lighting. I use Westcott FJ400 with a Westcott FJ-X2M trigger.
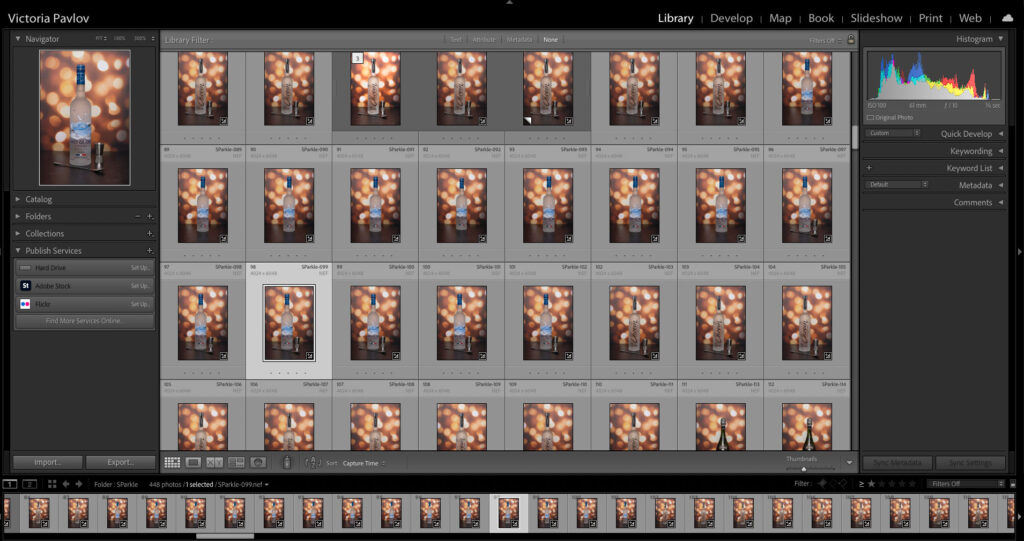
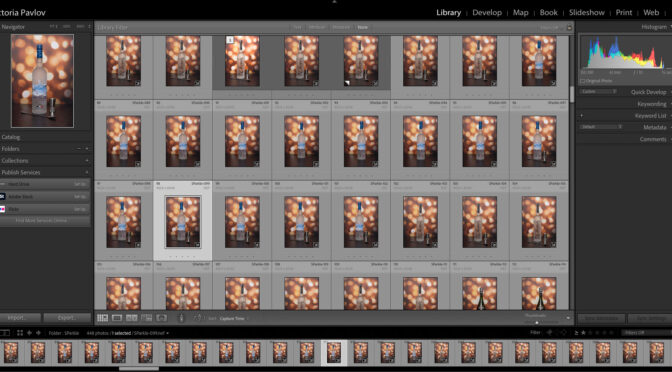
3: It’s necessary to shoot tethered. Shooting tethered will save time on post-production and eliminate mistakes you will notice after the photo session. You sow something you’d like to improve – you will be able to change/ improve it right away.
I use Adobe Lightroom and tethering cable from tether tools.

4: Gloves and lint free cleaning cloth. A clean product is the first step in any product photography. So take time to clean the product using a soft cloth before the session. A glove will give you the ability to move the product without leaving any fingerprint on it.

5: Tripod. I use a tripod in all my sessions. I can’t imagine my photography life without one. Don’t buy cheap tripods. Buy a sturdy one that will make your photography life easier and more enjoyable.


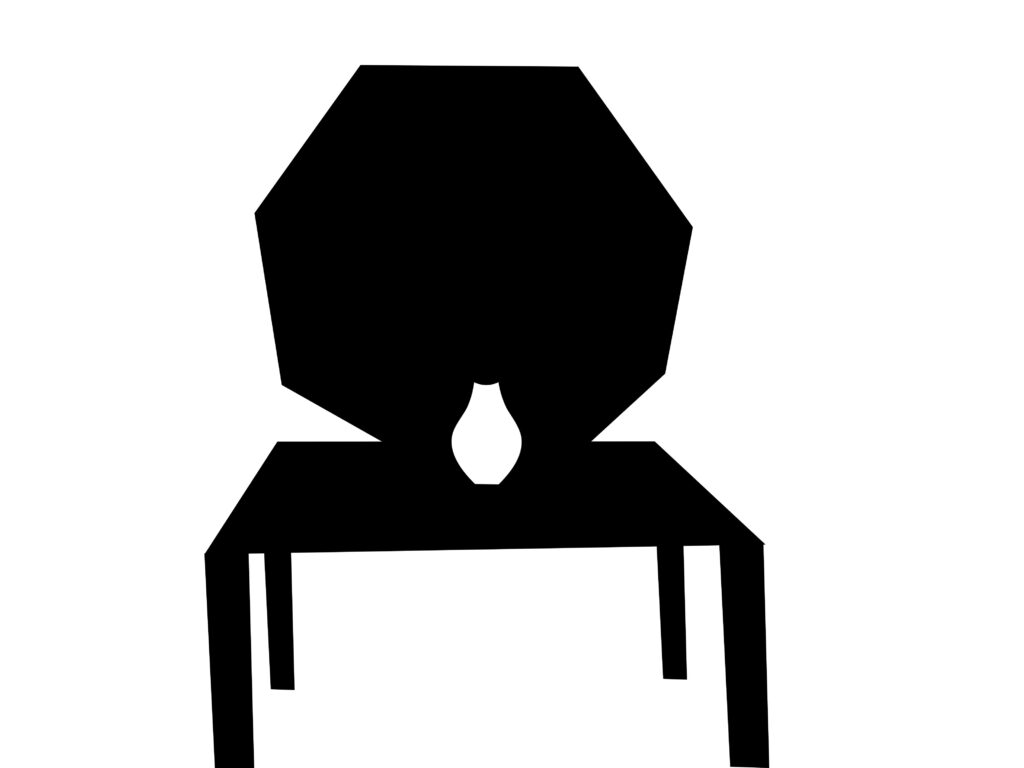
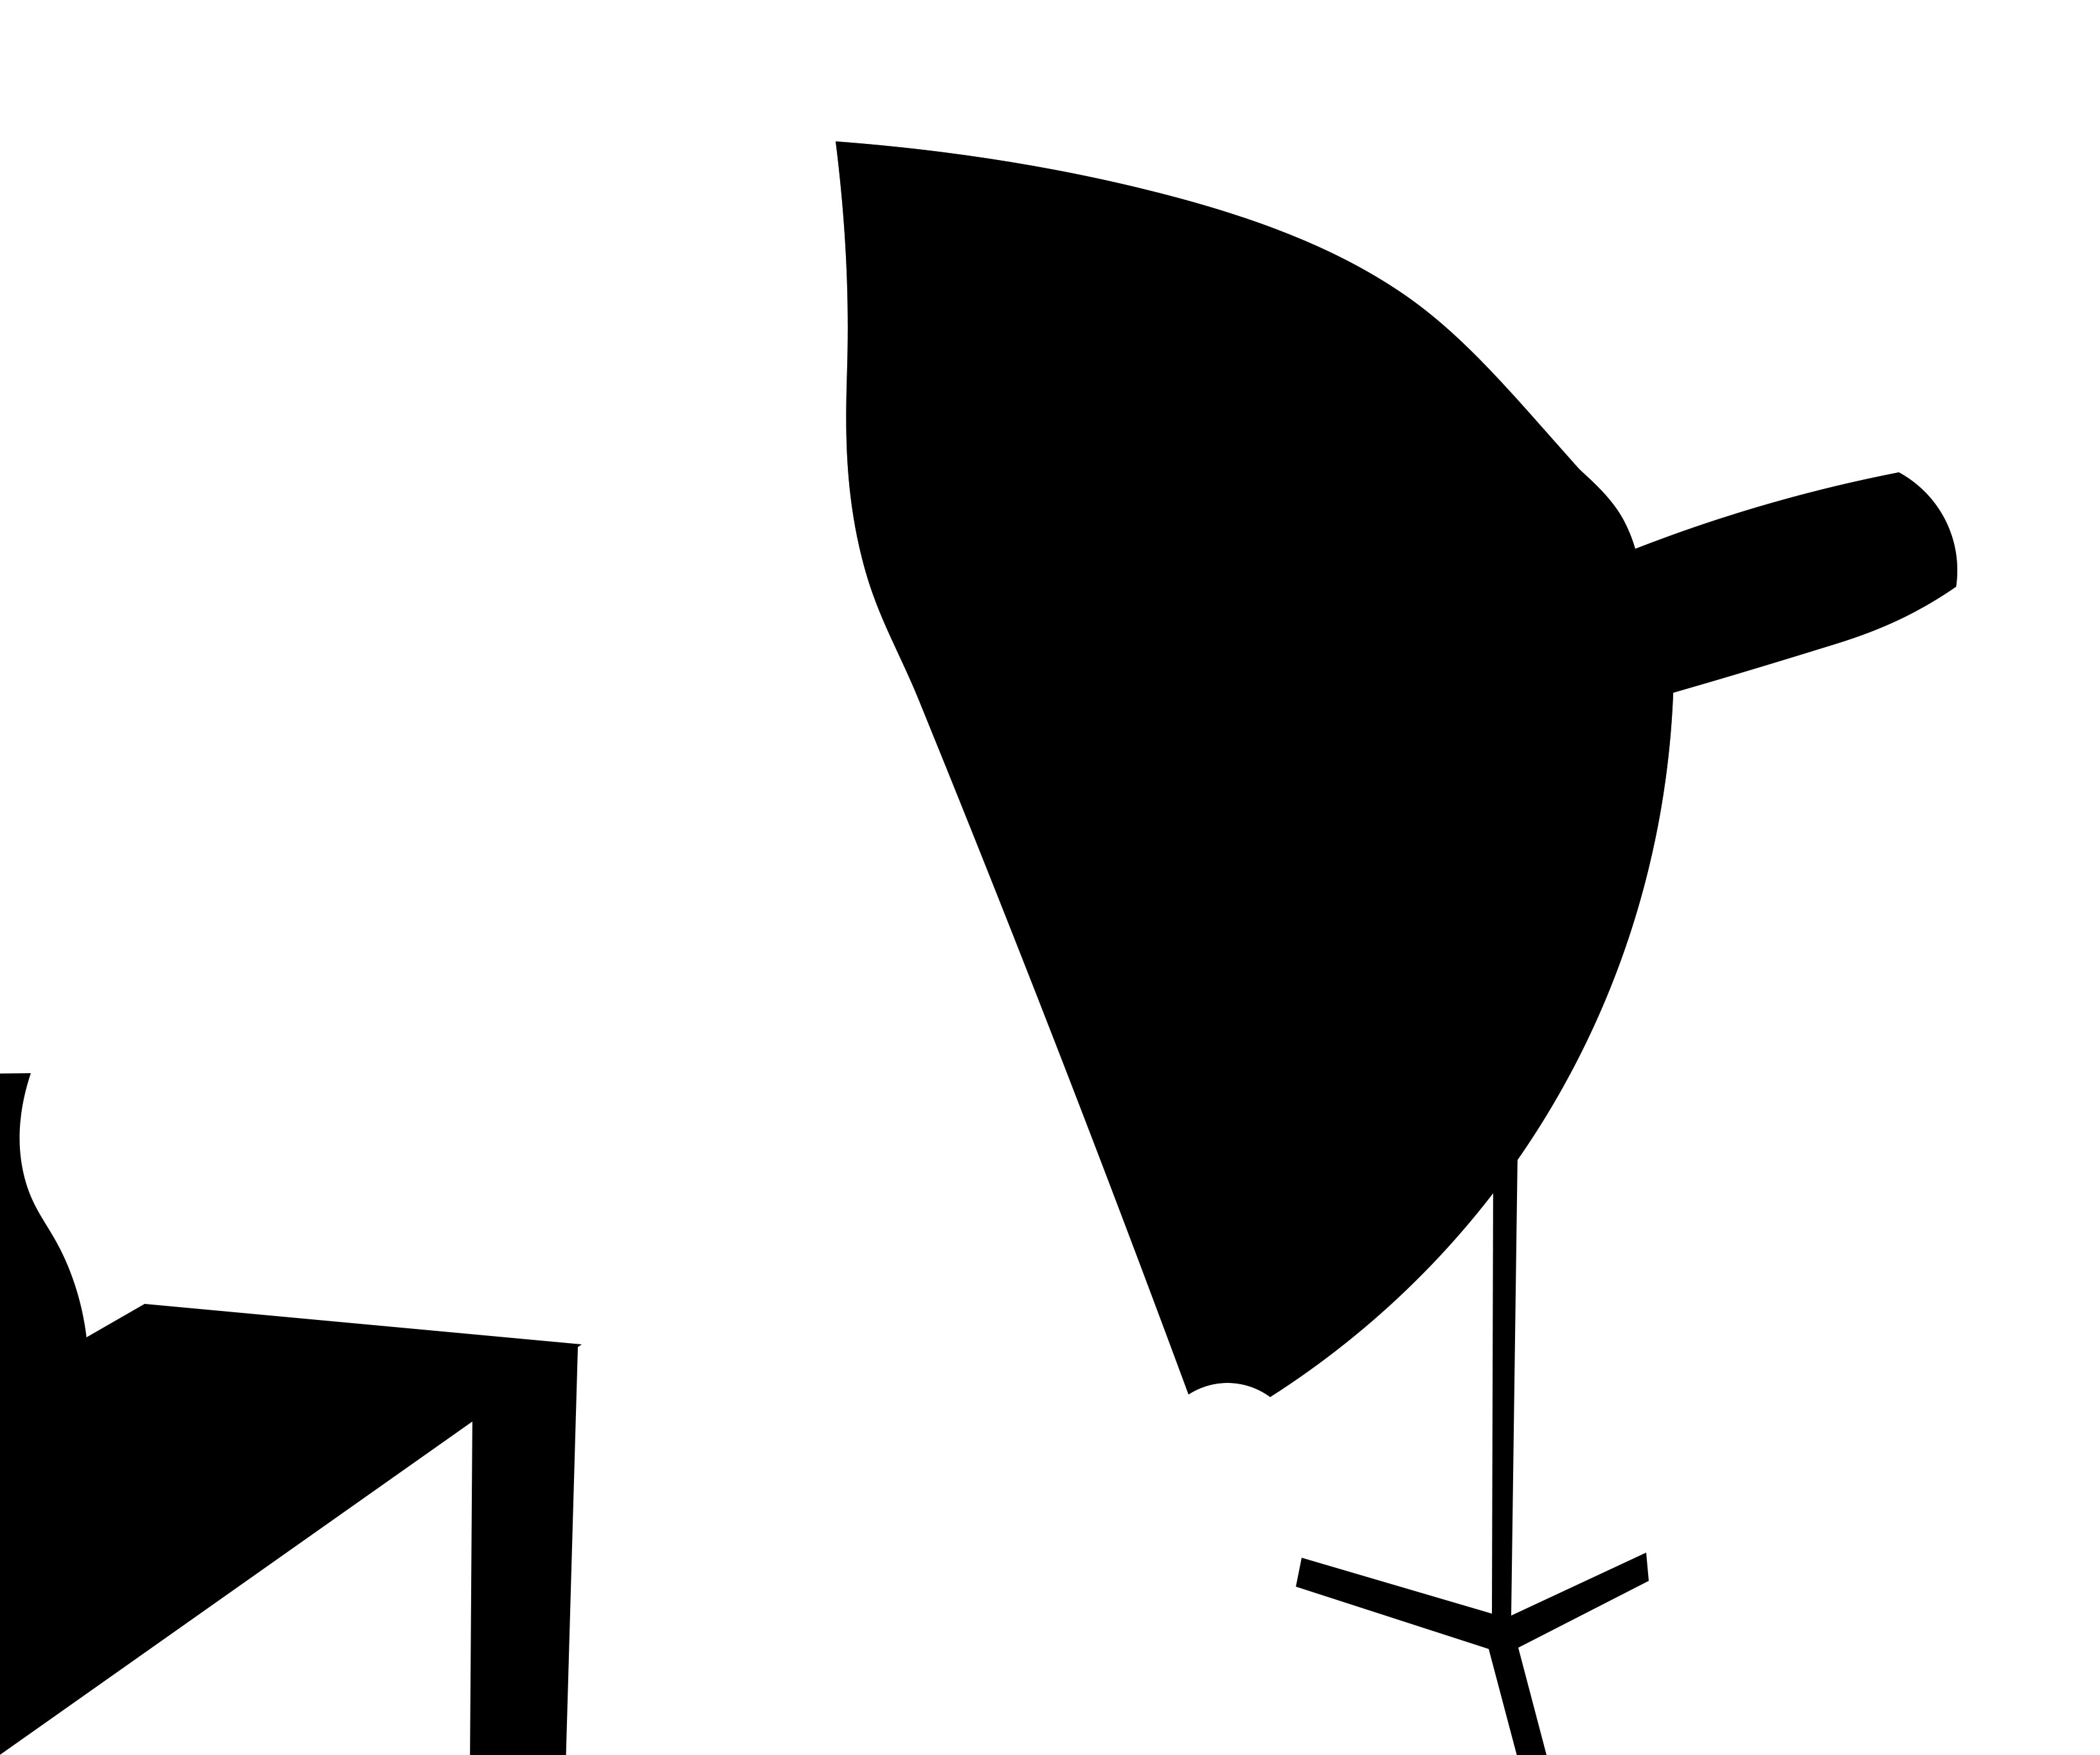
Below is the setup for my last session
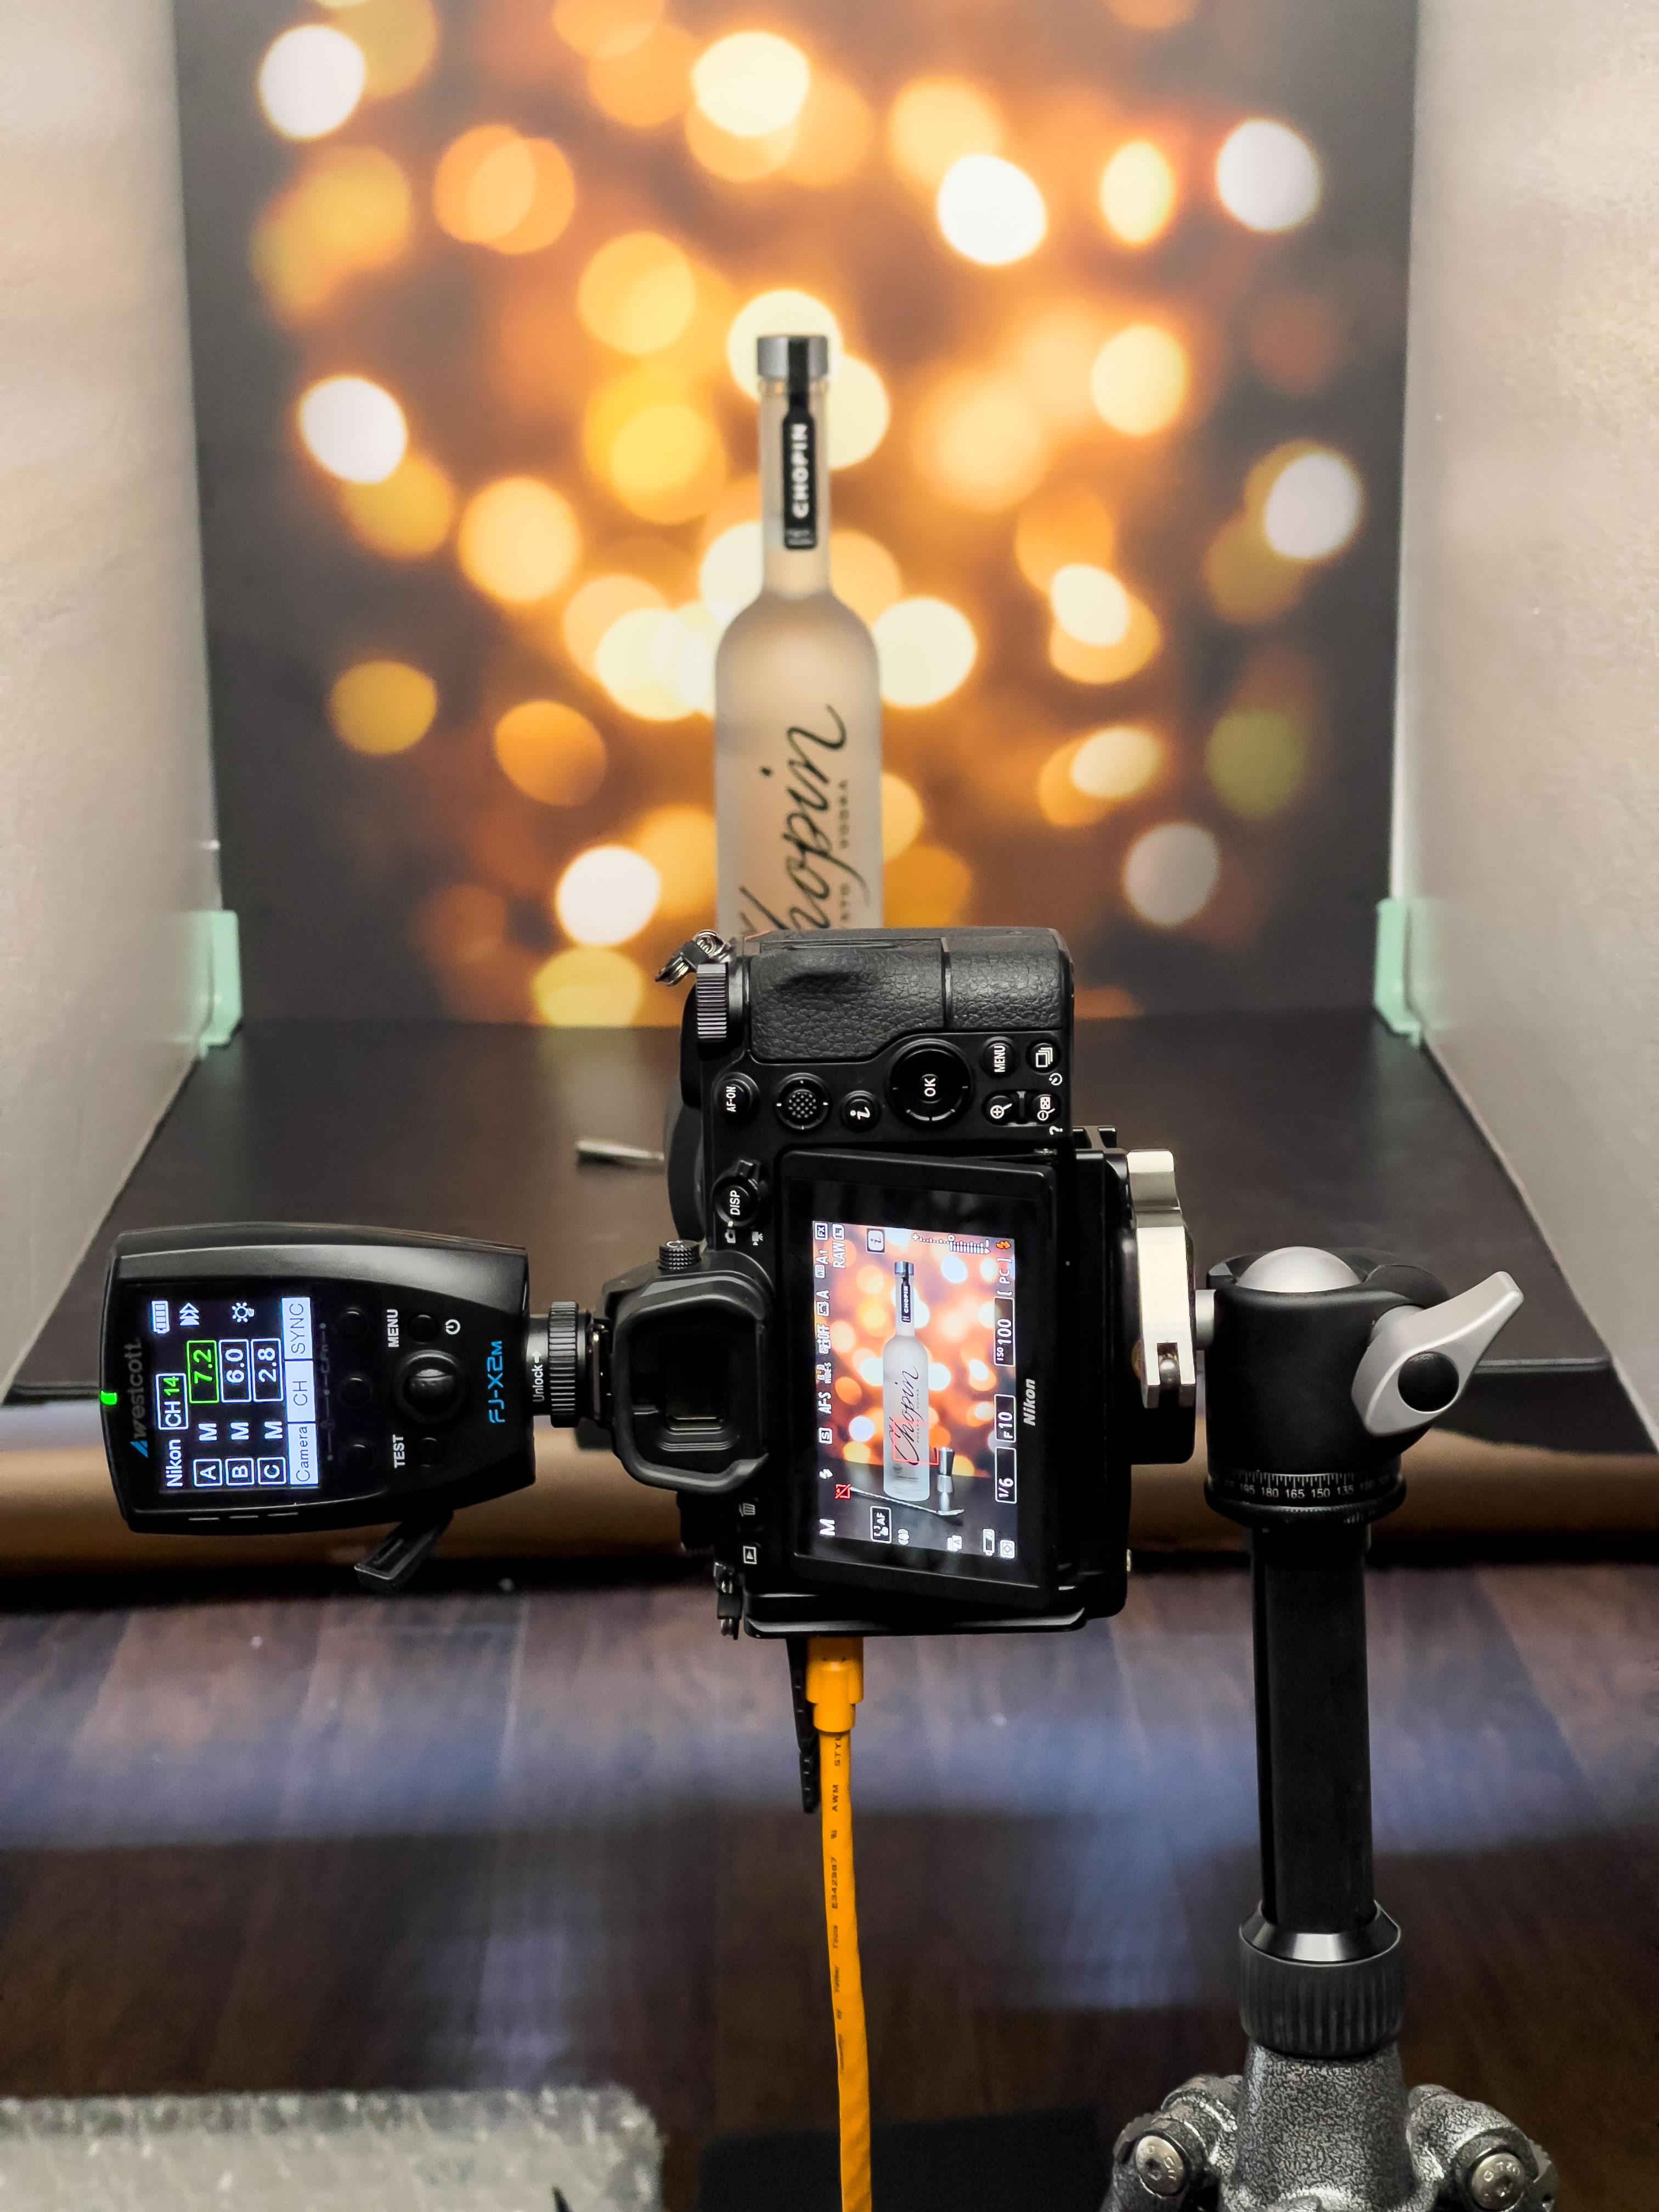
I used two replica surfaces and two foam boards on a side to block surrounded reflection.

I used only one softbox (yes, you can shoot product with only one light)
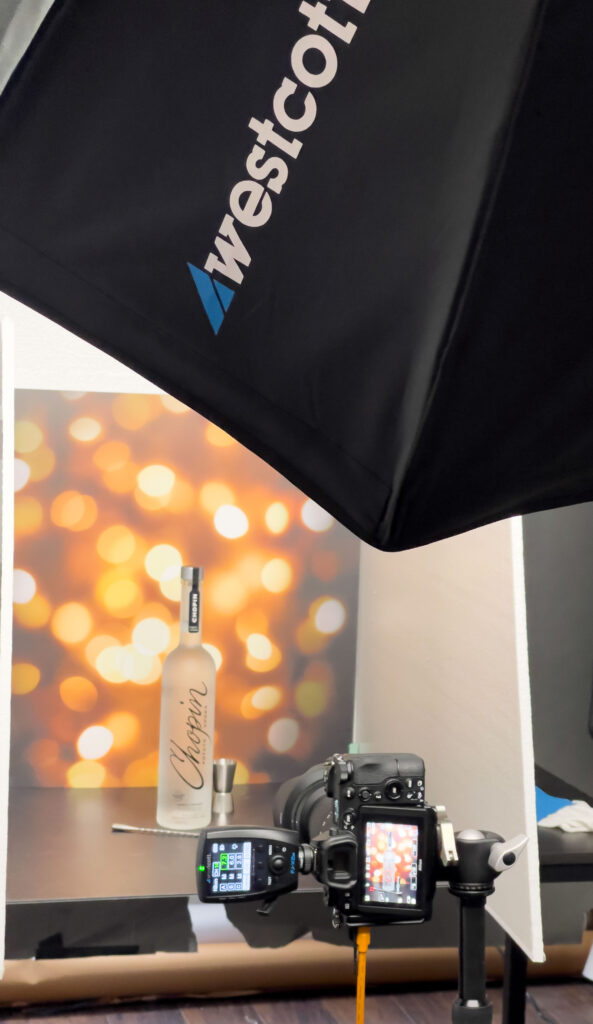
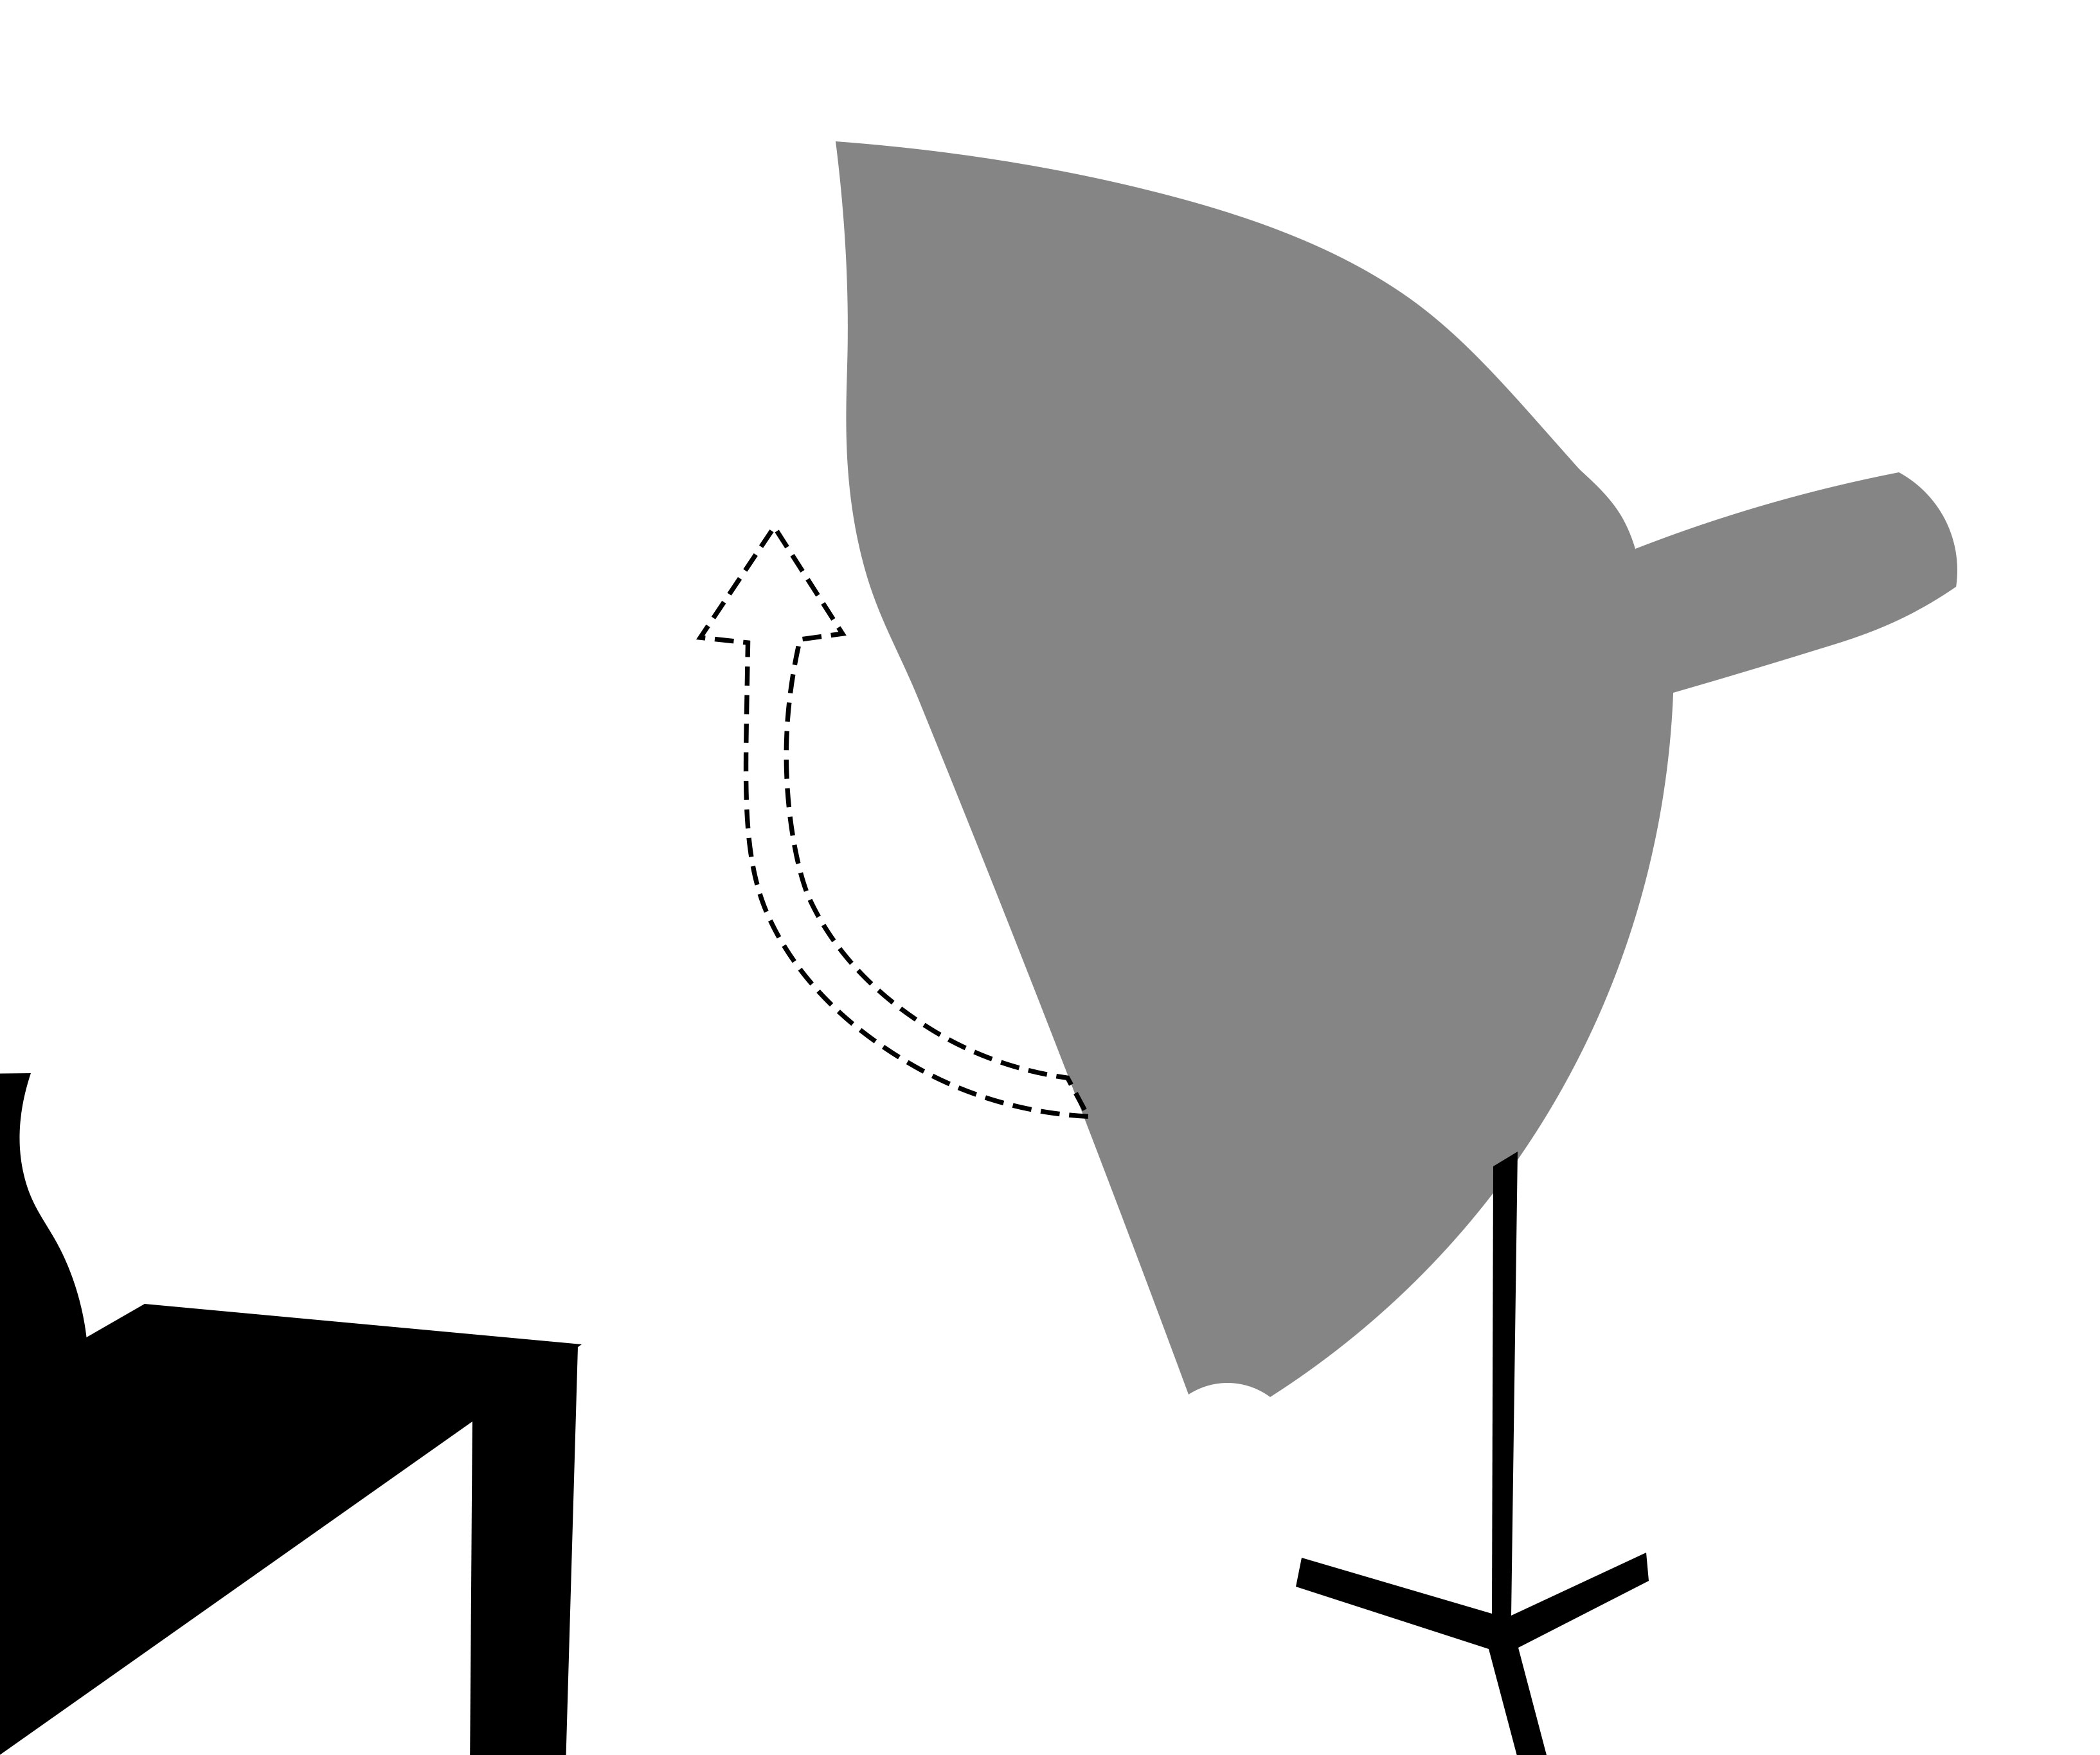
I positioned a softbox a little above my product. So I have enough light with fewer hot spots in the bottle.

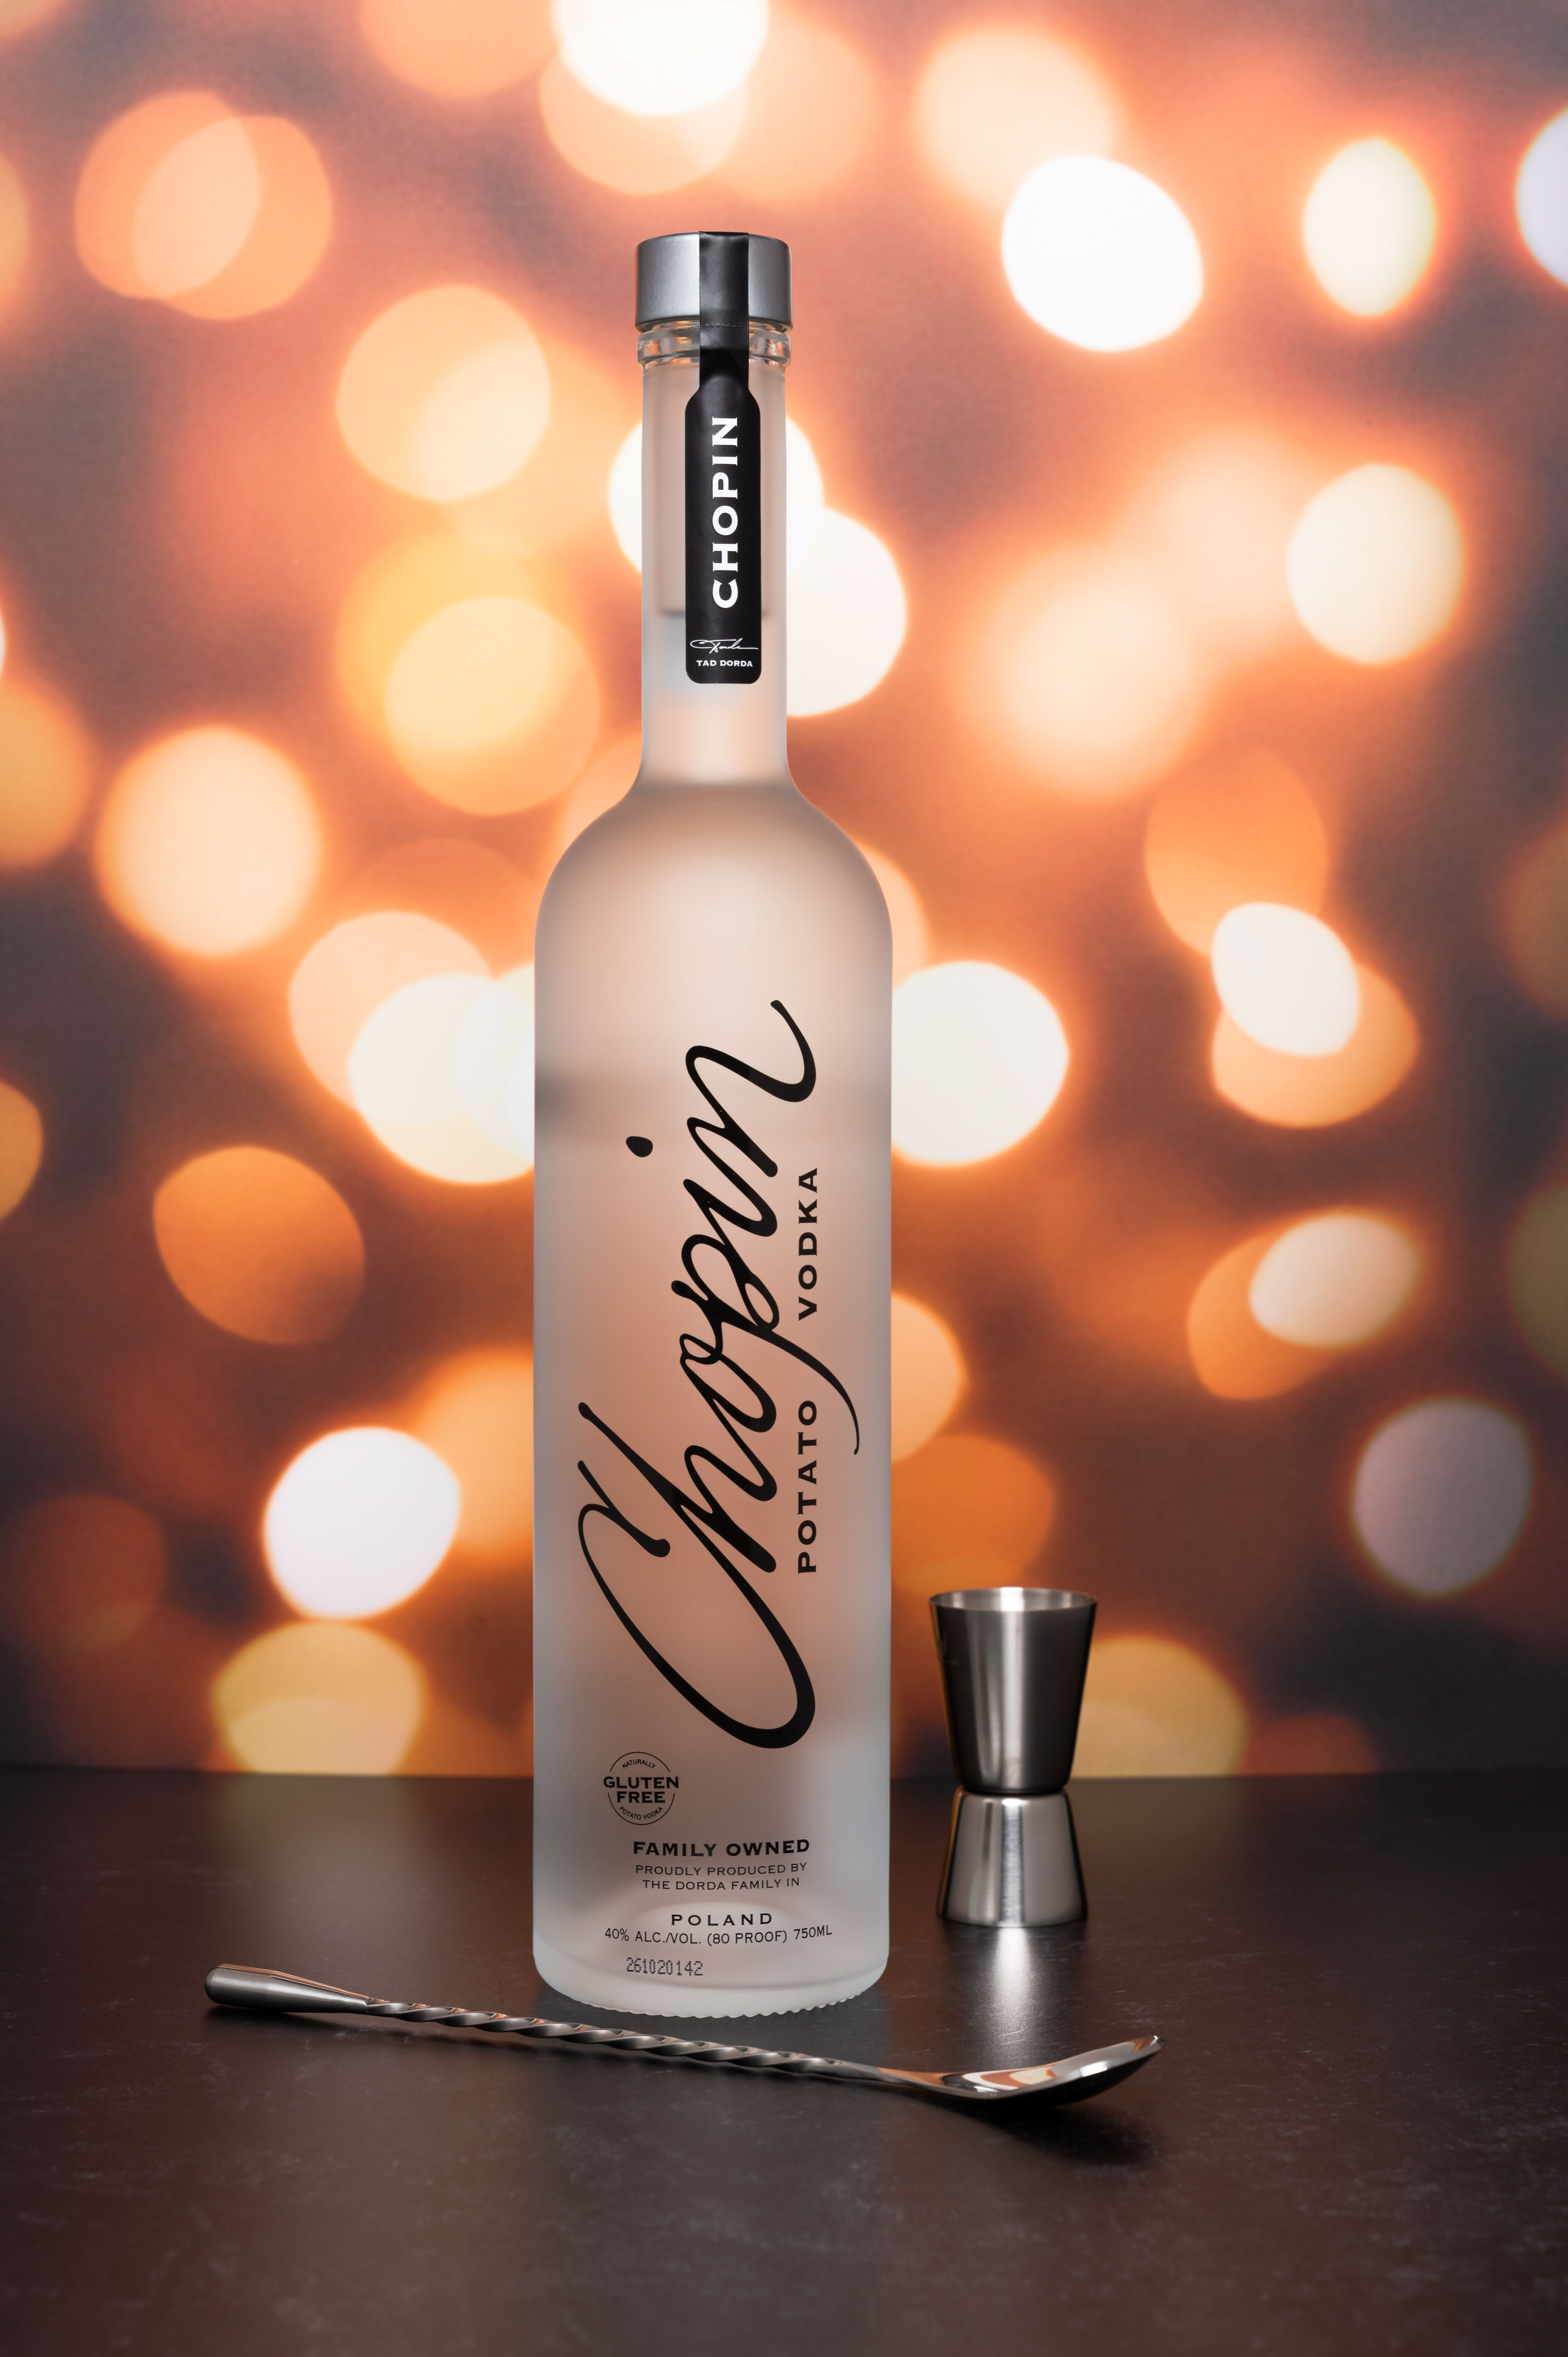
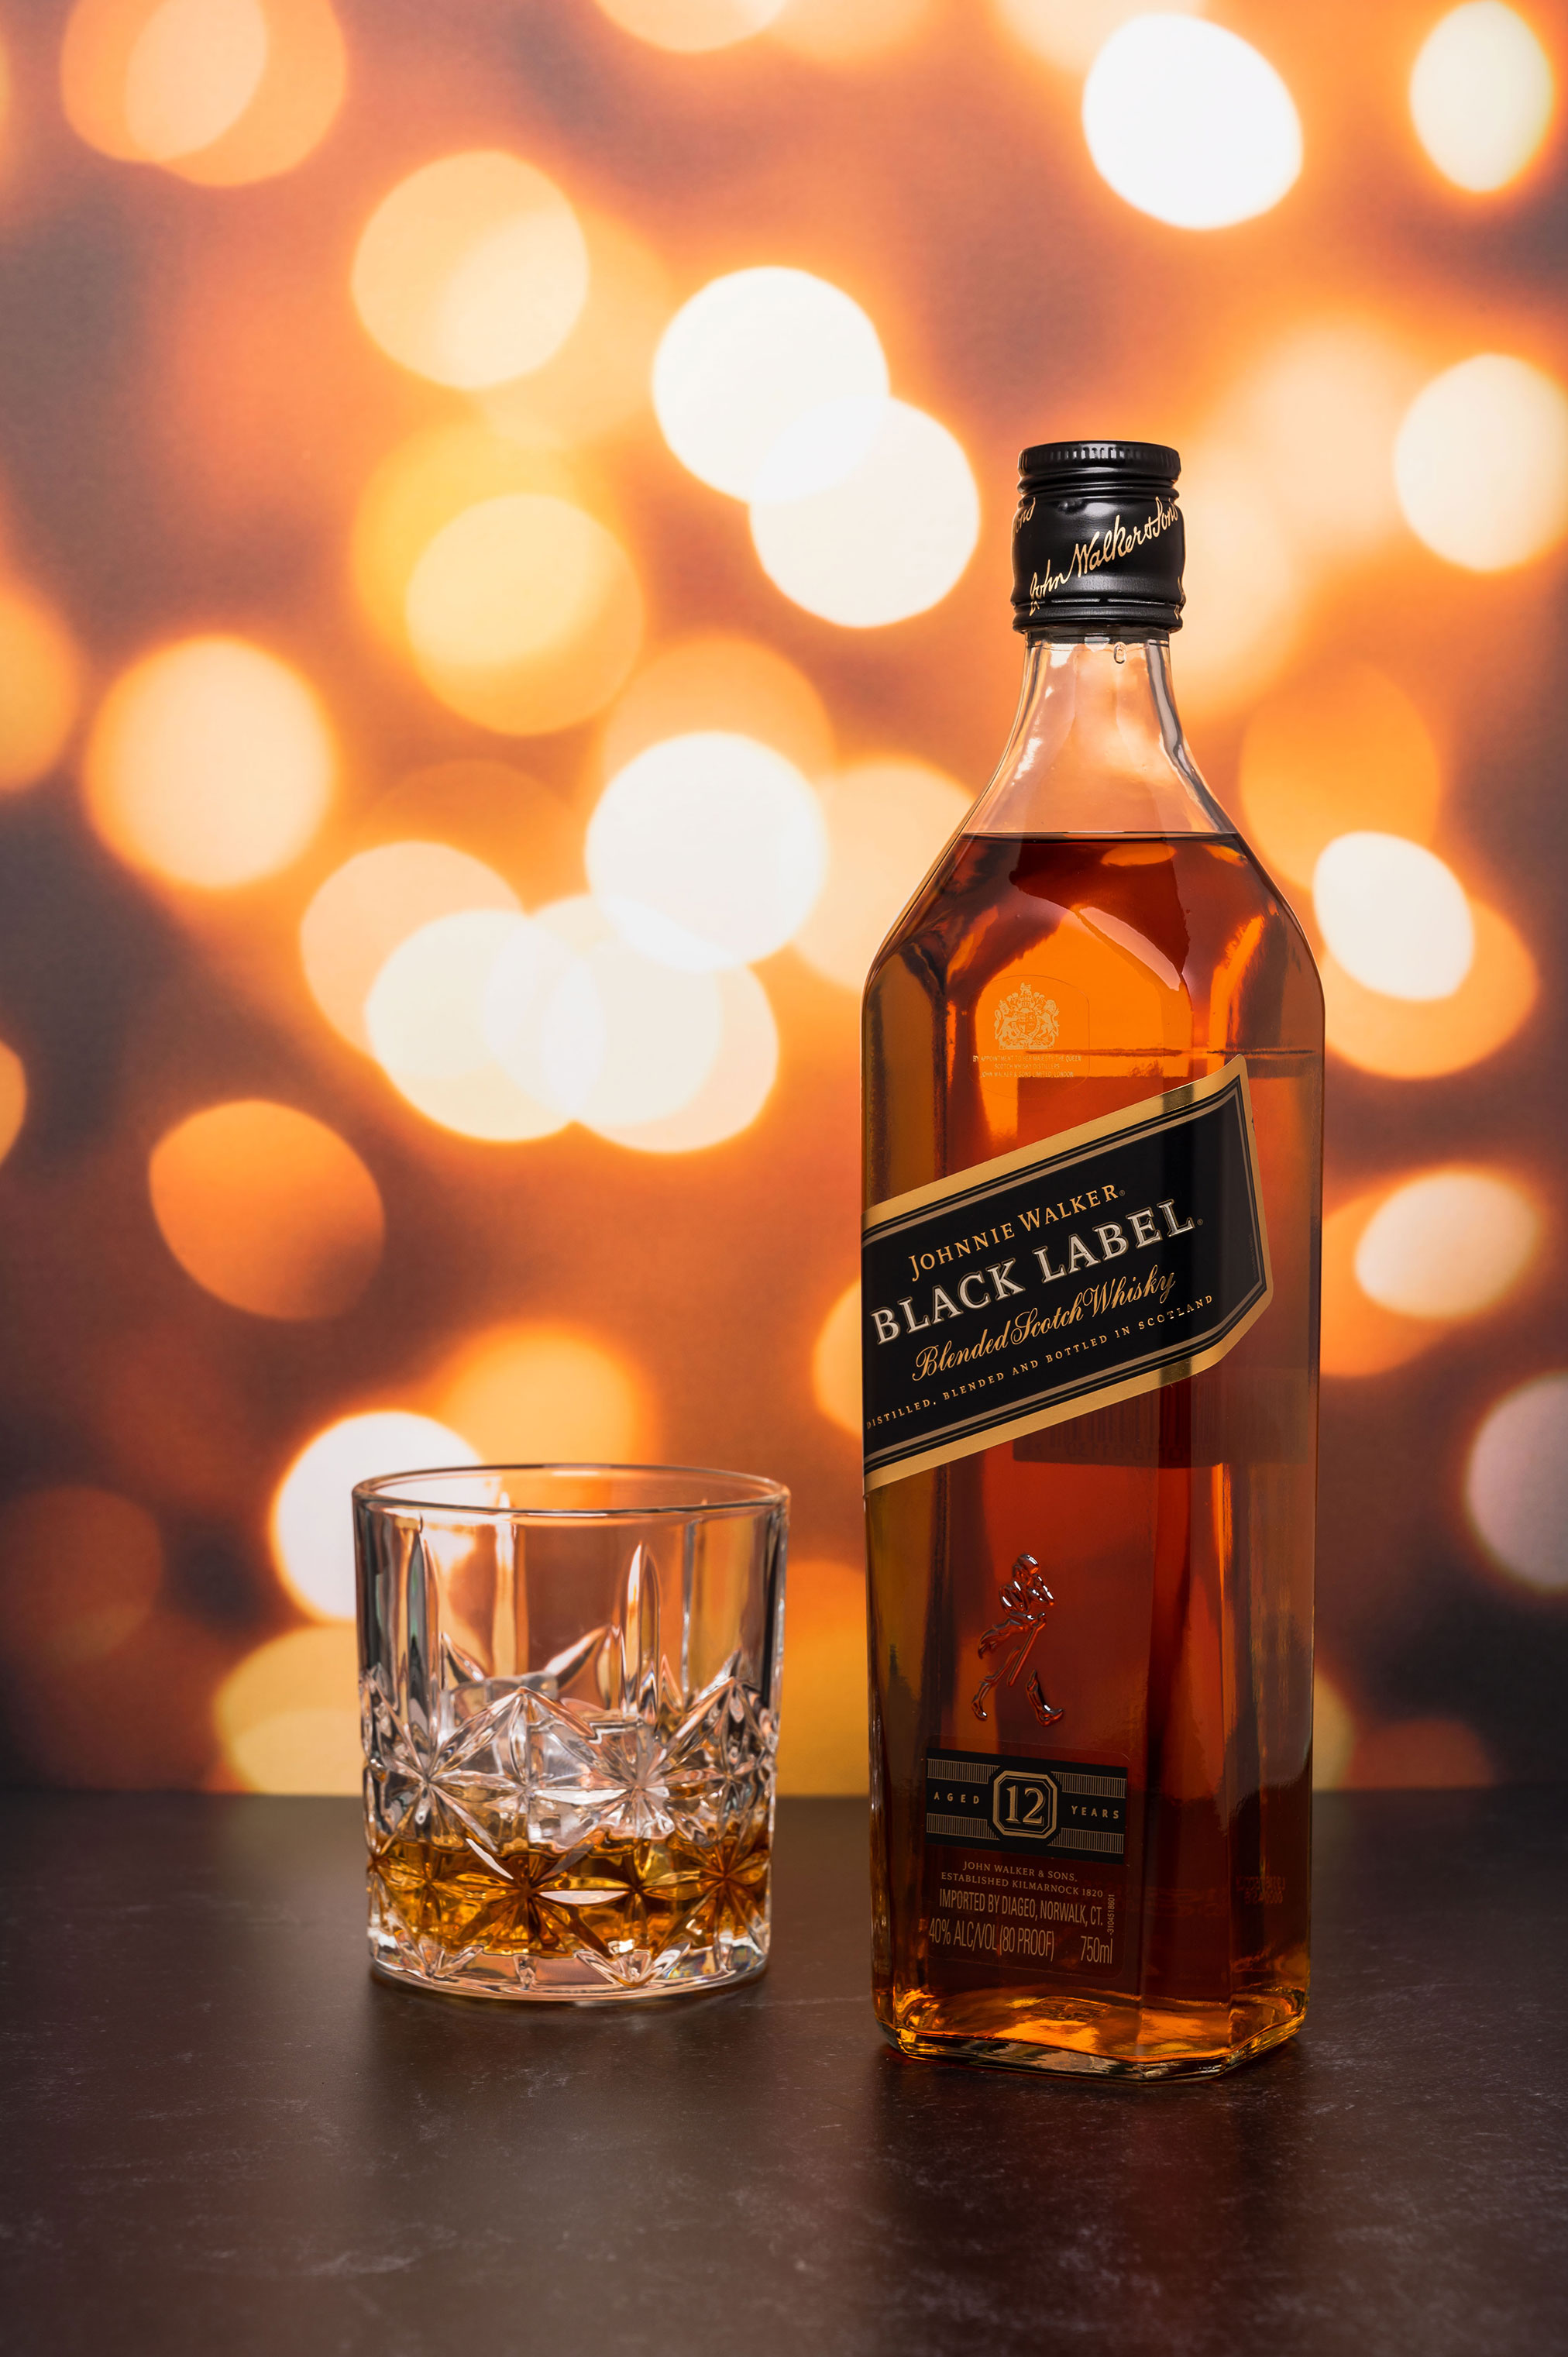
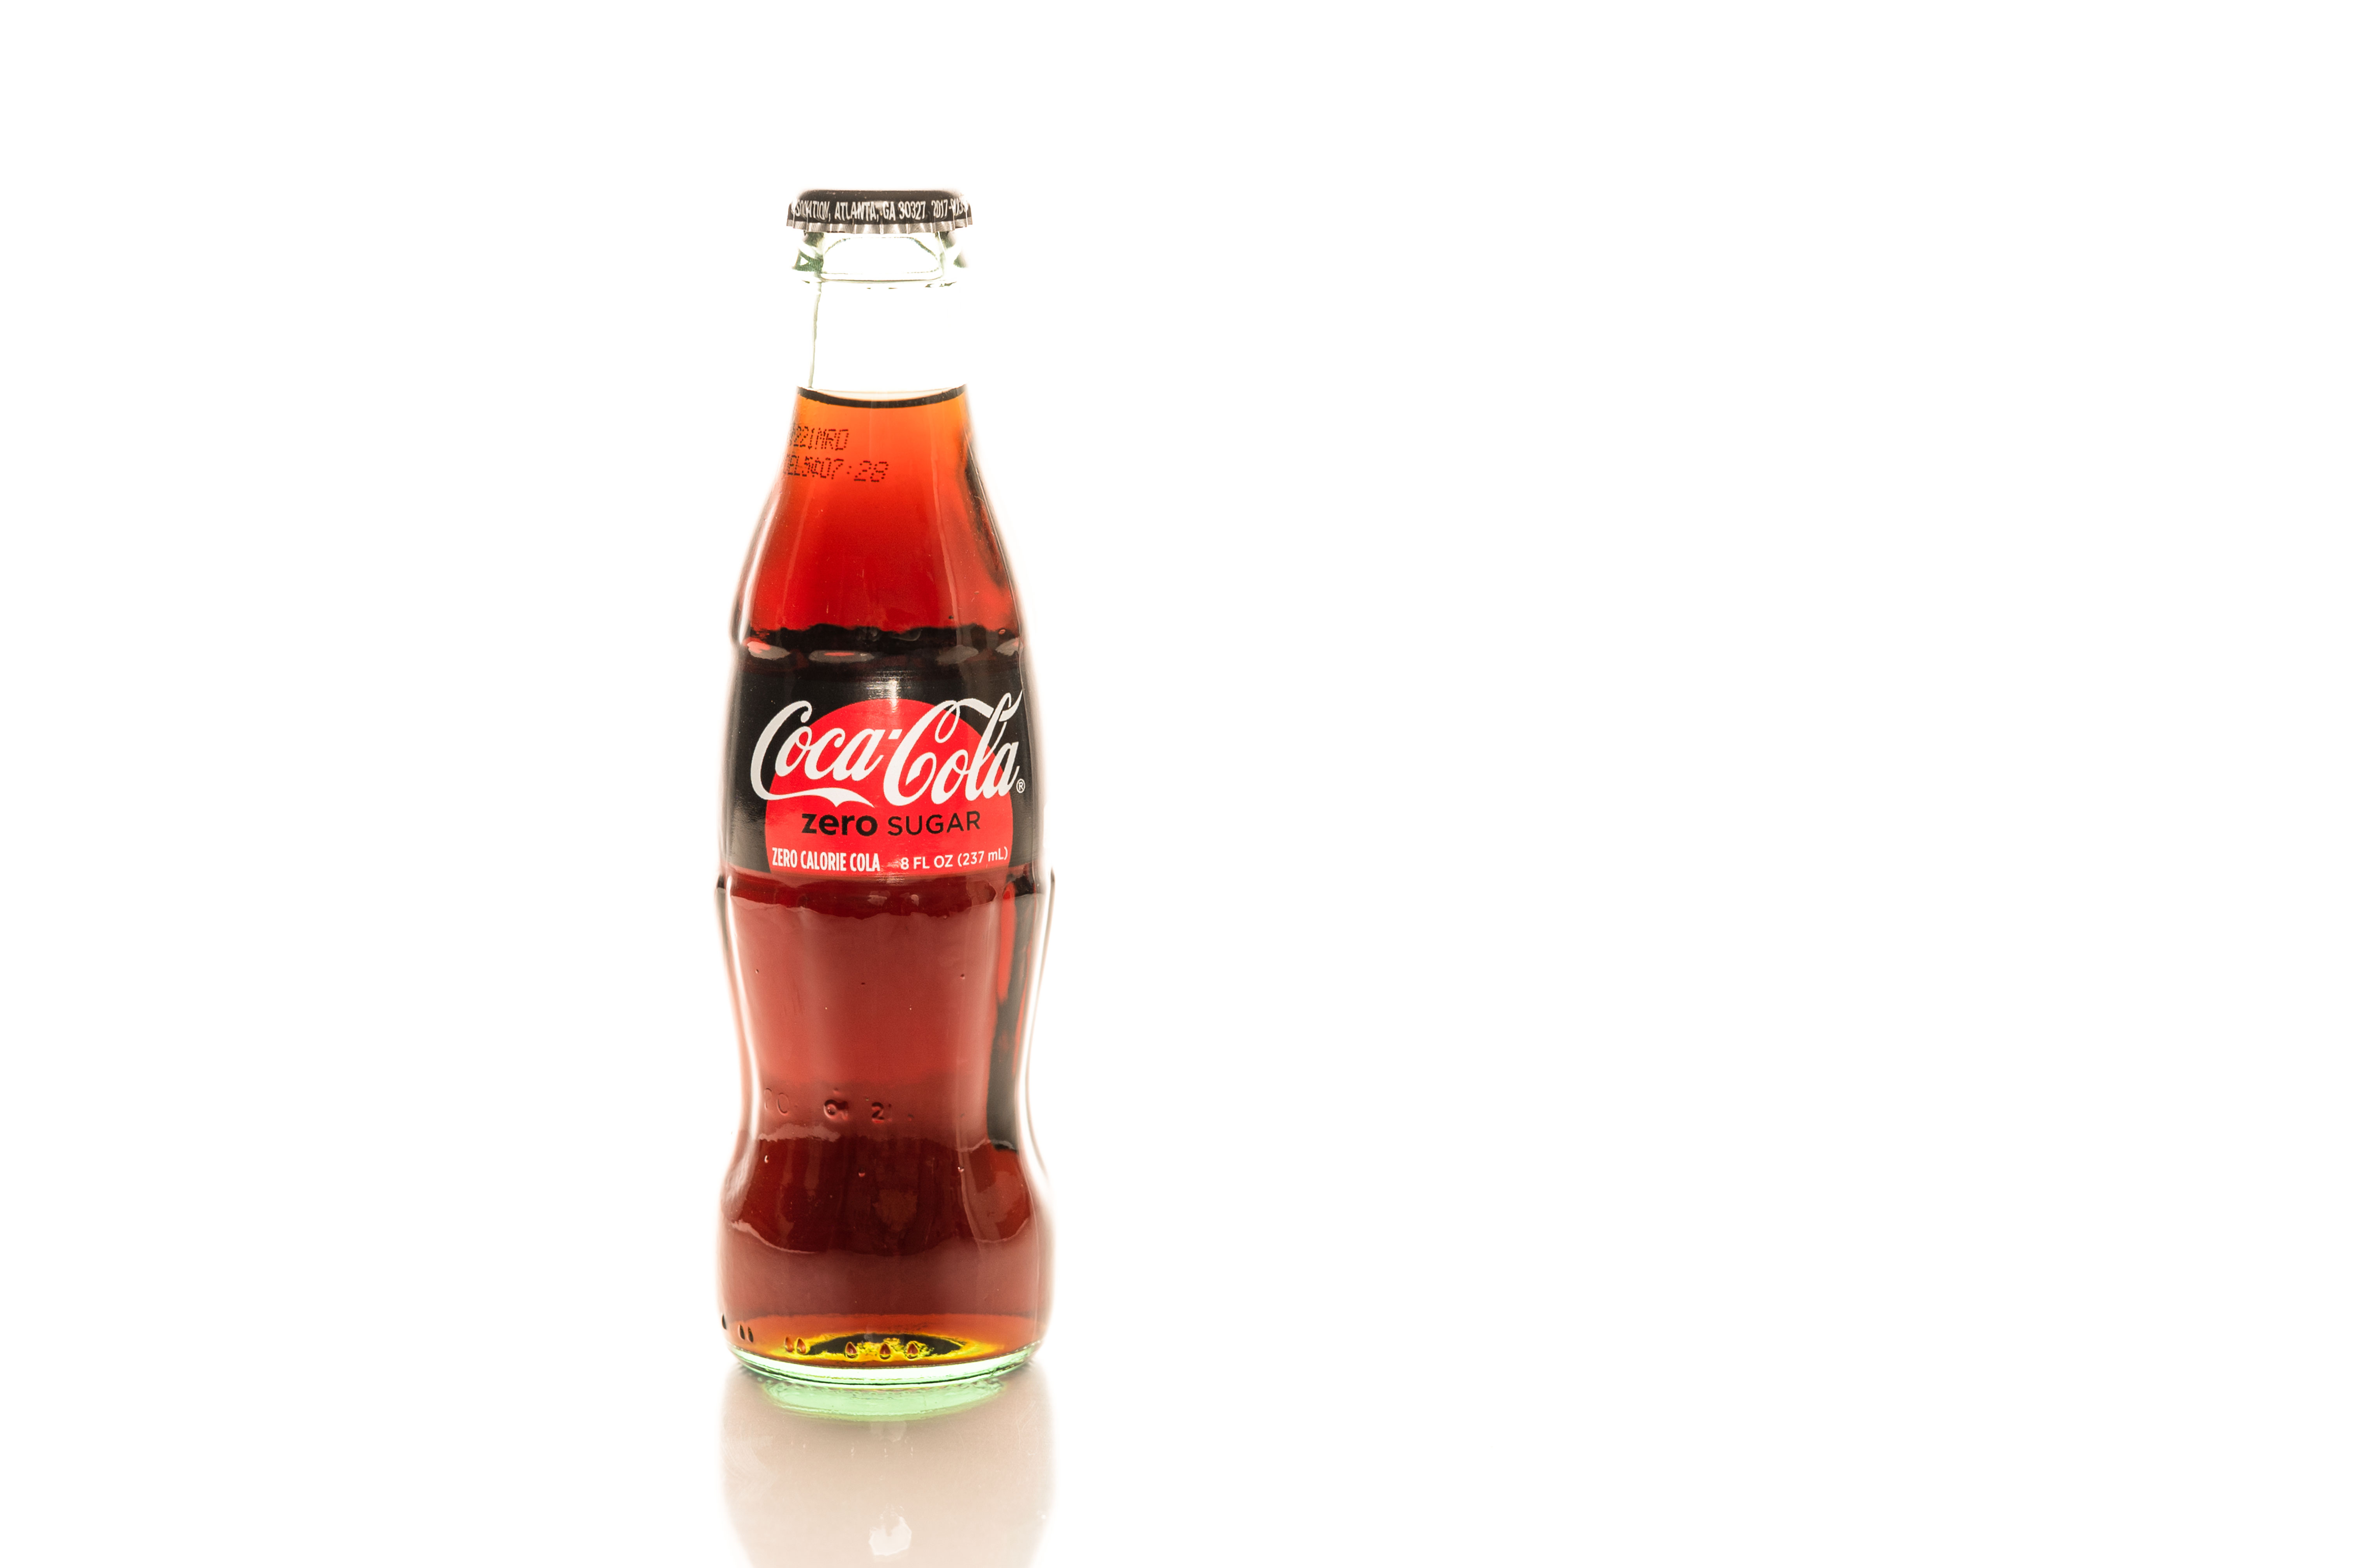
A few final images

The Bottom Line

Product photography is fun and the best part is that your subject is always available and never gets tired. You can shoot products whenever the mood strikes you. Try it and have fun.

Removing An unwanted reflection

Hello and welcome to my new Monday blog post.

In this blog post, I will show you how to combine multiple images together to create your final image.
Last week I was shooting in my studio for Adobe Stock submission. I had my simple setup for a high key session. In this blog post, I will not go deep into my setup, but if you want to learn more about my settings, please let me know using the contact form below.

When you are working with product photography, and especially with a glass or reflective object, it is important to make reflections more smooth or don’t have any reflection at all (unless it is intentional).
We have many different ways of shooting products, and every photographer has his/her own way. What I will show you today is the quickest and easiest way on a small budget.
I had two lights. One light is behind my product, and the other light right in front of it.

Main Light

Using this setting I got this result

My next step was to bring my main light (which is in front of my subject) up

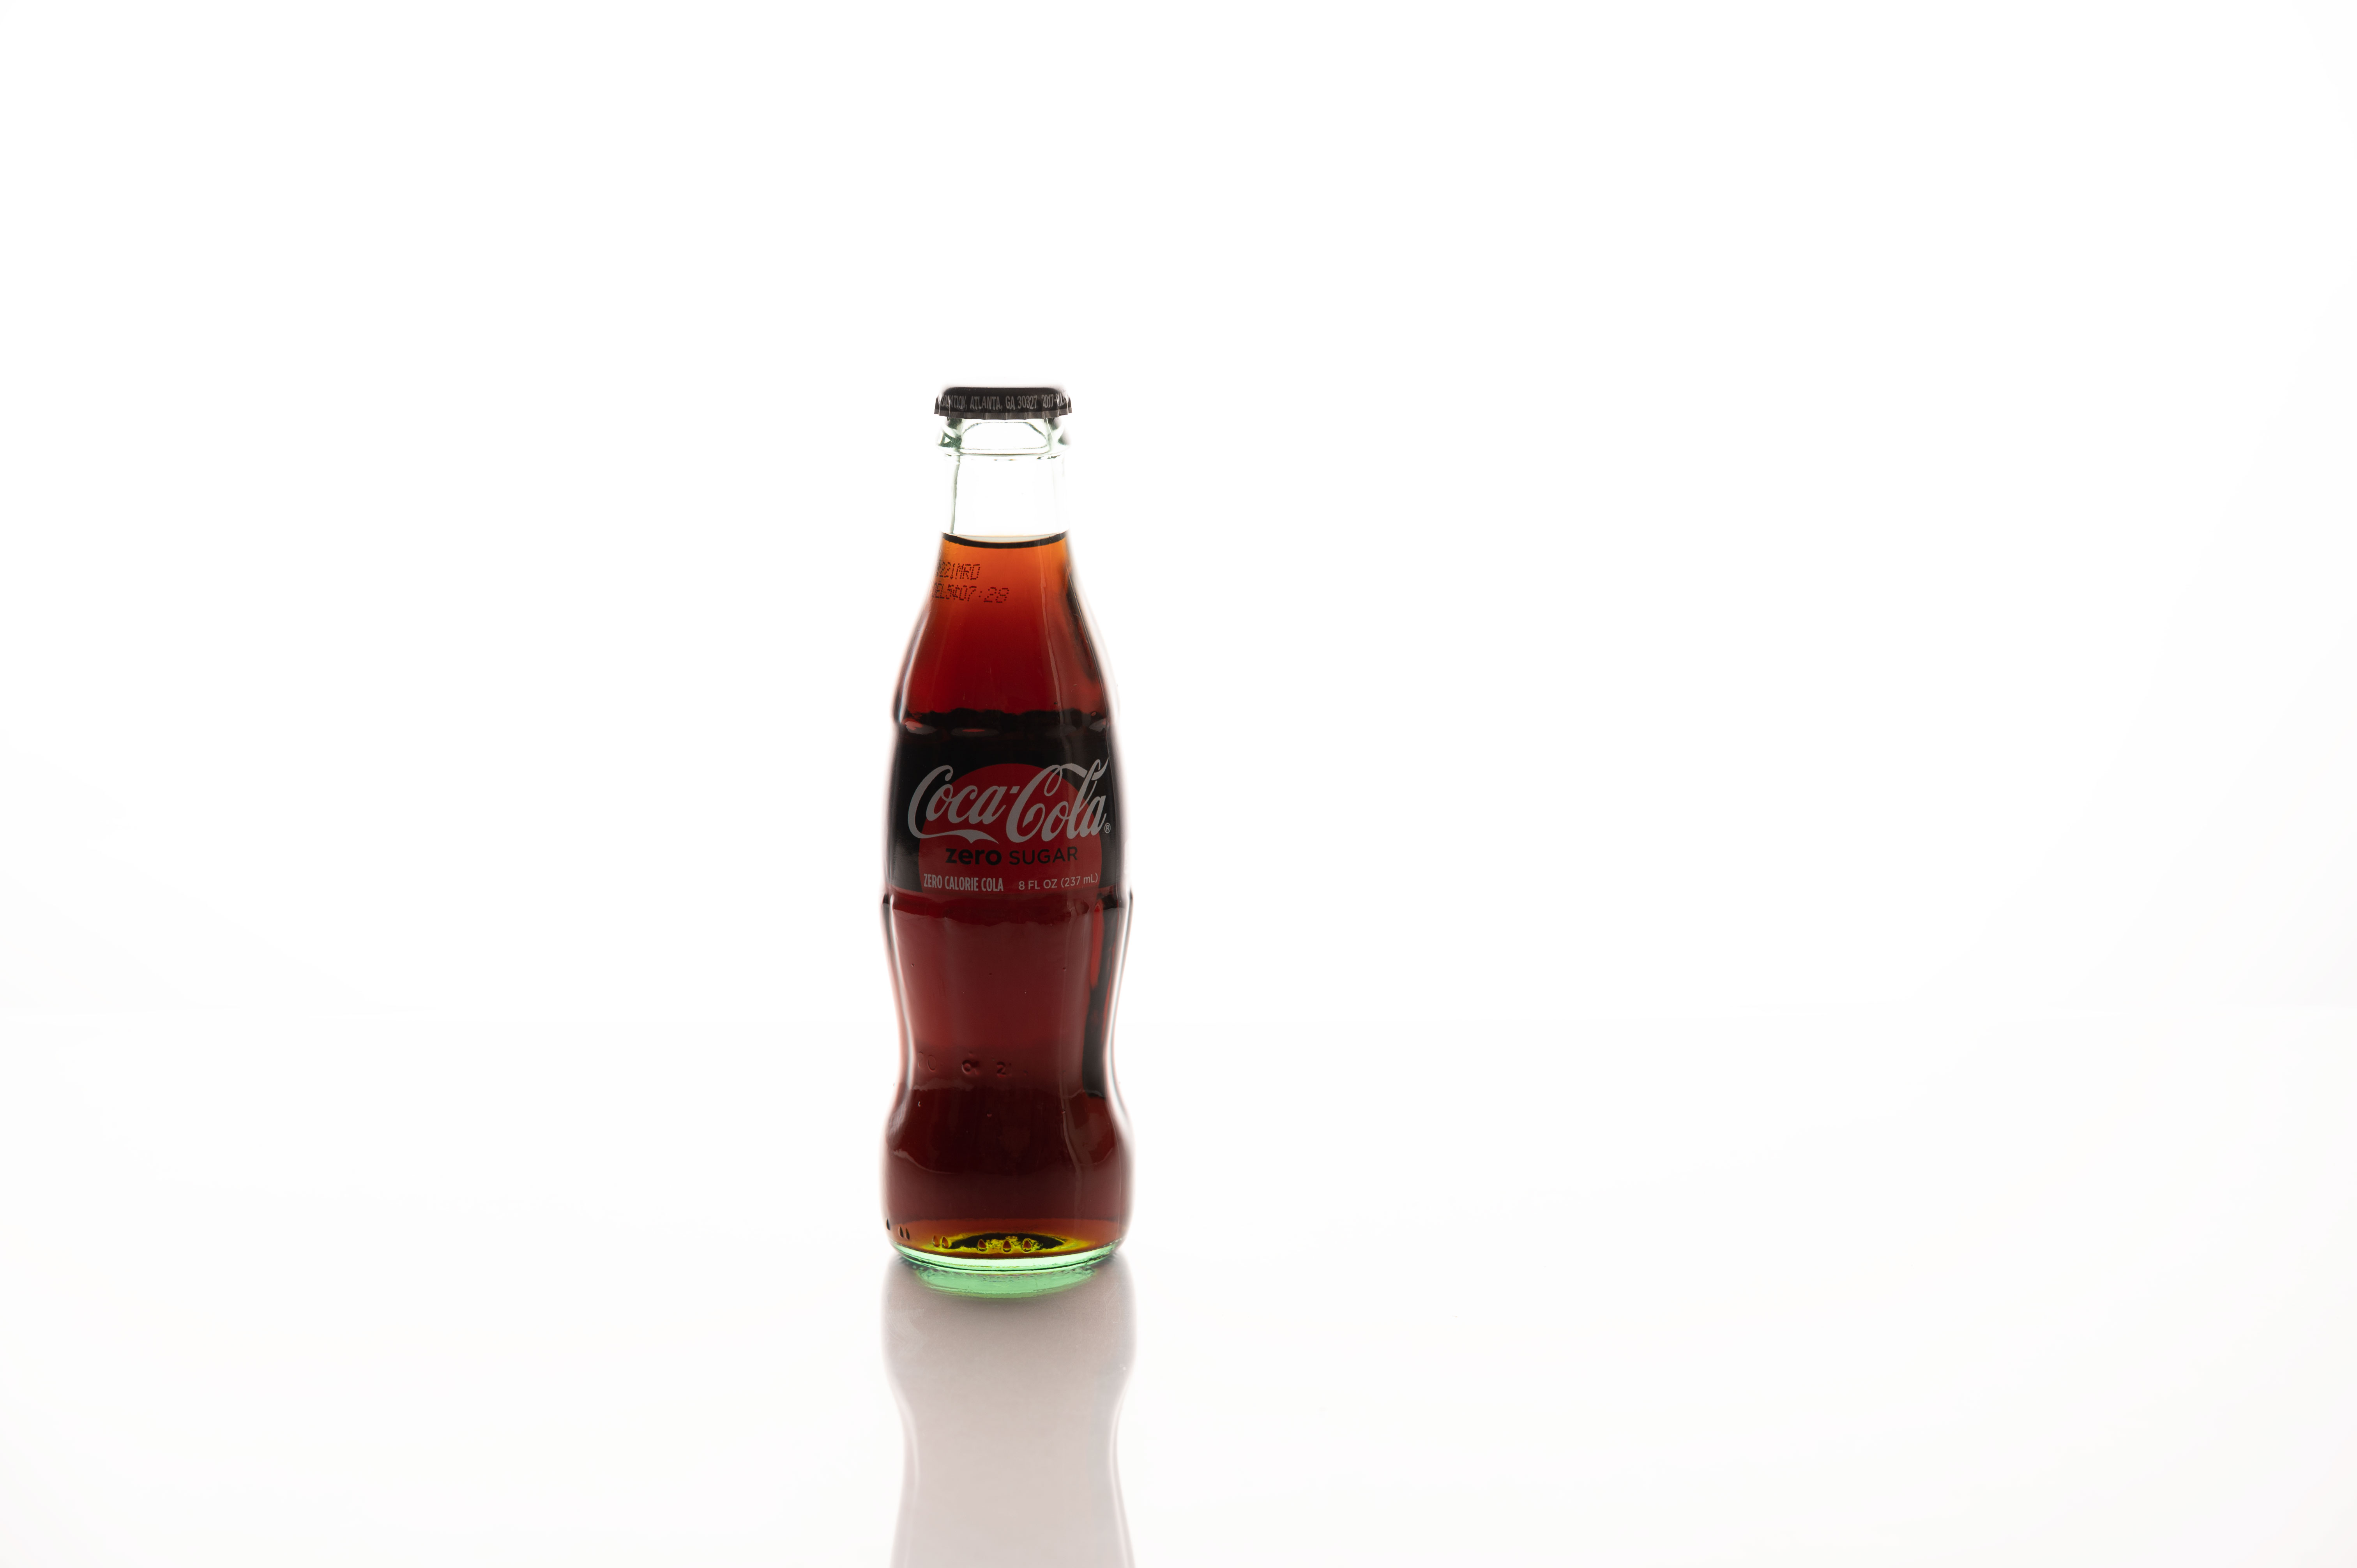
This is the image I got. This image doesn’t have any reflection (including Softbox reflection).

I always shoot tethered to Adobe Lightroom Classic so now we jump from the studio to Lightroom Classic.
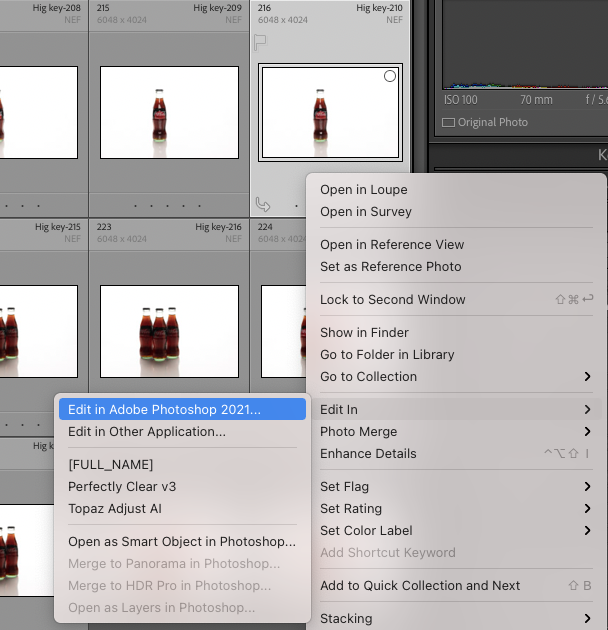
In Lightroom Classic, I will select the first image > right-click > Edit in > Edit in Adobe Photoshop 2021

I will do the same with the second image.

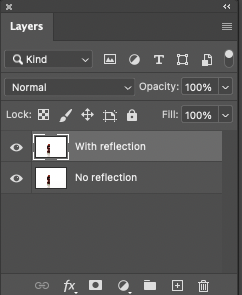
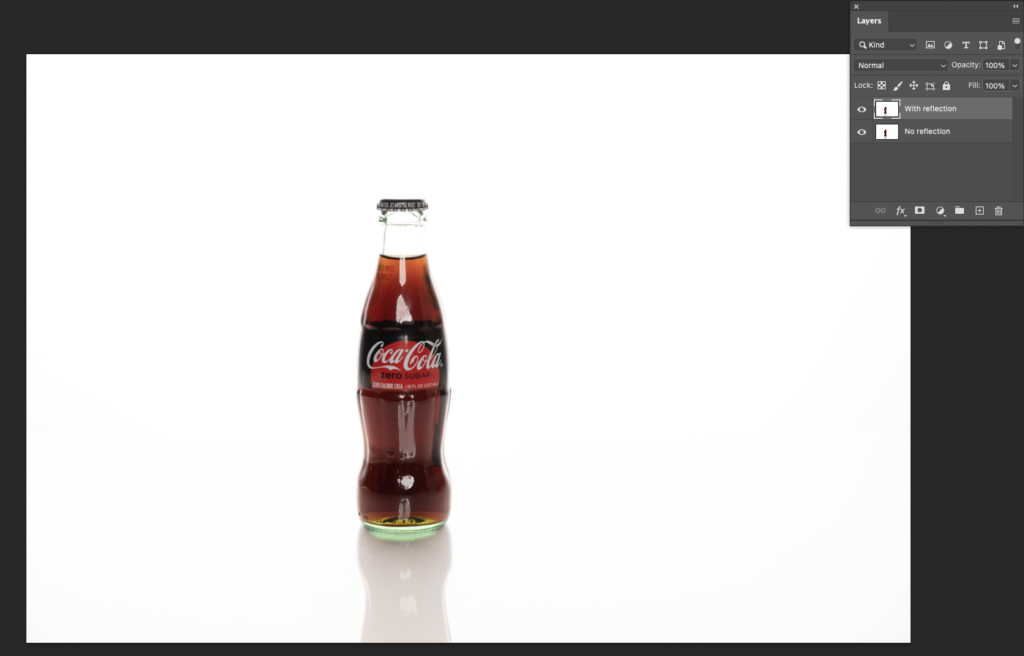
Now in Adobe Photoshop, I will place the first image on top of the second one. The image with reflection is positioned on top of the image without a reflection.

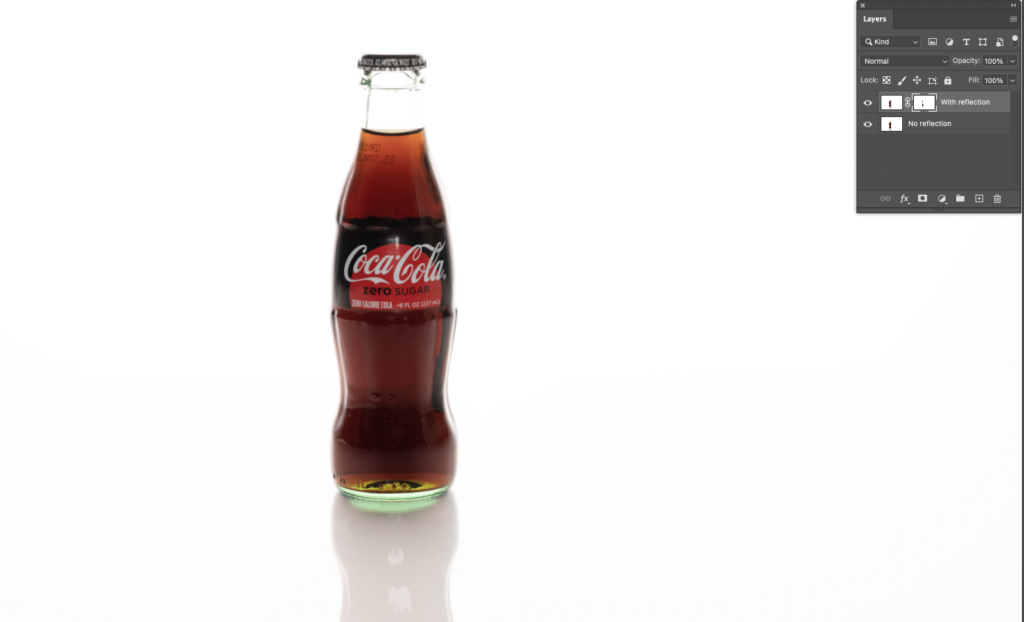
Next step: apply a layer mask to the top layer > using a soft brush with black color, paint off the reflection.

Just like this, I removed all unwanted reflections/highlights from the subject. The next step will be merging all layers and simple adjustments in a Camera Raw with a little cropping.

Finally, we are ready to submit the image to Adobe Stock (as an Editorial image since this is an obvious brand). I did it and my file was accepted!

Everyone, I hope now you will start shooting for Adobe Stock and shoot from anywhere, even from the smallest studio, kitchen, or from anywhere else.


*As an Amazon Associate, I earn from qualifying purchases listed below

Adding the same look to multiple images

Hello everyone. It’s Monday, so today is the day for my new blog post.
Today I want to share with you a tip that will help you in your photography workflow. You asked me, and I heard you!
Very often, we want to apply the same feeling, atmosphere to multiple images. Today I will show you one of my favorite tricks in Photoshop.
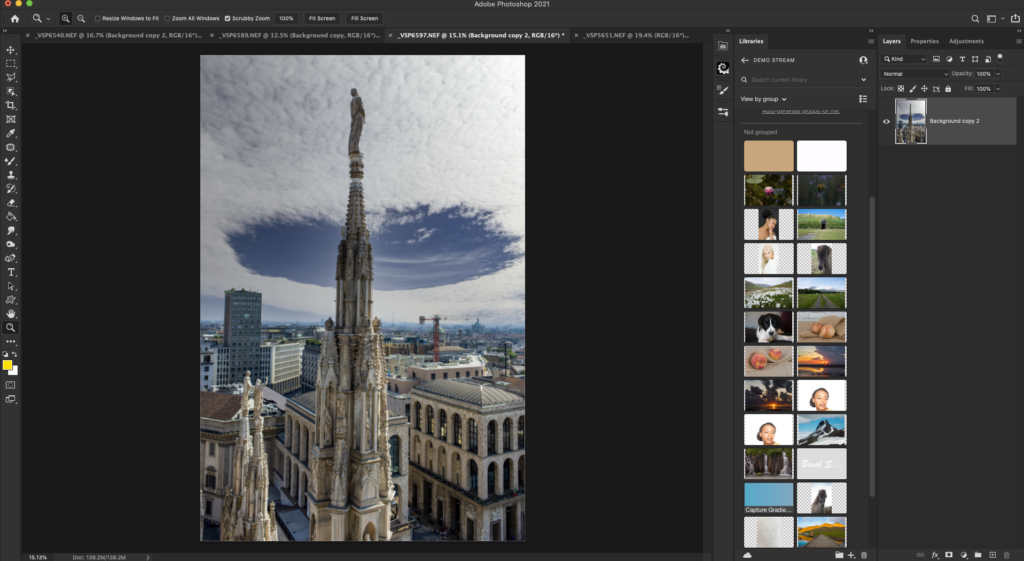
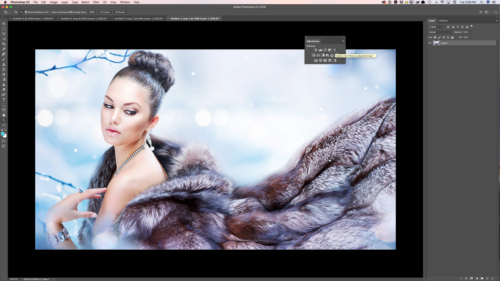
I have opened my image I would like to work with

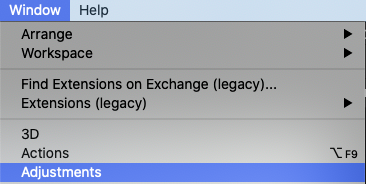
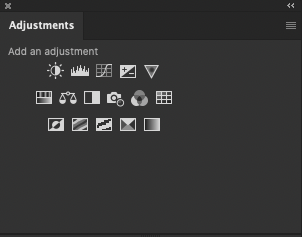
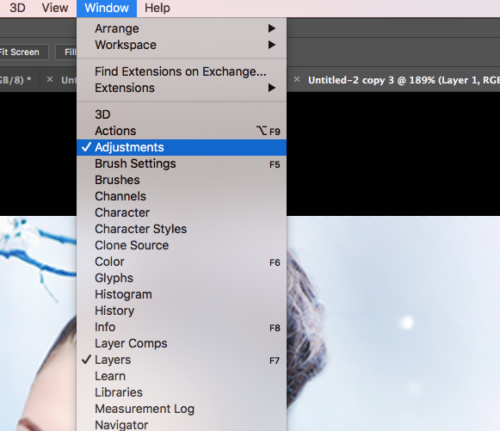
Window > Adjustments

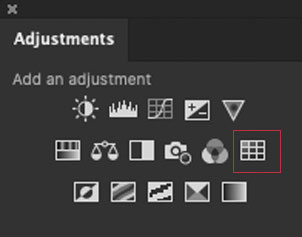
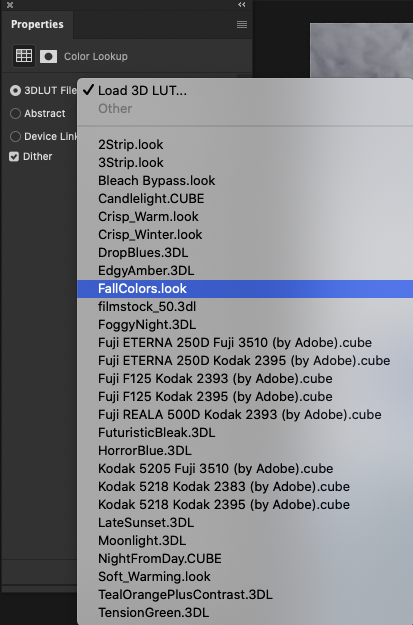
Click on “Create a New Color Lookup adjustment layer”

You can choose any LUT from drop down menu. My favorite is “Fall Colors. look”

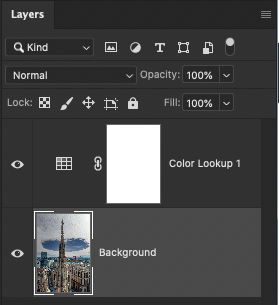
After you click on it, Photoshop will add it as a separate layer with a layer mask applied already, which makes everything much easier.

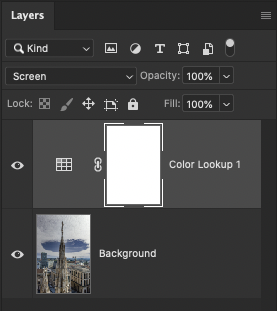
I changed the blend mode for this layer to “Screen.”

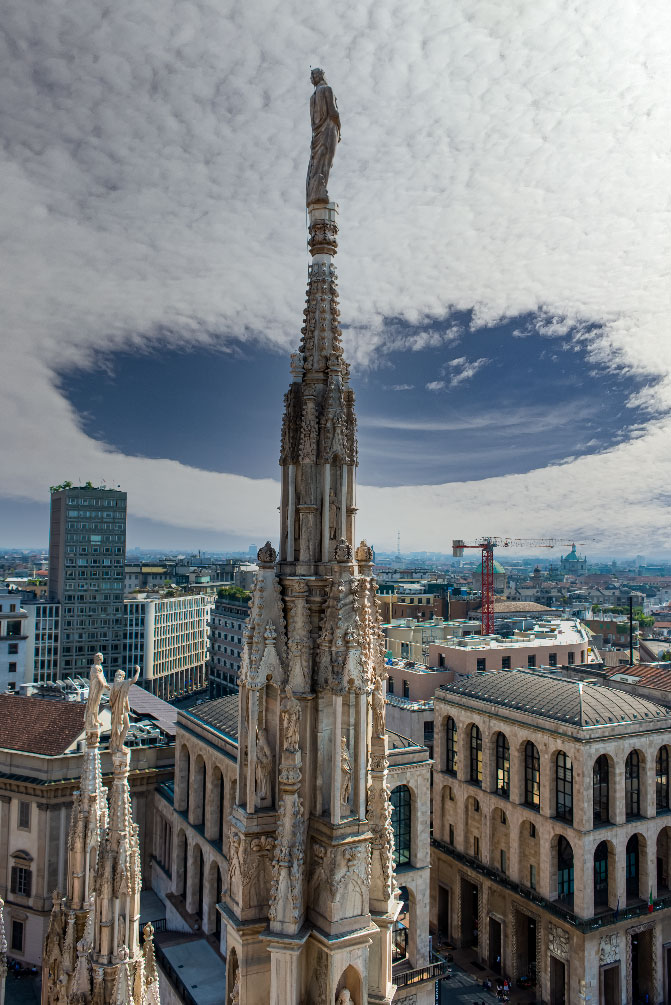
My image is ready!

Now you can apply the same steps to any other image(s) you would like to have the same look. This is how easy you can apply the same atmosphere to as many images as you wish.


Introduction to digital painting on mobile with Adobe Fresco and Adobe Illustrator on iPad
Date: 02/17/2021
Time: 7 PM ET


Subscribe to my newsletter

.

Select Subject in Adobe Photoshop CC

Select Subject in Adobe Photoshop CC ONLY with one click!!!


What’s New in Adobe Photoshop CC 2018

My Books on Amazon:

101 Photoshop Hidden Gems and Tips & Tricks: A collection of 101 hidden features and short tips that will help make you a Photoshop ninja 

Digital Painting for Photographers

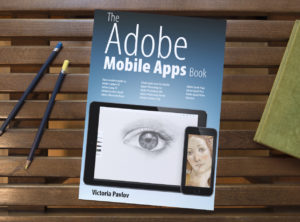
The Adobe Mobile Apps Book: Your Complete Guide to Adobe’s Creative Mobile Apps

My Teaching Website

My Website

3 ways to convert your image into Black and White in Adobe Photoshop CC and number 3 will surprise you

3 ways to convert your image into Black and White in Adobe Photoshop CC and number 3 will surprise you.

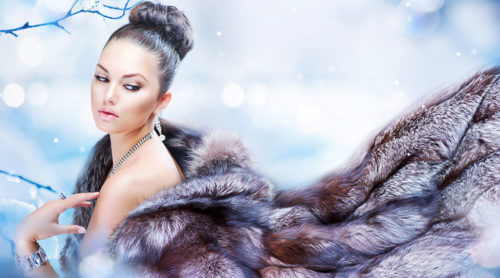
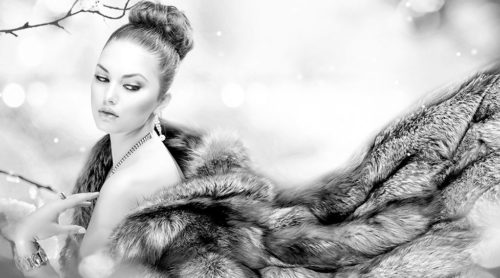
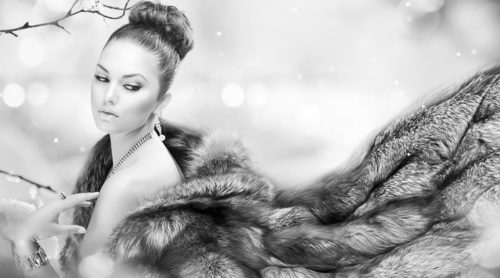
Many of my followers  asked me to share my method for converting my images into Black and White and in this blog post I will share with my 3 favorite ways.


1: Use the Camera Raw Filter

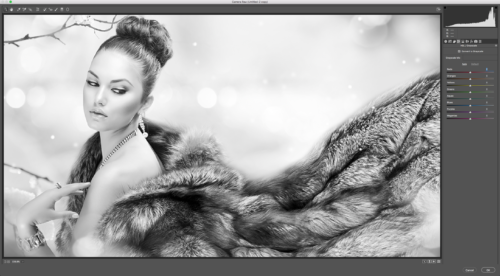
Filter > Camera Raw Filter

Check “Convert to Grayscale” box and Photoshop will convert your image to B&W.

As usual the result is a pretty good, but if you like to have control over your image (and to be honest, I am a control freak so I am always applying a few extra steps). So if you are willing to take control over your image the next few steps are for you.

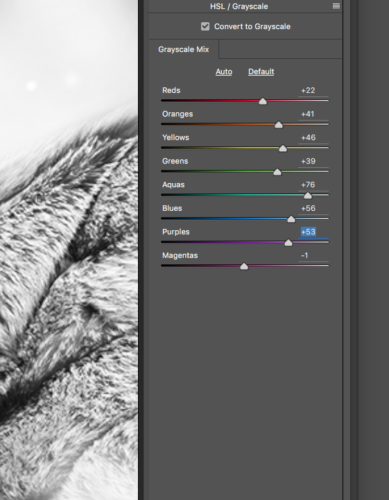
Adjust each Grayscale slider. Each slider will affect each individual color in your image. Moving sliders directly affects the mood of your image

Example:

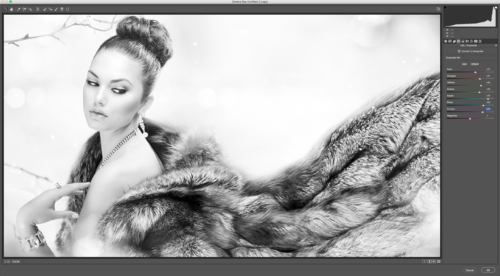
This mix created high key image with a very romantic mood

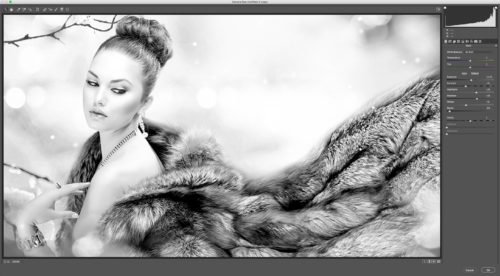
But if I will move the Reds, Blues, Purples, and  Magentas sliders to the left I have created a very moody image.  


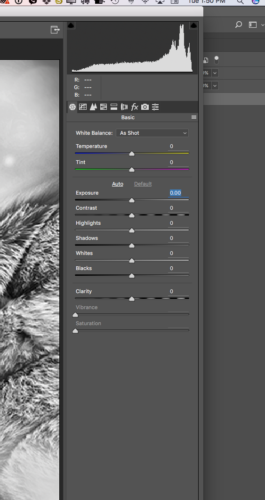
Tip: After you are fully satisfied with a Grayscale Mix ratio click on the Basic Tab and adjust Exposure, Contrast, Shadows, Whites, and Blacks sliders. Each slider will help you apply the last polishing step to your image.


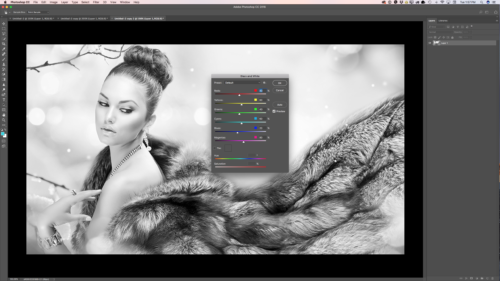
2: Auto Black & White


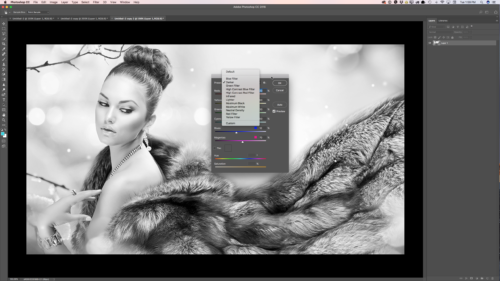
Image > Adjustments > Black & White
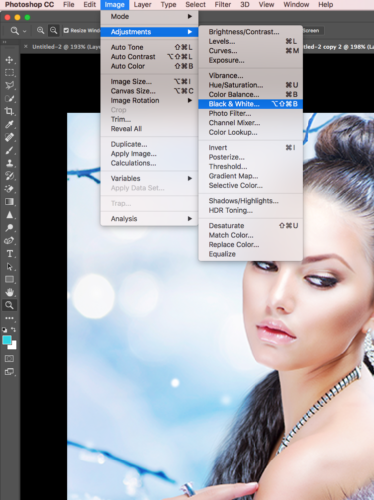
 

In Adobe Photoshop CC we have many different Black and White Presets we can work with. I can’t say that you should use a particular one over others. Everything depends on your image., image light, details, subjects, and ect. I will recommend to try the different presets and after a few times you will have your favorite.  

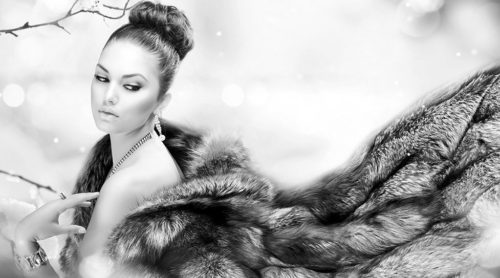
With my current image I  I like the “Darker” Preset the most.

As I said above, I am a control freak, so I will adjust a few sliders as well.

Tip: Absolutely NOT NECESSARY to move  sliders like from 50% to 100% or to -100%. Very often less is better and even moving slider to 1%  makes a big and a very tasteful difference.


3: Adjustments

Window > Adjustments > Vibrance

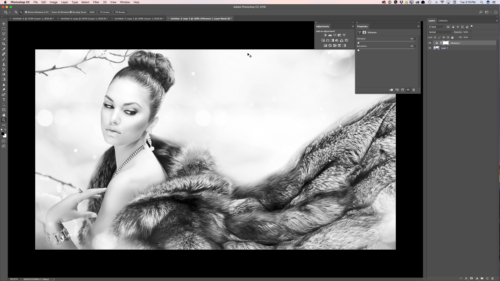
In the Properties panel move “Vibrance” and “Saturation” sliders all the way to the left to -100%

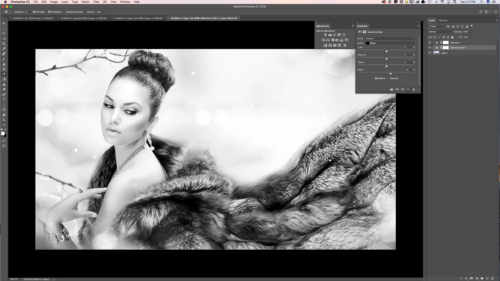
Photoshop converted your image into B&W and created a new “Vibrance1” layer (this layer is a fully independent layer and you can modify and even delete it later on at any time).

Highlight your image layer (Layer1)

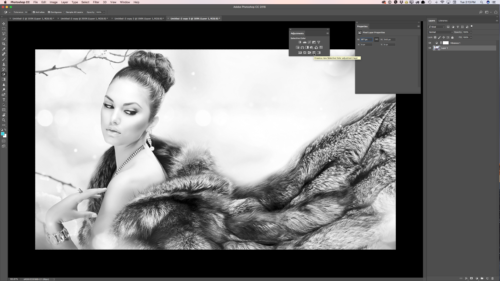
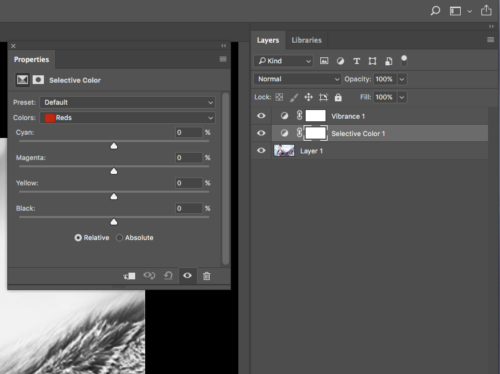
And click on “Selective Colors” in Adjustment panel. Photoshop created a new Selective Color1 layer.

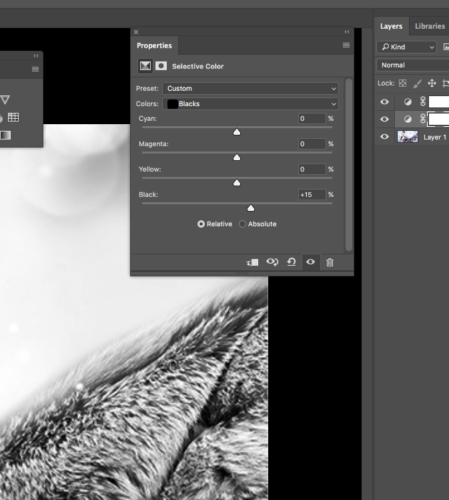
In the Properties panel adjust the Black slider for each color

Tip: pay very close attention to the Neutrals and Blacks sliders.


My Teaching Website

My Books on Amazon:
Digital Painting for Photographers
101 Photoshop Hidden Gems and Tips & Tricks: A collection of 101 hidden features and short tips that will help make you a Photoshop ninja
The Adobe Mobile Apps Book: Your Complete Guide to Adobe’s Creative Mobile Apps

My New Online Training Site

I’m very please to announce my NEW online training site! “Everything Digital” 

About my training site: my main goal is inspire you and make your digital workflow more enjoyable. All of my tutorials are recorded in a conversational manner. No “robotic” talking head tutorials. I want to have a conversation with YOU. I want to make the learning experience more enjoyable. Here you will find different tutorials: from beginner to advanced level. I believe that the learning experience is suppose to be enjoyable and a two-way conversation.  

In my All Digital course you will be able to access all of my courses for one monthly payment of $15.00 

My Books on Amazon:
Digital Painting for Photographers in Adobe Photoshop CC
Adobe Mobile Apps

Digital Painting in Adobe Photoshop

Few videos have been uploaded to my YouTube channel


Ballerina Painting


Speed Painting in Adobe Photoshop CC

The Oil Paint in Adobe Photoshop for Photographers

How to Retouch your image in Adobe Photoshop Fix


My Books on Amazon:

Digital Painting for Photographers in Adobe Photoshop

The Adobe Mobile Apps

My Art Store on Amazon 

Follow me on Twitter

My New Book – The Adobe Mobile Apps Book

Now you can preorder my new book – The Adobe Mobile Apps Book: Your Complete Guide to Adobe’s Creative Mobile Apps


bookcover1


Adobe is pushing the creative envelope with what can be done on mobile devices. In this book you will see how to use Adobe’s complete offering of FREE mobile Apps to do everything from photo editing, to layout, video editing, story telling, social media posts and full blown page layout. Whether you plan to just start the creation process on your mobile device and finish on the desktop or do your entire project on your mobile device, this book will show you what’s possible in each app and best of all provide you with the knowledge of how to use the apps.

PREORDER  BOOK