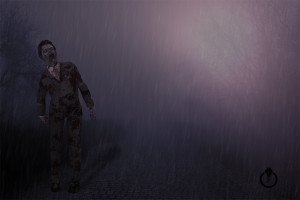
In this tutorial I will show you how to create a Zombie image in Adobe Photoshop
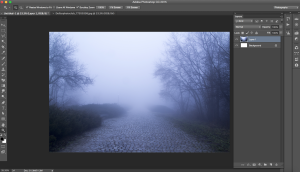
2: Open the image you would like to use as a background image. I am using image I downloaded from Dollar Photo Club.
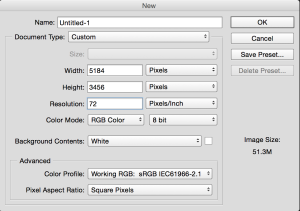
Select > All > Edit > Copy > Highlight your new document > Edit > Paste
3: Open your Zombie image. I am using image I downloaded from Dollar Photo Club.
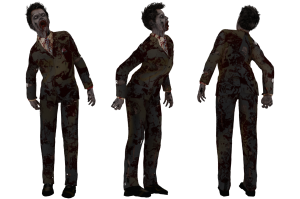
4: Using Rectangular Marquee Tool select your Zombie
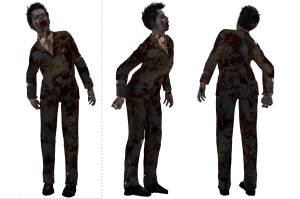
5: Edit > Copy > Highlight your document > Edit > Paste
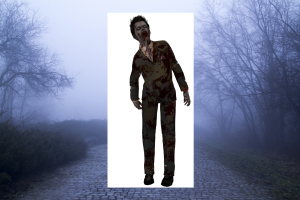
6: Select > Focus Area > Remove the white background around your Zombie
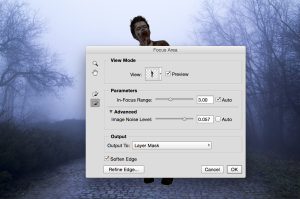
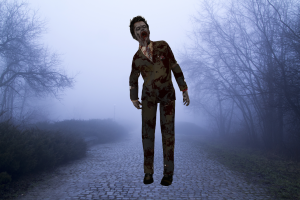
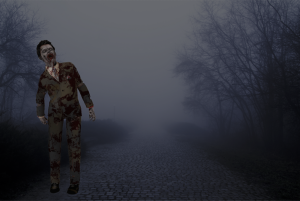
7 : Resize and move your Zombie
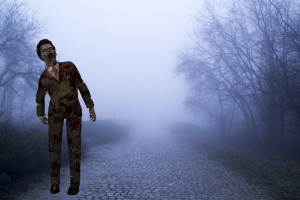
8: Highlight the background layer
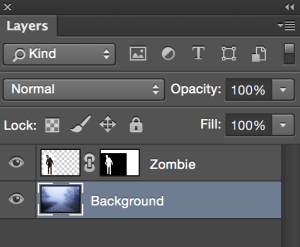
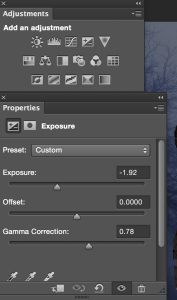
9: Adjustments Layer > Exposure
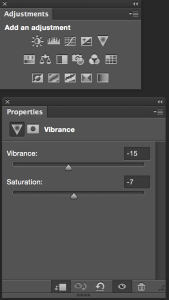
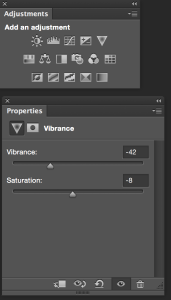
10: Adjustments Layer > Vibrance
11:Highlight your Zombie layer
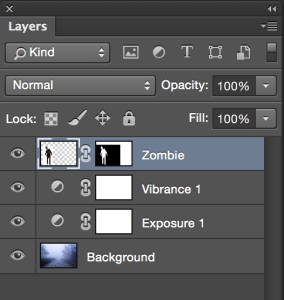
12: Adjustments Layer > Vibrance
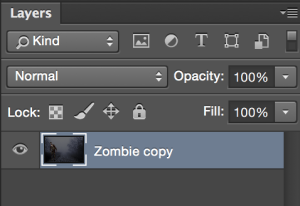
13: Duplicate Zombie layer ( “Zombie copy” layer) and move this layer under your Zombie layer
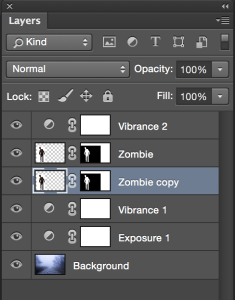
14: Edit > Transform > Distort
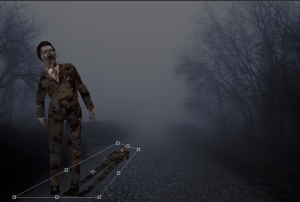
15: Image > Adjustments > Levels
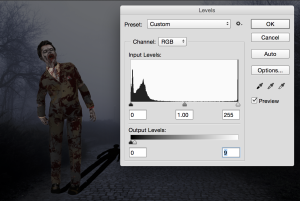
16: Filter > Gaussian Blur Radius = 28.9 Pixels
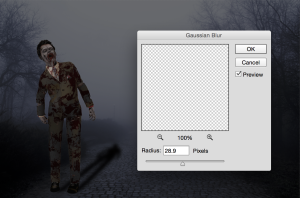
17: Make Zombie copy Layer opacity = 54%
19: Duplicate Zombie copy layer > Filter > Camera Raw Filter > Dehaze filter . Make Dehaze -29, Grain: Amount =6, Size =25, Roundness =50. Click OK and make layer opacity = 59
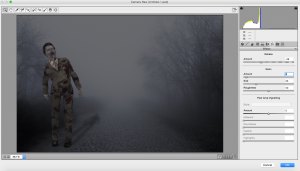
20: Add a new layer with white color on it > Filter > Render > Fibers
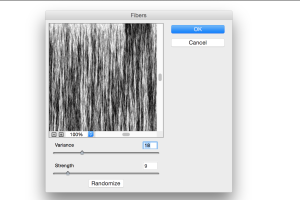
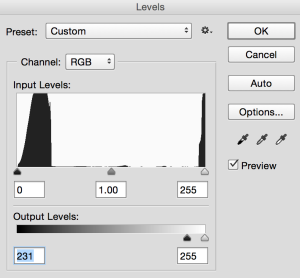
21: Magic Wand Tool > Select the Layer ( simply drag the Magic Wand Tool from the left top corner to the right bottom corner ) > Delete > Select > Deselect >Image > Adjustments > Levels
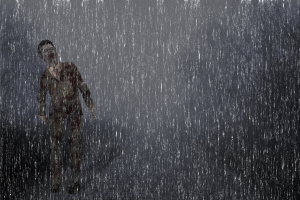
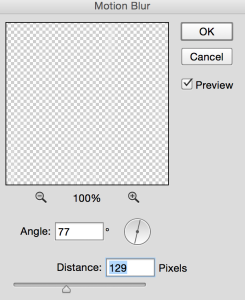
22: Filter > Blur > Motion Blur
23: Image > Free Transform > Resize the rain layer
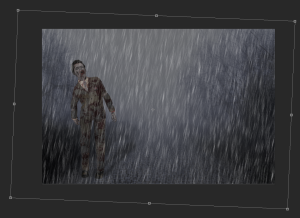
24: Make rain layer opacity = 27 > Adjustments > Curve
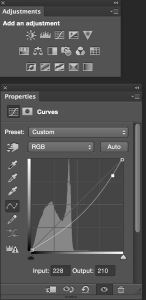
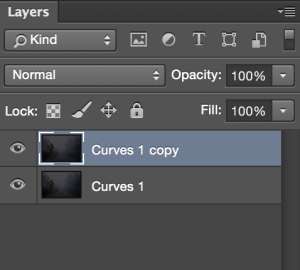
25: Merge All visible layers.
Duplicate this layer
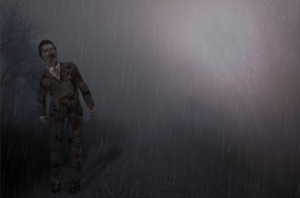
26: Filter > Render > Lens Flare
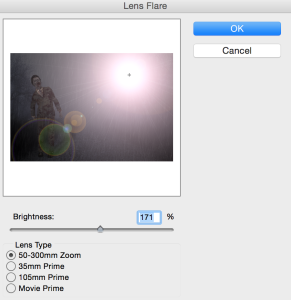
27: Click OK and make a layer opacity = 47% > Add a layer mack > Erase left bottom corner of your lens flare layer ( top layer)
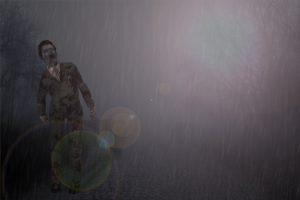
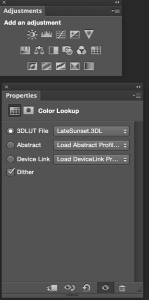
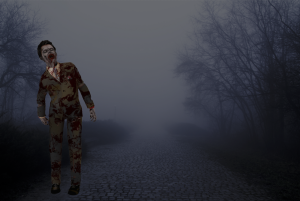
28: Adjustments > Color Lookup > LateSunset.3DL > Layer Opacity =31
