Select Subject in Adobe Photoshop CC ONLY with one click!!!
What’s New in Adobe Photoshop CC 2018
My Books on Amazon:
Select Subject in Adobe Photoshop CC ONLY with one click!!!
What’s New in Adobe Photoshop CC 2018
My Books on Amazon:
My Tribute to Star Wars
Just like many of you, I LOVE and I’m a big fan of Star Wars. Because I am also The Photoshop Artist I decided to combine two passions into one to create fan art using the biggest passion in my life, Adobe Photoshop.
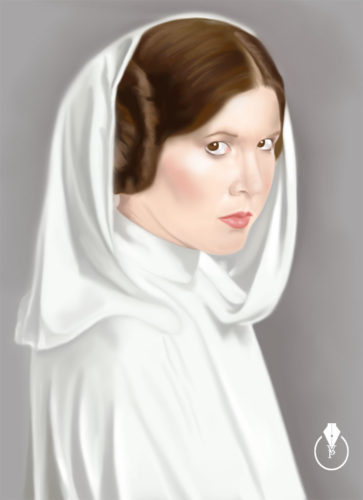
Princes Leia
Painted in Adobe Photoshop CC using Microsoft Surfacebook
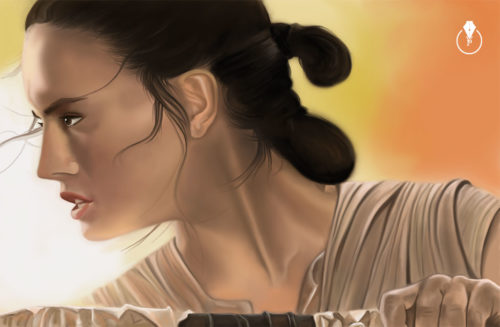
Rey
Painted in Adobe Photoshop CC using Wacom Cintiq
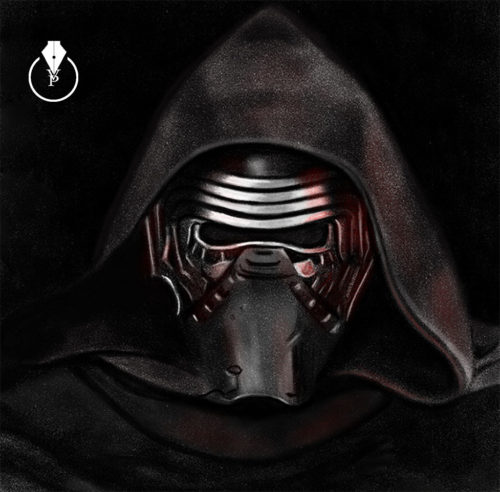 Kylo Ren
Painted in Adobe Photoshop Sketch using iPad Pro and Apple Pencil
My Books on Amazon:
Digital Painting for Photographers
101 Photoshop Hidden Gems and Tips & Tricks: A collection of 101 hidden features and short tips that will help make you a Photoshop ninja
The Adobe Mobile Apps Book: Your Complete Guide to Adobe’s Creative Mobile Apps
3 ways to convert your image into Black and White in Adobe Photoshop CC and number 3 will surprise you.

Many of my followers asked me to share my method for converting my images into Black and White and in this blog post I will share with my 3 favorite ways.
1: Use the Camera Raw Filter

Filter > Camera Raw Filter
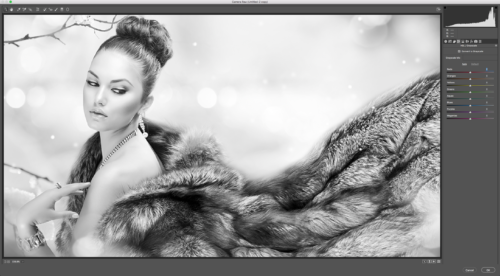
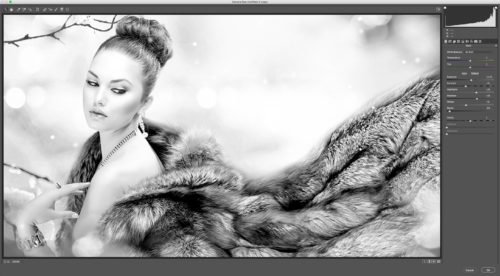
Check “Convert to Grayscale” box and Photoshop will convert your image to B&W.
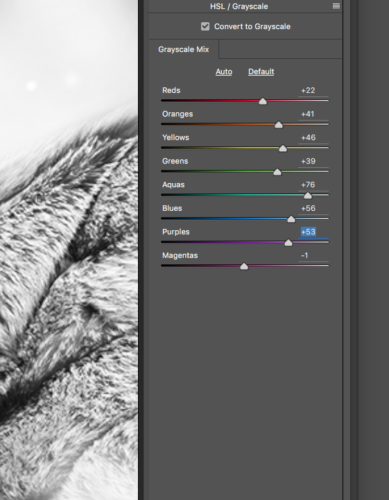
As usual the result is a pretty good, but if you like to have control over your image (and to be honest, I am a control freak so I am always applying a few extra steps). So if you are willing to take control over your image the next few steps are for you.
Adjust each Grayscale slider. Each slider will affect each individual color in your image. Moving sliders directly affects the mood of your image
Example:
This mix created high key image with a very romantic mood
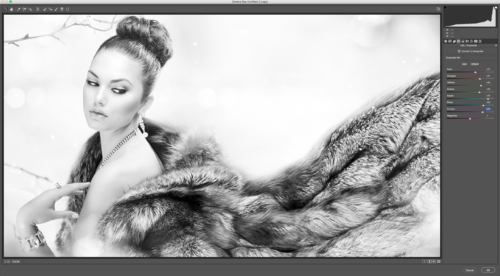
But if I will move the Reds, Blues, Purples, and Magentas sliders to the left I have created a very moody image.
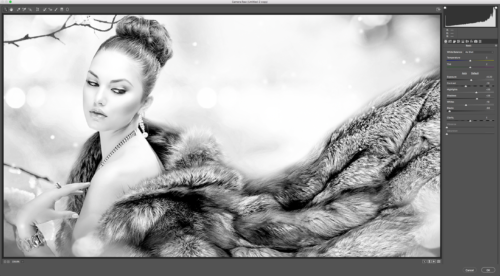
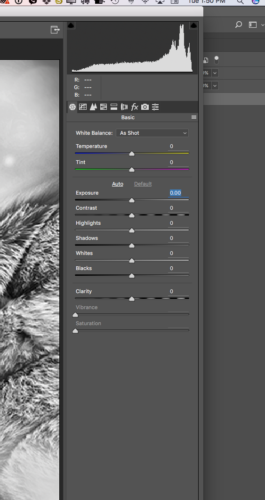
Tip: After you are fully satisfied with a Grayscale Mix ratio click on the Basic Tab and adjust Exposure, Contrast, Shadows, Whites, and Blacks sliders. Each slider will help you apply the last polishing step to your image.
2: Auto Black & White
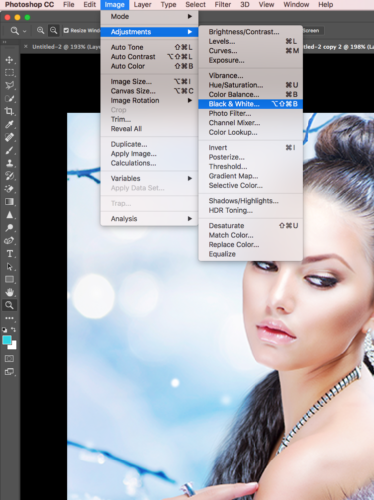
 Image > Adjustments > Black & White
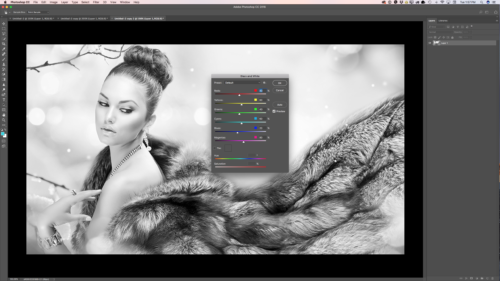
In Adobe Photoshop CC we have many different Black and White Presets we can work with. I can’t say that you should use a particular one over others. Everything depends on your image., image light, details, subjects, and ect. I will recommend to try the different presets and after a few times you will have your favorite.
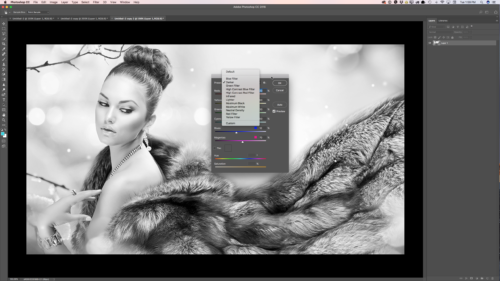
With my current image I I like the “Darker” Preset the most.
As I said above, I am a control freak, so I will adjust a few sliders as well.
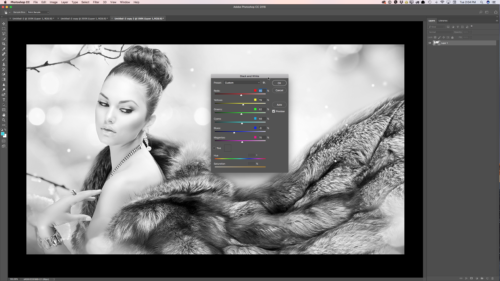
Tip: Absolutely NOT NECESSARY to move sliders like from 50% to 100% or to -100%. Very often less is better and even moving slider to 1% makes a big and a very tasteful difference.
3: Adjustments

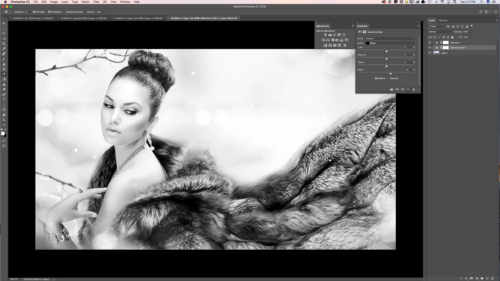
Window > Adjustments > Vibrance
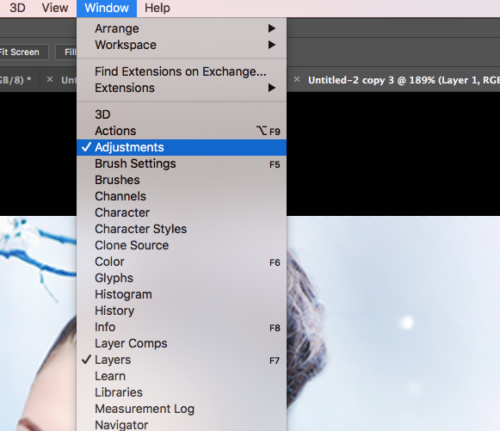
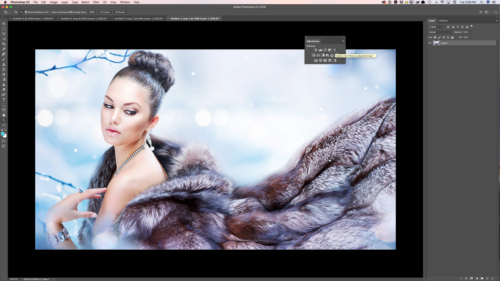
In the Properties panel move “Vibrance” and “Saturation” sliders all the way to the left to -100%
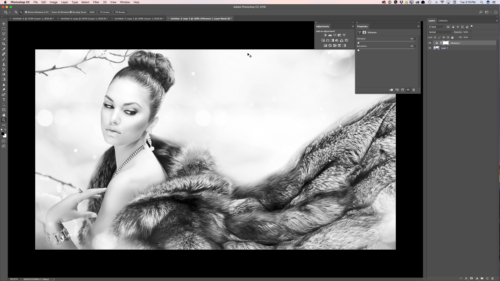
Photoshop converted your image into B&W and created a new “Vibrance1” layer (this layer is a fully independent layer and you can modify and even delete it later on at any time).

Highlight your image layer (Layer1)
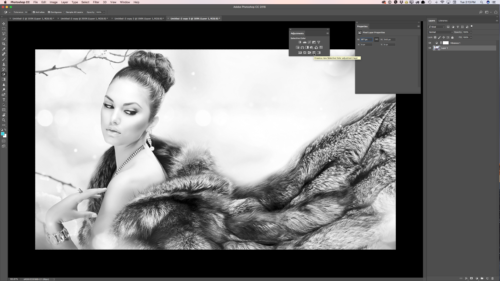
And click on “Selective Colors” in Adjustment panel. Photoshop created a new Selective Color1 layer.
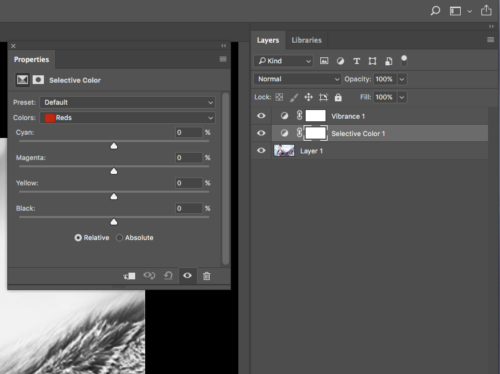
In the Properties panel adjust the Black slider for each color
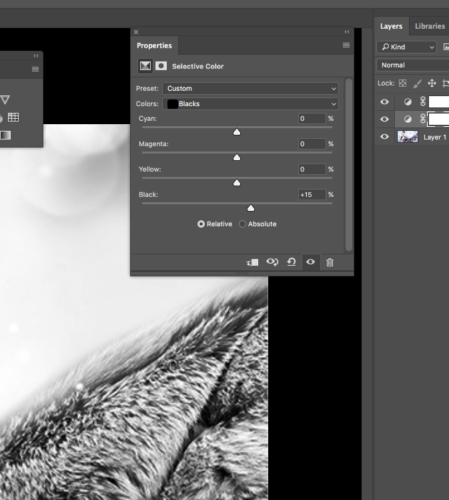
Tip: pay very close attention to the Neutrals and Blacks sliders.
My Books on Amazon:
Digital Painting for Photographers
101 Photoshop Hidden Gems and Tips & Tricks: A collection of 101 hidden features and short tips that will help make you a Photoshop ninja
The Adobe Mobile Apps Book: Your Complete Guide to Adobe’s Creative Mobile Apps
Life is Good with Shatanese Reese
(From my Life is Good Series)
I have the pleasure to know Shatanese more than one year already. She is an amazing mother, wife, friend, and a very brave cancer survivor.
This is her story:
Life is Good – They Said I Had Cancer But It Did Not Have Me, Shatanese Reese
I still remember where I was when I received the call that changed my life forever. I was seated next to my husband on the couch in the loft area of our new home and the news caused me to sit straight up.
“Mrs. Reese, your results have returned. They are not what we had hoped.
The mass is cancerous. Thankfully, it is in stage one and it is measuring at a small amount. The type of cancer you have is called invasive mammary carcinoma. It is appearing both in your ducts and your lobes.”
Devastated, I could no longer hear the voice on the other end of the
phone. My mind was flooded with thoughts of “What Ifs?” “What Next?” and “Why Me?”
On August 25, 2016, I underwent a double mastectomy. The breasts I had nursed little ones with and offered during intimate moments were gone,removed to never be seen again. I felt a great sense of loss and yet, was thankful to still have my life. I entered a world I had, up until surgery, only feared. #Cancerfighter
Now, three surgeries later, life is good! There were times during my
recovery process when I thought reconstruction was more invasive than the initial removal of my breasts. I did not like drain tubes. In fact, I HATED drain tubes but learned to appreciate their purpose. I did not like having to exhale into a hand-held machine, but understood the importance of exercising my lungs directly after surgery. I even felt at times, like the bride of Frankenstein as a result of all the stitches and numerous incisions, but I learned to redefine what beauty meant to me.
I have attempted to maintain open and honest age-appropriate communication with the kids to ensure they understood exactly what was happening with Mommy and I truly feel that has been beneficial for each of us. They have been terrific helpers during my recovery process (especially with the tubes!) and even hold me accountable with my diet.
My most recent surgery was in July of this year. I am nearly back at 100% and am looking forward to resuming my journey to becoming a lightweight body builder. Until then, I am busy building my new consulting business (superextraordinarymom.com), cheering each of my six children on in their various ventures and doing my best to love my husband, who has always been by my side throughout this entire process.
I would not wish cancer on anyone and have a great deal of respect for those who have fought valiantly but are no longer here. I do not take my life for granted and certainly attempt to be present as much as possible.
Although I did not have to endure chemotherapy nor radiation therapy, cancer and I are foes for life. I am more mindful of what I eat and am committed to exercising regularly. The month of October and the color pink have taken on deeper meanings for me.
Life. Is. Good.


To bring inspiration to life shouldn’t be difficult

As an artist I find inspiration everywhere. Because we’re in the 21st century I don’t need to put my inspiration on hold because I’m away from my easel or computer. Now I can create from ANYWHERE at ANY TIME.
I love everything about Autumn. Inspiration is everywhere, in colors, in fresh air, in pumpkin flavor. So I feel that I need to create more and thanks to Adobe mobile apps I can create my art using my mobile devices.
Today I will share with you my Autumn collection I created using Adobe Illustrator Draw, iPad Pro and Apple Pencil
. Where did the inspiration come from? From my yard where I am playing with my puppy, from the trees around the fence, from the fresh and beautiful colors of the sky.
Using Adobe Illustrator Draw I created a pumpkin. I spent probably about 20 minutes and my pumpkin was ready. Because I liked that pumpkin so much I decided to create another one.

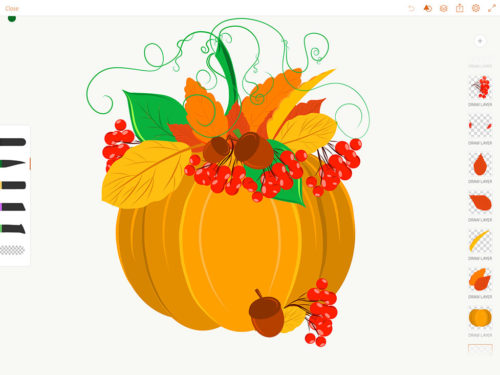

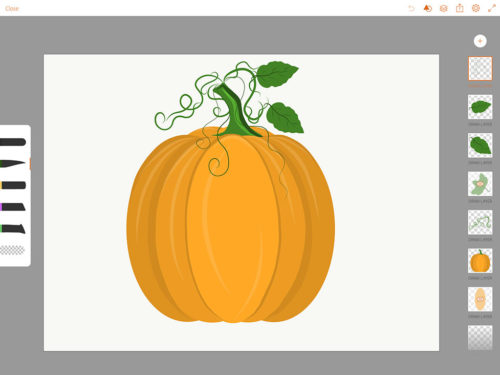
Later on I was sitting outside with my puppy and our trees are already ready for the fall season so I decided to create another Halloween Art using Adobe Illustrator Draw, iPad Pro and Apple Pencil. I used the trees as an inspiration and created Halloween Village Art.

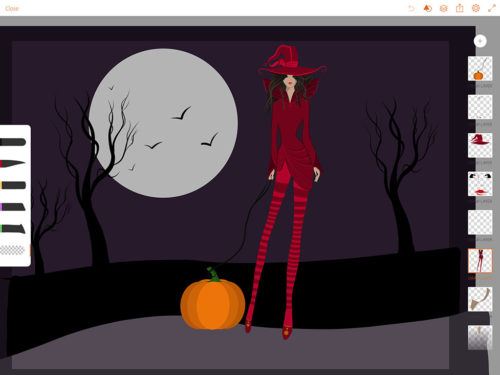
Using the same trees as inspiration I created a few leaves in Adobe Illustrator Draw, imported those files to Adobe Illustrator CC and created my new brushes out of those leaves. And now I can create any Fall art using my custom brushes.



The purpose of this post is to bring your inspiration to life. Don’t wait for the “perfect” time to create art. Whatever the inspiration is you will find it. You are able to bring it to life using your mobile devices and Adobe mobile apps. Don’t procrastinate…just do it…just create art anywhere at any time!
P.S. I uploaded all of my mobile Autumn Art to Adobe Stock and all files were approved for sale. Literally in 7 minutes after my files were approved, I received an email that I made a sale!!! Guess which file was sold??? My pumpkin!

See the Story Here
Two feature requests for Apple to consider:
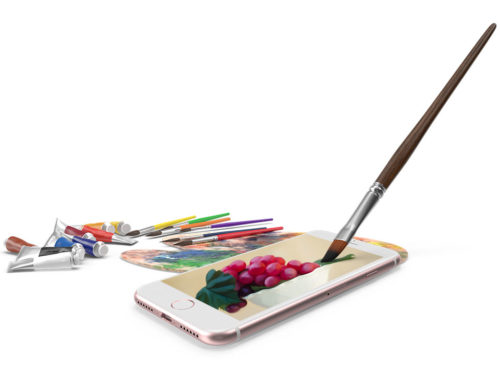
Before you will start reading my blog post I would like to point out:
I am a huge Apple fan.
This is not a criticism, it’s just a feature request from an Apple user.
This post is NOT about Android, Windows or any other phones. If you are happy with another brand, but Apple, good for you, so please don’t jump in to tell me how your phone is already better. I’m happy you’re happy.
On September 12th Apple introduced the new amazing iPhone X. I love everything about the new phone and definitely will pre-order it in October.
I am a huge Apple fan and I use Apple products every day, all day in my business and personal workflows. I use an iMac, MacBook Pro, iPad Pro, Apple Pencil, and of course iPhone 7 Plus all day long. As a digital artist, graphic designer and photographer, I combine mobile and desktop workflows every day. My main applications are Adobe CC apps (on mobile and desktop). iPad Pro and Apple Pencil are “always with me”. I am using Adobe Mobile Apps such as Adobe Photoshop Sketch, Adobe Illustrator Draw, Adobe Lightroom mobile, Adobe Photoshop Fix, Adobe Capture CC every day. Using Adobe Apps on my iPad Pro gave me amazing flexibility to work from anywhere at any time.
Also iPhone 7 Plus is my mobile office as well. I’m using my iPhone to paint and create an art as well (Adobe Photoshop Sketch, Adobe Illustrator Draw, Adobe Capture CC, Adobe Lightroom, Adobe Spark Post are my primary apps for my art workflow on iPhone.
iPhone for MANY of us is something that is ALWAYS with us. It doesn’t matter where we are and what we are doing. As an artist I LOVE using my iPhone for my painting. Adobe Photoshop Sketch and Adobe Illustrator, Draw are the best mobile applications for art creation and I really would like to bring my mobile art workflow using iPhone to the next level.
1st Feature Request:
Apple, please give me ability to use my PERFECT Apple Pencil in my iPhone workflow. I don’t want to use any other stylist (none of them will be even remotely close to Apple Pencil perfection, so why do I need to spend my time and resources to try to find something that will give me better results than my finger?).
2nd Feature Request:
Apple, please let me charge and use my Apple Pencil at the same time.
That’s it. Bring Apple Pencil support to iPhone and don’t stop my work by making me have to charge Apple Pencil. I can use my iPhone or iPad while it’s charging. The same should go for Apple Pencil.
Two tutorials in Adobe Project Felix
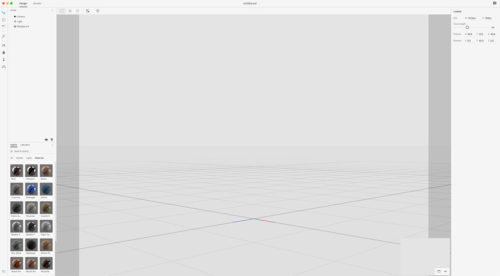
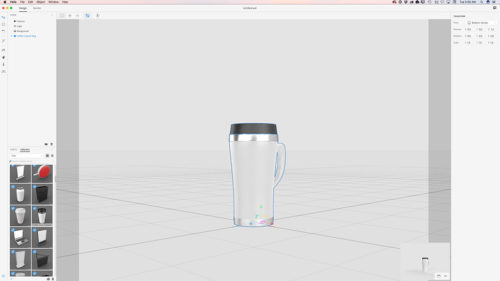
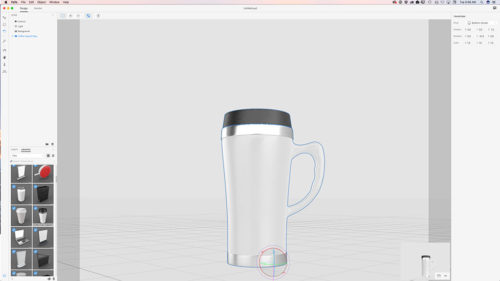
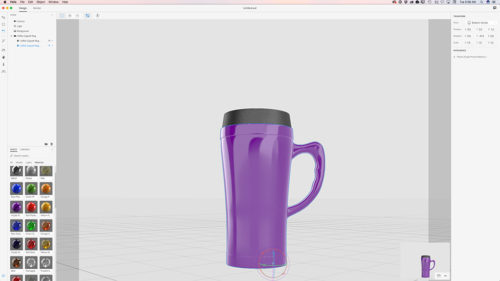
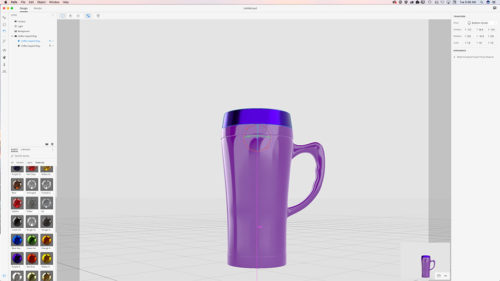
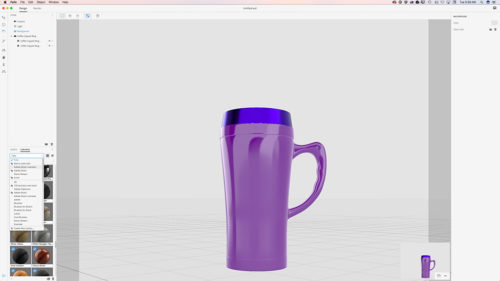
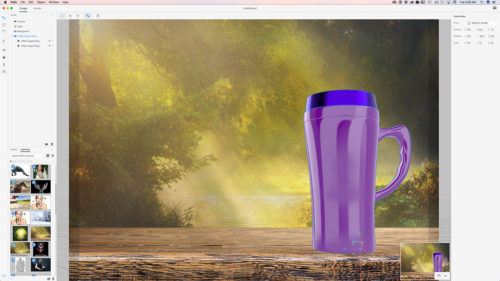
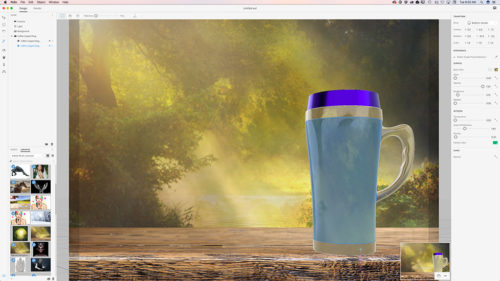
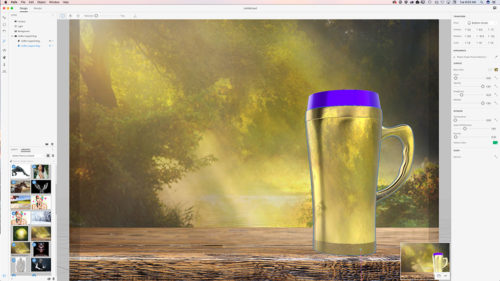
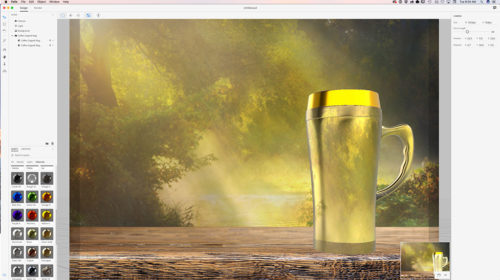
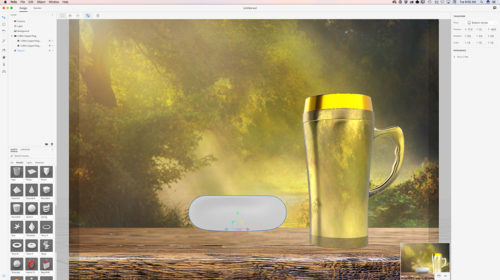
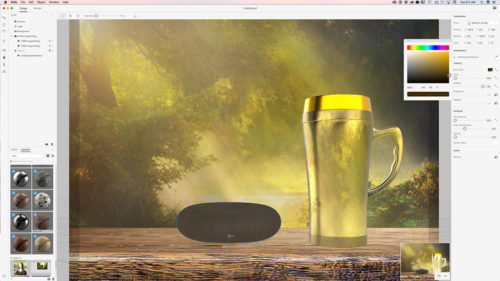
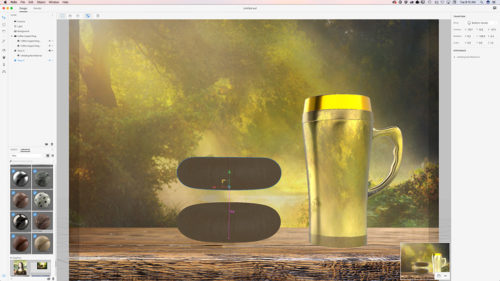
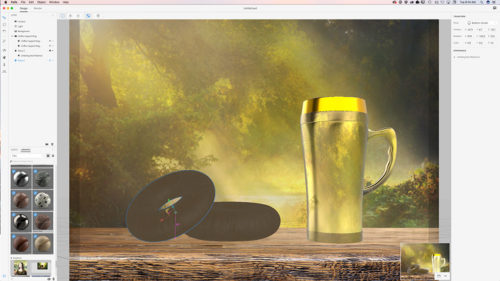
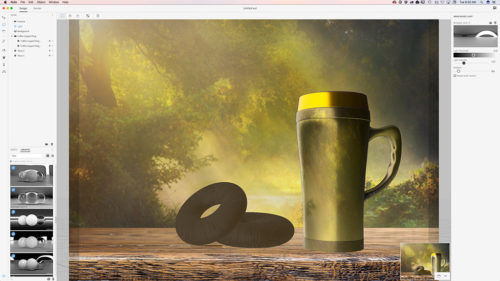
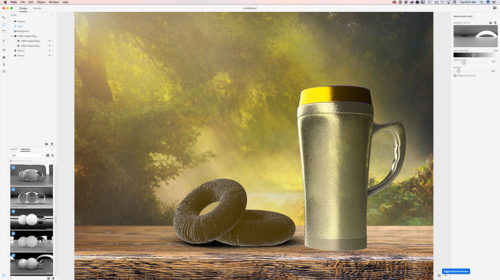
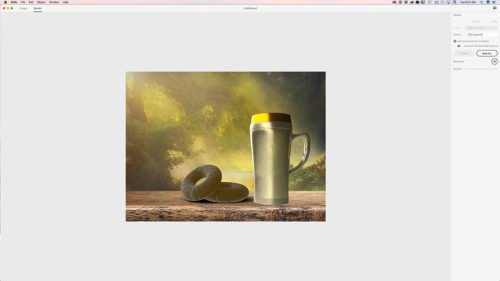
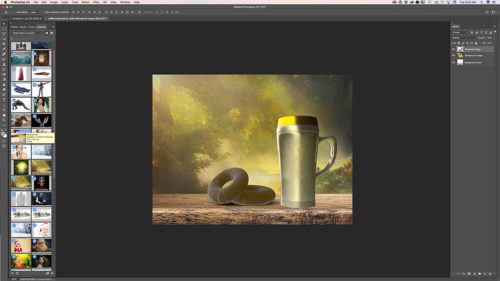
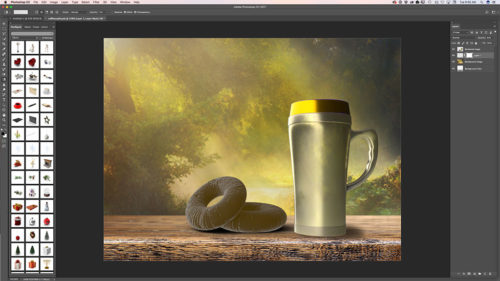
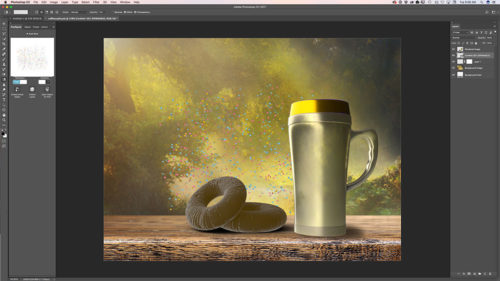
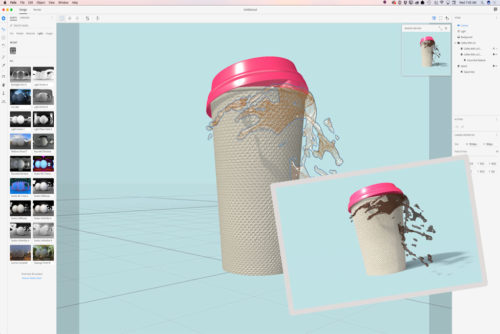
How to create a commercial ad in Adobe Project Felix with custom background and 3D objects from Adobe Stock
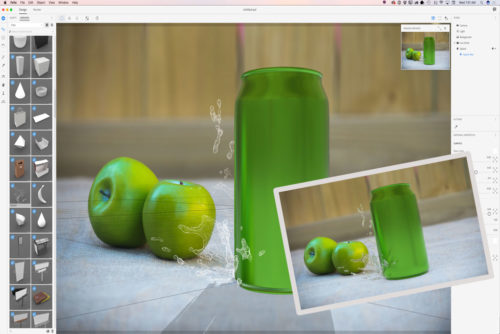
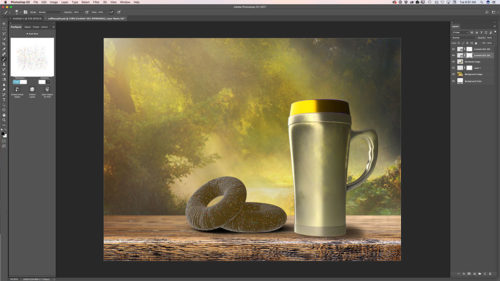
Splash of morning coffee with Adobe Project Felix and 3D objects from Adobe Stock
Painitng of Iceland inspired by Monet in Adobe Photoshop CC and Adobe Photoshop Sketch
I studied Monet art for many years. I fell in love with the impressionist painting technique probably at age 14 during my painting classes. My teacher assigned me to create a presentation about Impressionism and I just fell in love with this painting style, brush strokes, and broken color technique. Since then my favorite painting techniques are: impressionism and knife painting techniques.
For me traditional and digital techniques are the same. It doesn’t matter what canvas you are working on with your current project: traditional or digital, you are creating art which represents your soul, your mood, your attitude, your painting style.
My Books:
Digital Painting for Photographers
The Aodbe Mobile Apps Book
101 Photoshop Hidden Gems and Tips & Tricks
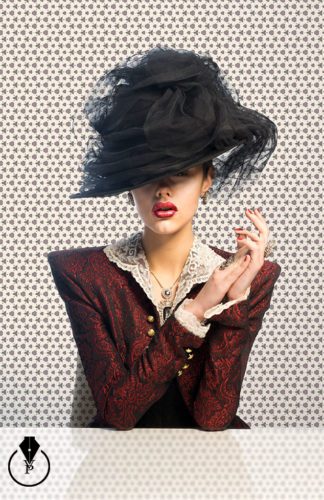
How to exchange background in Adobe Photoshop CC using pattern created in Adobe Capture CC and image from Adobe Stock
My Books:
http://www.pavlovphotography.com/my-books.html
My Training Website:
http://everythingdigital.teachable.com/
My website:
http://www.pavlovphotography.com/
My workflow in Adobe Project Felix and Adobe Photoshop CC
Image created in Adobe Project Felix and Adobe Photoshop CC using model, material and light downloaded from Adobe Stock and 3D object from PixelSquid

Step-by-Step
