3 ways to convert your image into Black and White in Adobe Photoshop CC and number 3 will surprise you.

Many of my followers asked me to share my method for converting my images into Black and White and in this blog post I will share with my 3 favorite ways.
1: Use the Camera Raw Filter

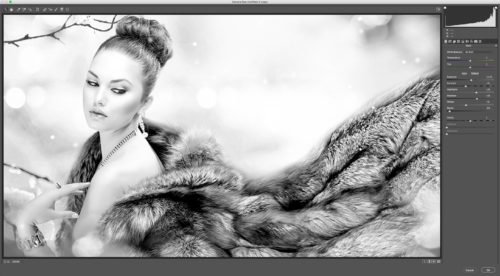
Filter > Camera Raw Filter
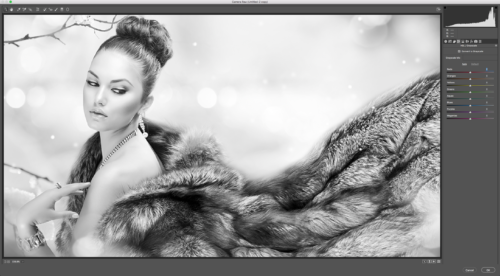
Check “Convert to Grayscale” box and Photoshop will convert your image to B&W.
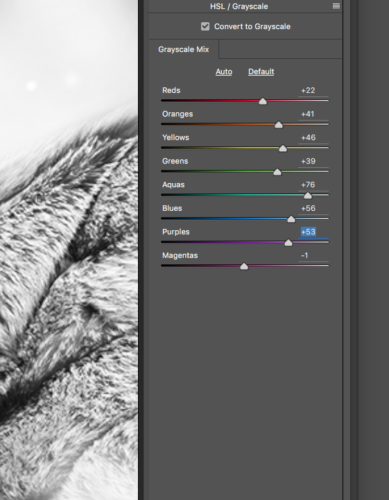
As usual the result is a pretty good, but if you like to have control over your image (and to be honest, I am a control freak so I am always applying a few extra steps). So if you are willing to take control over your image the next few steps are for you.
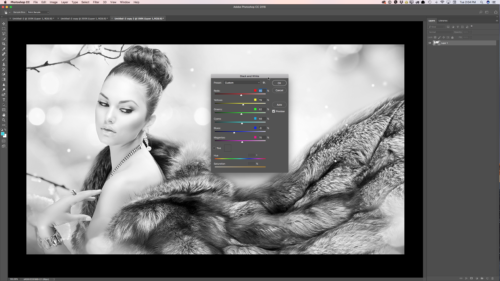
Adjust each Grayscale slider. Each slider will affect each individual color in your image. Moving sliders directly affects the mood of your image
Example:
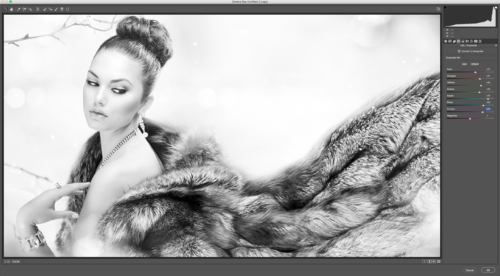
This mix created high key image with a very romantic mood
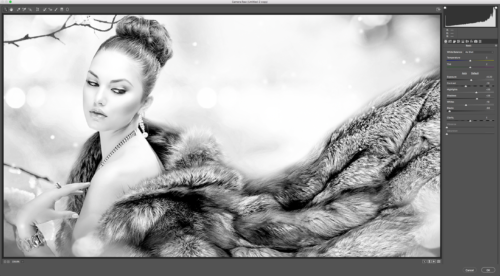
But if I will move the Reds, Blues, Purples, and Magentas sliders to the left I have created a very moody image.
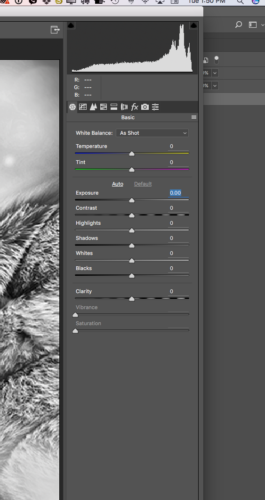
Tip: After you are fully satisfied with a Grayscale Mix ratio click on the Basic Tab and adjust Exposure, Contrast, Shadows, Whites, and Blacks sliders. Each slider will help you apply the last polishing step to your image.
2: Auto Black & White
 Image > Adjustments > Black & White
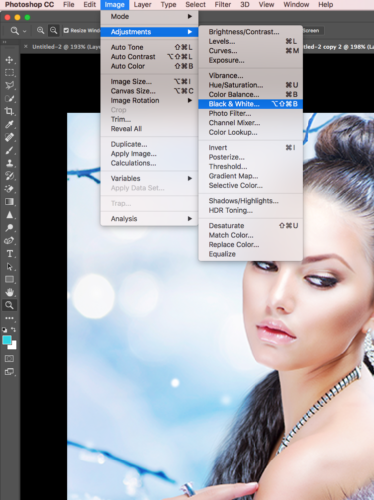
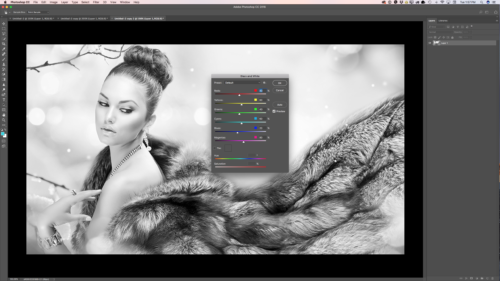
In Adobe Photoshop CC we have many different Black and White Presets we can work with. I can’t say that you should use a particular one over others. Everything depends on your image., image light, details, subjects, and ect. I will recommend to try the different presets and after a few times you will have your favorite.
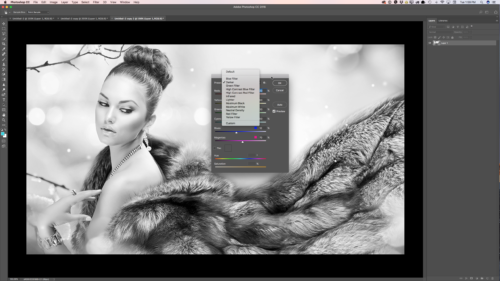
With my current image I I like the “Darker” Preset the most.
As I said above, I am a control freak, so I will adjust a few sliders as well.
Tip: Absolutely NOT NECESSARY to move sliders like from 50% to 100% or to -100%. Very often less is better and even moving slider to 1% makes a big and a very tasteful difference.
3: Adjustments

Window > Adjustments > Vibrance
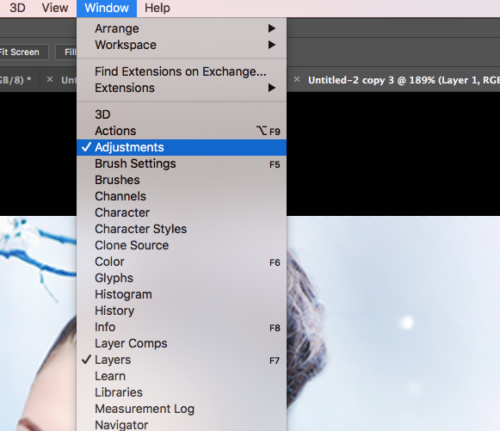
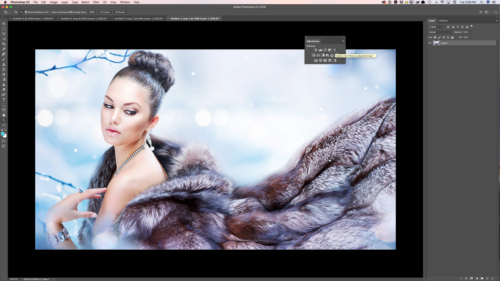
In the Properties panel move “Vibrance” and “Saturation” sliders all the way to the left to -100%
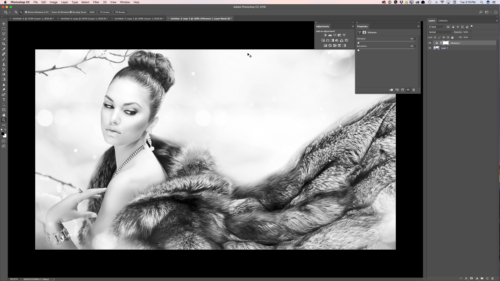
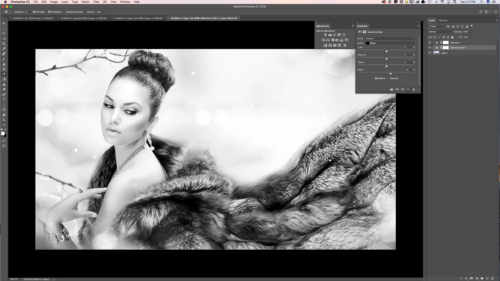
Photoshop converted your image into B&W and created a new “Vibrance1” layer (this layer is a fully independent layer and you can modify and even delete it later on at any time).

Highlight your image layer (Layer1)
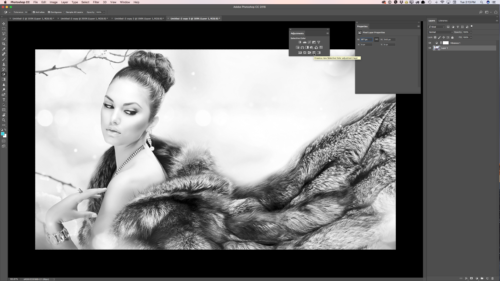
And click on “Selective Colors” in Adjustment panel. Photoshop created a new Selective Color1 layer.
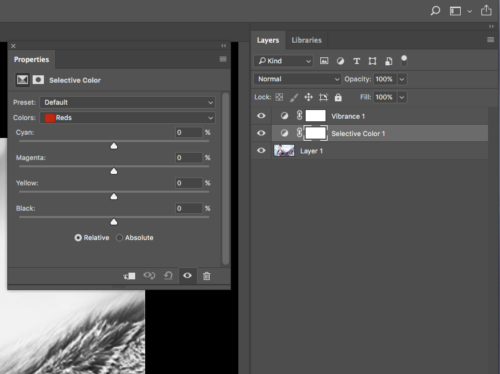
In the Properties panel adjust the Black slider for each color
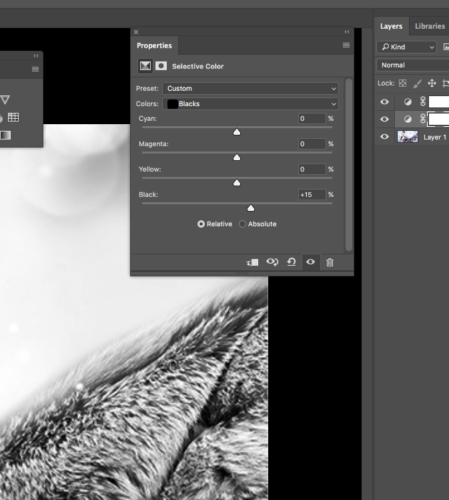
Tip: pay very close attention to the Neutrals and Blacks sliders.
My Teaching Website
My Books on Amazon:


















 Image > Adjustments > Black & White


