Tag Archives: photoshop

Create Patterns in Photoshop

Working with patterns could be a lot of fun, but creating a custom pattern is another level of creative fun. The best part is that in Photoshop we can do it fast while paying more attention to creativity. Photoshop will do the technical part for us. So let me show you how we can have more fun in Photoshop.

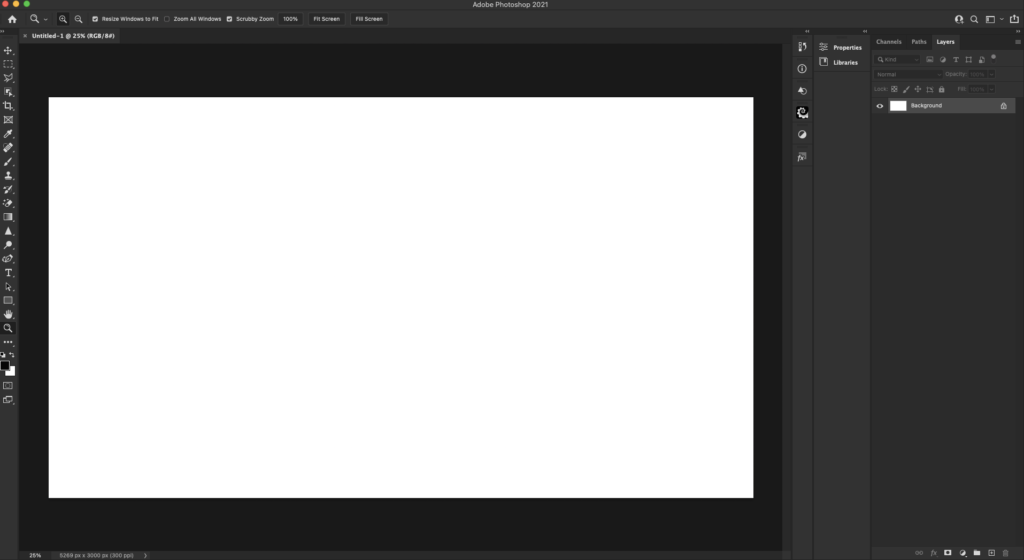
Create a new document any size and feel free to use any color for your background.

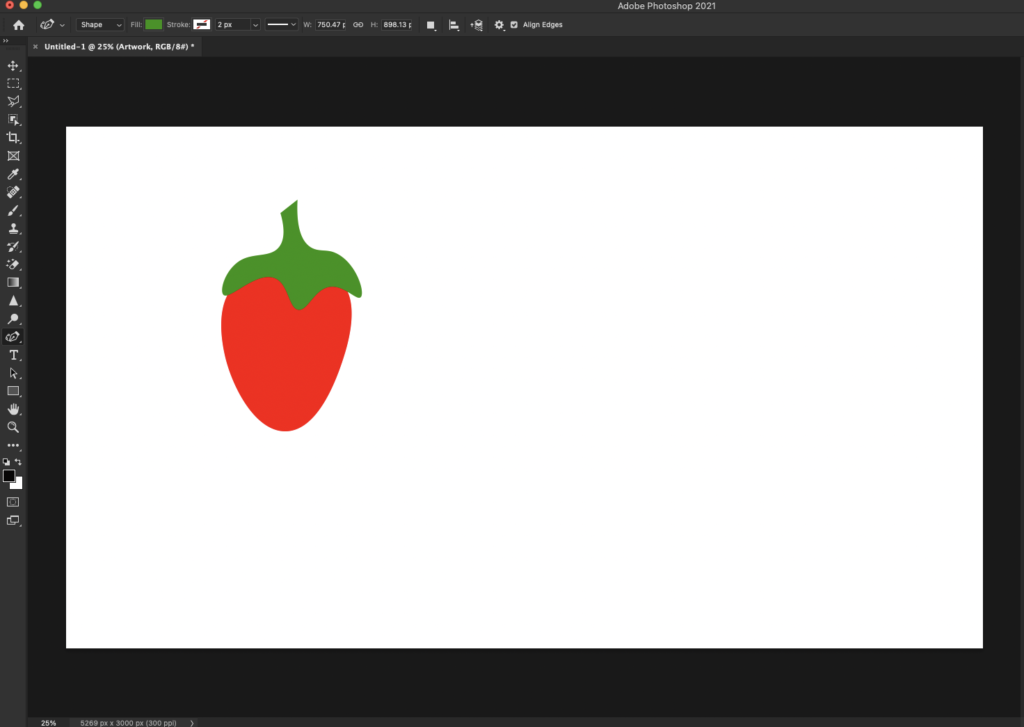
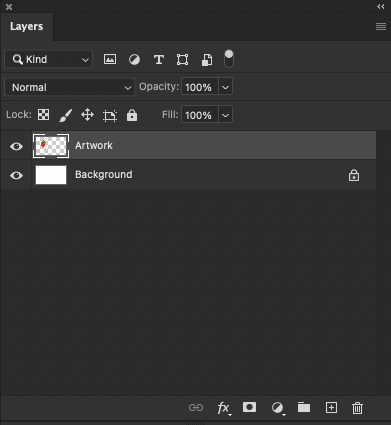
Create a new layer and use the Curvature Pen tool (or any other tool you are more comfortable with) to create the artwork you want to make a pattern from.

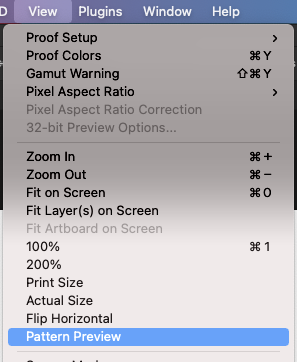
While the artwork layer is selected, click on the “View” menu and choose Pattern Preview.

Click OK on the pop up notification

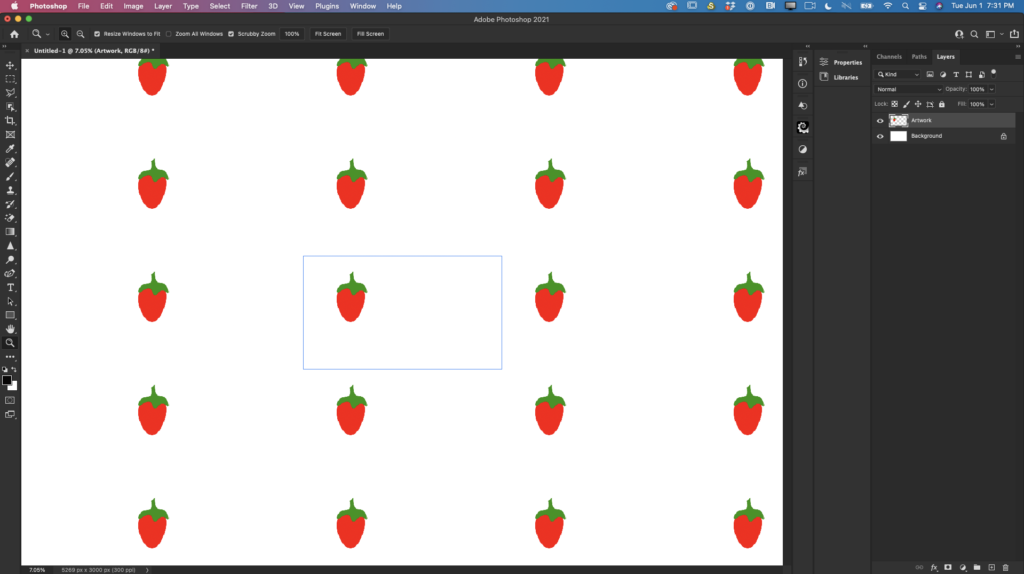
And your pattern is ready!!!

You can still modify your artwork if needed. You can add extra details or objects, change/modify colors, etc. The best part is that you will be able to preview all modifications/changes in real-time.


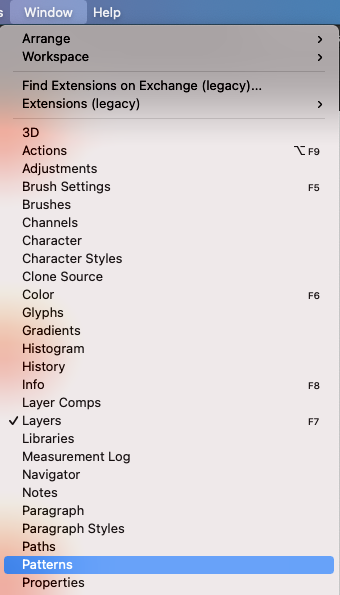
Now open Patterns panel > Window > Patterns

At the bottom of Patterns panel, click on the “+” icon to add the new pattern to your Patterns.

Rename the new pattern.

Congratulations, you have created your first pattern. Enjoy!

If you would like to learn how to apply a new pattern to a mock-up, here is a helpful video I recorded for you.

Join my Patreon


Tips for Working with Photoshop

In today’s blog, I will share with you a few tips for working with Photoshop

Tip 1:
When working on my compositing or design projects having the ability to arrange my layers is very important. I would say that the ability to arrange my layers is the key to the right composition. 

To move Layers Up or Down: 
Select Layer(s) > hold Command(Mac) / Ctrl(Win) and use right and left bracket keys “ [ or ] “.  You cant move up or down the background layer before you will unlock it) 

Move up


Move down

Tip2:
The ability to select any layer without a single mouse click is one of the best Adobe Photoshop features.  

To select any Layer:
Press > Option + ] or [ (Mac) or Alt + ] or [ (Win)

Tip3:
To switch to default Foreground/Background (Black and White) colors in Photoshop simply press “D” on your keyboard (as long as you’re not in the Type Tool). Tip: Pressing “x” on the keyboard will toggle them back and forth.

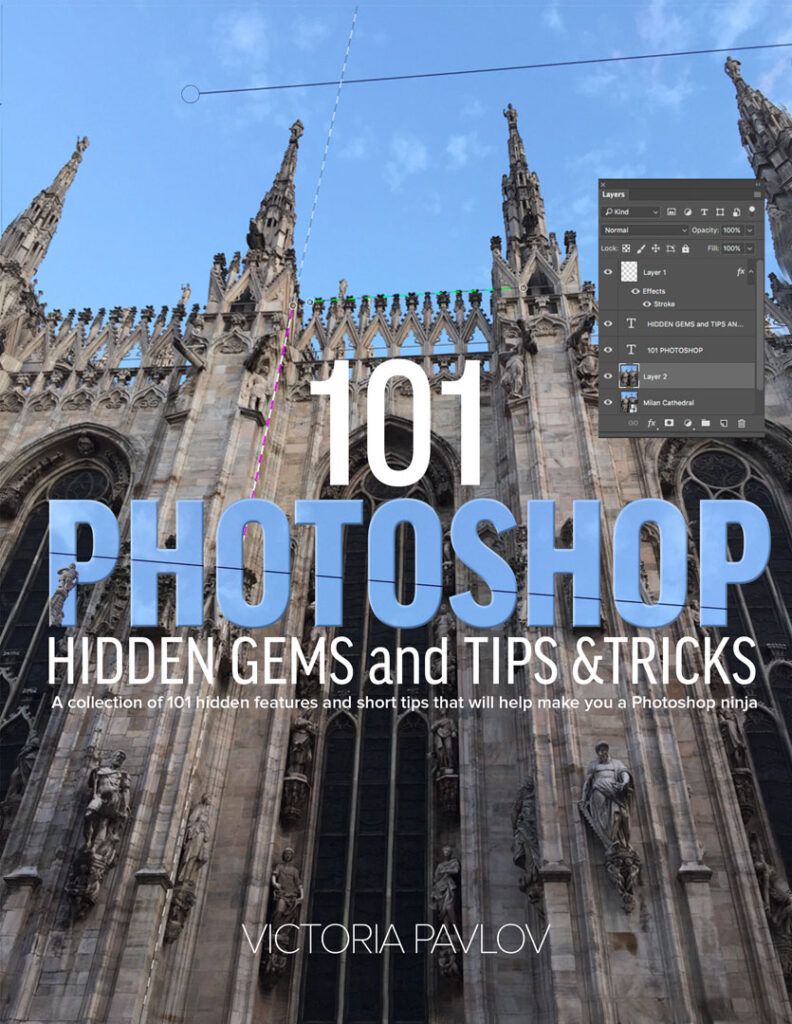
If you like these tips and want to find more, you can find them in my “101 Photoshop Hidden Gems and Tips & Tricks: A collection of 101 hidden features and short tips that will help make you a Photoshop ninja ” book on Amazon

Upcoming Events
How to Get Started with Digital Painting in Adobe Photoshop

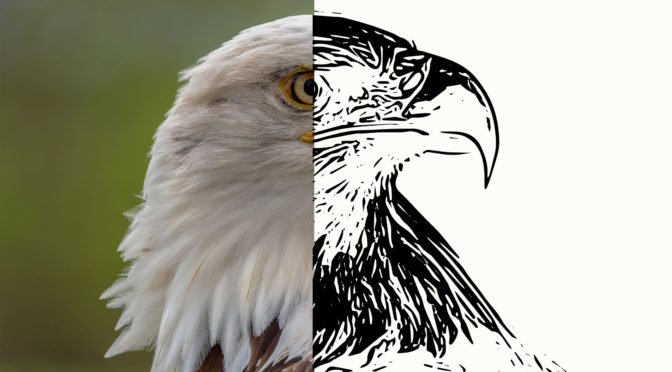
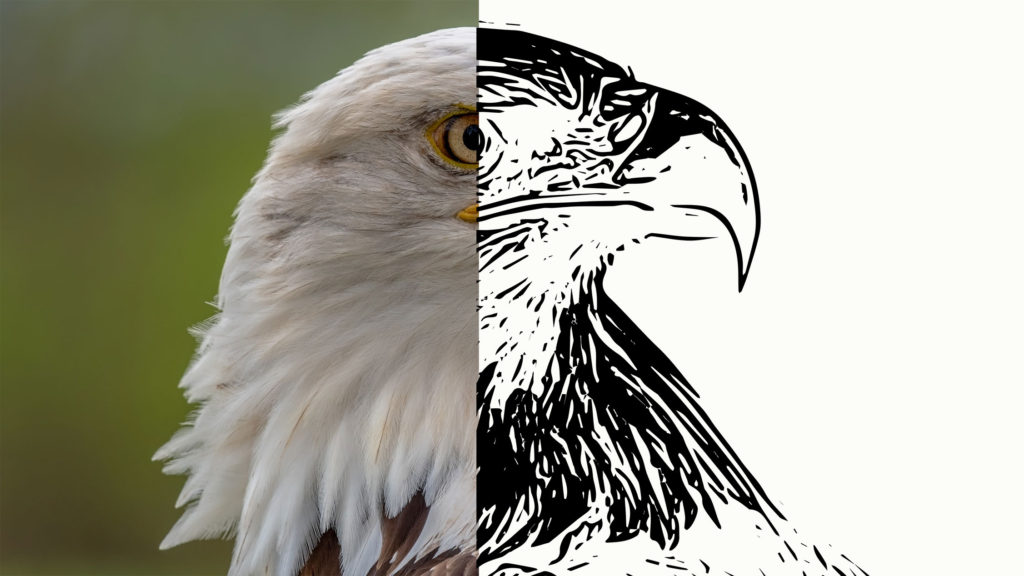
Convert photographs into a sketch with one click

Creating custom art based on photographs has never has been easier than now. Today I will show to. you how to convert a photo into a sketch with one click.

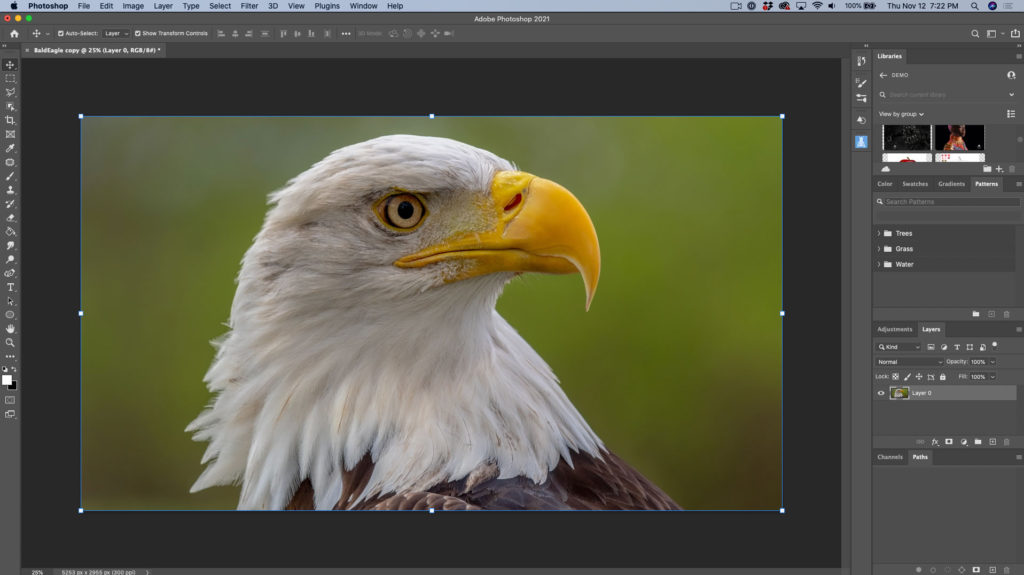
Open the image you want to work with

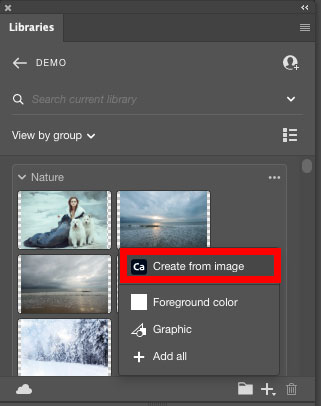
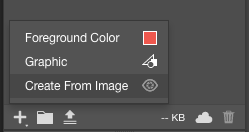
With your image open, open your Creative Cloud Library panel. At the bottom of the CC library, click on “+” icon

Click on Create from image

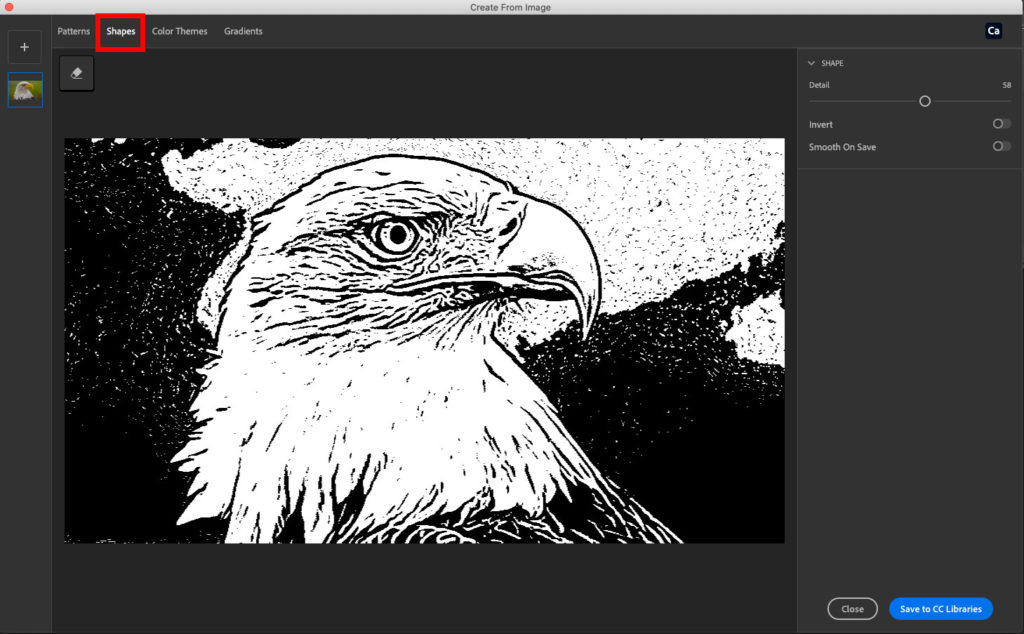
Photoshop will redirect you to the Adobe Capture workspace

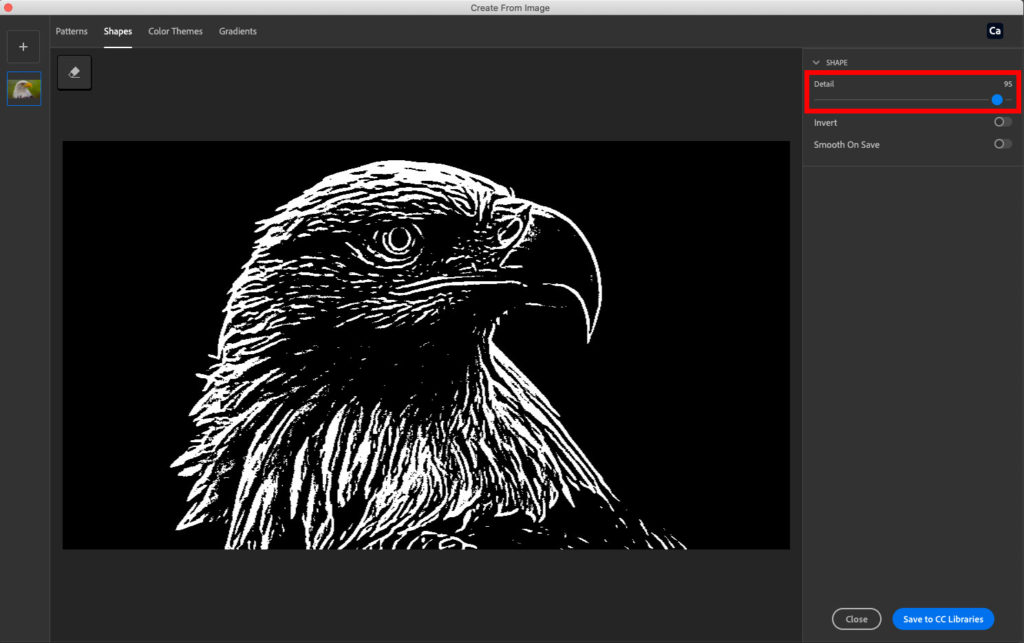
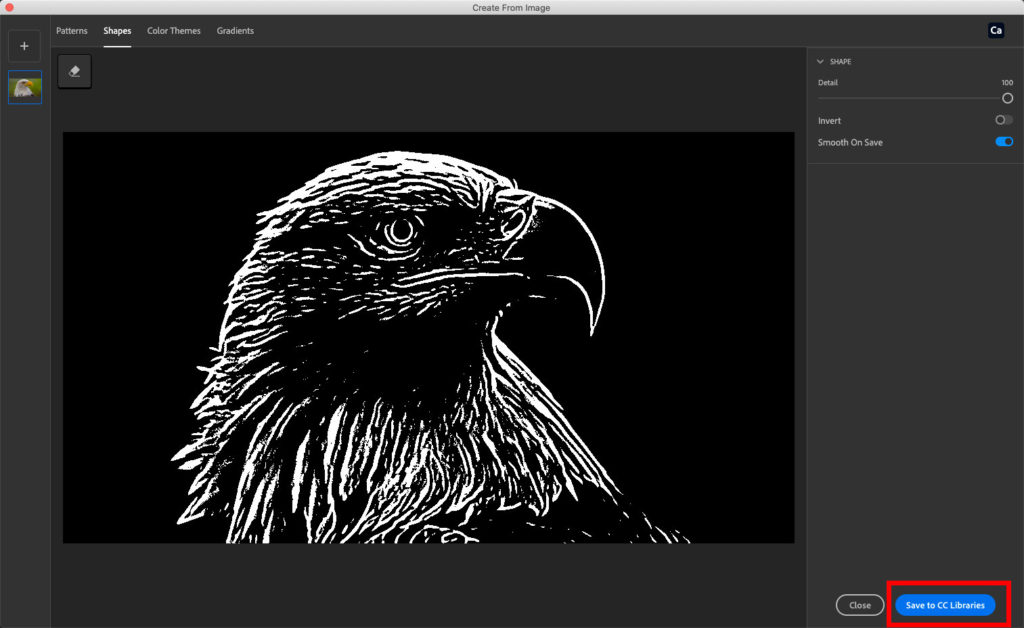
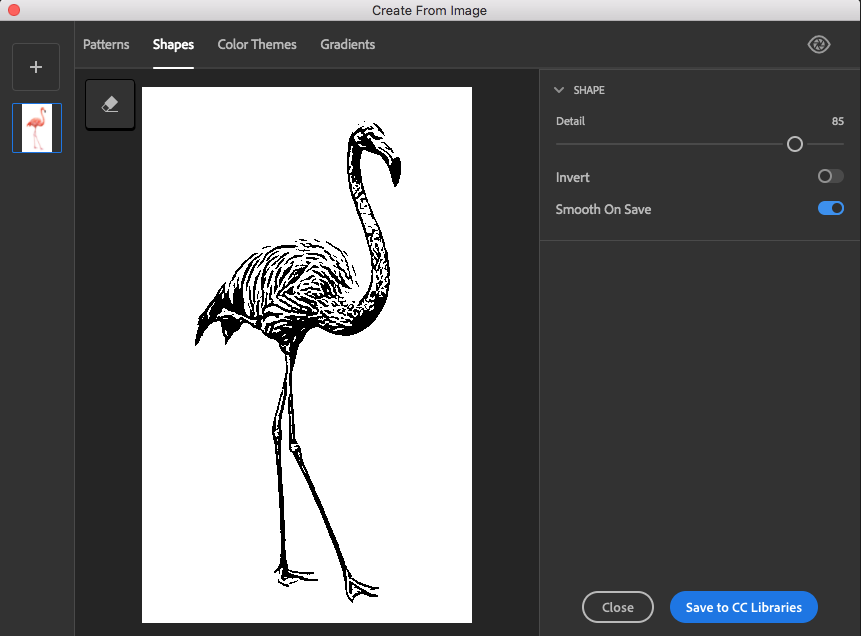
Every image is different. You need to make your own decision on how many details you would like to see in your shape. You can specify a detail value between 1- 100%. In this image I made a decision to specify detail value at 95%

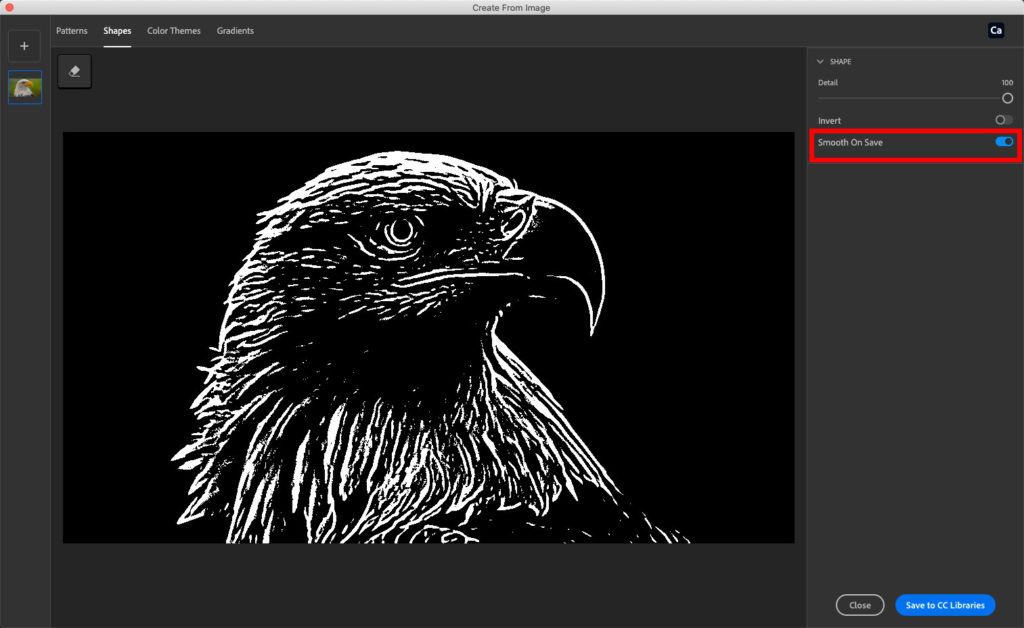
Now I have converted the image into a sketch with only one click. The Smooth on Save feature will help to smooth all lines in a shape (it’s absolutely optional).

After you are happy with your shape click on Save to CC Library and Photoshop will save the new shape to the active (opened) CC library.

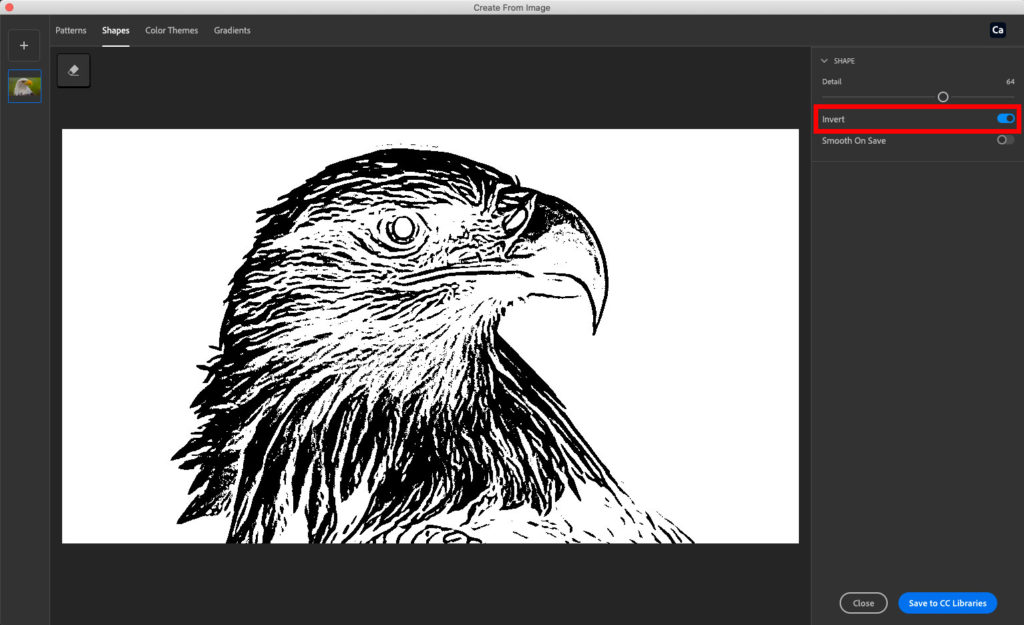
If you would prefer to have a white background, click on Invert and adjust details as needed. I am using this option when I want to have a transparent background instead of black.


As an Amazon Associate, I earn from qualifying purchases listed below

One image and One Tool

Some of you asked me if it’s possible to create a successful image/project using limited assets and tools. My answer was “Of course, it’s possible!” Creating an entire project using only one image and one tool/workspace could be as challenging and exciting as working on the project using multiple images/assets with multiple tools/ workspaces.
And today we will create the project from scratch in Adobe Photoshop using only one image and one workspace.
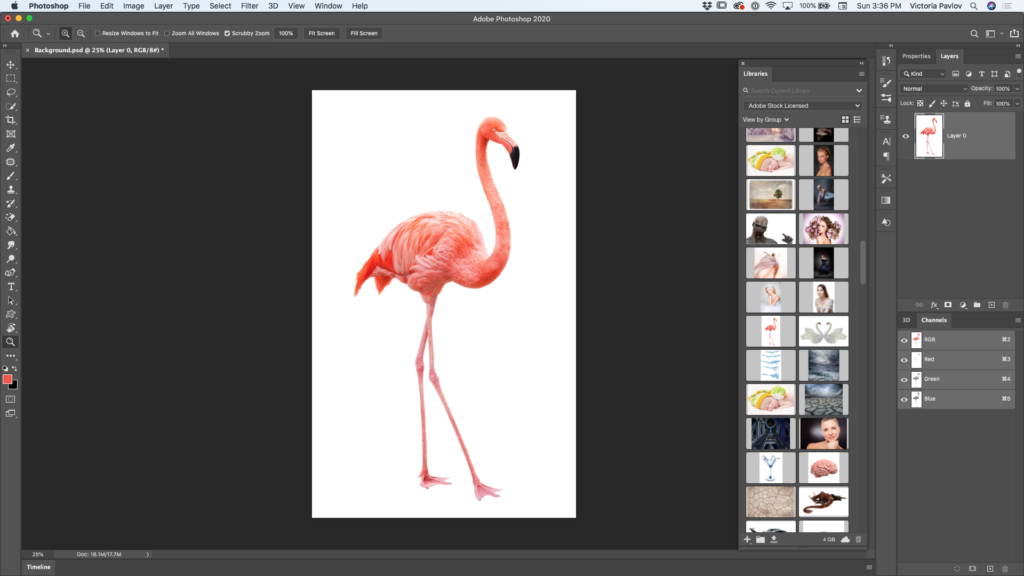
I have opened the image I will be using today (I downloaded and License the image from Adobe Stock. You can use any image you like).

Open any Creative Cloud library, that you would like to work with and save your assets to.
At the bottom of the Library panel, click on “+” sign and then, choose “Create From Image”

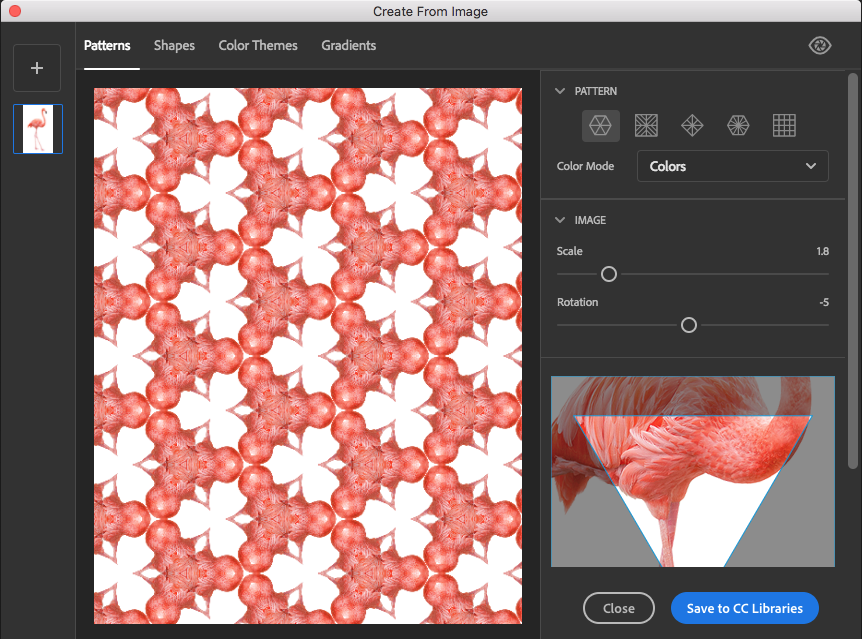
Now we will build our image going through all the tabs in this workspace. I will start with the “Patterns” tab. Using this tab, I will create a pattern for my project. You can use any pattern type and setting to create a pattern. After you’re happy with your pattern click on “Save to CC Library” and your pattern will be saved to the active CC library.

Time to start working on our shape and to do so click on the “Shapes” tab. Now you can create a shape from your image. Click on “Save to CC Library” to save the shape to an active CC library.

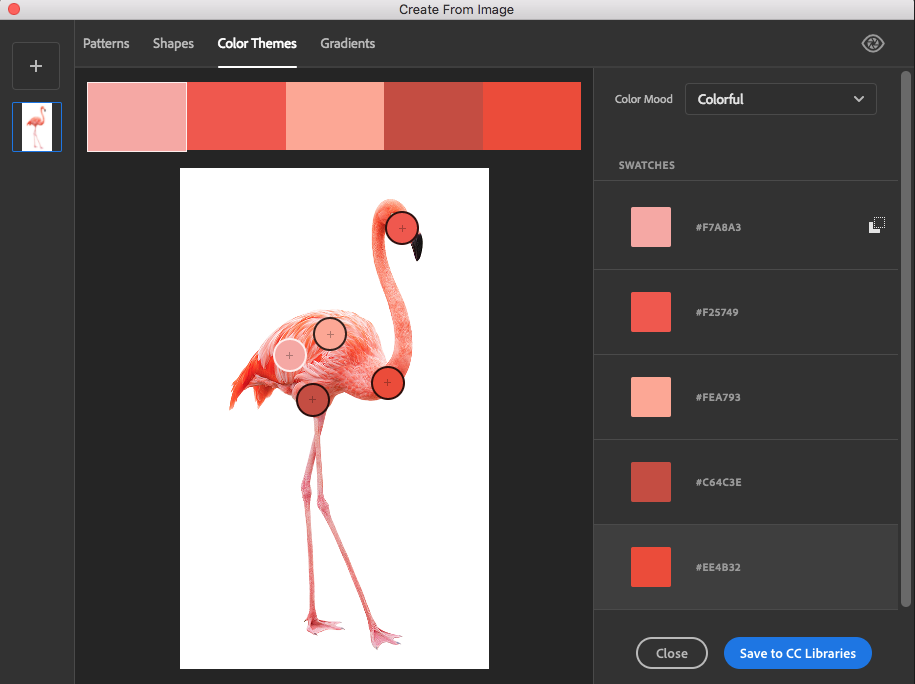
The next stop is “Color Themes”. Using this tab you can create colors based on your image. Feel free to move color pickers to specify exact colors in the image you want to create your new theme from.

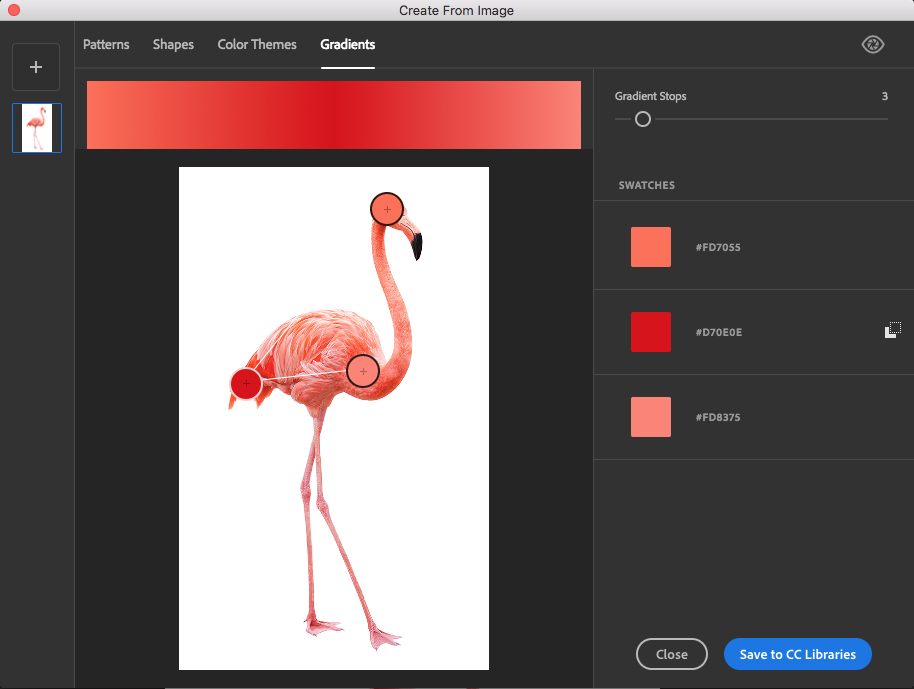
The last tab is “Gradients”. The Gradients tab is a very powerful tab. I create custom gradients all the time for my workflow.

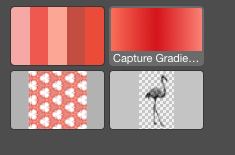
After all the assets are created and added to CC library it’s time to start putting everything together.

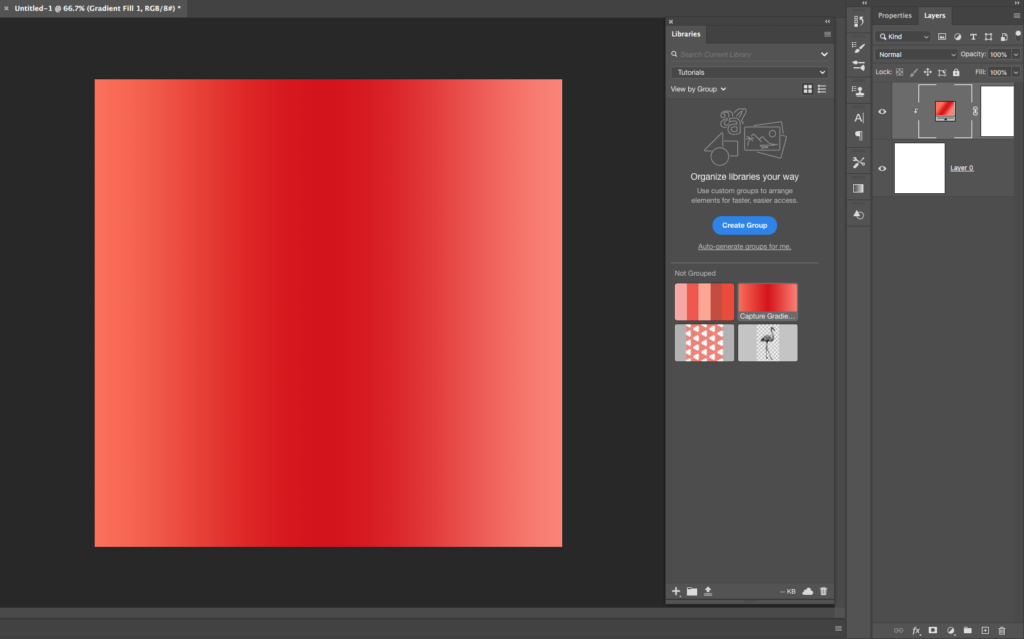
Create a document any size you like. Click on the gradient in your CC library to apply it to an active layer.

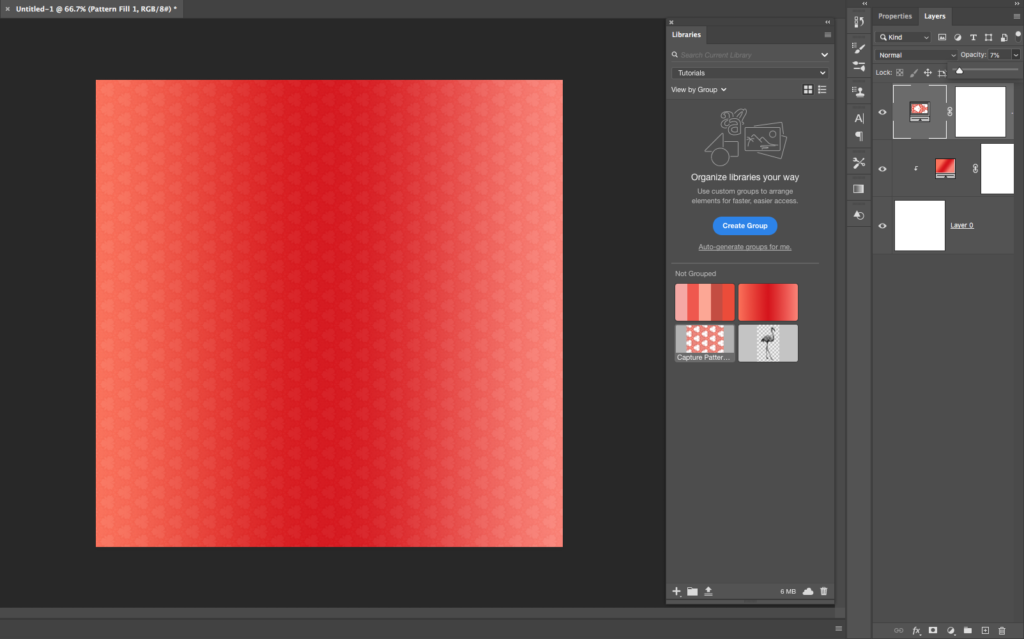
Double click on Pattern in your CC library and specify scale value

Click OK and bring the layer’s opacity down.

Now click on the shape in CC library and drag it into your document.

Window > Shapes> Click on the “Palm” icon and drag it into your document. Use any Color Scheme in your CC library to add color to the shape.

Your image is ready. As you can see, you can use one image and one workspace to create all the necessary assets for your new project.

In the tutorial below I added just a few extra steps.

Advertisement

All my Books on Sale on Amazon:

KelbyOne. Take better photos of your children.


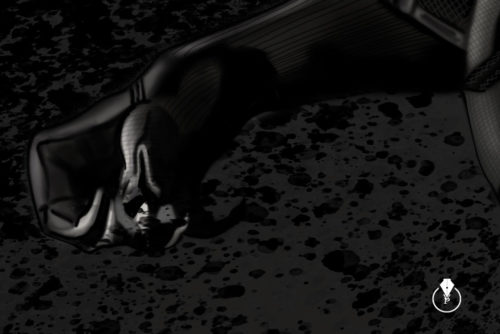
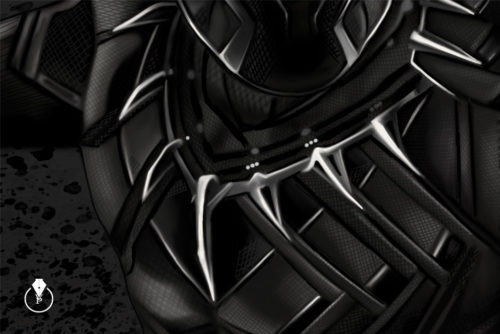
Fan Art Painting in Adobe Photoshop CC

My Black Panther fan art painted in Adobe Photoshop CC with Wacom Cintiq


101 Photoshop Hidden Gems and Tips & Tricks: A collection of 101 hidden features and short tips that will help make you a Photoshop ninja 

Digital Painting for Photographers

The Adobe Mobile Apps Book: Your Complete Guide to Adobe’s Creative Mobile Apps

My Teaching Website

My Website

Select Subject in Adobe Photoshop CC

Select Subject in Adobe Photoshop CC ONLY with one click!!!


What’s New in Adobe Photoshop CC 2018

My Books on Amazon:

101 Photoshop Hidden Gems and Tips & Tricks: A collection of 101 hidden features and short tips that will help make you a Photoshop ninja 

Digital Painting for Photographers

The Adobe Mobile Apps Book: Your Complete Guide to Adobe’s Creative Mobile Apps

My Teaching Website

My Website

3 ways to convert your image into Black and White in Adobe Photoshop CC and number 3 will surprise you

3 ways to convert your image into Black and White in Adobe Photoshop CC and number 3 will surprise you.

Many of my followers  asked me to share my method for converting my images into Black and White and in this blog post I will share with my 3 favorite ways.


1: Use the Camera Raw Filter

Filter > Camera Raw Filter
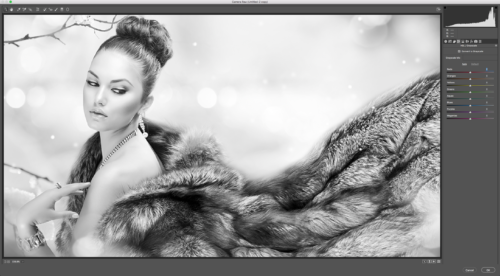
Check “Convert to Grayscale” box and Photoshop will convert your image to B&W.
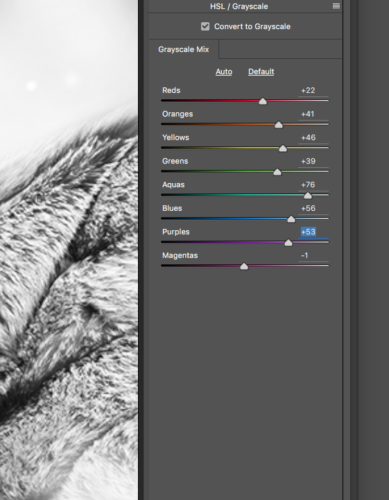
As usual the result is a pretty good, but if you like to have control over your image (and to be honest, I am a control freak so I am always applying a few extra steps). So if you are willing to take control over your image the next few steps are for you.

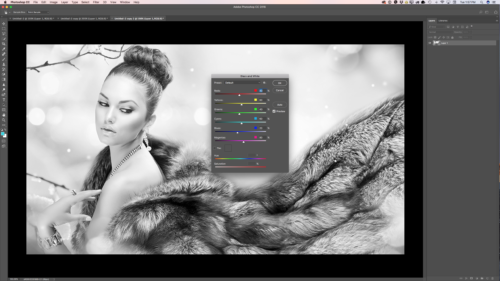
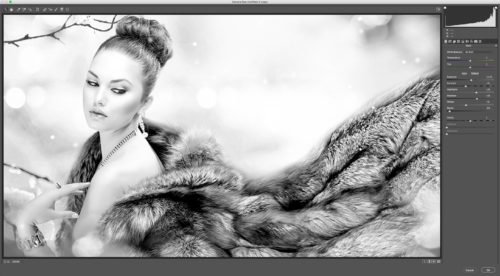
Adjust each Grayscale slider. Each slider will affect each individual color in your image. Moving sliders directly affects the mood of your image

Example:

This mix created high key image with a very romantic mood
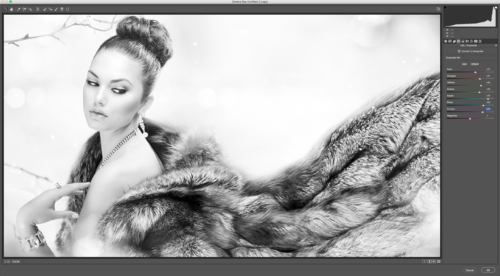
But if I will move the Reds, Blues, Purples, and  Magentas sliders to the left I have created a very moody image.  
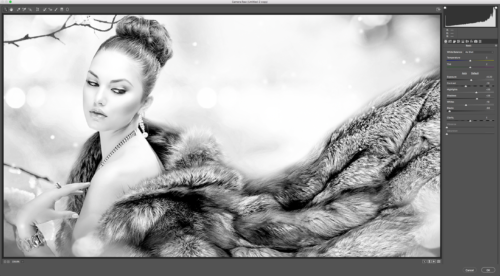
 

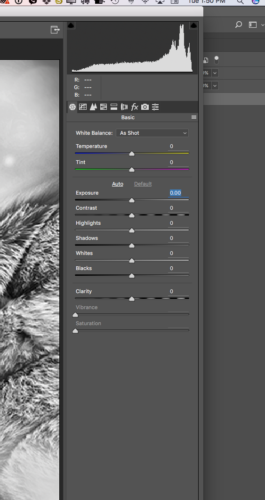
Tip: After you are fully satisfied with a Grayscale Mix ratio click on the Basic Tab and adjust Exposure, Contrast, Shadows, Whites, and Blacks sliders. Each slider will help you apply the last polishing step to your image.


2: Auto Black & White


Image > Adjustments > Black & White
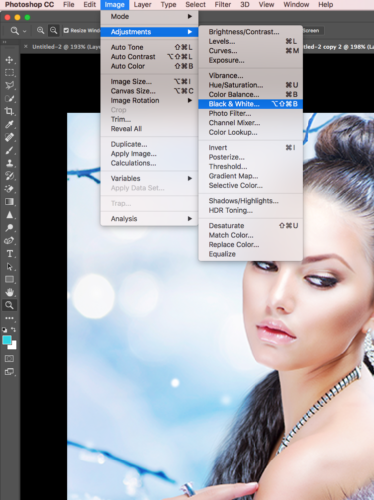
 

In Adobe Photoshop CC we have many different Black and White Presets we can work with. I can’t say that you should use a particular one over others. Everything depends on your image., image light, details, subjects, and ect. I will recommend to try the different presets and after a few times you will have your favorite.  
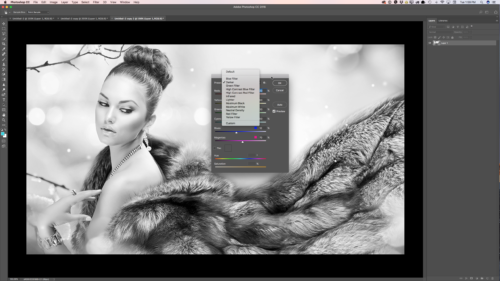
With my current image I  I like the “Darker” Preset the most.

As I said above, I am a control freak, so I will adjust a few sliders as well.
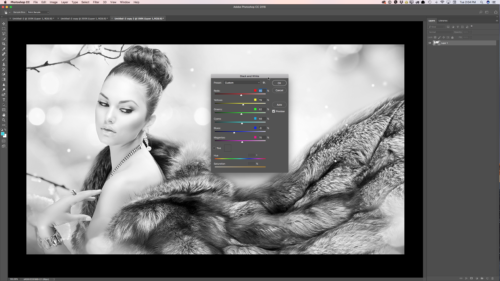
Tip: Absolutely NOT NECESSARY to move  sliders like from 50% to 100% or to -100%. Very often less is better and even moving slider to 1%  makes a big and a very tasteful difference.


3: Adjustments

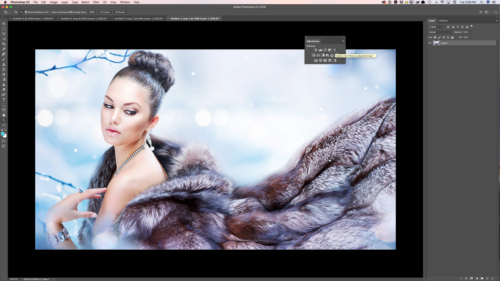
Window > Adjustments > Vibrance
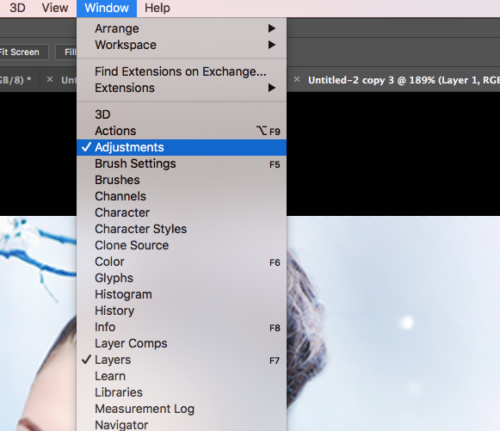
In the Properties panel move “Vibrance” and “Saturation” sliders all the way to the left to -100%
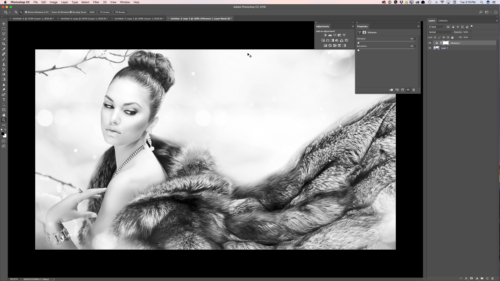
Photoshop converted your image into B&W and created a new “Vibrance1” layer (this layer is a fully independent layer and you can modify and even delete it later on at any time).

Highlight your image layer (Layer1)
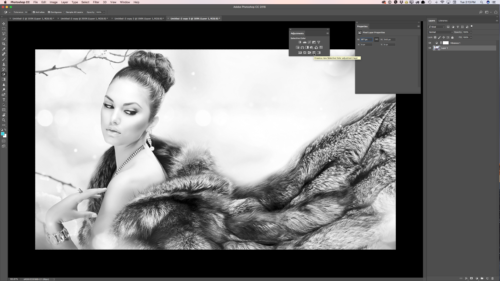
And click on “Selective Colors” in Adjustment panel. Photoshop created a new Selective Color1 layer.
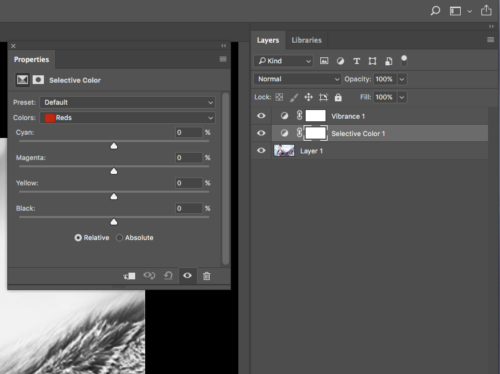
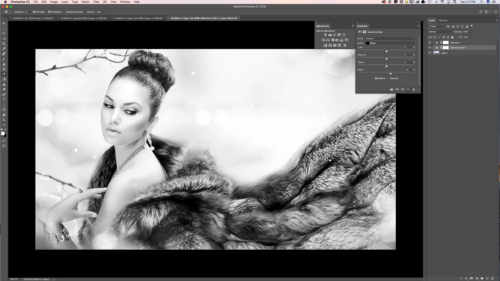
In the Properties panel adjust the Black slider for each color
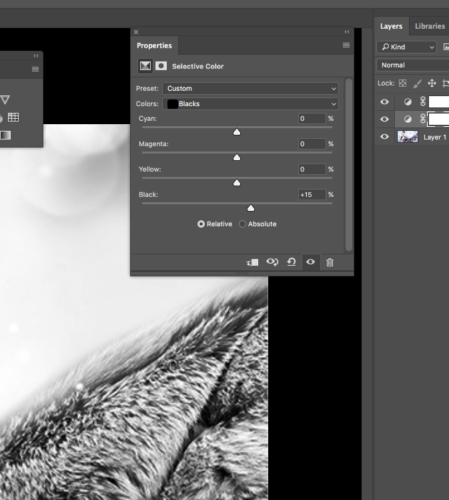
Tip: pay very close attention to the Neutrals and Blacks sliders.
 

My Teaching Website

My Books on Amazon:
Digital Painting for Photographers
101 Photoshop Hidden Gems and Tips & Tricks: A collection of 101 hidden features and short tips that will help make you a Photoshop ninja
The Adobe Mobile Apps Book: Your Complete Guide to Adobe’s Creative Mobile Apps

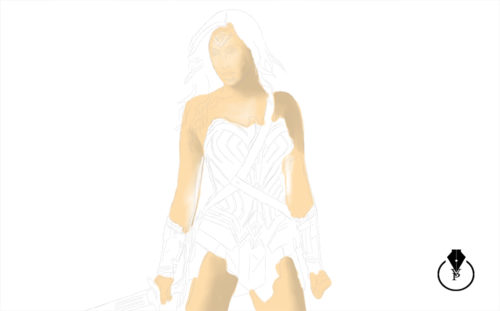
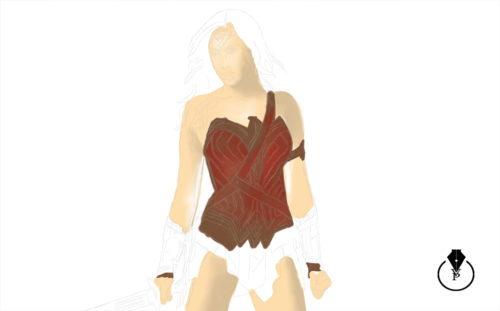
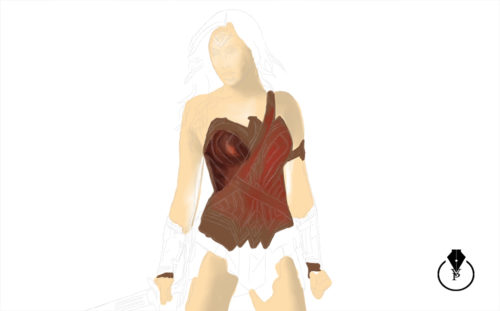
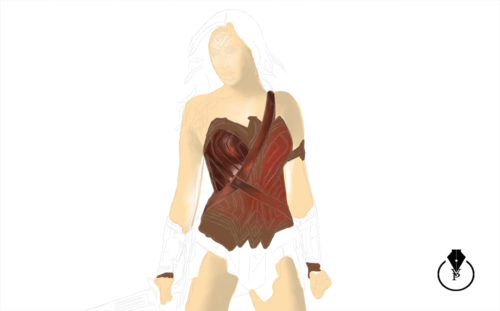
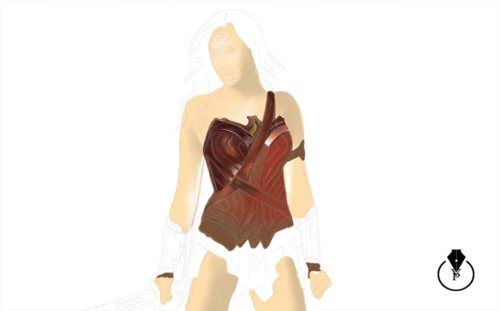
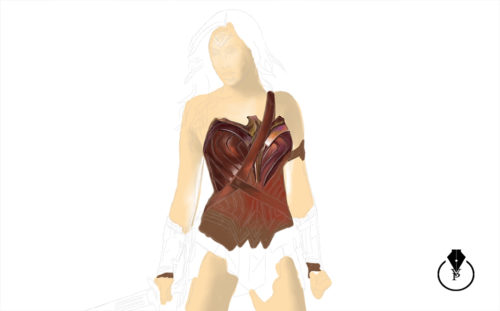
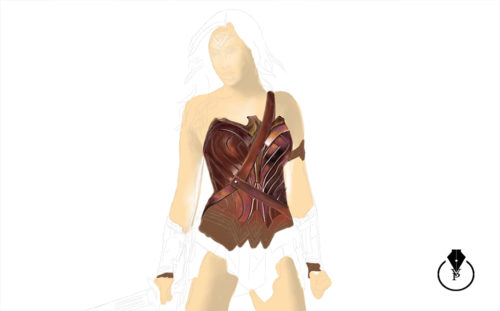
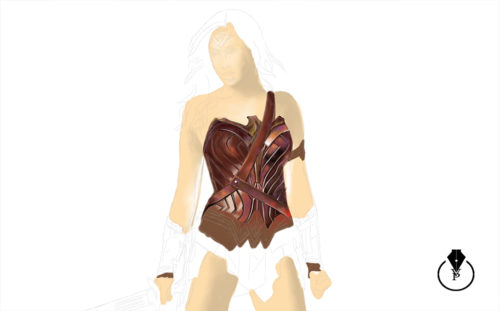
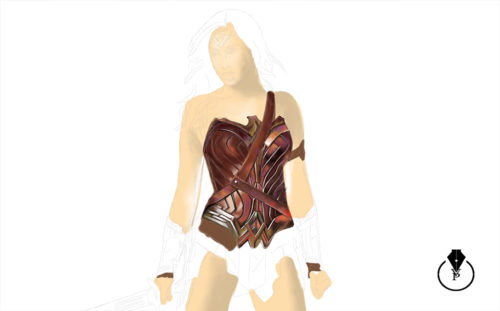
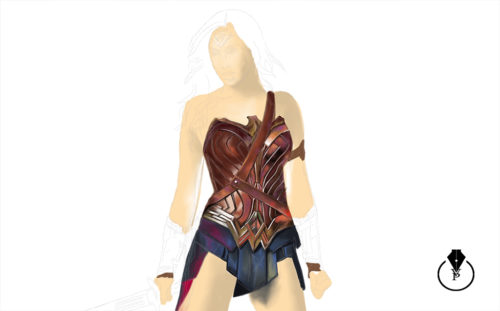
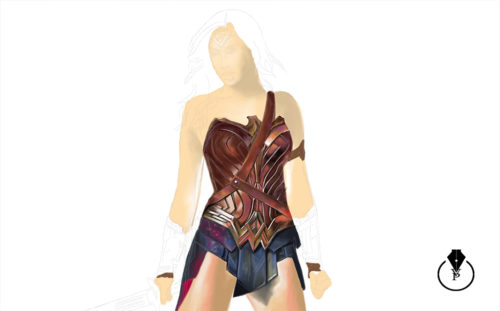
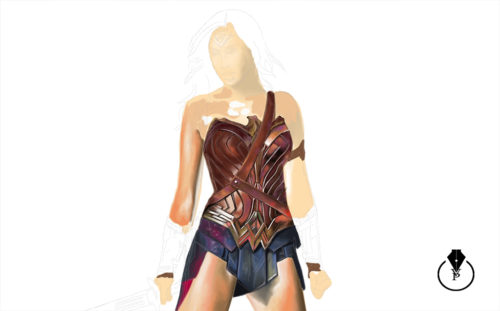
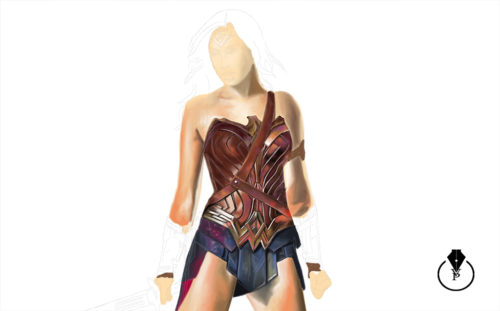
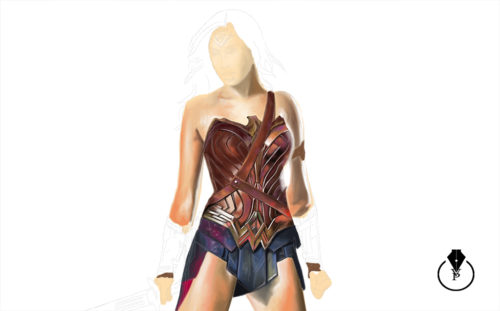
WW Painting in Adobe Photoshop CC

My latest painting in Adobe Photoshop CC with Wacom Cintiq


step-by-step

18


My Books:

Digital Painting for Photographers in Adobe Photoshop CC
The Adobe Mobile Apps Book
101 Photoshop Hidden Gems and Tips & Tricks 

My Website
My Teaching Website 

My New Book

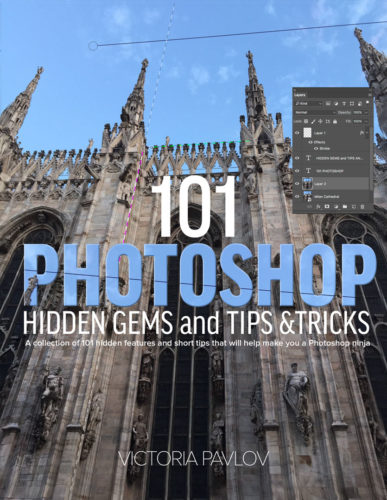
I just released my new “101 Photoshop Hidden Gems and Tips & Tricks” book

I wanted to write a book that every Photoshop user could learn from. Many of us are new to Photoshop, use it regularly or are experts. However, no matter what your Photoshop skill level is, chances are you can still learn new things or pick up tips from this book that you haven’t discovered yet. My editor said “wow, I learned at least 10 things right off the bat that I didn’t know and I ‘m not done editing yet.” We get into our groove and we use the same features and techniques all the time. However, with each new update to Photoshop CC there are usually little things that the engineers at Adobe add or change that often don’t get a mention. I did my best to pick out 101 of my favorites. Enjoy!

101 Photoshop Hidden Gems and Tips & Tricks